2-Minute DIY Satin Ribbon Rose Flower Tutorial
Valentine’s Day is almost here, have you got your gifts and décor planned? If not, then you can check this tutorial out! With just a satin ribbon, you can make cute little roses and use them as décor, give them as a gift, or add it onto a box of chocolate for extra design. It also doesn’t take a long to make one piece, so it gives you a lot of time to make more of these roses. You can also experiment and use different colors of ribbon in this project. This clever idea is by this awesome YouTuber, Craft Box IN. Without further ado, let’s head on to the procedure.
Materials:
- 1 inch (2-3cm) Satin ribbon (you can make this from any size you prefer)
- Double-sided tape
- Tweezer, optional
- Scissors
- Ruler
- Lighter
Directions:
Step 1
Cut the satin ribbon into 80 centimeters or 31-32 inches long, using a tweezer hold one end of the ribbon close to the edge, then smooth the edges with a lighter. Repeat this to the other end of the ribbon. Get a 12-inch or 30cm ruler then slowly wrap the ribbon around in a slanted manner. Once you’ve reached the end, lay it flat on the surface and put some weight on top to avoid the ribbon from getting loose.

Step 2
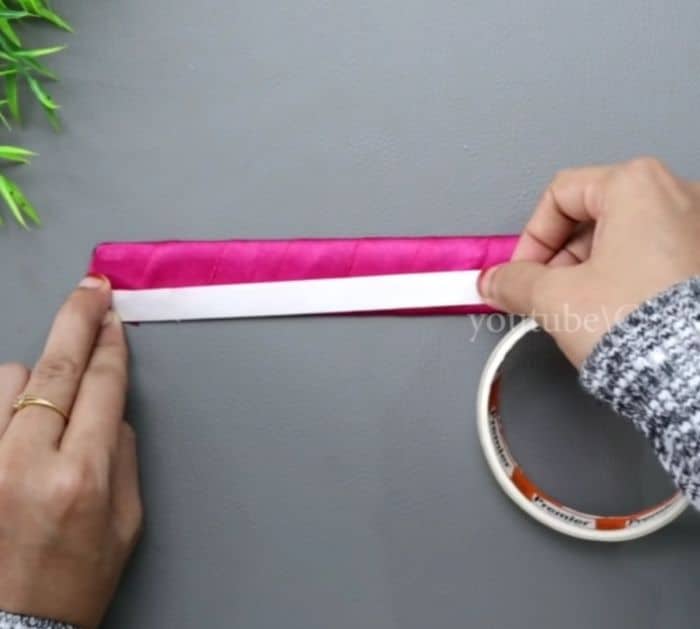
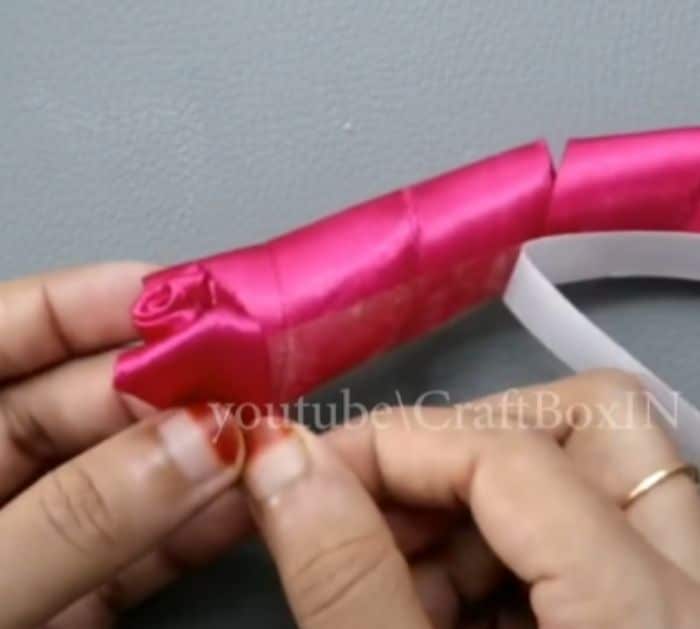
Apply a strip of tape onto the lower part of the ribbon wrap, overlap it a little bit. Slowly and gently remove the ribbon from the ruler. Either use a tweezer or your finger to hold one end of the ribbon, then as you slowly remove the paper from the tape, turn the ribbon over from left to right. Do this until you’ve reached the other end, fold the excess tape under to hold the bottom. You can also secure the bottom with hot glue if you prefer.

*All these images are credited to Craft Box IN via YouTube. Give her channel a visit and subscribe for more!
2-Minute DIY Satin Ribbon Rose Flower Tutorial
The post 2-Minute DIY Satin Ribbon Rose Flower Tutorial appeared first on DIY Joy.