Cherry Mountain Pie
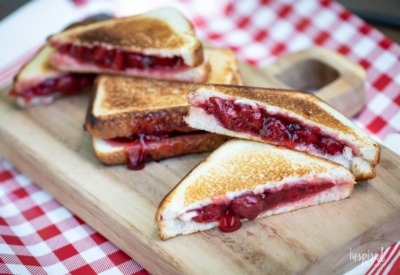
Looking for a campfire dessert? Then grab some sliced bread, your favorite pie filling, and a couple of pie irons because we're roasting up some Cherry Mountain Pies.
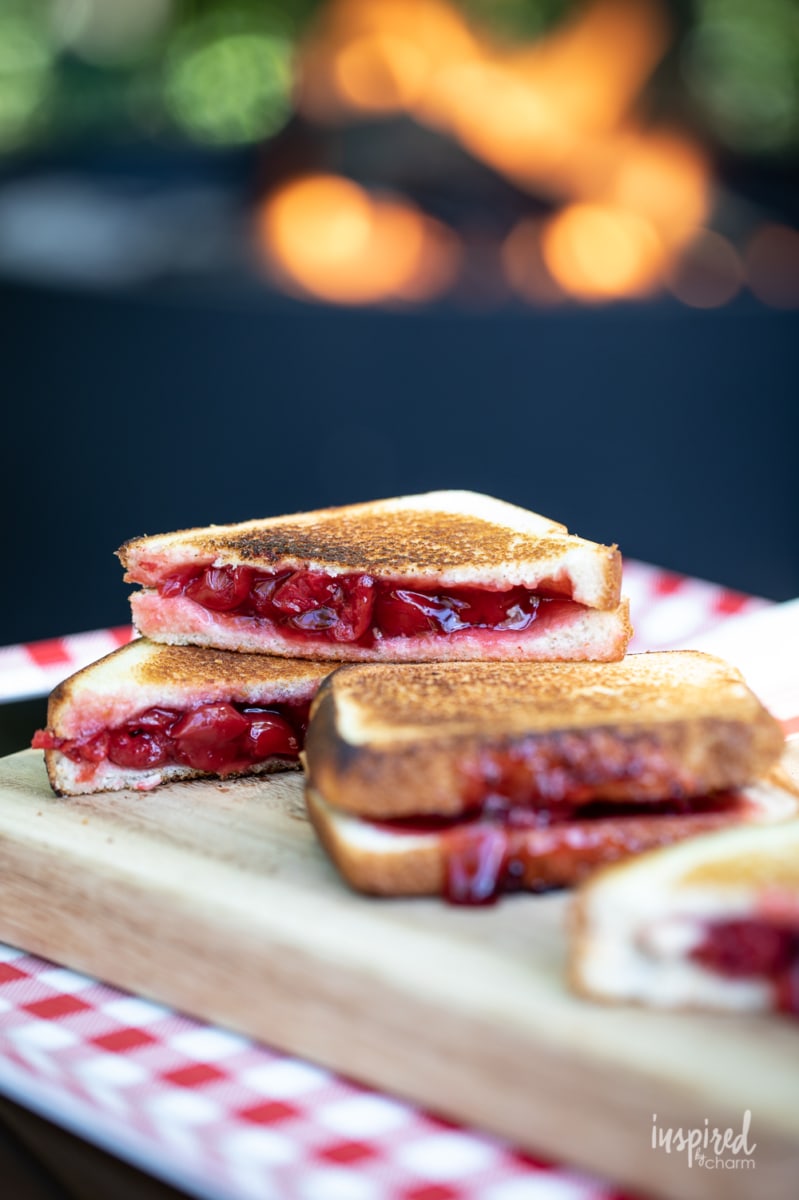
I recently gathered together a bunch of ingredients to craft three mountain pie recipes to share with you. We started with one of my favorites, a pizza mountain pie, and today we're moving on to a dessert with this Cherry Mountain Pie.
What I love about this particular recipe is that you can use any pie filling you like: cherry, apple, blueberry, peach, etc. I even thought about making and using my strawberry rhubarb pie filling. Talk about epic!
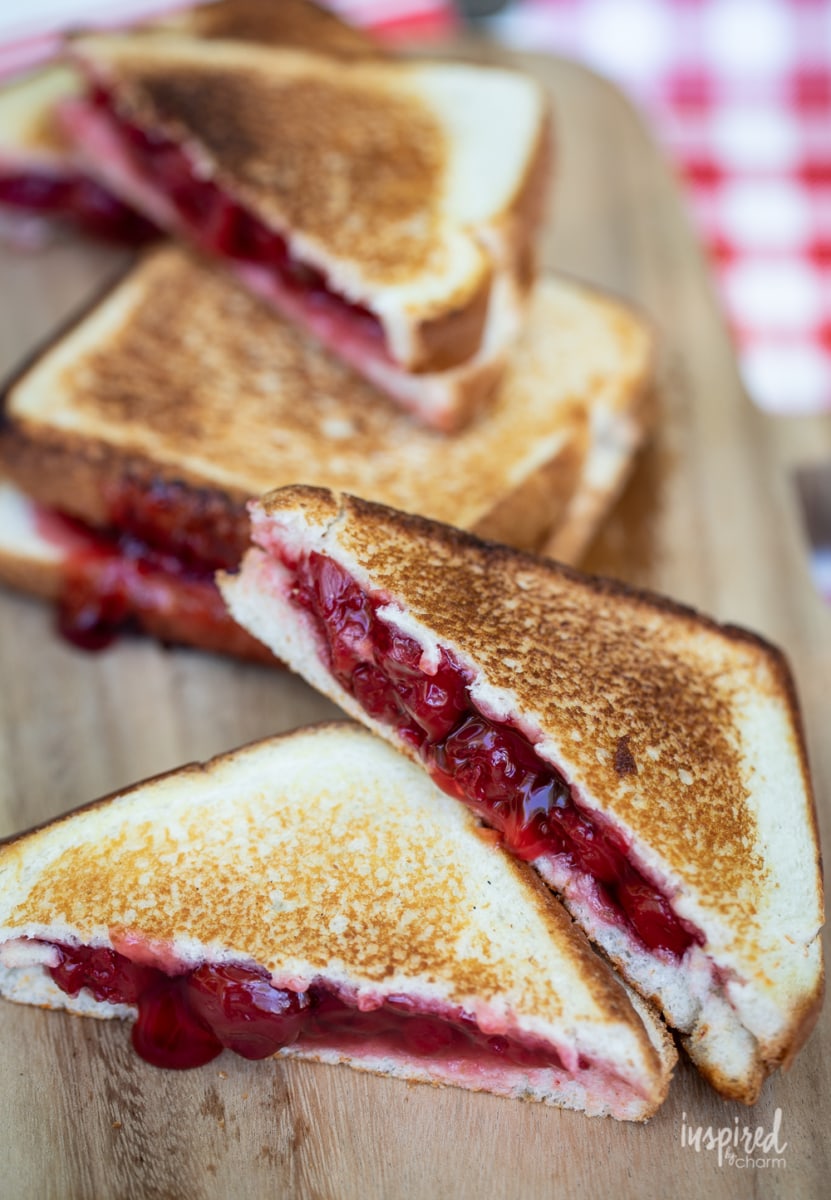
If you've never had a mountain pie before, you're in for a treat! I have been making and eating these for as long as I can remember. They are my favorite campfire treat and the options for fillings and flavor is virtually endless.
Before we get into the details of the recipe, let me answer the obvious questions. (I explained most of this in my previous mountain post, but if you're new, it's worth going over again.)
More recipes to enjoy around the campfire:
- BLT Potato Salad
- The BEST Veggie Dip
- Salted Caramel Crumb Bars
- Turkey Bacon Cranberry Roll-Ups
- Really Good Seasoned Pretzels
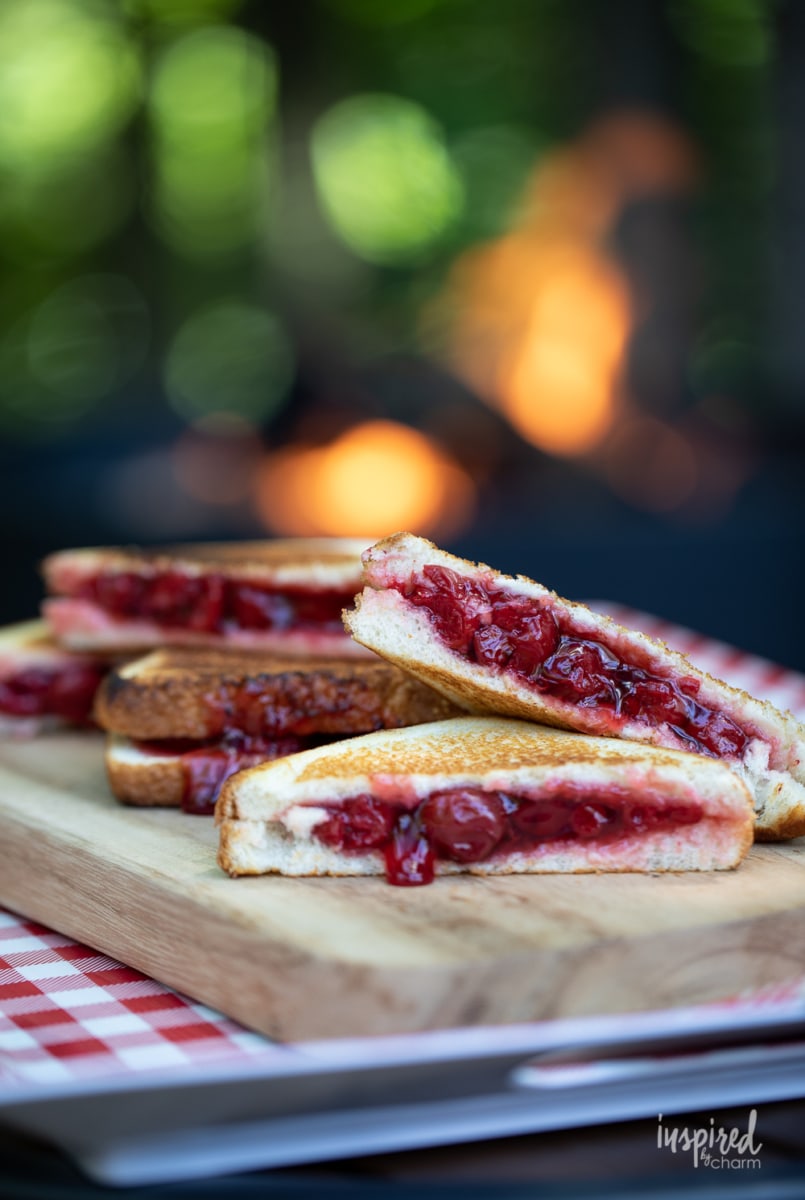
What is a Mountain Pie?
I believe that the name "mountain pie" is a regional thing. According to many of you (and a quick google search), mountain pies are also known as hobo pies, iron pies, pudgy pies, campfire pies, and camper pies.
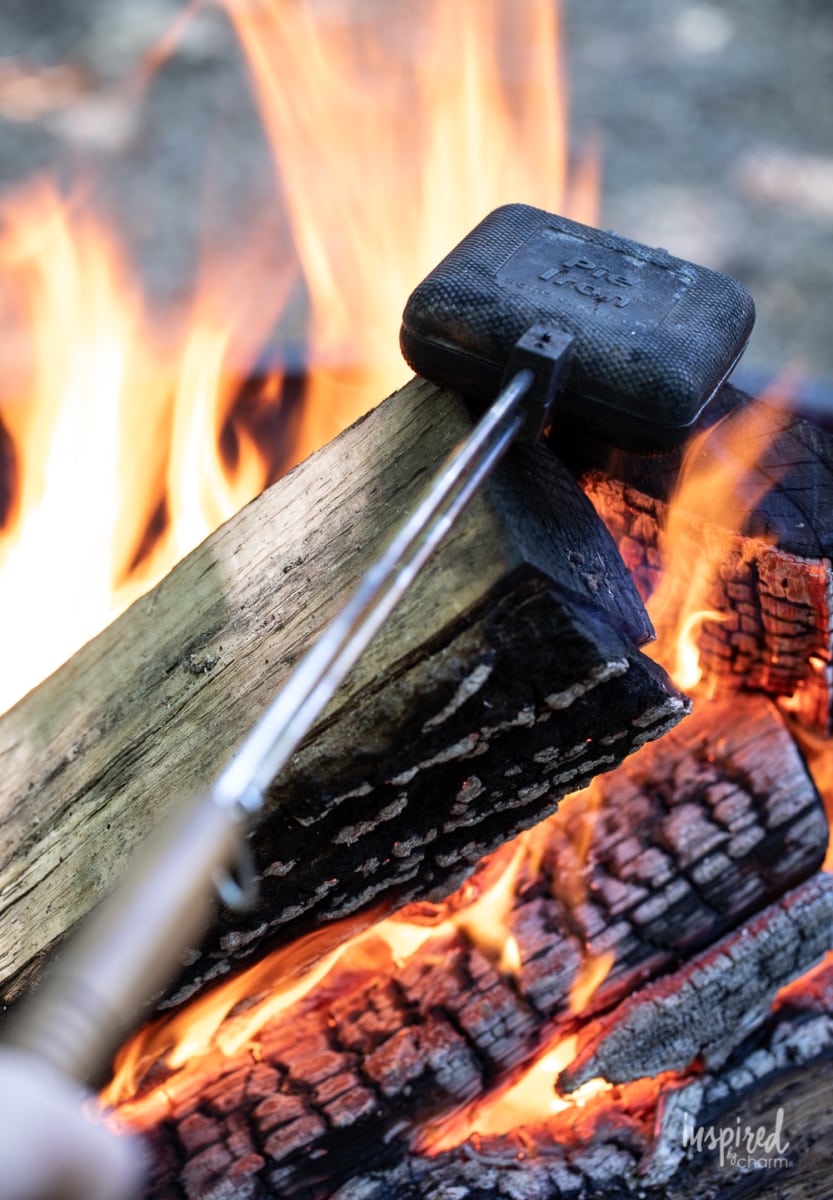
No matter what you call them, the idea behind them is mostly the same. They are made by putting a filling (savory or sweet) between two slices of buttered bread and then placed in a long-handled metal tool (typically cast iron) that is held over a campfire until the ingredients are cooked and the bread is toasted. This process creates a warm and delicious handheld "pie."
How do You Make a Mountain Pie?
I briefly explained the process above, but now I want to walk you through it step-by-step with this cherry mountain pie recipe. What's especially nice about mountain pies is that you only need one ingredient to fill them. It doesn't get much easier than that.
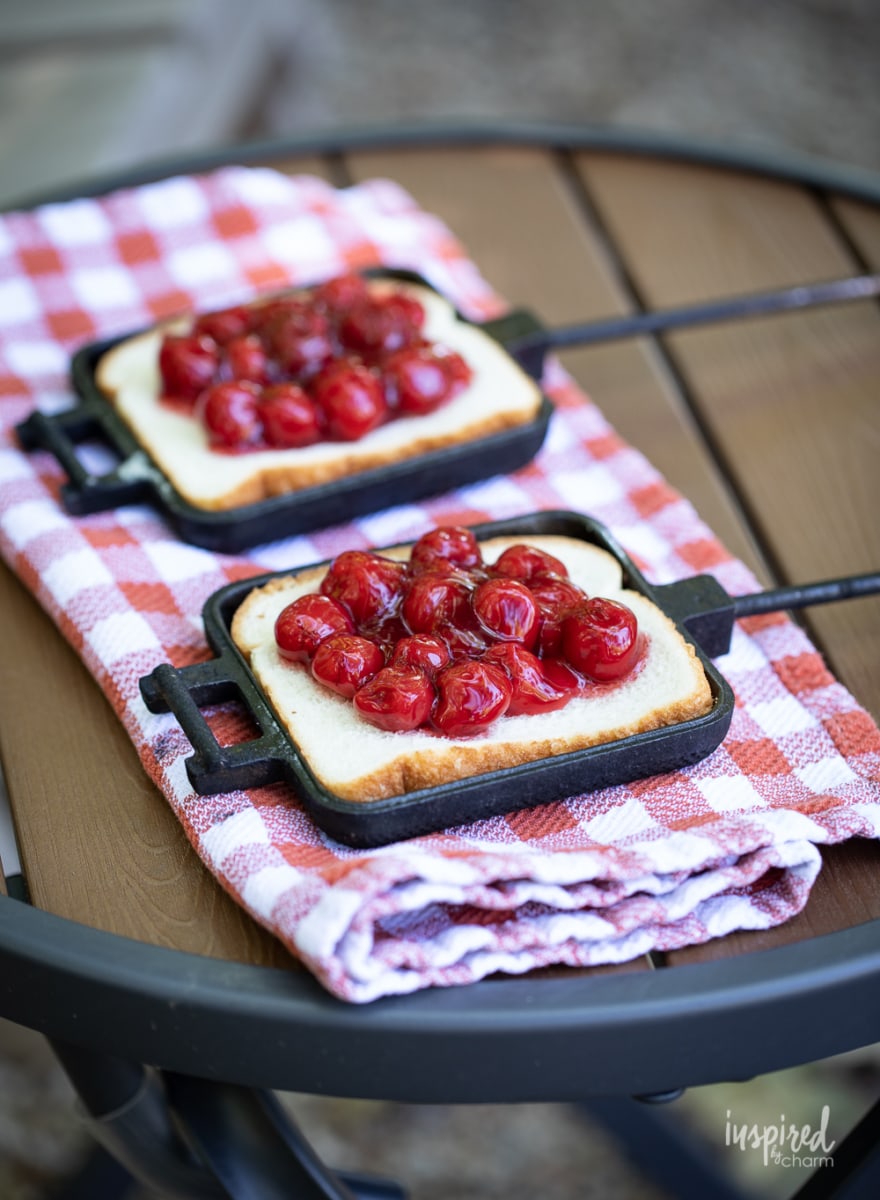
I've also included a detailed ingredient list and directions in a printable recipe card at the end of this post.
This one HERE is the one I own and my personal favorite. I highly recommend that you go with cast iron. It cooks the best and will withstand the heat of the fire for many years to come. The square is the traditional style but you can also find them in a circle shape. You can even get double sandwich irons.
There's some debate as to whether you start with a hot or cold pie iron. Personally, I find a cold/warm pie iron to work best. A hot iron cooks the bread too quickly resulting in a burnt outside and cold inside. Feel free to experiment and do whatever method you like best.
Spray your pie iron with cooking spray. Alternatively, your bread can be buttered. I just find the spray to be a bit easier. I recommend something like Pam or I Can't Believe It's Not Butter spray.
Place one piece of bread on one side of the pie iron. Evenly spread out the cherry pie filling.
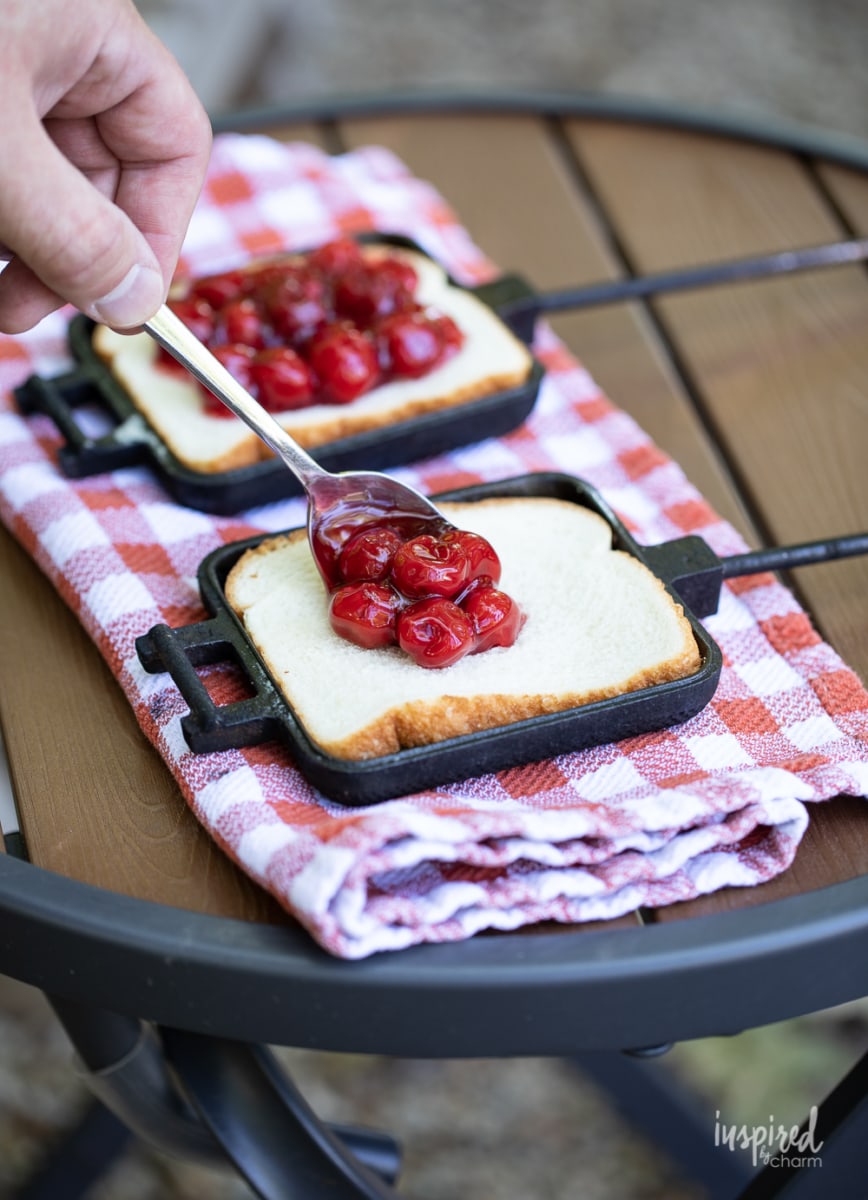
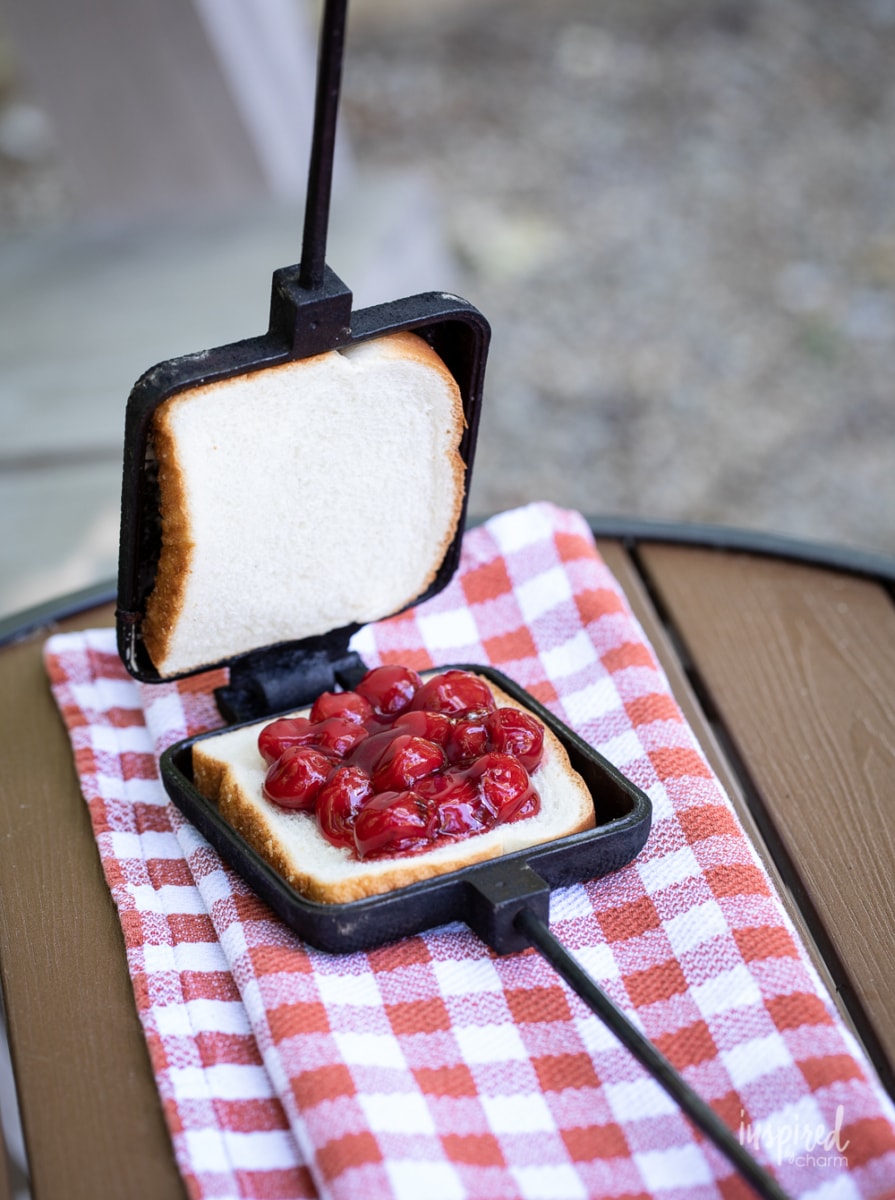
Add the second bread slice to the other side of your pie iron and close.
Cook over a hot campfire until golden brown and hot inside: about 5-7 minutes. The time will vary based on where the iron is in your fire, how hot your fire is, etc.
Flip the iron while it is in the fire so the mountain pie cooks evenly. Also, be sure to check on your mountain pie throughout the cooking process to avoid burning.
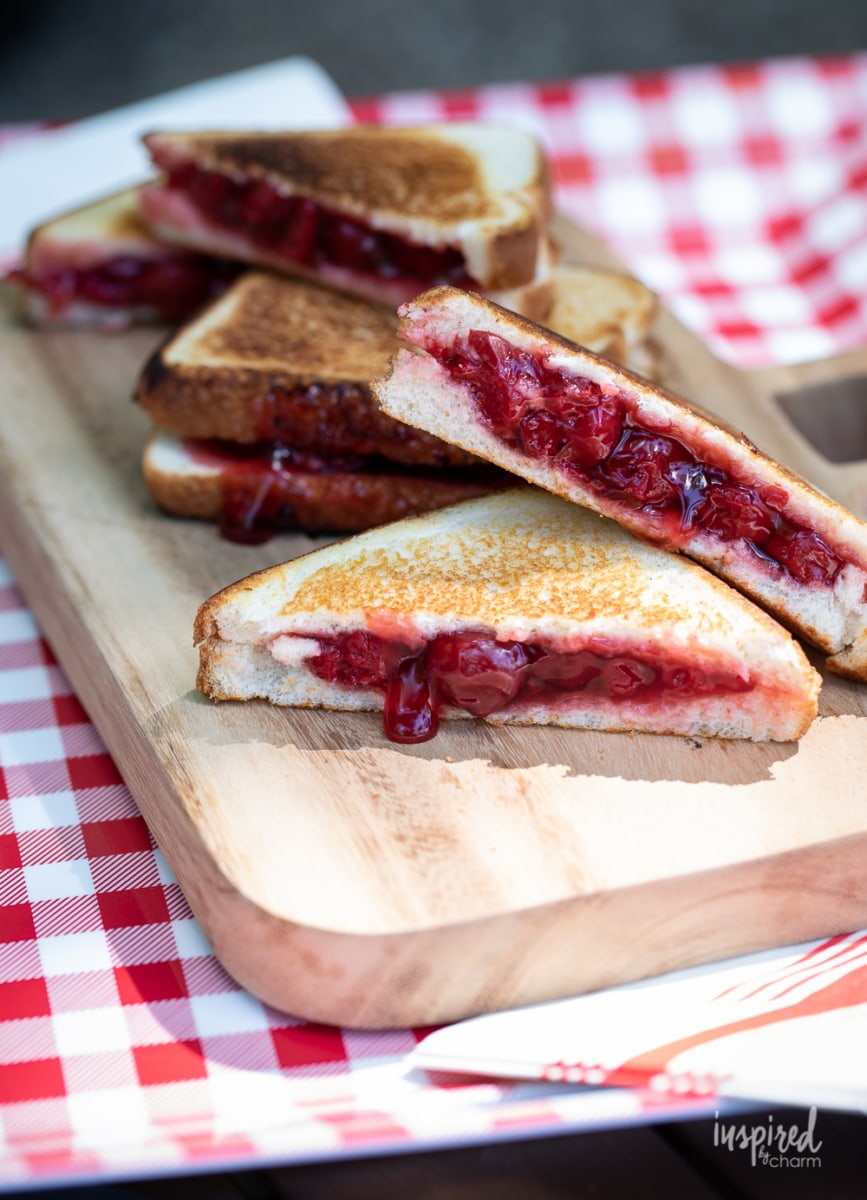
Remove the cooked mountain pie from the iron and let it cool for a few minutes before enjoying. This is very important. I can't tell you how many times I've burnt my mouth on hot mountain pie filling. I have zero self-restraint.
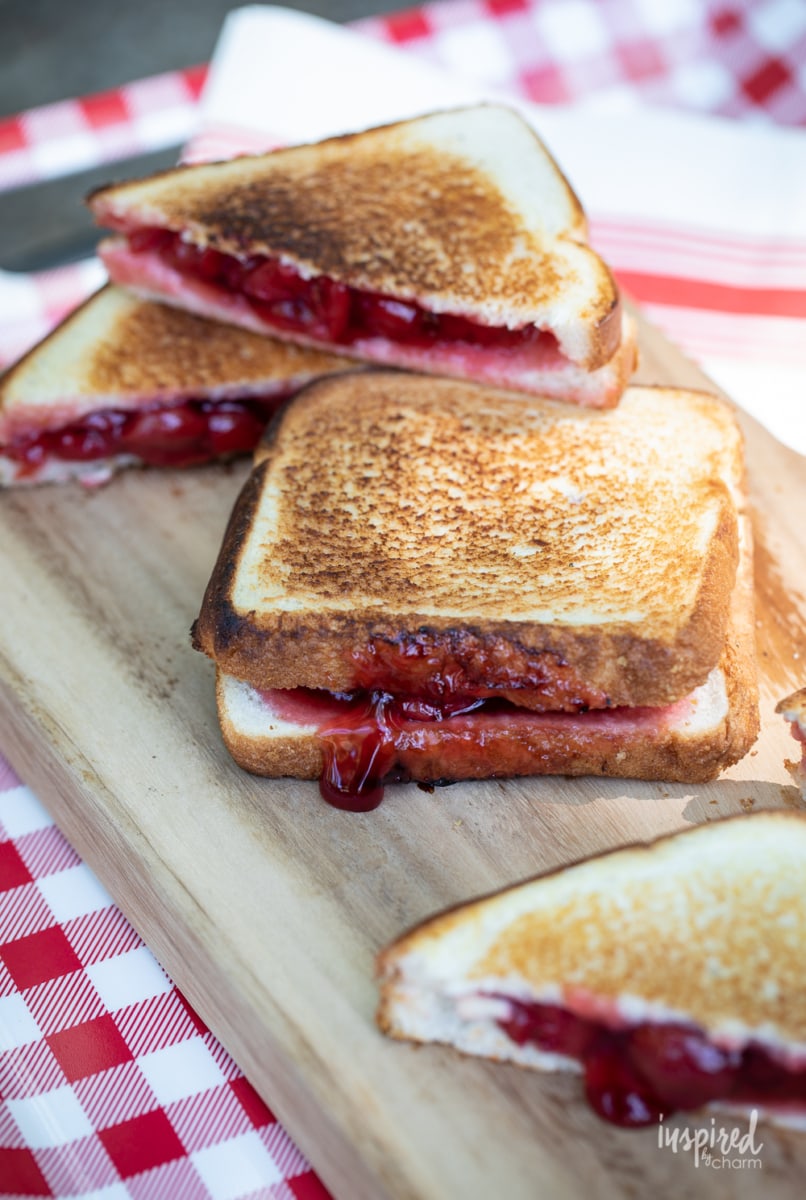
And that's it! Dessert is ready. You can make a whole meal out of mountain pies. Start with pizza and end with cherry.
Want a few more ideas? You got it!
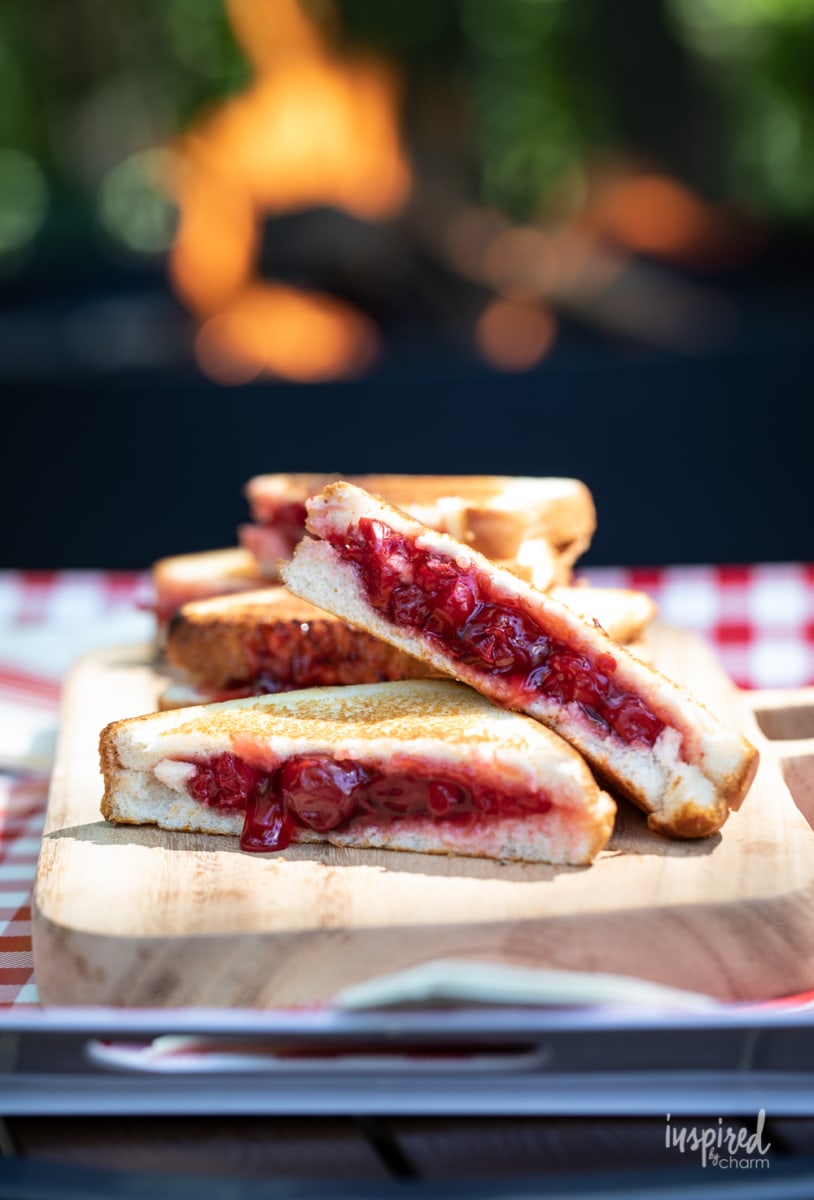
Other filling ideas:
If you're anything like me, your mind is already thinking of all the possible creations and combos to make when using a mountain pie maker. I'll be sharing another recipe with you soon, but in the meantime, you could try:
- other canned pie fillings,
- ham and cheese,
- Nutella and berries/banana,-
- pulled pork,
- buffalo chicken,
- cheesesteak,
- Rueben,
- breakfast (egg with cheese, sausage/bacon),
- grilled vegetables and cheese,
- caprese (tomato, cheese, and basil),
- and so many more!
As you can see, you're only limited by your culinary creativity. Get brainstorming, dig through your pantry and fridge, use leftovers, and try new recipes.
That's a wrap!
If mountain pies (aka hobo pies, iron pies, pudgy pies, campfire pies, and camper pies) are new to you, I really hope you enjoyed learning about them and getting a few of my recipes. You definitely need to give these cherry mountain pies a try.
Enjoy!!
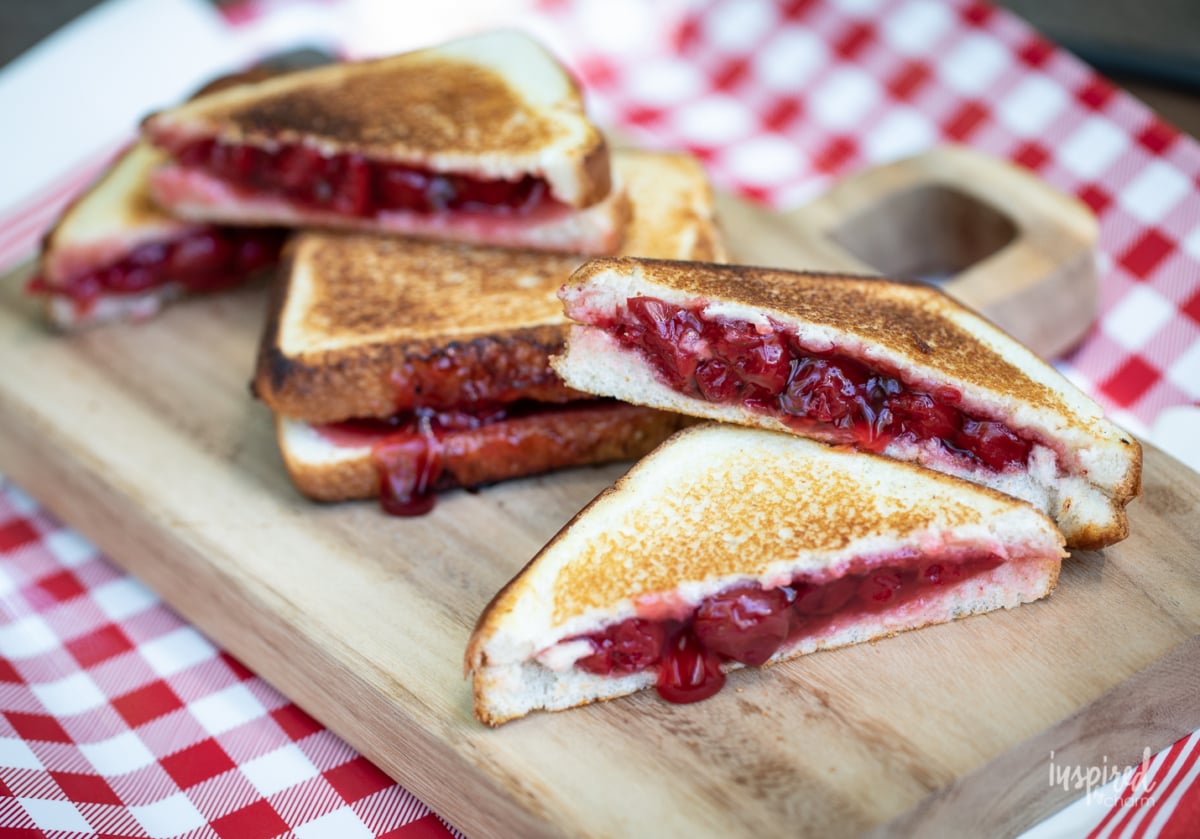
LOVE THIS RECIPE AND WANT MORE?
Join the IBC Mailing List to get all of my recipes, projects, and ideas sent straight to your inbox! I hope you’ll also join me on social media for daily updates and behind-the-scenes looks at my work and adventures.
Connect with Michael on Social: Instagram // Facebook // Pinterest // Twitter
Have you tried this recipe? Follow me on Instagram, then share YOUR dish with #myIBC and tag @inspiredbycharm. It’s fun to see how folks are using recipes from IBC.
Cherry Mountain Pie
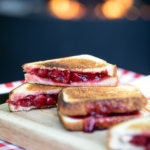
Looking for a campfire dessert? Then grab some sliced bread, your favorite pie filling, and a couple of pie irons because we're roasting up some Cherry Mountain Pies.
- 2 slices bread
- 1/4 cup cherry pie filling
- cooking spray (or butter)
- Spray your pie iron with cooking spray. (Alternatively, your bread can be buttered. I just find the spray to be a bit easier.)
- Place one piece of bread on one side of the pie iron. Top with your (cherry) pie filling. Add the second bread slice to the other side of your pie iron and close.
- Cook over a hot campfire until golden brown and hot inside: about 5-7 minutes. Flip the iron while it is in the fire so the mountain pie cooks evenly. Also, be sure to check on your mountain pie throughout the cooking process to avoid burning.
- Remove the cooked mountain pie from the iron and let it cool for a few minutes before enjoying.
The post Cherry Mountain Pie appeared first on Inspired by Charm.