DIY Cookie Cutter Embroidery Flower Design
I never would’ve thought about using a flower-shaped cookie cutter as an outline for an embroidery flower design project. This YouTube tutorial by Fashion Designer shows up close to how easy it is to use a cookie-cutter as a short cut to get the 3D flower petal. This is an adorable design and you can add this onto a blanket, or whatever craft you decide to use this for. This hand embroidery flower design trick is so creative and cute. Using a cookie cutter makes this flower design so much easier and faster. I would love to make this on a blanket or an embroidery picture to hang up on my wall. There are so many ways to make this design useful.
Materials:
- needle and yarn
- cookie cutter
- fabric sheet
- scissors
- razor blade
Directions:
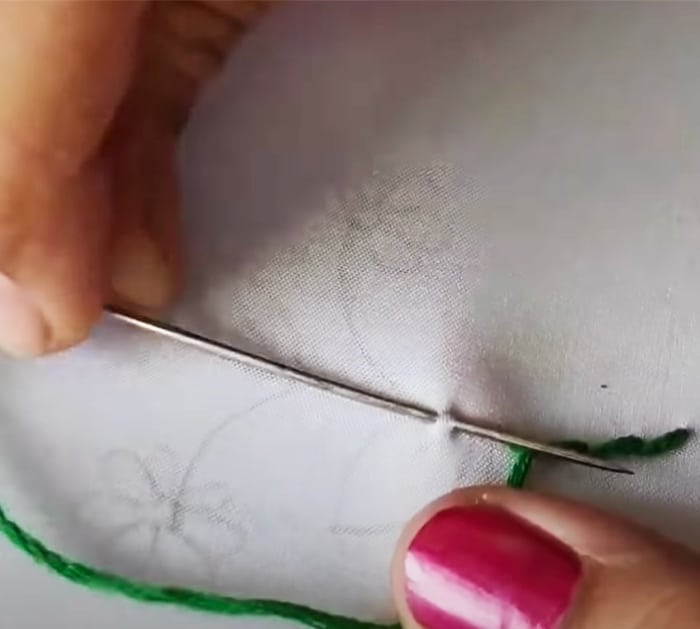
First, draw your flower outline on a fabric sheet and use your needle and yarn to follow along with the drawing. This makes the embroidery process much easier because it’s like tracing the exact shape.

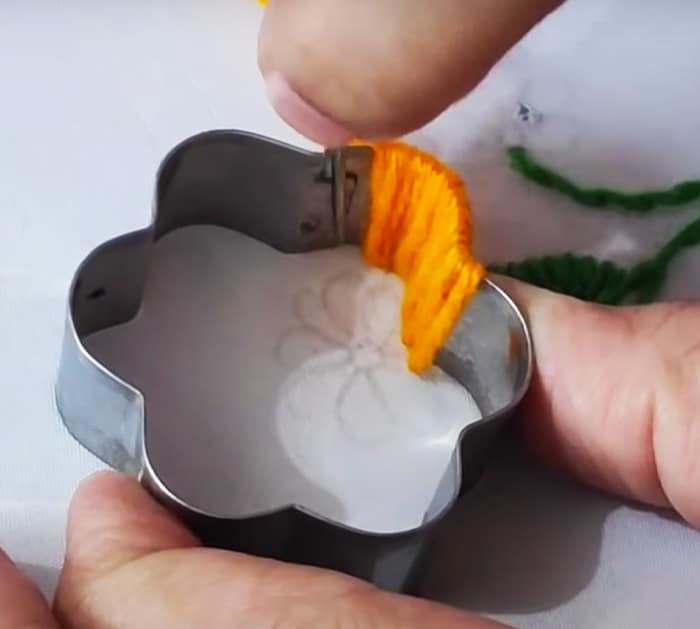
Next, once you finish your stem on your flower, use a flower-shaped cookie cutter and start sewing around and under. After you’re finished, use a razor blade to shave off the top to remove the cookie cutter. This will create the 3D effect to make the flower petal look fluffy and thick.

Overall, I think this is a cool flower design using something useful like a cookie cutter to make things more simple. From this tutorial, I love how the yarn turned out when it was being shaved off in the end. This would be a fun project to start on and it’s beginner-friendly. Also, this tutorial doesn’t require free hand sewing because there’s a lot of sewing from outlines which makes the design look perfect.
The post DIY Cookie Cutter Embroidery Flower Design appeared first on DIY Joy.