DIY Dip Dye Tea Towels
Want to know how to ombre dip dye? It’s a great technique you can use in a lot of craft projects. If you love the ombre trend, I’m sure you’ll love this DIY project that uses tea towels!
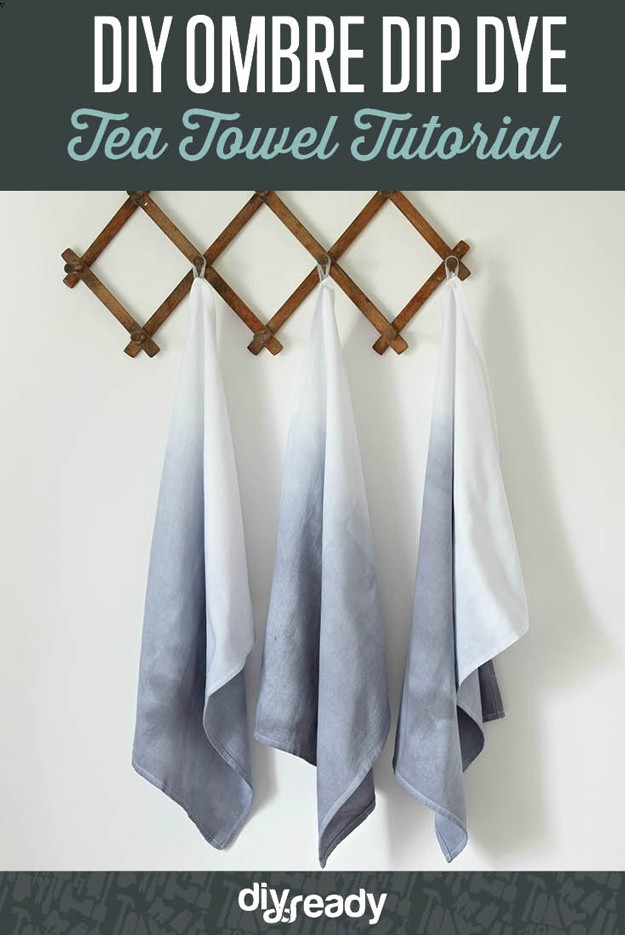
You’ll love this wonderfully simple and absolutely elegant dip dye tutorial from one of our favorite DIY-ers, Portia Lowry of Makery.uk. Check out more of her work, including beautiful sewing and refashioning projects, on her diy blog here!
Ombre Dip Dye Tea Towels | Cool DIY Project
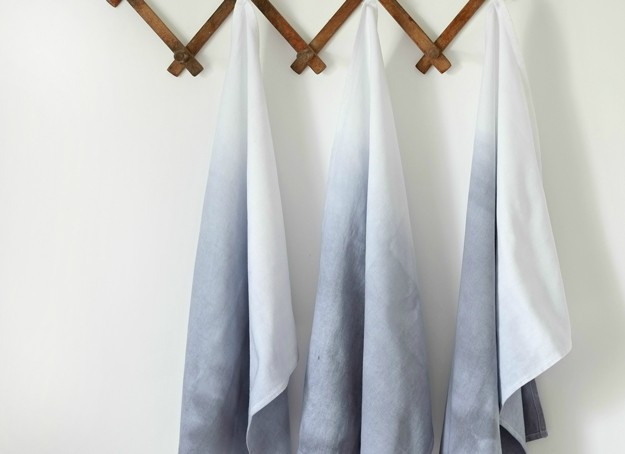
I’m a big fan of the ombre dyeing trend. If I had long luscious locks then my hair would be sporting the ombre trend. But since I don’t, I can fulfill my ombre urges in other ways! It’s such an economical and easy way to elevate the plain and slightly boring, to something much more interesting and stylish (you can see why I’d want ombre hair!). Here’s how to elevate plain white budget tea towels into something a bit more exciting!
What you’ll need for this ombre dip dye tea towels :
- Plain cotton tea towels
- Rit Dye (I used Pearl Grey but feel free to use any color you want)
- Plastic tub/bucket
- Gloves
- Metal Spoon
- Water
Step 1
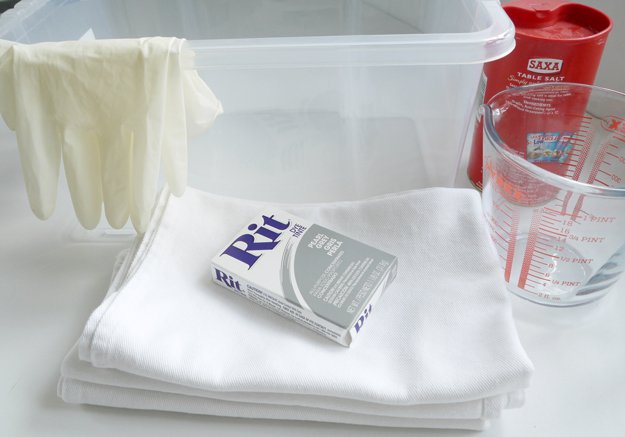
I used these plain cotton tea towels (they worked out at £1.66 each!) and some Rit Dye (the powdered variety in Pearl Grey). You’ll need a plastic tub/bucket, gloves, a jug to mix your dye solution, a metal spoon to stir it, and salt if the instructions for mixing up your dye solution call for it.
Step 2
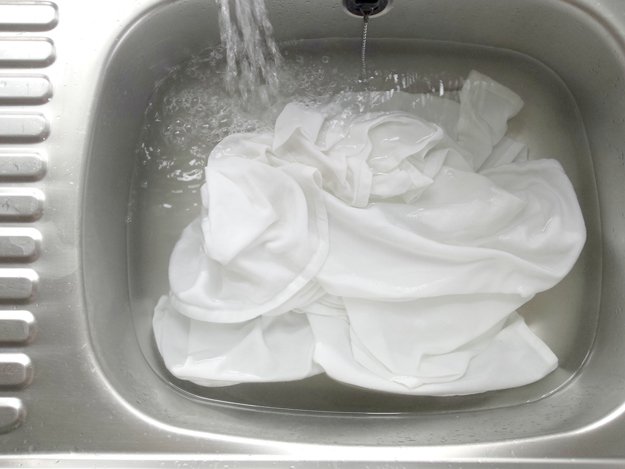
Start by laundering your tea towels. You can do this by machine or hand. But this step is important as a lot of tea towels will have a factory applied finish to the fabric which will inhibit its ability to absorb the dye. Washing them thoroughly removes this finish and prepares the fabric for dyeing.
Step 3
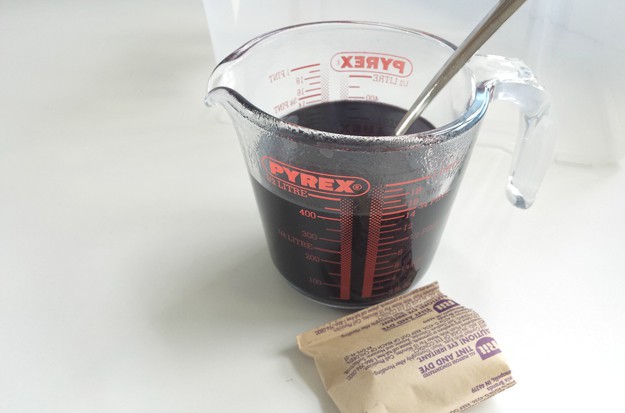
Mix up your dye solution according to the packet instructions.
Step 4
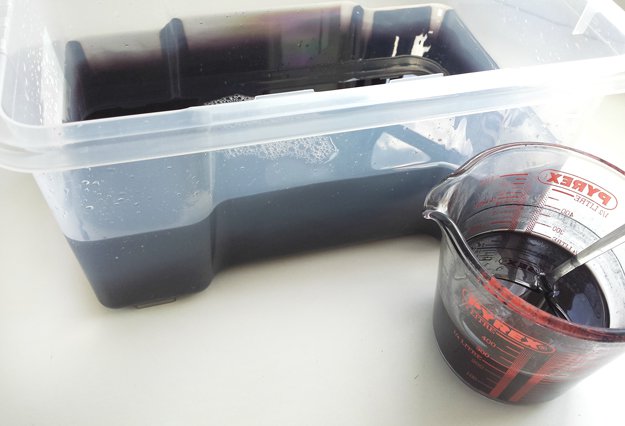
Fill your tub or bucket with the amount of water specified in your dye instructions and add HALF the jug of dye solution initially (This is your dye bath). We want the top to be a lighter shade than the bottom. So for the first couple of stages we’re working with a slightly weaker solution.
Step 5
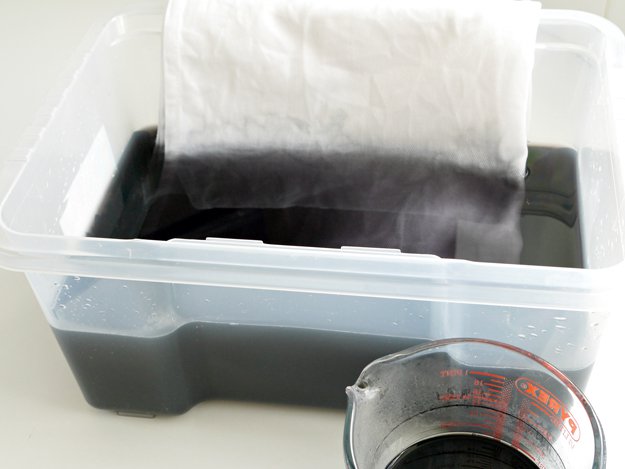
With your tea towel(s) still wet submerge gently into the dye bath right up to the point where you want the lightest part of the ombre effect to start and leave the rest of the tea towel (about a third of it) hanging outside the tub and untouched by the dye.
Step 6
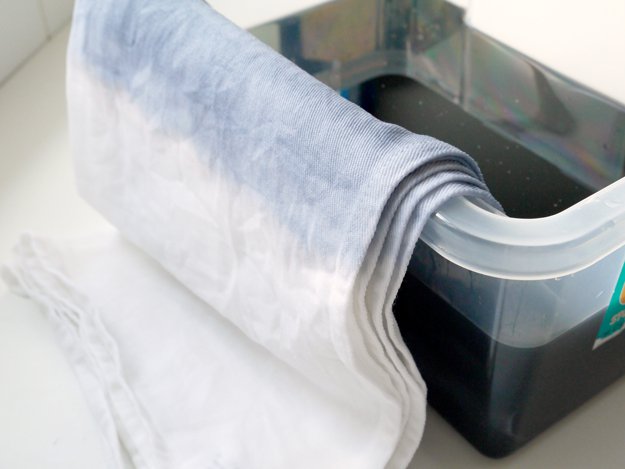
Wait 30 seconds and gently pull the about an inch or two of the tea towel out of the dye solution. Wait 1 minute and pull it out another inch or so. Wait 2 minutes and pull it out some more.
Step 7
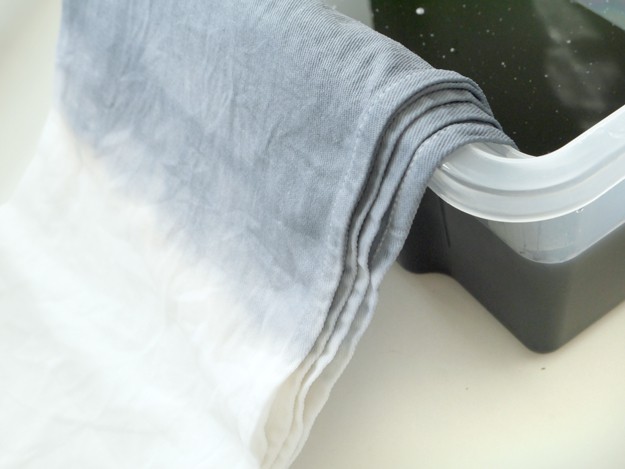
Add the rest of the dye solution to the dye bath and carefully mix it in. Then continue gradually pulling the fabric out of the dye bath, every 1-2 minutes until you’ve removed it completely. (Total time in the dye bath was about 12 minutes).
Step 8
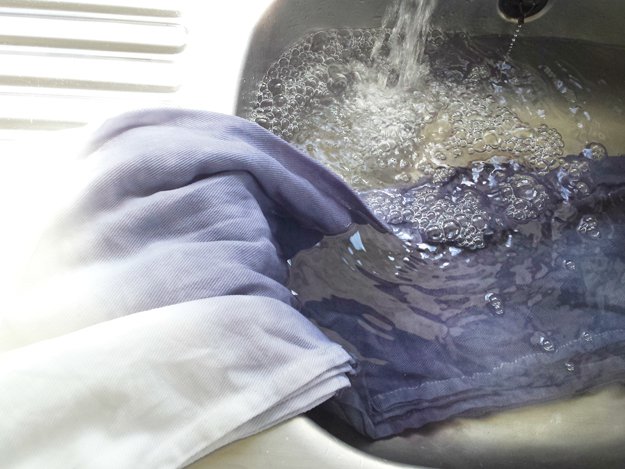
Rinse thoroughly in warm, graduating to cold water until water runs clear…
Step 9
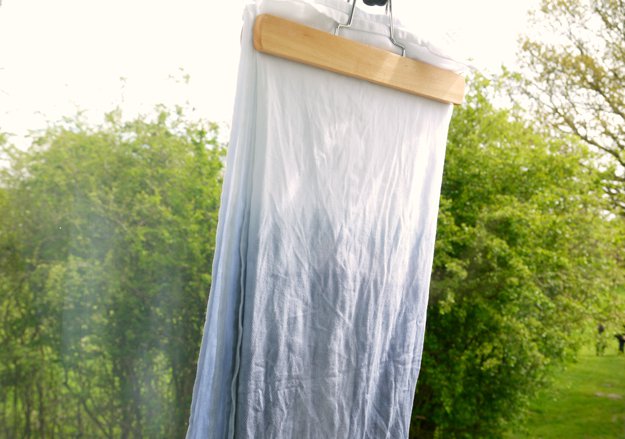
Hang to dry naturally. It will dry a few shades lighter so don’t worry if it looks too dark while it’s wet!
The look I was aiming for here was a very gradual ombre. So that involved removing the fabric at lots of separate intervals a short space of time apart. If you want a more “stepped” ombre look simply remove the fabric in spteps 2 or 3 (as opposed to 6 or 7) and increase the amount of time “in between” stages to five minutes instead of two. Simple!
There… now isn’t that better than a plain white tea towel?!
Did you enjoy our ombre dip dye tutorial? Let us know in the comments section below what your thoughts are on this ombre craft project. Do you have any other cool DIY projects you’d like to share? Share it with us and we’ll give it a try. We love doing cool DIY projects by making craft projects, home decor projects, upcycling ideas, recipes, tutorials and anything you can do yourself. That’s why we created this site, we want people to be more in touch with their creative side and realize that there’s a lot of things that they can do themselves. We’d love to hear from you and create a community of DIY enthusiasts where any project is just a click away. Stay connected with us on Facebook, Twitter, Pinterest and Instagram!
