DIY Dollar Tree Pumpkin Craft
Transform a dollar store wood pumpkin into this cute yarn pumpkin door hanger. This DIY dollar tree pumpkin craft is cheap and easy to make. All the supplies for this fall craft came from Dollar Tree. It only costs $4 to make!

It will look great on your front door or hanging on your wall. You have a lot of room for color customization for this dollar tree craft. If you wanted to go for a neutral farmhouse look, you could do white yarn with buffalo check maple leaves (similar to this wood door hanger) or a rustic style using twine or tweed and a burlap maple leaf. You could also transform it into a jack o’ lantern for halloween with orange yarn and use a Cricut to make black jack o’ lantern face for the center. Add ribbons, fall picks or any other accents that you want!
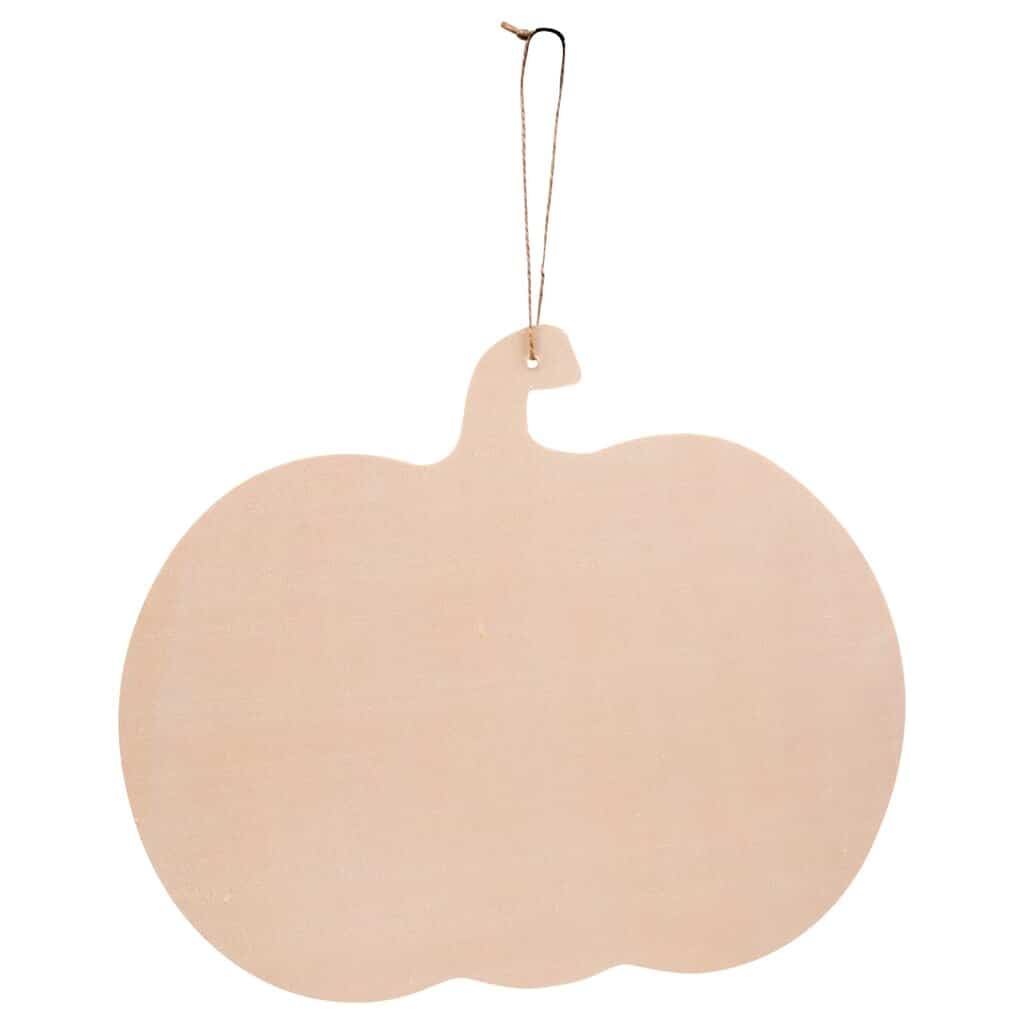
Turn this wood pumpkin:
Into this cute pumpkin door hanger:

…In a few easy steps!
Supplies Needed for this DIY Dollar Tree Pumpkin Craft:
- yarn
- maple leaves
- wood pumpkin
- metal words
- wired rope
- glue gun and glue sticks
- scissors
Tutorial for this DIY Dollar Tree Pumpkin Craft:
- Wrap the yarn around the pumpkin until it is completely covered using the hot glue gun when necessary.
- Add the metal word in the center with a glue gun.
- Wrap rope around the stem of the pumpkin.
- Add two maple leaves to the back of the stems.
Detailed Instructions:

DIY Dollar Tree Pumpkin Craft
Equipment
- hot glue gun and glue sticks
- scissors
Ingredients
- orange yarn I used less than one bundle from Dollar Tree
- 1 wood pumpkin
- 1 piece wired rope
- 1 metal sign
- 2 maple leaves
Instructions
- Starting in the middle of one side, wrap the yarn around the wood pumpkin toward the outer end. As you get closer to the narrowing side of the pumpkin, you will need to hot glue the yarn down to keep it sliding out of place. Cover any gaps with some hot glue in between the pieces, if necessary.
- Repeat step 1 for the other side of the pumpkin until the pumpkin is completely covered in yarn.
- Wrap the wired rope around the stem and glue it into place.
- Add the metal sign to the middle of the pumpkin, gluing the each side and the middle so it is securely in place.
- Add a maple leaf behind the stem on either side.
Related Post
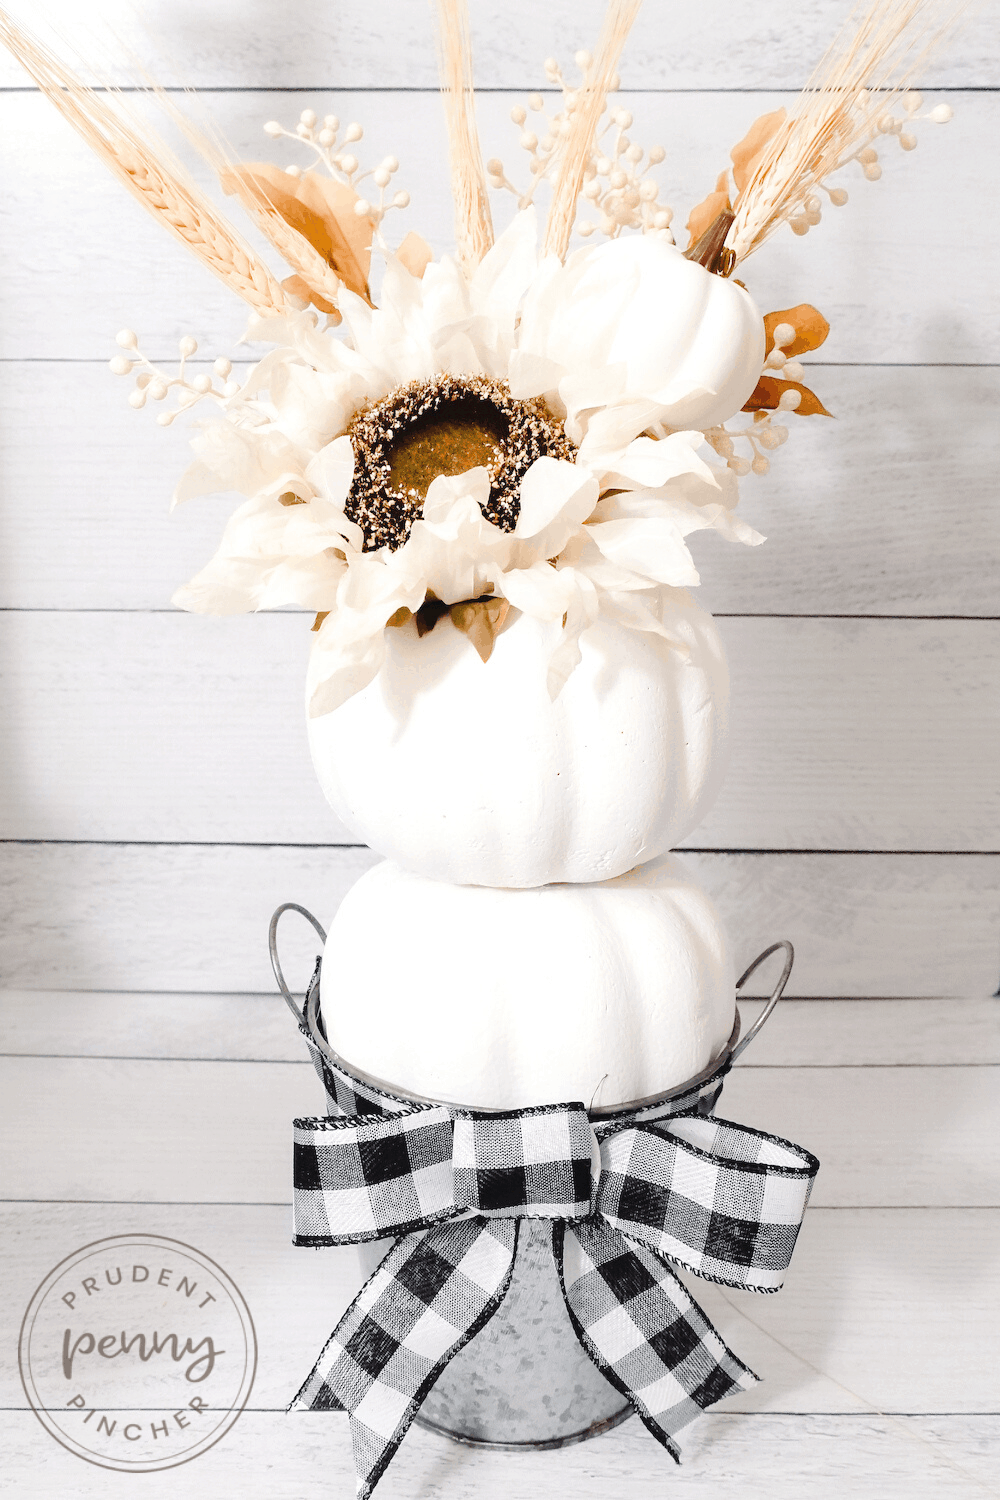
DIY Dollar Tree Pumpkin Topiary

Dollar Store Pumpkin Fall Decor Ideas
The post DIY Dollar Tree Pumpkin Craft appeared first on Prudent Penny Pincher.