Diy fabric corner bookmark tutorial
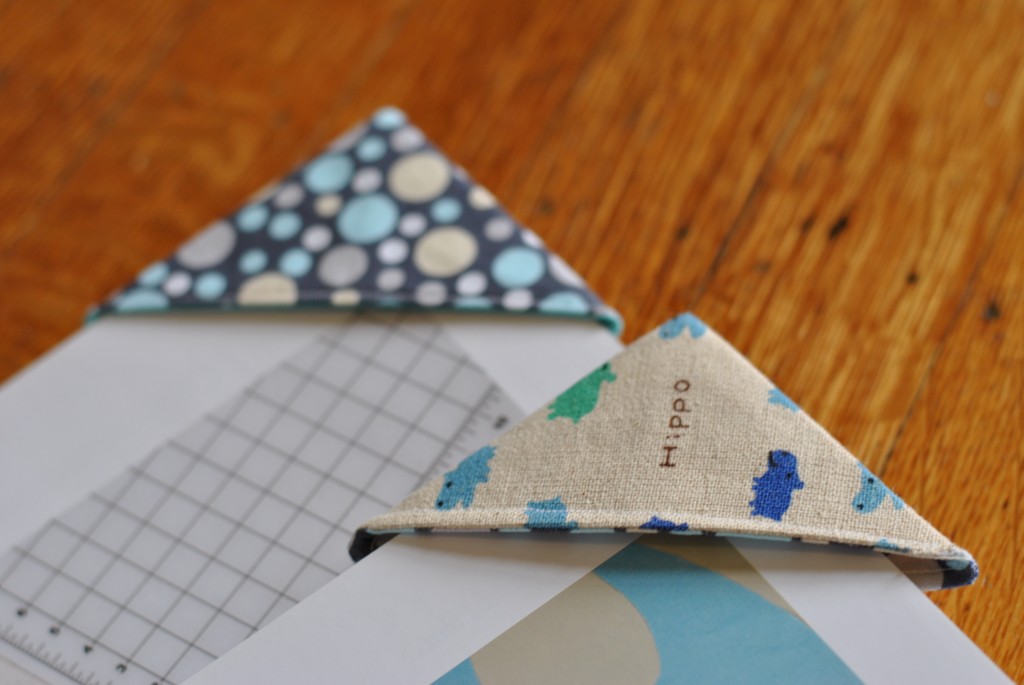
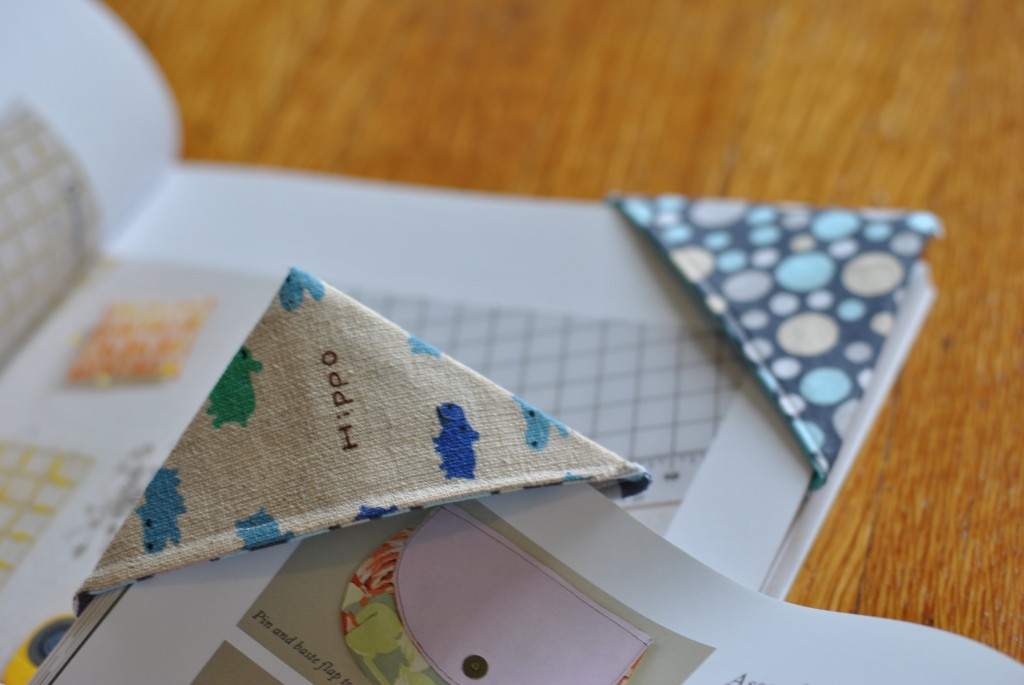
Some friends living in South Korea tipped me off to a trend they’ve seen in stores: the fabric corner bookmark. These slide-on bookmarks can be made from fabric or paper, and I’ve written a tutorial for the fabric version you see here. Wouldn’t these make cool teacher appreciation gifts? Since I have a lot of charm squares, I decided to use those for my bookmarks. Each charm square yields one bookmark, or you can use two charm squares to make two bookmarks with different images on the inside and outside.
Before we begin the tutorial, let me answer the 2 most frequent questions I’ve been asked.
What type of fabric is best for making a bookmark?
When looking for a bookmark fabric, thicker materials such as denim or cotton are good. The bookmark does not need to be particularly structured, and the thickness of the fabric will usually help maintain its form while being used. All types of fabrics can work well, but one might have to pin it or sew a ribbon through it to stay in place when closed around a book spine.
Different fabrics lend themselves better to various applications, but some basic guidelines on choosing the right kind exist. For example, denim is sturdy and durable enough for frequent use yet relatively inexpensive. In addition, heavy-knit cotton garments work well for people who want something less bulky than denim.
How do you make fabric bookmarks stiff?
There are several different types of bookmarking techniques, and it all depends on your preference in terms of design and how you want to use the finished product. There are many different ways to make a bookmark and it all depends on what type of fabric is being used. If using any form of felt or fleece, ironing the material will help create stiffness for the bookmark. Using fabrics such as cotton and silk requires using interfacing material for stability and strength; these materials may be sewn into the design if need be. Other types of cloth, like jeans, denim, or tweed, can be used a well, but a long strip of double sided interfacing can be sewn onto the edge for stiffness.
Supplies needed to make a fabric corner bookmark
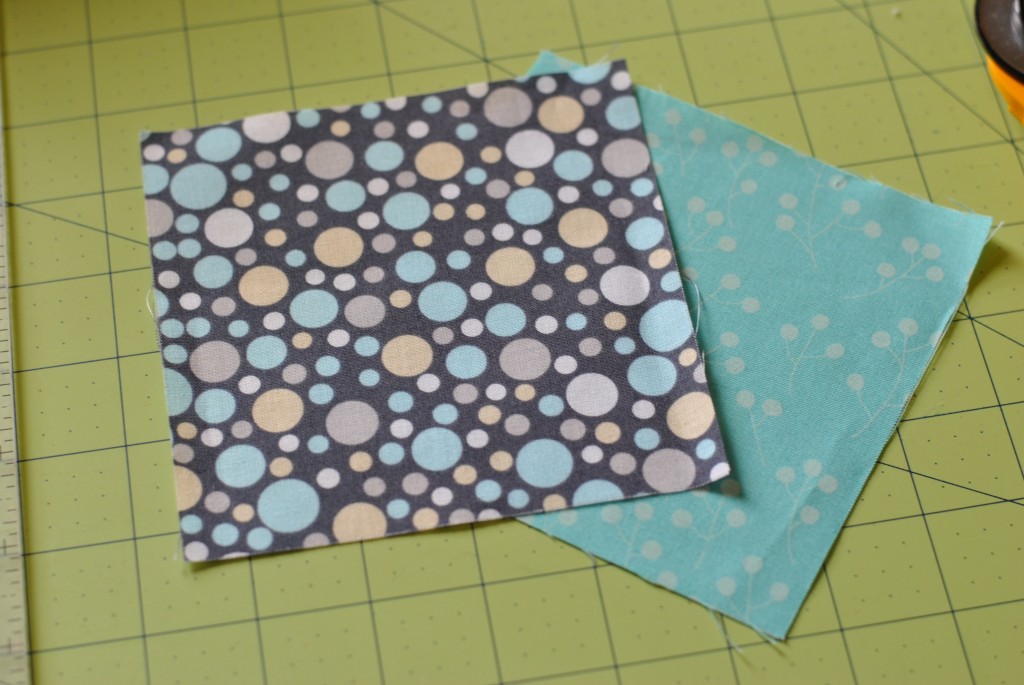
- 2 Fabric charm squares (5″x5″) of your chosen fabric.
- 5″x5″ piece of medium-weight fusible interfacing (I used Pellon 808)
- Iron, sewing machine, thread, sewing pins
Step 1
Choose two charm squares (or you may use just one if you want the same fabric inside and outside the bookmark).
Step 2
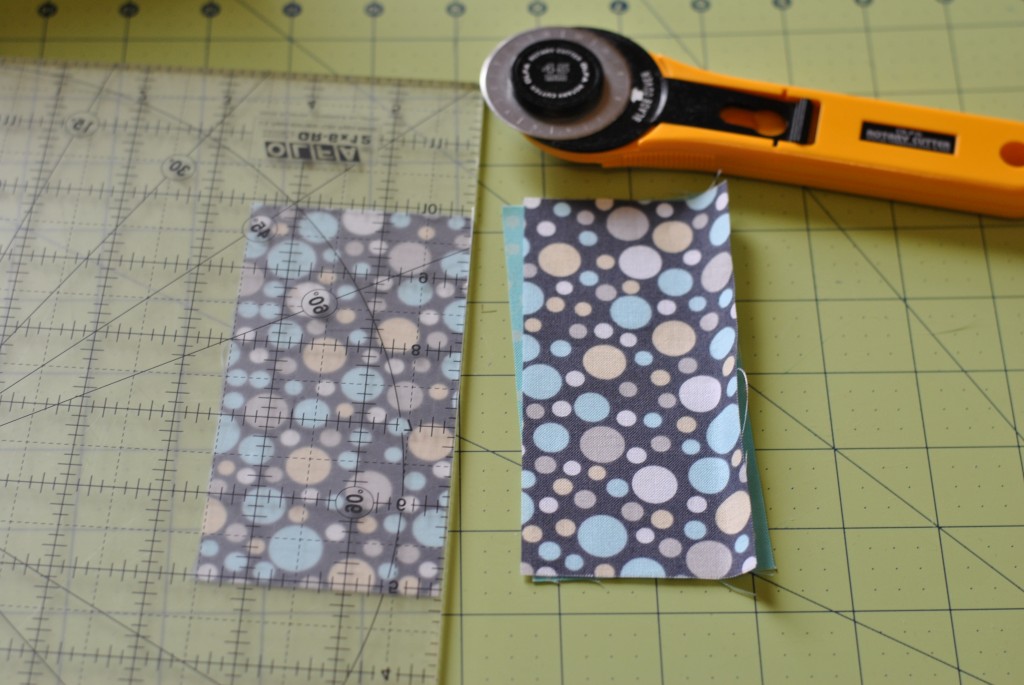
Cut squares in half on the 2.5″ mark using a quality rotary cutter. Set aside half, which you can use for a second bookmark.
Step 2
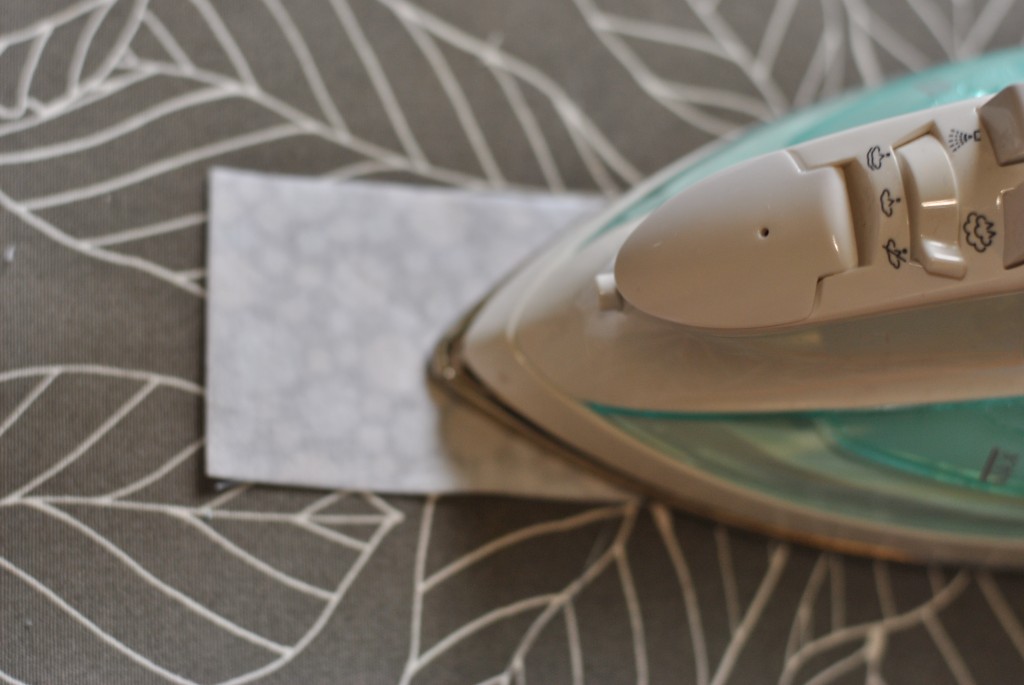
Use your iron to fuse interfacing to the back of your feature fabric.
Step 3
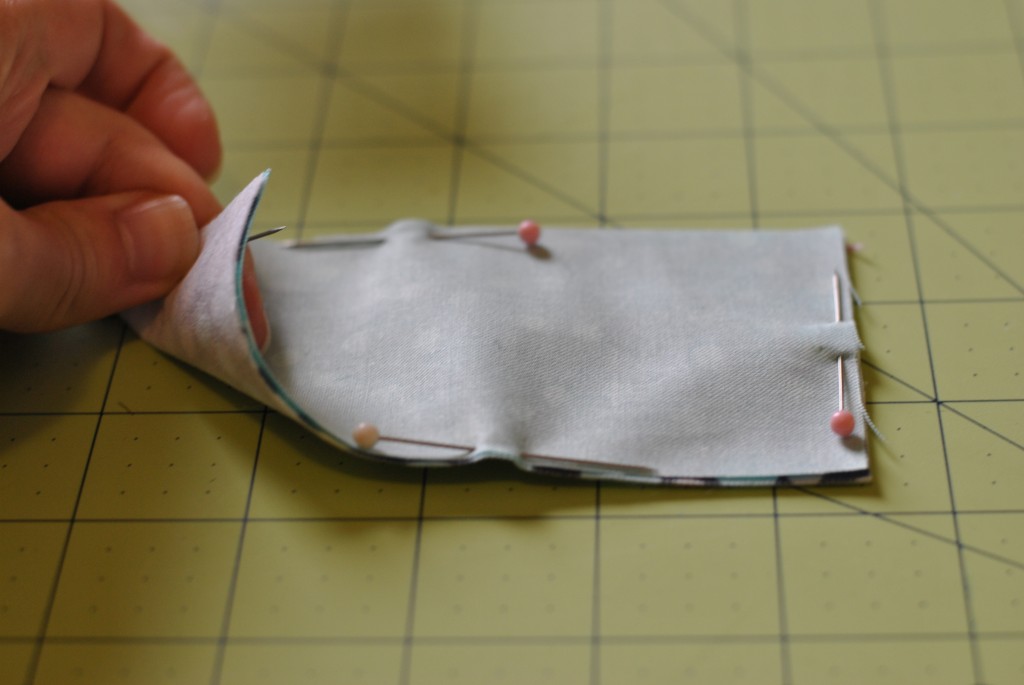
Pin fabric with right sides together.
Step 4
Stitch 1/8″ from edges, leaving a 2″ gap on one long edge for turning.
Step 5
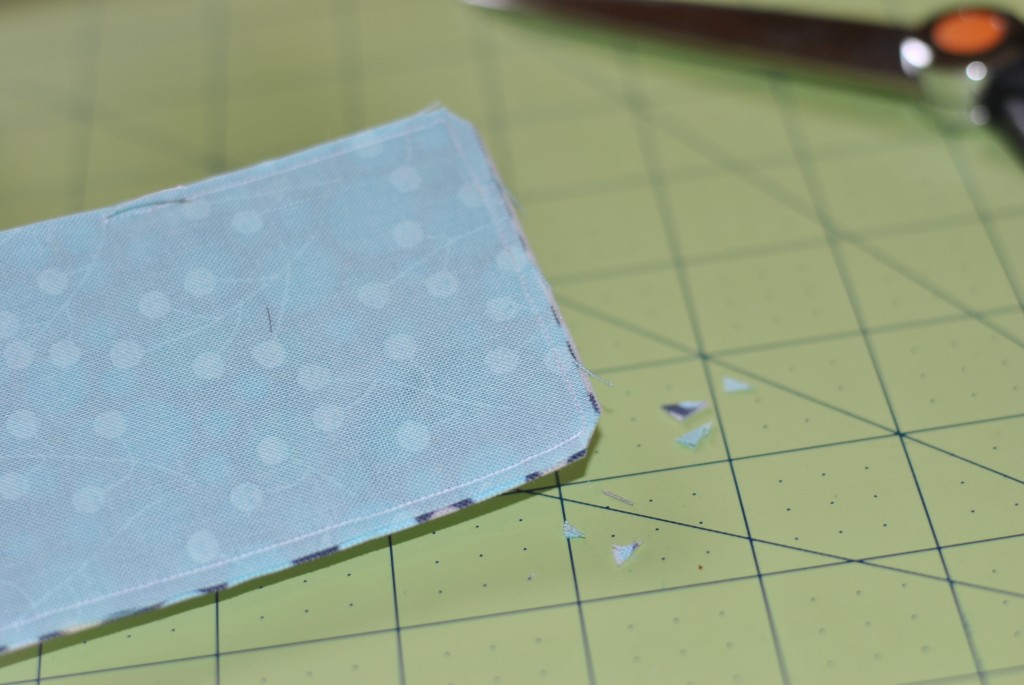
Clip corners, making sure to avoid your stitch line.
Step 6
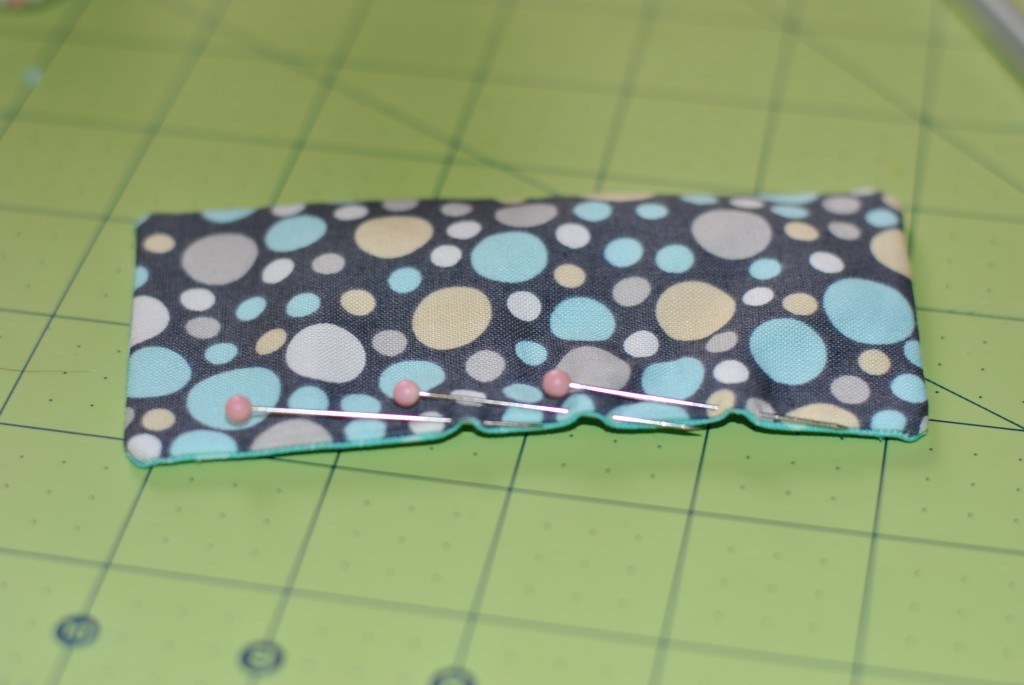
Turn inside out and use a pen or turning tool to poke out the corners. Pin opened edge closed.
Step 7
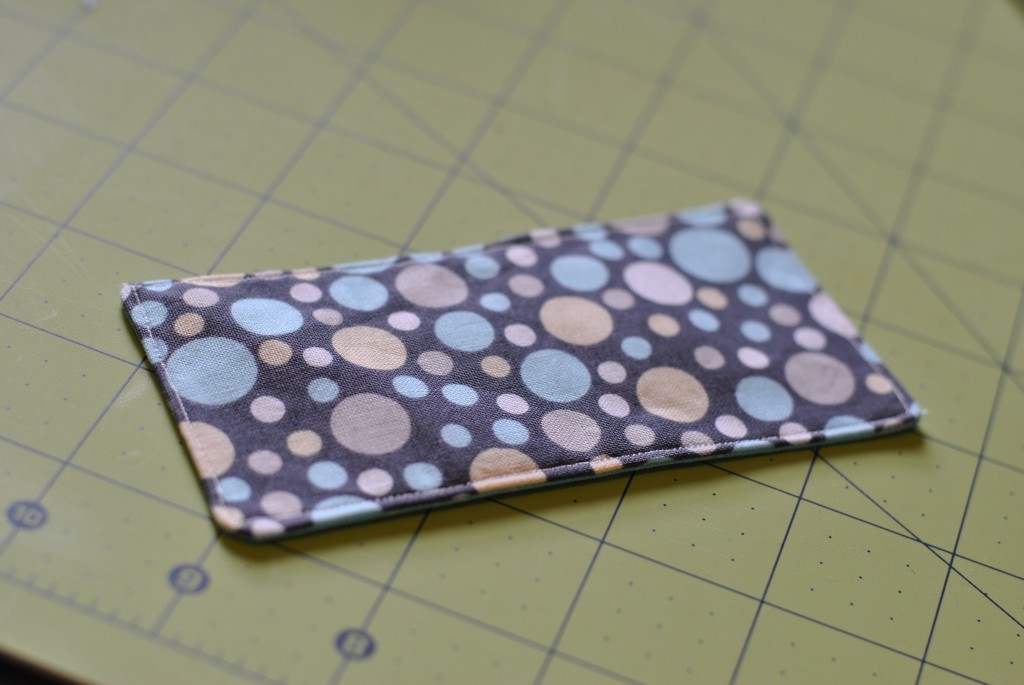
Topstitch 1/8″ from the edge around the perimeter, and press.
Step 8
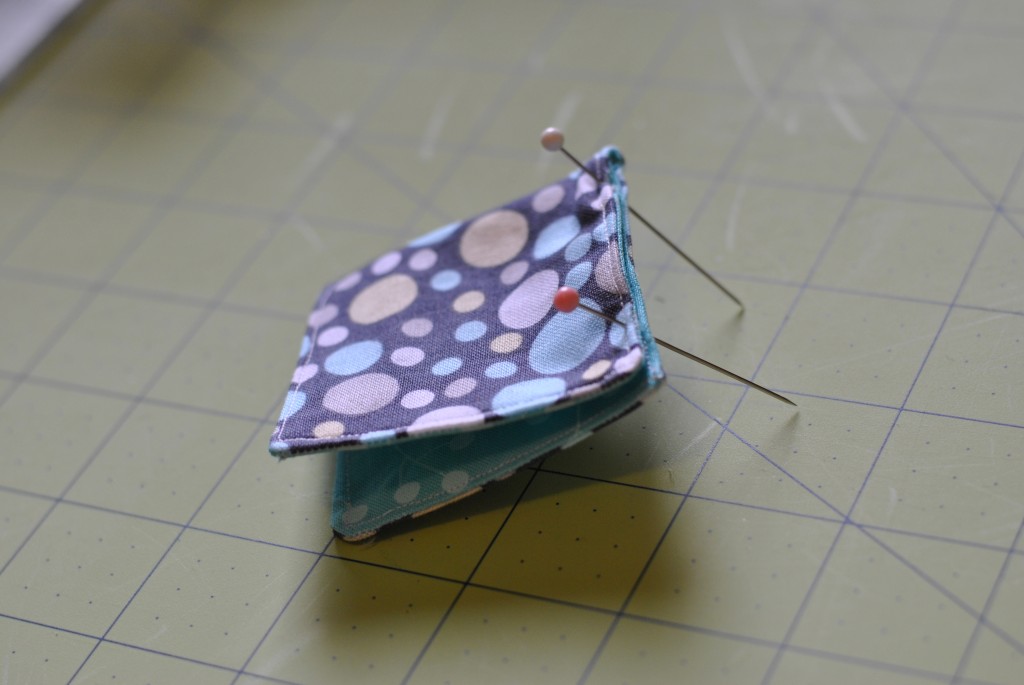
Fold the rectangle in half and pin one edge perpendicular to the folded edge you just made. Stitch along the pinned edge, 1/8″ from the edge.
Step 9
Open fabric into a triangle, with the seam you just stitched facing the back. Press.
Step 10
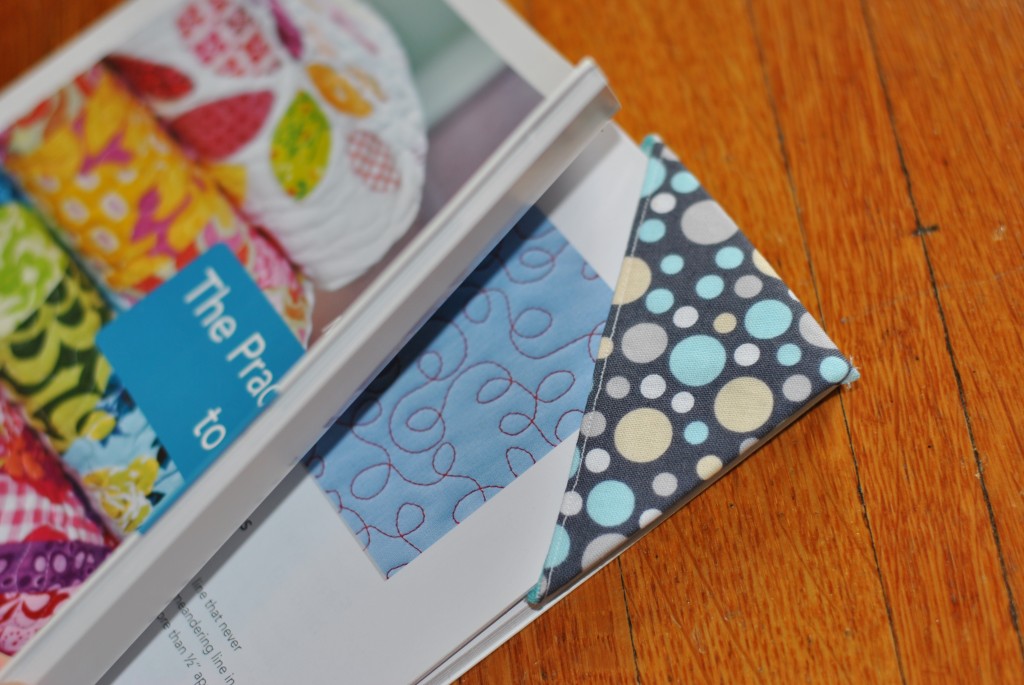
Slip the bookmark over the corner of pages you would like to mark. These bookmarks can be used to mark two pages at once, depending on how many pages you slip inside.
Fabric corner bookmark are a great 10-minute craft for when you don’t have a lot of time and would be an easy sewing project for beginners. if you’re looking for more fabric bookmark ideas here is a good place to start.
The post Diy fabric corner bookmark tutorial appeared first on Craft Buds.
