DIY Fairy Garden Ideas
There is something so magical about a fairy garden! Whether it is an indoor fairy garden or a backyard one, it stretches the imagination and brings out the kid in all of us. Since it is still snowy outside and I can't plant an actual garden, I thought I would create miniature gardens inside! Today I am sharing some DIY fairy garden ideas. Make sure to read all the way to the bottom to see the whole finished fairy garden! And there is a video of the whole process too.
Creating a DIY Fairy Garden
The thing I love most about fairy gardens is that you have full control over what your little fairy world will look like. It could be a lake scene, a forest, or a beach fairy garden! For my fairy garden design, I chose to make a gardening shed and a vegetable garden.
Fairy Garden Supplies:
- Planter/Pot
- Soil
- Small Plants
- Pebbles
- Fairy Accessories
- Polymer Clay
- Hot Glue Gun
- Popsicle Sticks
Best Pots for Fairy Gardens
When creating an indoor fairy garden, choose a pot that is wide and not too deep. You want a lot of surface area to work with, but if the small plants are in dirt that is too deep, you run the risk of them getting root rot. I prefer clay pots since they are breathable but ceramic pots work as well. The most important thing is to make sure the pot has a drainage hole. If it doesn't, you can drill your own. I have a whole post on how easy it is to do just that!
If your fairy garden will be inside like mine, choose a potting soil with good drainage that is meant for houseplants. Miracle Grow makes one specifically for houseplants that I like.
Speaking of plants, let's chat about which ones to choose for your indoor fairy garden...
Best Plants For Fairy Garden
You are going to want to pick live plants that are already small, ones that grow slowly, and that don't get terribly big even when full grown. You also need to choose miniature plants that all have the same watering and light needs since they will be sharing a pot. Eventually you will have to repot the plants when they outgrow your little garden. If you chose wisely, you will get to enjoy your garden for a long time before having to change out the plants. Here are some ideas for indoor fairy gardening.
There are a lot of fern varieties that are small. These are the kind that are typically sold as terrarium plants. Nurseries sell them in little 2 or 3 inch pots or you can buy them on Amazon. Asparagus ferns, lemon button fern, fluffy ruffles fern, and rabbit's foot fern are just a few examples.
Pilea plants do well in fairy gardens. I personally like Baby Tears (or Tiny Tears) and Pilea Cadierei (aluminum plant). Baby Tears will spread over time like a ground cover so trim it occasionally to keep it looking tidy.
I chose a China Doll plant for my fairy garden. They grow pretty slowly and grow upright. So even as it grows, it won't over crown too much.
Certain types of Peperomia plants do well in fairy gardens as well. Ones that have smaller leaves like Orba Pixie, Rosso, and Hope.
Another good choice is the Syngonium Pixie. The Syngonium (or Arrowhead plant) is usually pretty big when full grown, but the pixie grows to just 8" tall.
Another good idea is to use plant cuttings instead of fully rooted plants. I do this a lot in terrariums as well. Place root cuttings in the moist soil and over time they will develop roots. You can use cutting from plants you already have.
Fairy Garden Accessories
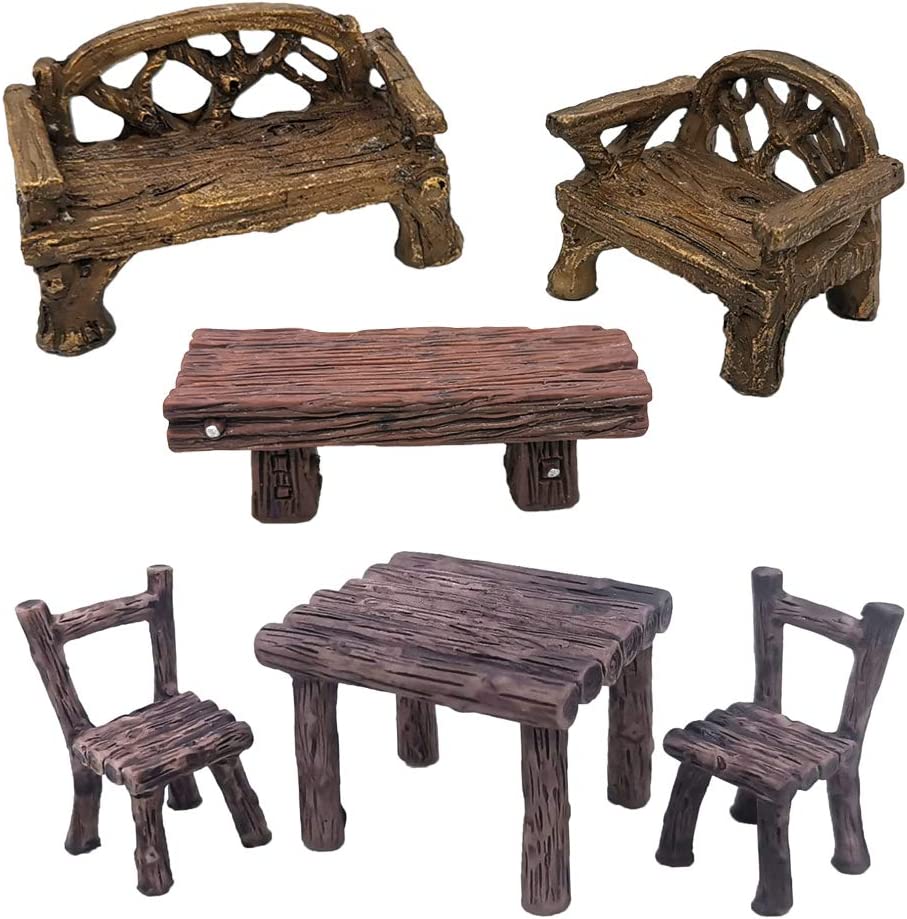
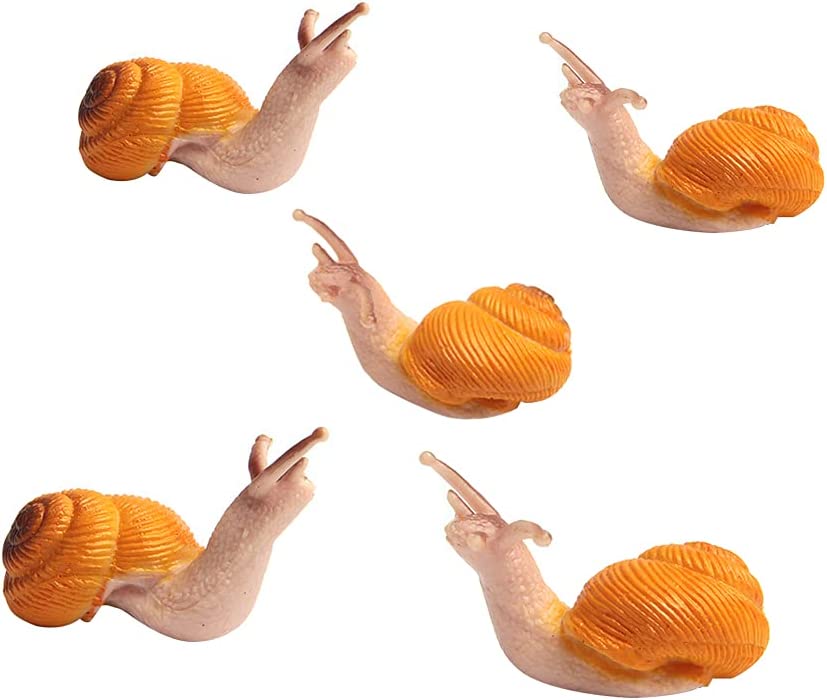
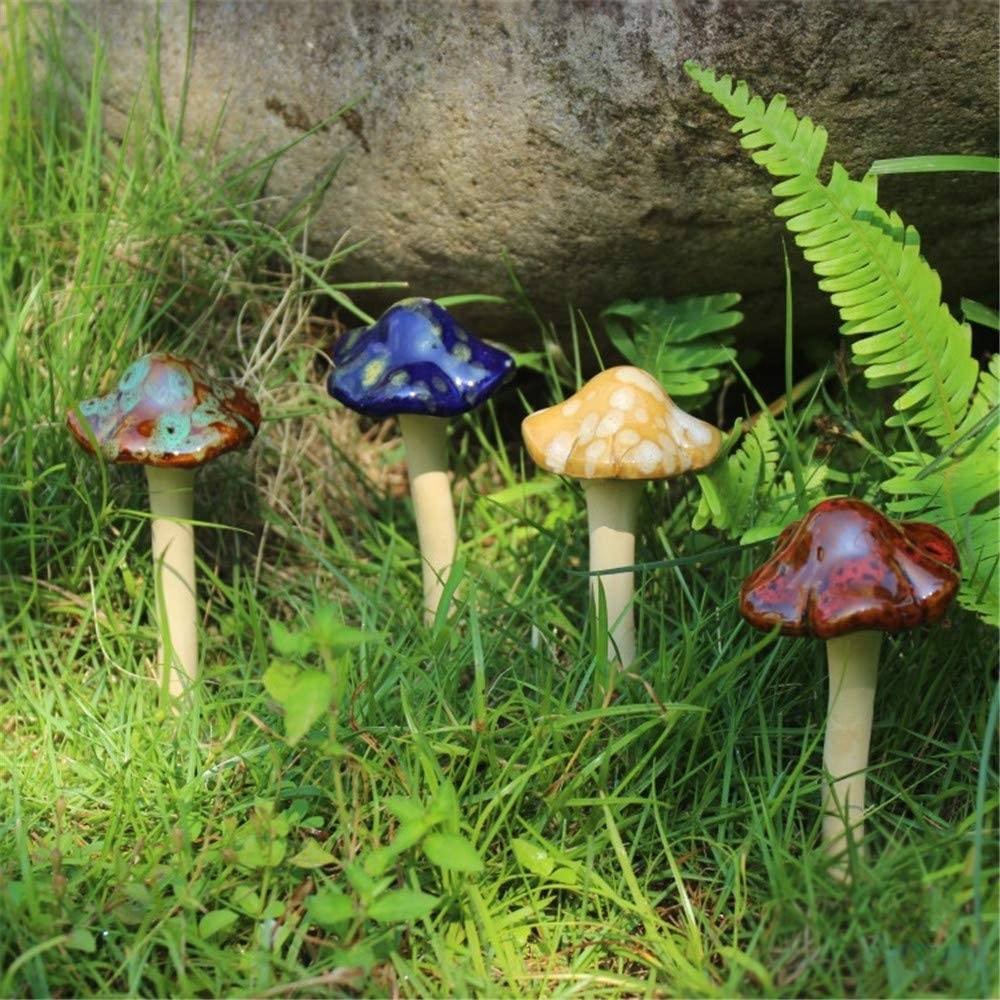
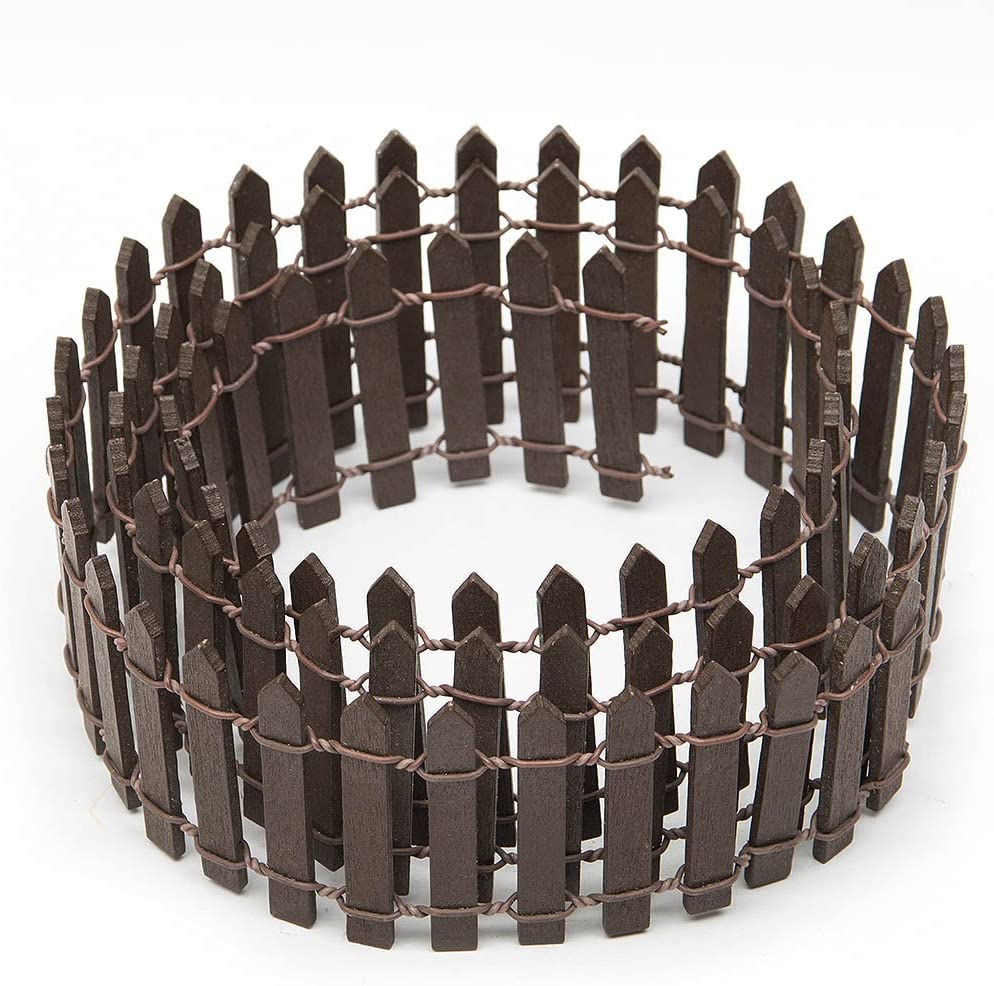
There are a lot of cute accessories available in a craft store and online. You can also search for dollhouse accessories. The sizes vary quite a bit so make sure you are reading all the details so you are getting things that all make sense (scale wise) together. I will share a few of my personal favorite accessories. You can either buy fairy homes or a fairy door and add it to a tree branch or homemade house.
(Available on Amazon. Contains Affiliate links)


Polymer Clay DIY Fairy Garden Accessories
I love working with polymer clay and I had lots on hand, so I decided to make my own accessories. It would not only save me money but I could make exactly what I wanted and make it the size I wanted. I had colored clay but if all you have is white, you can paint polymer clay with acrylic paints.
The little decorative items I made were a snail, mushrooms, vegetables, a wagon, a shovel and a rake for my mini garden.
I added toothpicks to the veggies, snail and mushrooms so they would stick into the dirt and be more secure. It's a great way to ensure the little items don't move around when the fairy garden it moved.
The awesome thing about polymer clay is that it stays soft until it is baked. I have had some of these colors for YEARS. I had to warm them up in my hands to get them to be soft again, but they still worked great. When I was done making all the little accessories, I baked them at 270 degrees F for 15 minutes.
It would also be fun to try and make a fairy garden out of found items and natural materials like acorns, small sticks, and pine cones. With a bit of glue and creativity you could make all sorts of things for a whimsical fairy garden!
I also made a fairy garden door. For the wagon and the door, I used a toothpick to draw on wood grain detail. When I painted them with watered down paint, the paint settled into the groves I made and gave it a real wood grain look.
Instead of making a house, I decided to make a garden shed. It made sense since it was near my little vegetable garden. It could be a place for all the little garden tools! I cut a small log to have a peak using my miter saw and I glued on craft sticks for the shingles. The popsicle sticks are really easy to cut with little snips. Scissors might work as well. You could also score it with an Xacto knife and snap it the rest of the way.
I used a glue gun to add the shingles. A large craft stick (the ones that look like tongue depressors) was used as the roof ridge.
I stained my roof, but watered down paint would work as well.
To create more of a woodland feel, I glue moss to the roof as well. It also helped add some greenery to an otherwise all brown shed.
Assembling Your Fair Garden
Now for the best part! Putting the fairy garden all together. I didn't want my heavy shed to tip over so I buried it deep into the pot. Then I added some plants and a pebble path before adding the garden box. The garden box was simply sticks from my yard that I glued together with hot glue. It made the cutest tiny garden!
The toothpicks made it so easy to place all the little accessories.
Check out that tiny tomato cage that my son soldered for me! It was the perfect size for my clay tomato plant.
I made extra vegetables so I could fill the wagon with a harvest.
I am so happy with how my own fairy garden turned out! Now I just need to find the perfect location in my house to put it. Maybe one day I will make a larger outdoor fairy garden complete with fairy lights and water feature in my flower bed or my raised garden space. No matter the size or style, you can easily make your own magical garden. It just takes a few supplies and a little bit of creativity.
Have you ever made a fairy garden? I would love to hear about your best fairy garden ideas!