DIY Home Studio Setup For Creating Youtube Videos
Are you planning to start your own YouTube channel? Well, you have to think of your content and consider creating a home studio setup since you’ll probably spend more time editing the video than making them.
I’ve listed all the things you’ll need to create a simple yet effective home studio setup.
RELATED: Must-Have Home Recording Studio Equipment | DIY Music Room
Start Your YouTube Channel With This Home Studio Setup
Essential Things You Need for Your Home Studio Setup
Creating video content for a YouTube channel has no limits. It can be about anything you can think of and it can be done anywhere. The ideas are limitless. But if you want to stand out, you need to think of something unique and very entertaining.
Setting up a studio is easy. As for taking the video, as I’ve said, it can be anywhere. But for editing and posting, it’s best if you have your own proper studio where you will put things together before you upload.
1. Computer
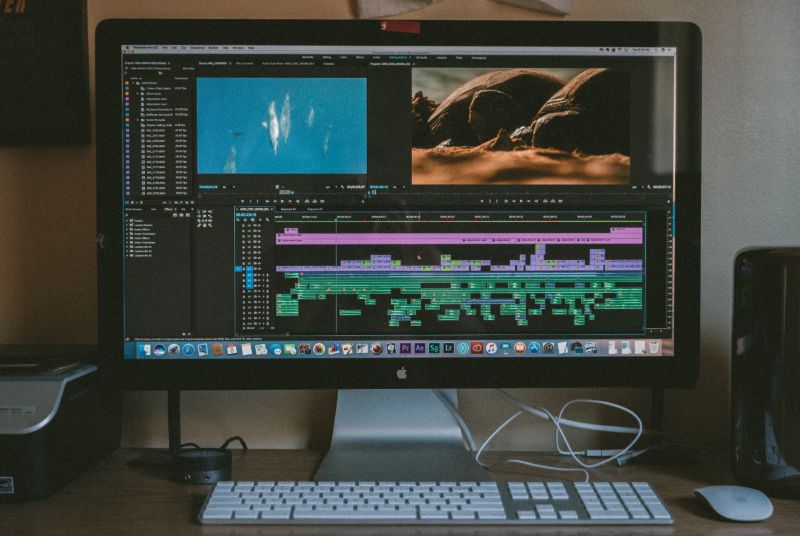
The computer is one of the most crucial components you will need to start your own home studio. This will be the workstation “where all the magic will happen.”
Apart from having a computer, you also need video editing software. This is where you will edit your videos, stitch them together, add transitions, effects, add an intro, outro, etc..
Examples of software you can use are Adobe Premiere Pro, Final Cut Pro, and Pinnacle Studio, among others. You can also create graphics and video effects on After Effects.
As an alternative, you can download and use video editing apps on tablets and mobile devices. Most are free to download as well.
2. Camera
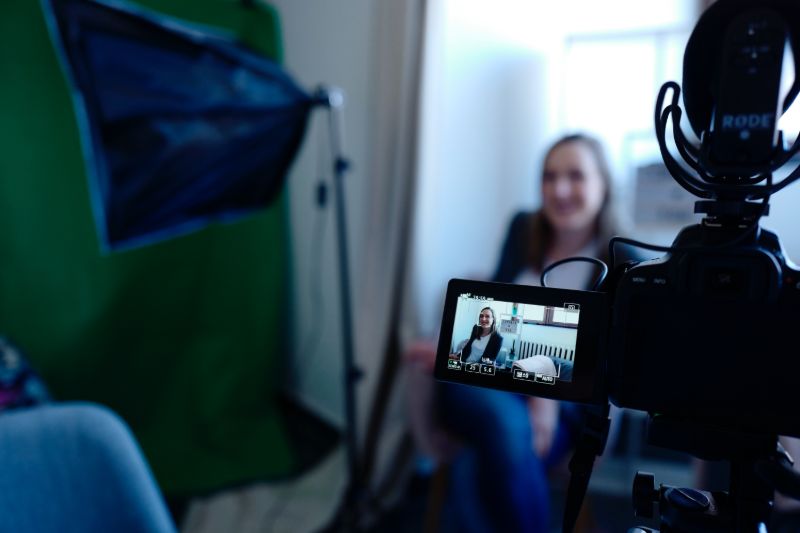
This is obviously the most important thing you’ll need if you want to create your own YouTube content and to start with your home studio setup. Don’t be afraid, though. You don’t have to buy an expensive camera. You can simply use your phone to record videos.
Just remember to shoot in landscape orientation. To do that on your phone, record sideways. Also, don’t forget to unlock the screen orientation of your mobile device. You don’t want a video to see a vertical video on YouTube.
3. Tripod
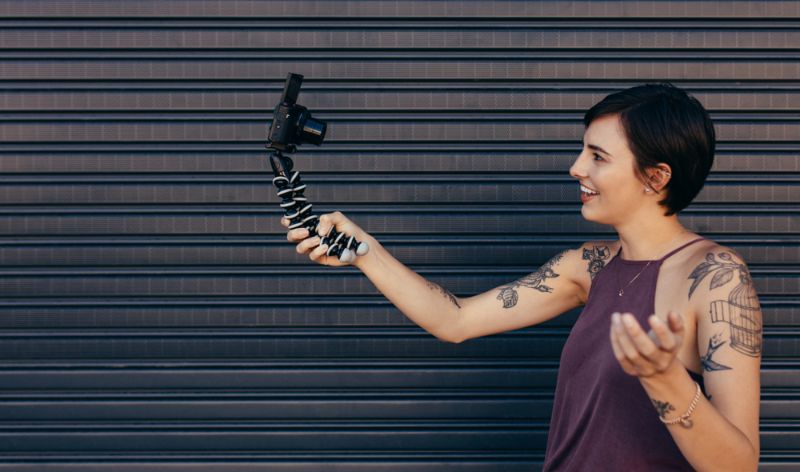
If you’re going to shoot for still shots, commentaries, product reviews, inspirational speeches, or for cut scenes where you need to do some talking, it is best to keep your camera still and pointed at you. You’ll need to mount your camera on a tripod and make sure the focus is set where you want it to be.
As a DIY idea, you can pile up books or boxes to keep the camera pointed at you at an eye level. You don’t want it to be placed low and pointed upward or too high and pointed downward at your subject.
If you are on the move, a selfie stick can suffice.
RELATED: DIY Soundproofing | How To Soundproof Your Space
4. Lighting
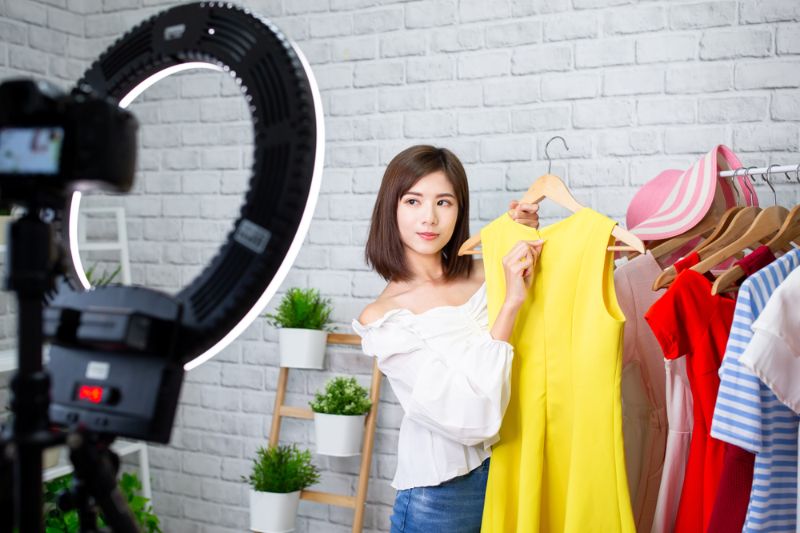
When setting up a home studio for creating video content, lighting is also important. Studio lights can be used but for DIY purposes, you can also use table lamps.
Just remember to have a white bulb to create neutral lighting for great video capture.
However, desk lamps are like spotlights and can look awful on video — creating high exposure. You can soften the lights by using a plain white shirt.
Wrap a shirt around the lamp to create soft and neutral lighting.
If that is not an option, use natural lighting. Natural light is great but can pose limitations. For instance, sunlight can limit your time of recording. You have only a few hours before it gets dark again.
Another thing, it will not stay long in one place and you can’t control how much lighting you’ll get. If this is an option for you, experiment where you’ll record. You may have to be next to a window or a bit farther if the sunlight is too much.
5. Microphone
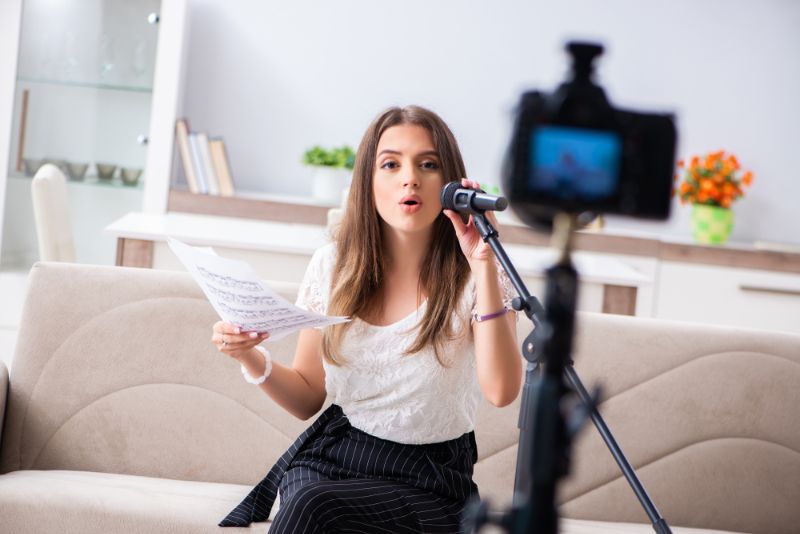
The use of a microphone depends on your content. If you’ll be doing interviews, do a lot of talking, or even just for voiceovers, a microphone is crucial to get a clear voice recording.
Using a headset mic is okay but using a condenser mic can really help a lot with the audio quality.
If you’re on the move, a camera-mounted is important. As an alternative, you can use the voice recording app of your phone then stitch everything on editing.
6. Backdrop

Shooting in front of a plain white background can make your video look boring. Depending on the content, you can use colored curtains as your backdrop or play with colored lighting if you wish.
Make your videos and home studio setup more interesting by adding doing some interior decorating. Most YouTubers do is re-arrange and create a pleasant background using furniture, gadgets, photos, or paintings.
Be creative and imaginative when doing this and consider this a crucial thing since it is what your audience will see (besides you) in your videos.
Watch this video from Think Media on how to create a home studio setup for your YouTube videos:
See, all you have ever need for your home studio setup are basic things and you can create YouTube videos. What’s important is to create unique content and your creativity to gather lots of subscribers.
Show us your own YouTube home studio setup by leaving a photo in the section provided below.
UP NEXT:
- Recording Tips For Your Home Recording Studio
- DIY Bedroom Home Recording Studio Design Without Breaking The Bank
- 21 Easy Home Improvement Projects: Small Budget, Big Impact Upgrades
Calling all crafting DIYhards, DIY Projects needs YOU! Click here if you want to contribute for us.
Don’t forget to stay connected with us on Facebook, Twitter, and Instagram!
The post DIY Home Studio Setup For Creating Youtube Videos appeared first on DIY Projects Craft Ideas & How To’s for Home Decor with Videos.