DIY Modern Address Sign with Cricut Explore Air 2
This is a sponsored post written by me on behalf of Cricut. All opinions are 100% mine. This post may contain affiliate links at no cost to you.
Spring and summer are the perfect times to freshen up those outdoor spaces! Today I’m showing you an easy way to add a little extra personality to your front porch with this DIY Modern Address Sign made with the Cricut Explore Air 2.
 After 16 years in this sweet little house of ours, the to-do list of things to update is pretty long. In the meantime, there are smaller spaces that are easier to freshen up quickly. One of my favorite little spaces is our front porch, my hubby added a small courtyard to this space years ago and it’s been such a great little spot to add decor to and sit to watch the boys play. It’s been in desperate need of a refresh for a couple of years, while I have a whole vision in my head of what I ideally want our home to look like inside and out, I have a budget. So I’m showing you how my favorite crafting tool – the Cricut Explore Air 2 helped me freshen up this space using materials I had on hand.
 Owning Cricut cutting machines has been such a game-changer for me over the last 10 years. Not just with simple crafting projects, but with home decor especially. I’m able to create custom decor anytime I want and to fit any design style I want!
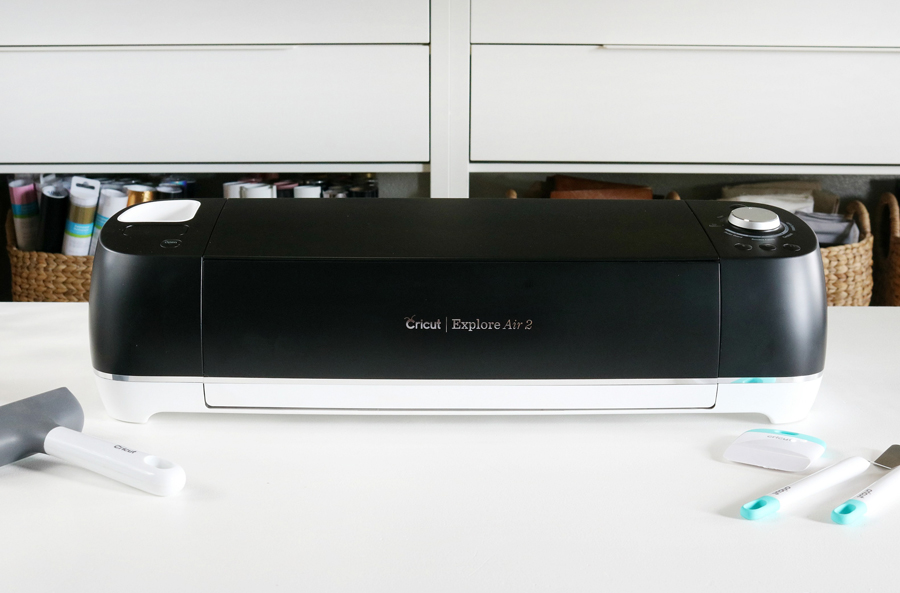
I get asked all the time which Cricut cutting machine is the best to buy? While I would love to tell everyone to buy a Cricut Maker, the answer most of the time is the Cricut Explore Air 2. I love this machine with my whole heart. Not only is it a little more budget-friendly for beginners, the possibilities of what you can create with this machine are huge!
 WHAT CAN THE CRICUT EXPLORE AIR 2 CUT?
Let me tell you what this little friend of mine can cut! The Cricut Explore Air 2 can cut 100 different materials – it can cut the basics like Vinyl, Iron-On, Cardstock, and Craft board. Did you know that you can cut Fabric, Aluminum Foil, Craft Foam, Leather, even Birch Wood?! Is your mind blown yet? I’m telling you this powerful machine can do so much for your creative game. For a full list of what materials can be cut go HERE.
For me personally cutting things like leather and fabric was huge, I have been able to cut some pretty fun pillow designs because of these cutting capabilities that would have taken me so long by hand. Check out this DIY Faux Leather Christmas Tree Pillow, or this DIY Fa La La Christmas Pillow.
 IS THE CRICUT EXPLORE AIR 2 WORTH THE INVESTMENT?
Heck Yes! Oh my gosh, for years I cut everything by hand – all my birthday party decor, items for creating custom holiday decor, etc… When I got my first Cricut machine I couldn’t believe how much time and energy I was saving. The Cricut Explore Air 2 doesn’t just cut though, you’re able to write and draw with a variety of pens and markers – which means custom artwork or invitations. The ability to add a stylus to this machine allows for tons of card making, party decor, craft projects and so much more.
I use this machine all the time to create personalized custom gifts, trendy t-shirts, Halloween costumes, tons of custom holiday decor pillows, Christmas ornaments, last-minute cards for birthdays and holidays…the list goes on. I seriously pull my machine out last minute all the time to create labels for organization projects, or to make a last-minute gift for friends or teachers.
While the Cricut Maker usually costs around $400, the Cricut Explore Air 2 is usually around $250 or less. Which is what makes this machine not only the perfect beginner machine if you’re new to cutting machines or Cricut, it’s just an all-around amazing machine for the value.
 HOW TO MAKE A DIY MODERN ADDRESS SIGN
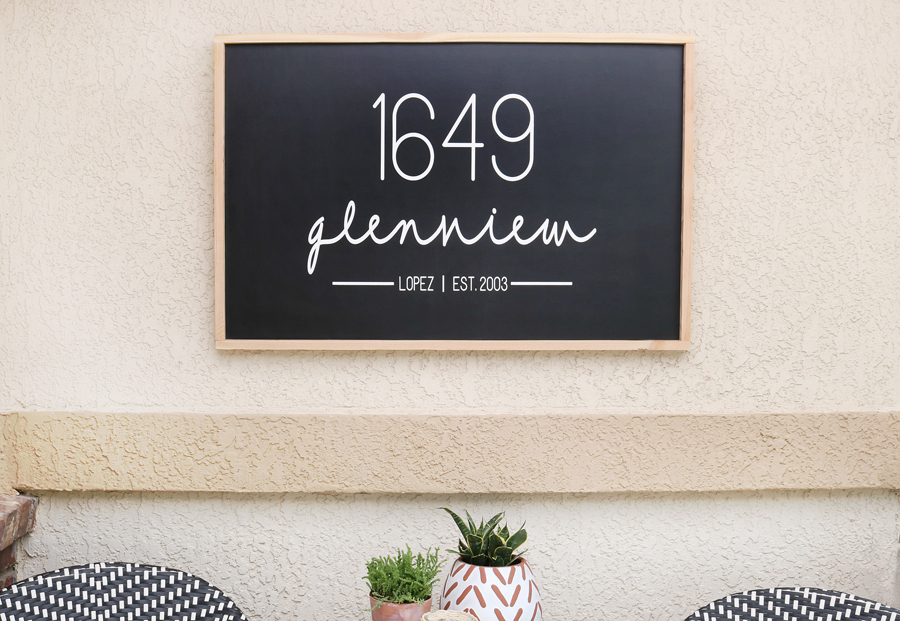
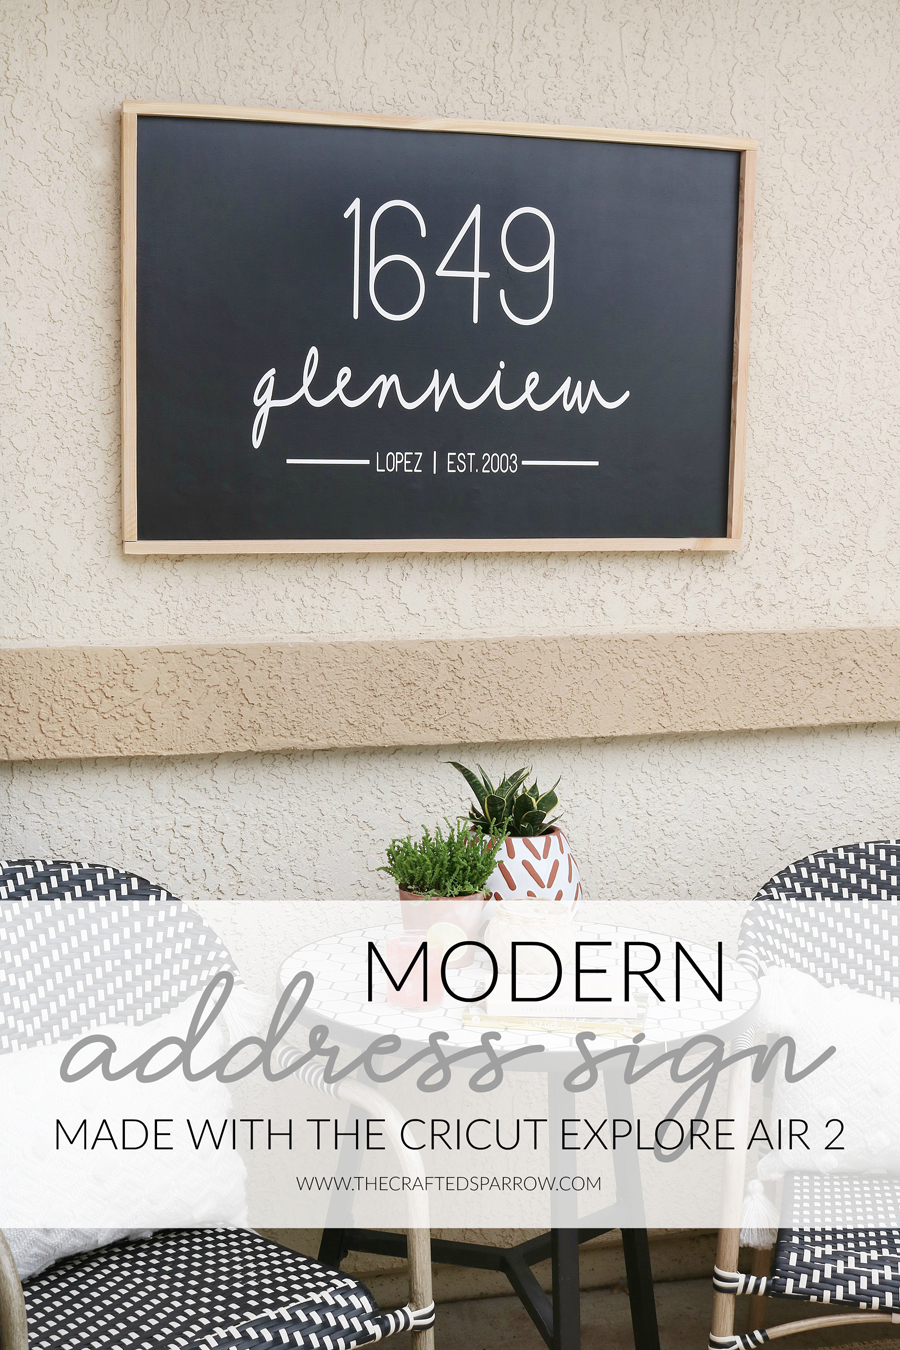
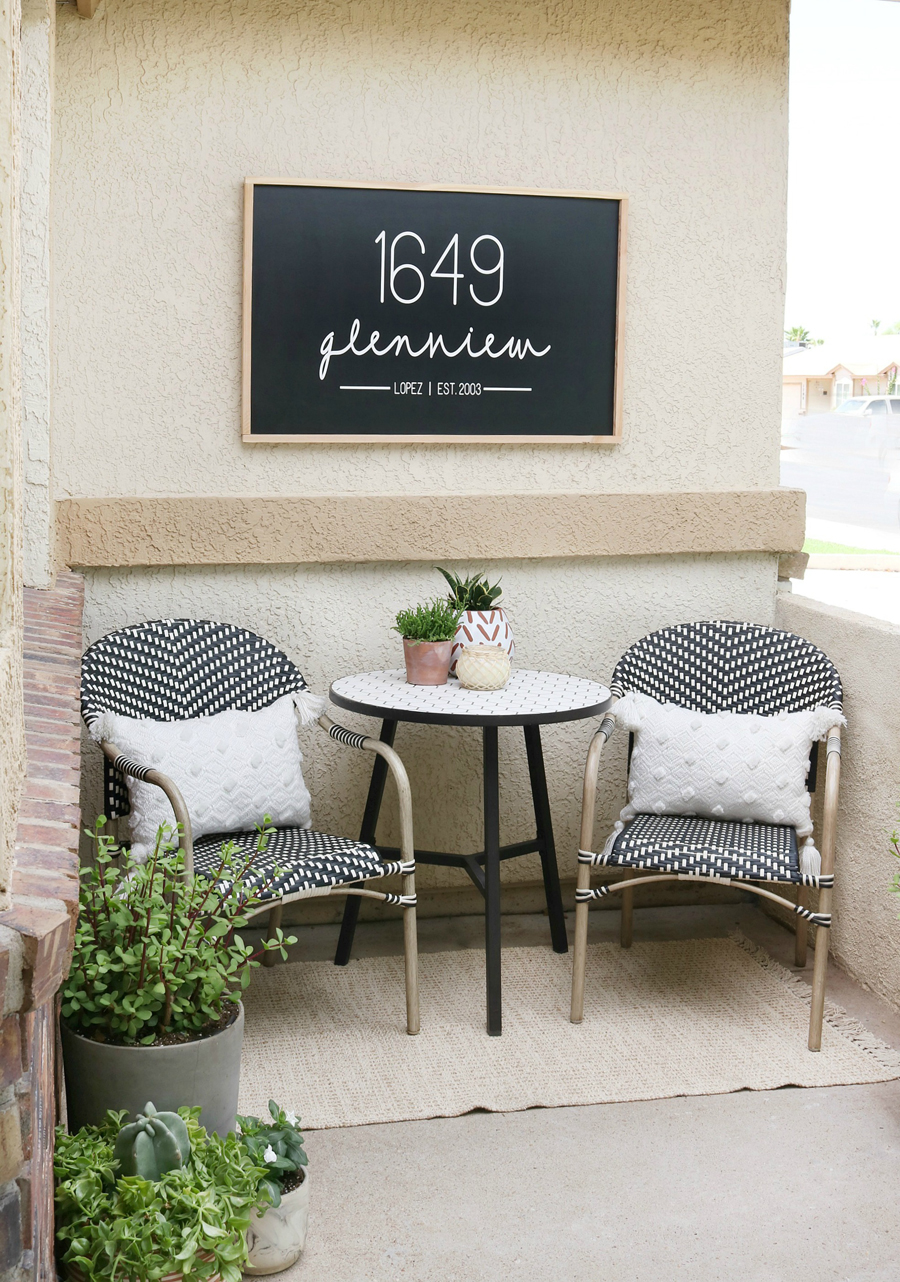
To freshen up my front porch I wanted to create a new sign for the focal wall. A few years back I created this Black & White Succulent Sign with my Cricut Explore Air 2 the last time I freshened up this space, it’s been long overdue for something a little different and a little more modern. I wanted to create something personalized for our home, we have very little space to put a house number on our exterior so I thought it would be cute to do a huge address sign.
SUPPLIES:
- Cricut Explore Air 2
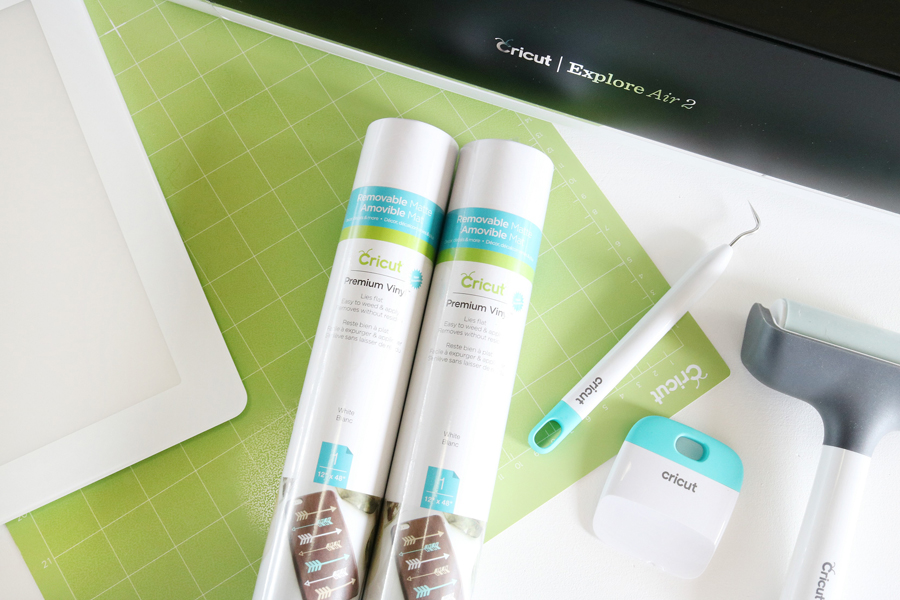
- Cricut Premium Removable Vinyl, any color
- Cricut StandardGrip Cutting Mat
- Modern Address Sign Cut File, found HERE in Design Space
- Cricut Transfer Tape
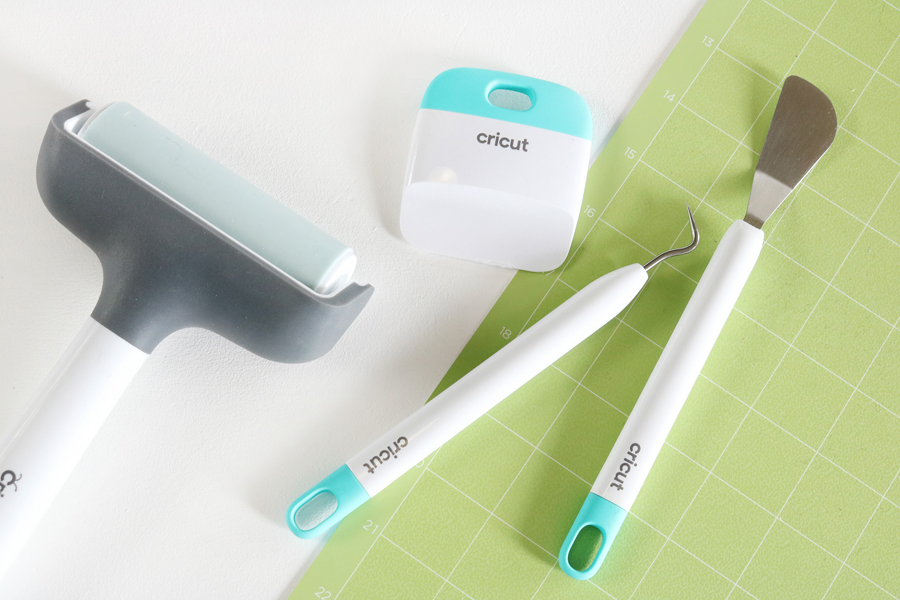
- Cricut Starter Tool Kit, optional – but my fave
- Cricut BrightPad, optional – super helpful with weeding vinyl though
- Wood, any size you want your sign to be. I suggest using pine boards, thin MDF, or any scrap wood you have on hand.
- 1 x 2″ Pine Trim for the frame
- White paint, I used latex – but typically use acrylic
- Black paint
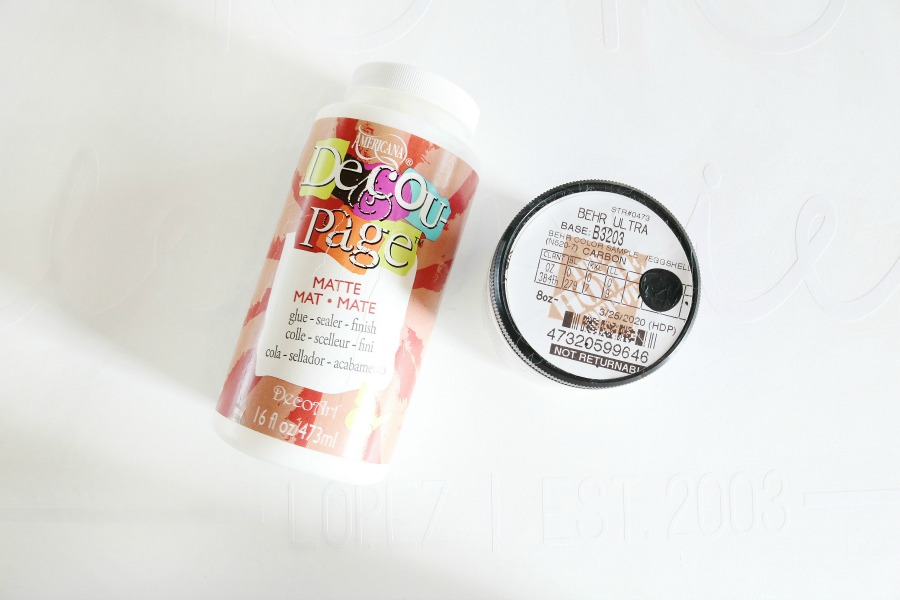
- Decoupage or Mod Podge
- Foam Brushes or Paint Brushes
 Since I was trying to freshen up the porch and create a new sign on a tight budget I only used supplies I had on hand for this project. We always have a pretty decent selection of wood from other projects so I was able to find a beautiful piece of birch plywood in our stash that was just the size I needed for this project. I almost felt bad using it because it’s such gorgeous wood, but it was free!
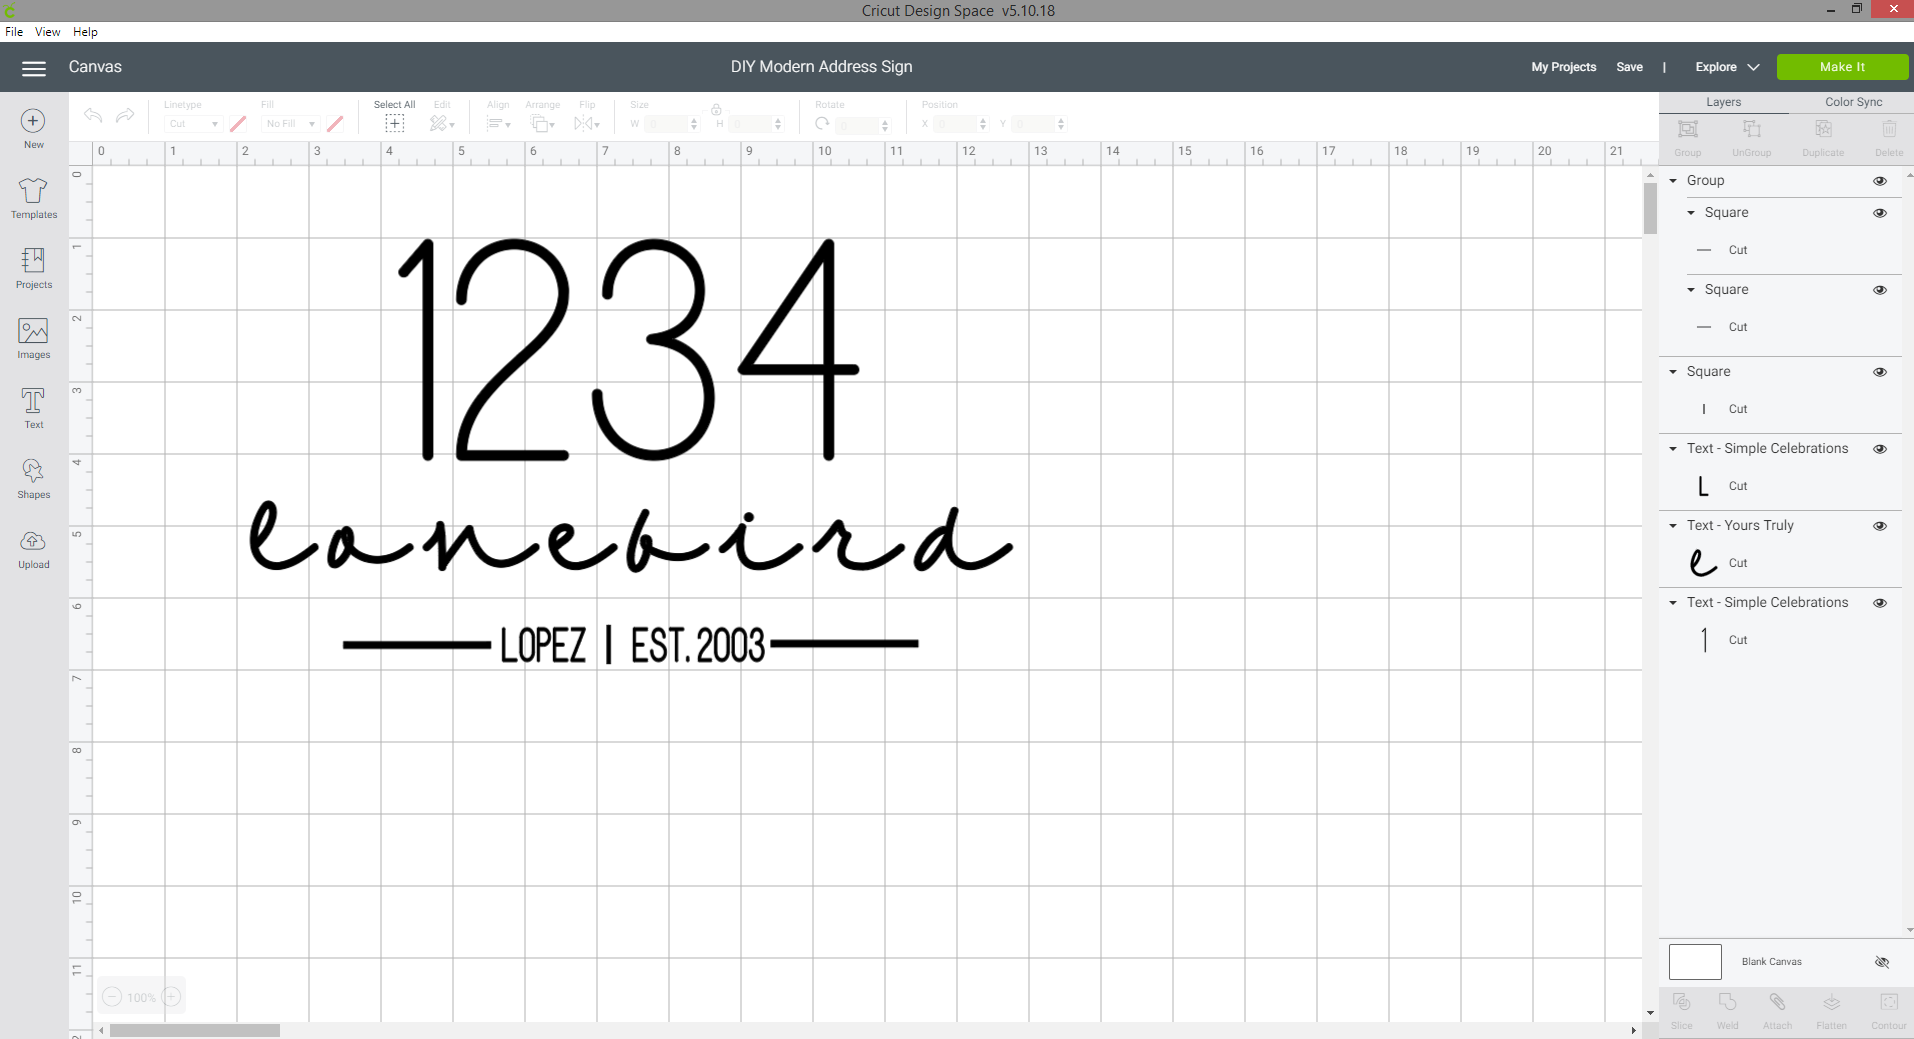
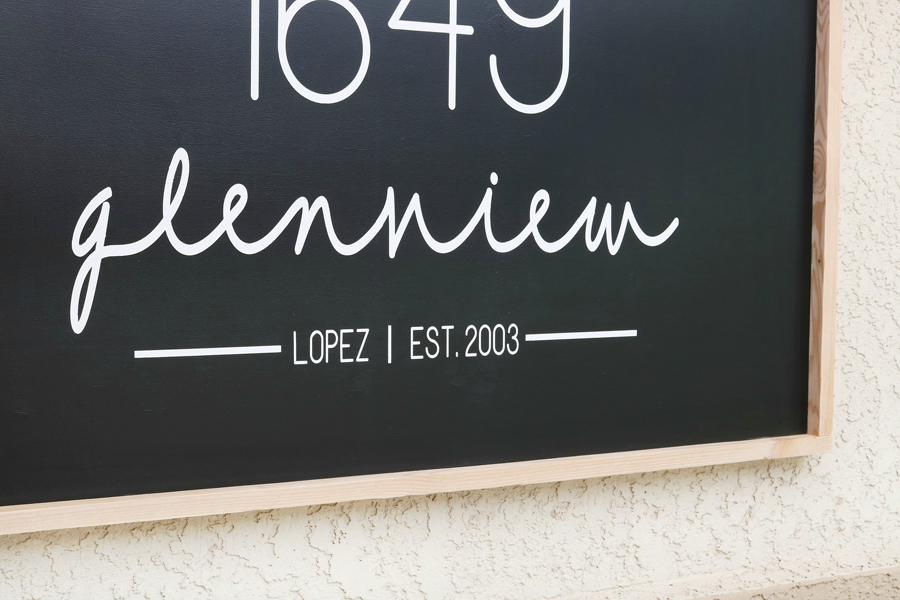
I designed a cut file using Cricut fonts in Design Space, I sized the elements to fit the size of my wood sign for my porch. My sign measures in at 30 x 40″. I’ve designed the cut file for you to edit and cut whatever address and size you need to fit your space.
Simply click on the link provided above to open the cut file, then select “customize”. You will be taken to the screen shown below in Design Space where you can customize your address and name. Double click on each section of the font to change to your specific needs, for the street name which is in the “yours truly” script font you will need to click “un-group” on the letters and manually align them to fit together. When you’ve done that simply hit the “weld” button for the street name. You will also need to change the family name at the bottom, as well as your families establish date. You can resize these individual elements to fit whatever size sign you’re making. Remember to “attach” any elements that need to be cut together and not be moved on a cutting mat.
My design was larger than one cutting mat so I cut my address numbers separate since I wanted them to be a bit larger. Then on the second cutting mat, I cut the street name and family name together. If the sign you’re designing is larger than 11.5 x 23.5″ you will need to split your design in half and cut two cuts. It’s possible to create bigger designs, you’ll just have to make multiple cuts and piece them together on your surface.
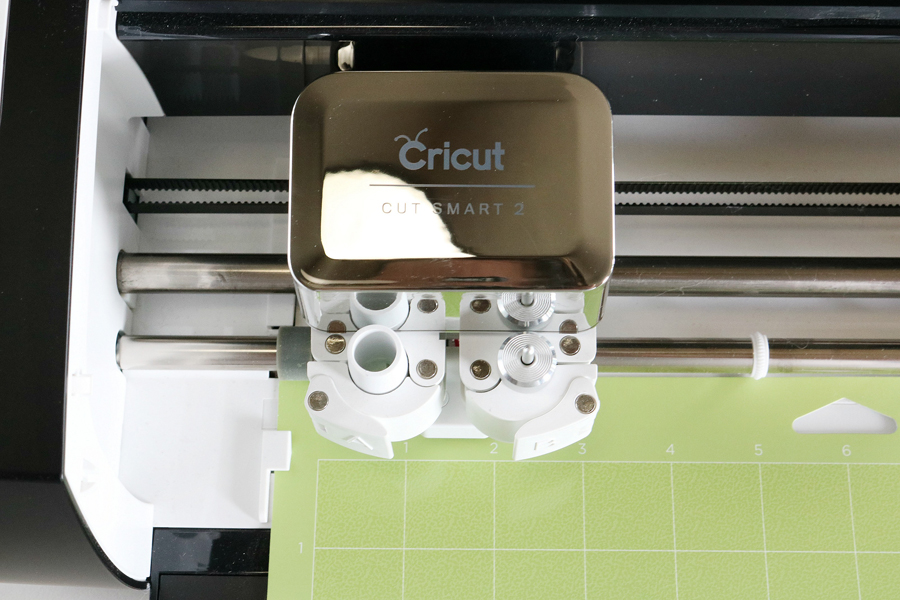
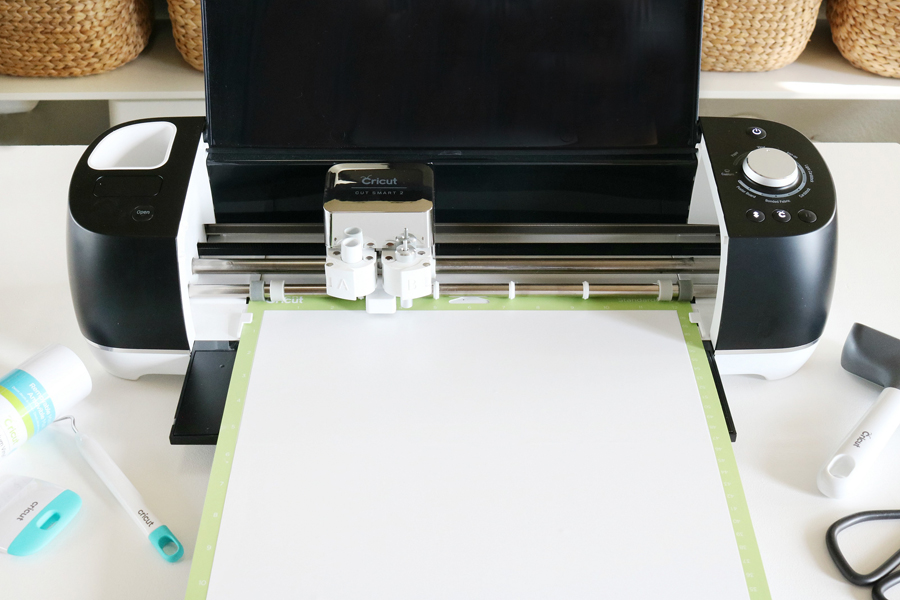
 As soon as you’re ready to cut your vinyl stencil select “Make It” in the upper right corner of your screen. You will then need to load your cutting mat into the Cricut Explore Air 2 by pressing the flashing arrows button. Turn your cut dial to “Vinyl” for the selection of the materials.
Remember: When cutting regular vinyl your vinyl goes right side up on the cutting mat.
 I love how easy it is to select my materials on this machine. Just a turn of the dial, and if the material isn’t listed here I select Custom and can manually choose my material in Design Space from a list provided.
In fact, using this machine in general is such a breeze! If you’re at all intimidated, don’t be! One of my favorite things about Cricut and the Explore Air 2 is just how easy it is to use. You will be creating within 10 minutes of taking it out of the box. Plug it in, find a design to cut in Design Space, or create your own design and upload your image to Design Space to create a cuttable file, load your materials, and cut or create!
I usually create and cut at home on my computer but I can also create on the go with my tablet or phone. My machine is super easy to take with me to a friend’s house or on vacation if I want to work on projects while I’m away. Recently I went to a friends house to show her pre-teen daughter how to use the Cricut Explore Air 2 to create custom water bottle stickers.
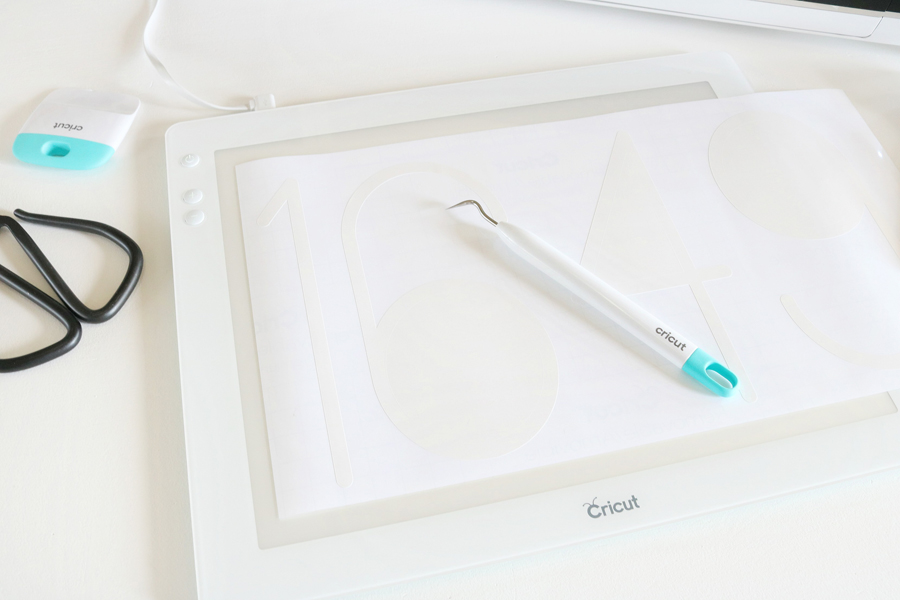
 After your vinyl stencils are cut it’s time to weed the design and remove any unwanted portions. I left the actual design when I weeded mine instead of the negative space since I was painting the majority of my sign black. I love using my Cricut BrightPad for weeding vinyl and iron-on, it makes it so much easier to see smaller details or when I’m weeding certain colors of vinyl.
Adhere your transfer tape to your vinyl stencil design and use your small squeegee tool to smooth out any bubbles. Don’t remove the backing just yet.
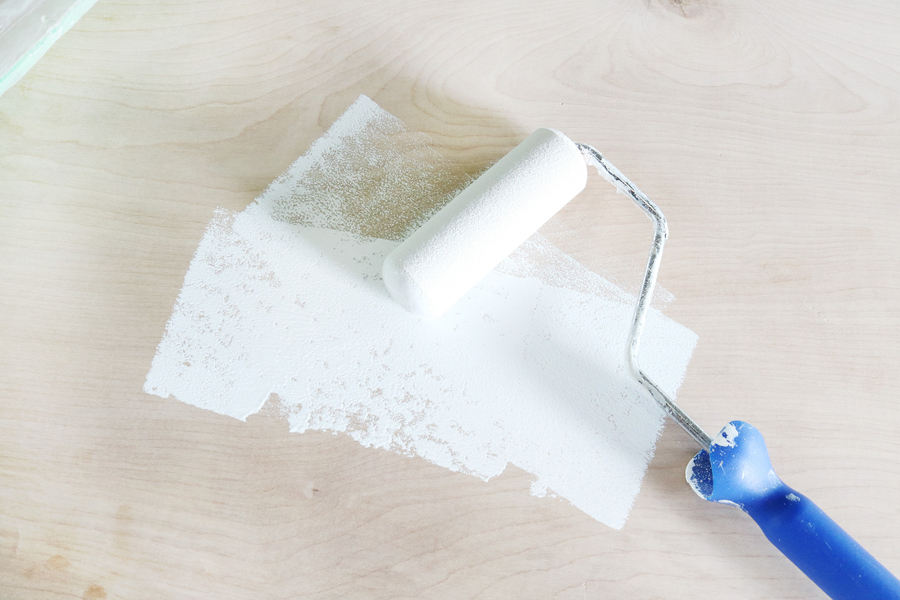
 Prep your wood board for the sign by painting whatever base color you’ve chosen. I wanted white letters on a black background so I painted the base of my sign white using some leftover white latex paint I had on hand, acrylic paints work beautifully for this project as well. You can also leave the wood raw or stain it if painting isn’t your thing, I love raw wood with a painted background.
 LET’S ASSEMBLE OUR DIY MODERN ADDRESS SIGN
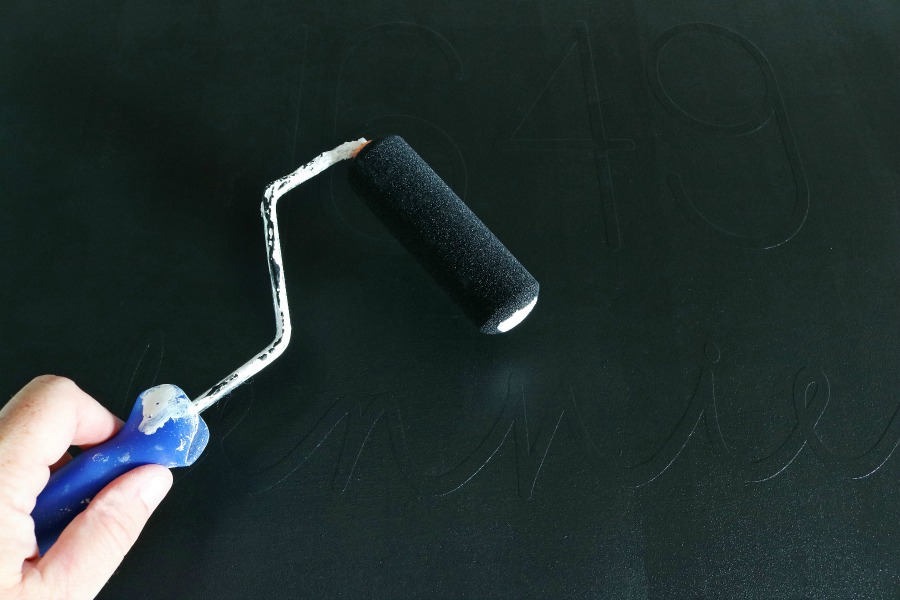
Time to put it all together! Center your vinyl stencil on your wood board using a ruler or tape measure. Carefully peel off your vinyl paper backing and adhere your vinyl stencil in place on the wood board. Use your tool like shown below to smooth out all the edges and bubbles to ensure your design will have crisp clean lines after you paint.
 This step is totally optional, but one of my favorite tricks when using vinyl stencils for sings. I use either Mod Podge or Decoupage, both are the same so whatever you have on hand works great…just make sure it’s a matte finish. Use a small foam brush or paintbrush to apply a thin coat over your vinyl stencil before painting your final paint color over. This creates a crisp and clean seal so no paint can seep under your vinyl.
Again I used black latex paint I had on hand for my final paint layer, but I typically almost always use DecoArt acrylic paints – they are my fave and easy to work with. Just use a foam brush or paintbrush to apply over your stencil.
 Just before your final paint layer is completely dry carefully remove your vinyl stencil using your weeding tool or a small pin. If you let the paint dry completely you can sometimes end up with your design peeling too much paint off and ruining those crisp lines.
LOOKING FOR MORE PROJECTS AND TIPS FOR CREATING WITH CRICUT, CHECK THESE OUT!
- Cricut Maker VS Cricut Explore Air 2 Cutting Machines
- DIY Black & White Succulent Sign
- 10 Cricut Explore Air Tips & Tricks
- DIY Fun Graphic Sweatshirts with Cricut Explore Air 2
- 30 DIY Home Decor Projects with Cricut Explore Air
- DIY Tote Bag & Coasts Easy Gift Idea Made with Cricut Infusible Ink
- 10 Fun Little Ways to Make Gifts Special with Cricut Joy
Don’t forget, you can also check out the Cricut Blog for so many amazing Cricut ideas! They are always posting new projects, and are posting weekly home renovation inspiration and tutorials.
 Now just assemble the rest of your 1 x 2″ pine frame by nailing your trim to the outside edges of your sign like shown above. I love using my Ryobi airstrike gun for this, but small nails work too.
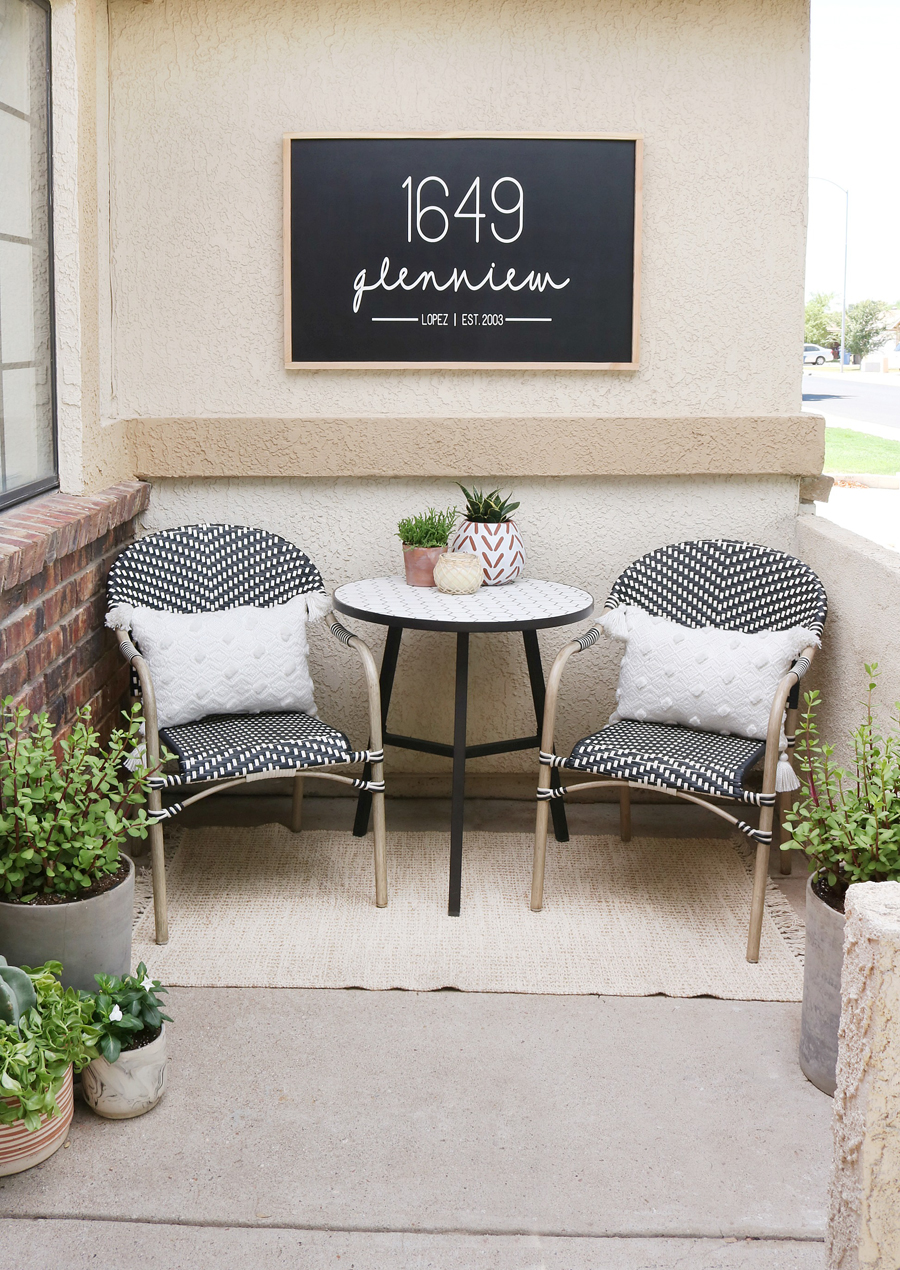
This simple Modern Address Sign turned out better than I expected and I’m so in love with it on my front porch. While this house desperately needs to be repainted, just making simple changes like this using my Cricut Explore Air 2 makes it already look so much better.
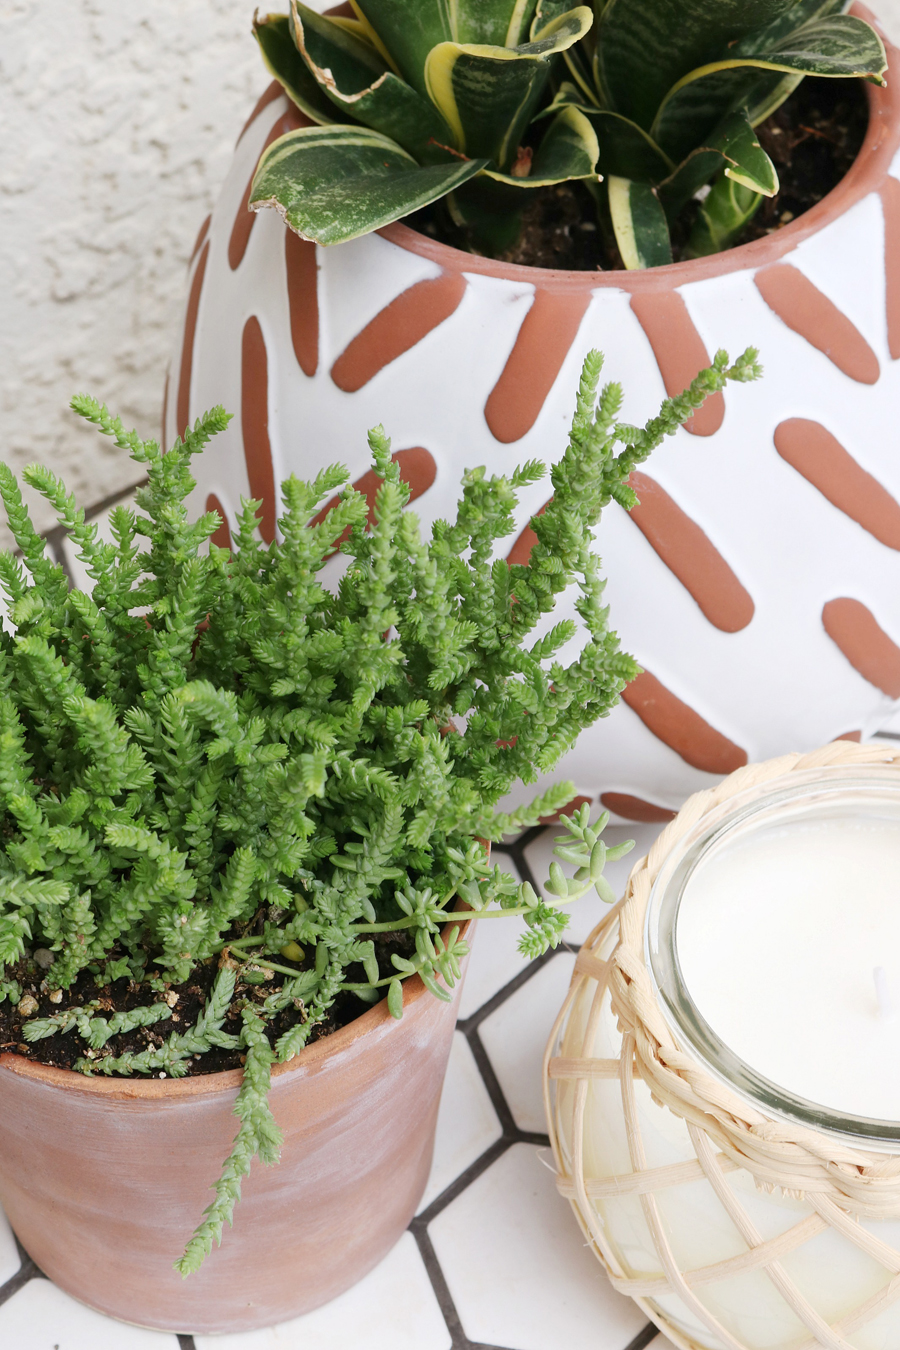
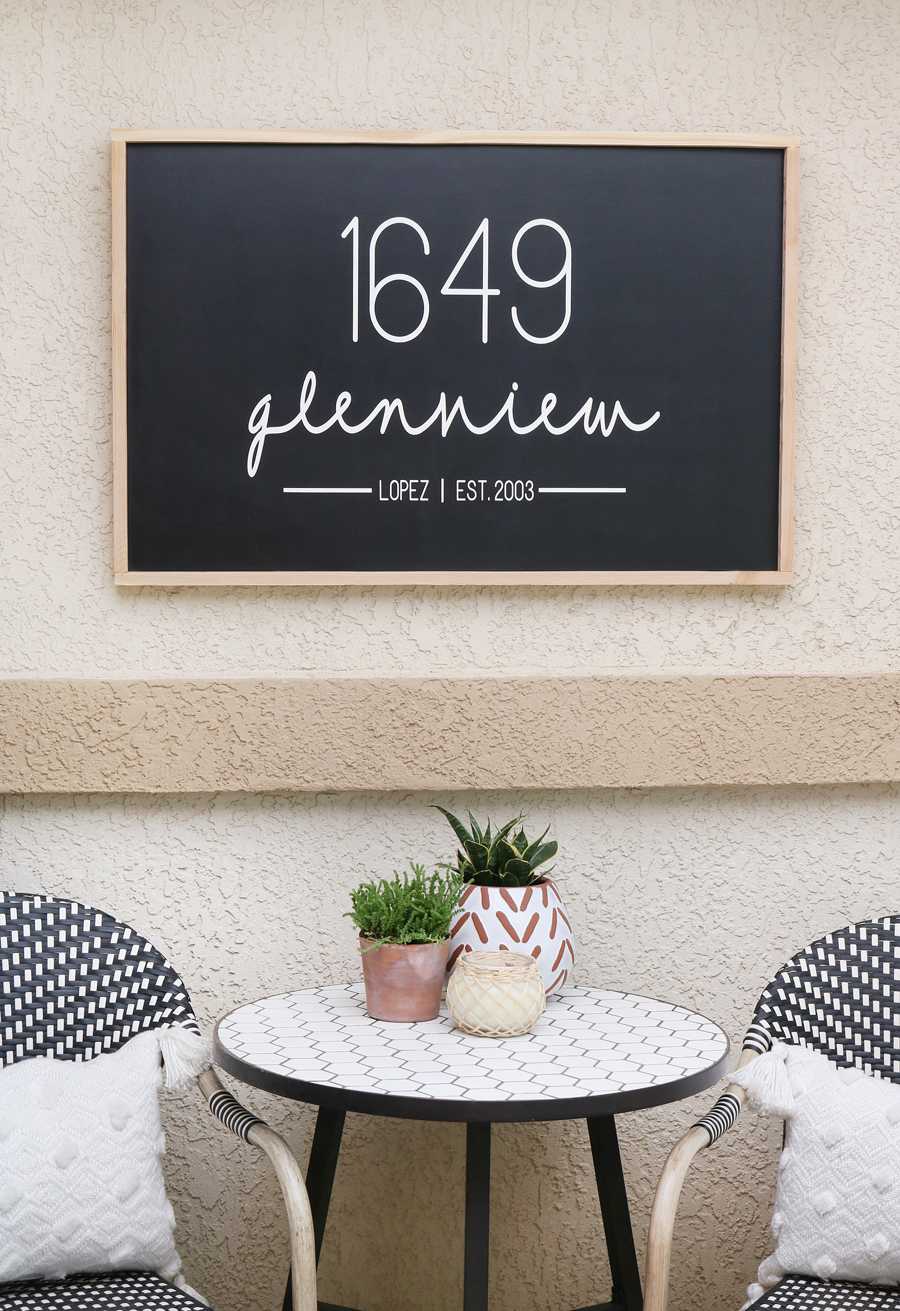 Since I was on a tight budget for this small space I used the existing furniture that was already here. I’ve been slowly collecting terracotta pots over the last year around the exterior of our home, I love the look of them when they age. They will be so great against the fresh white color we plan on painting the house later this year.
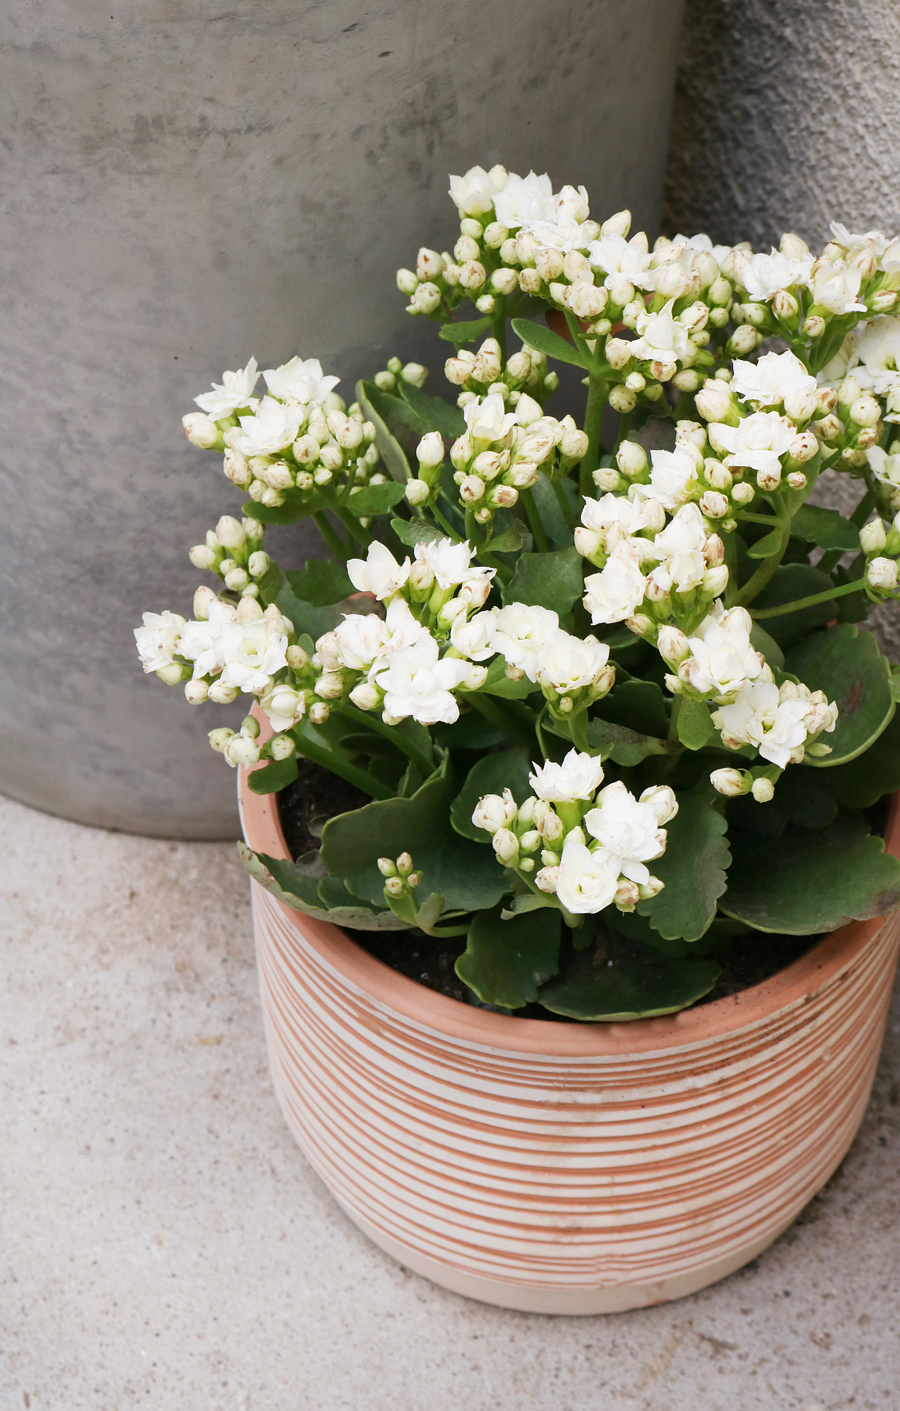
The small outdoor lumbar pillows were a fun find from Walmart. The small jute rug was something I had in my stash of decor I had forgotten about. The only other purchase I made was the plants, I have a special talent for killing flowers so I stick with easy to care for plants since Arizona is so deathly hot in the summer. I went with Elephant Foot (the brother plant to Elephant Ear), some Totem Pole Cactus clippings I planted last year surrounded my Red Heart Icebox plant and some other succulent type flowers that do really well here. All the planters I had on hand.
 It feels so good to have this space so clean and fresh again, not going to lie – the sign is my most favorite part! I absolutely love that none of my neighbors have one like it, and even if we move I think this will be something sweet I can keep in our garage for a great reminder of where we brought our babies home and started our family. I’d be seriously lost without my Cricut Explore Air 2 machine!
The post DIY Modern Address Sign with Cricut Explore Air 2 appeared first on The Crafted Sparrow.