DIY Paper Mache Charcuterie Letters
This is a sponsored post written by me on behalf of Hobby Lobby. All opinions are 100% mine.
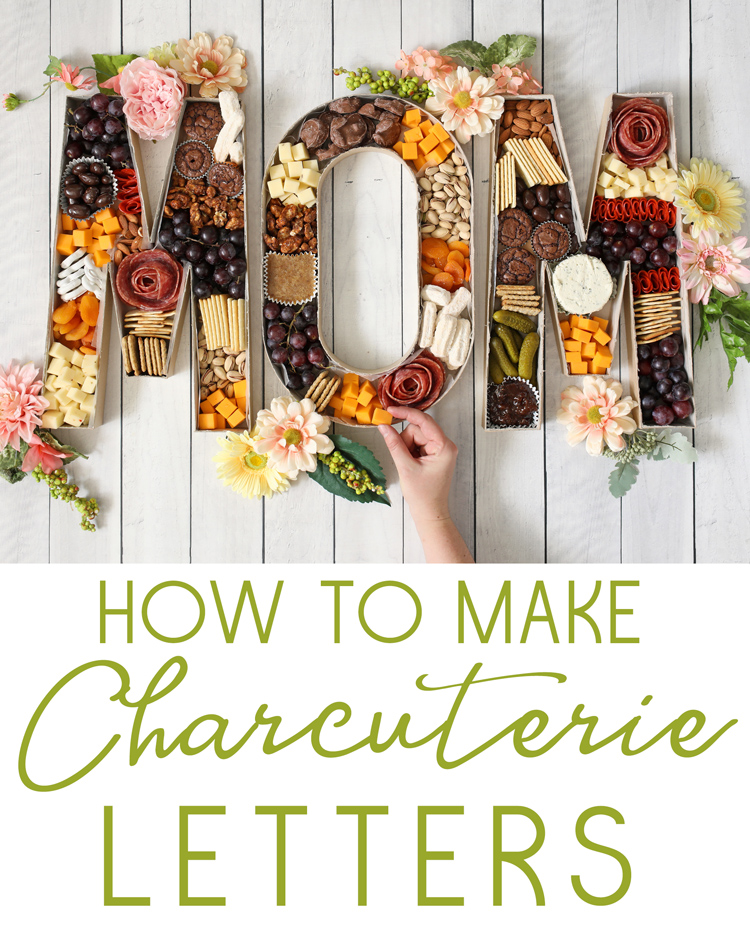
Turn giant paper mache letters into a clever charcuterie board for Mother’s Day.
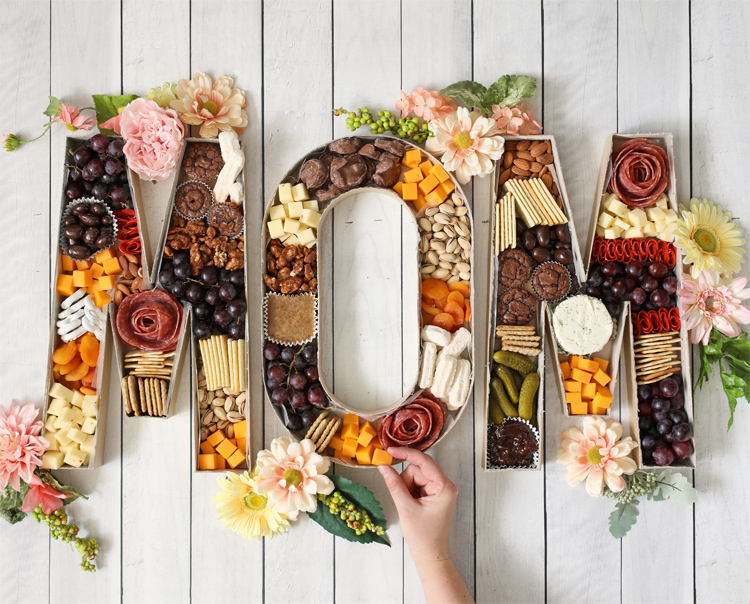
Today’s project is so much fun. We’re going to turn paper mache letters into a super cute charcuterie board!
I decided to make mine for Mother’s Day, but think of all the possibilities… spell out DAD or LOVE or JOY or the bride and groom’s initials… there are a thousand different ways you could personalize this and that’s what makes it such a cool idea!
To make your own letter charcuterie board, you will need the following supplies:
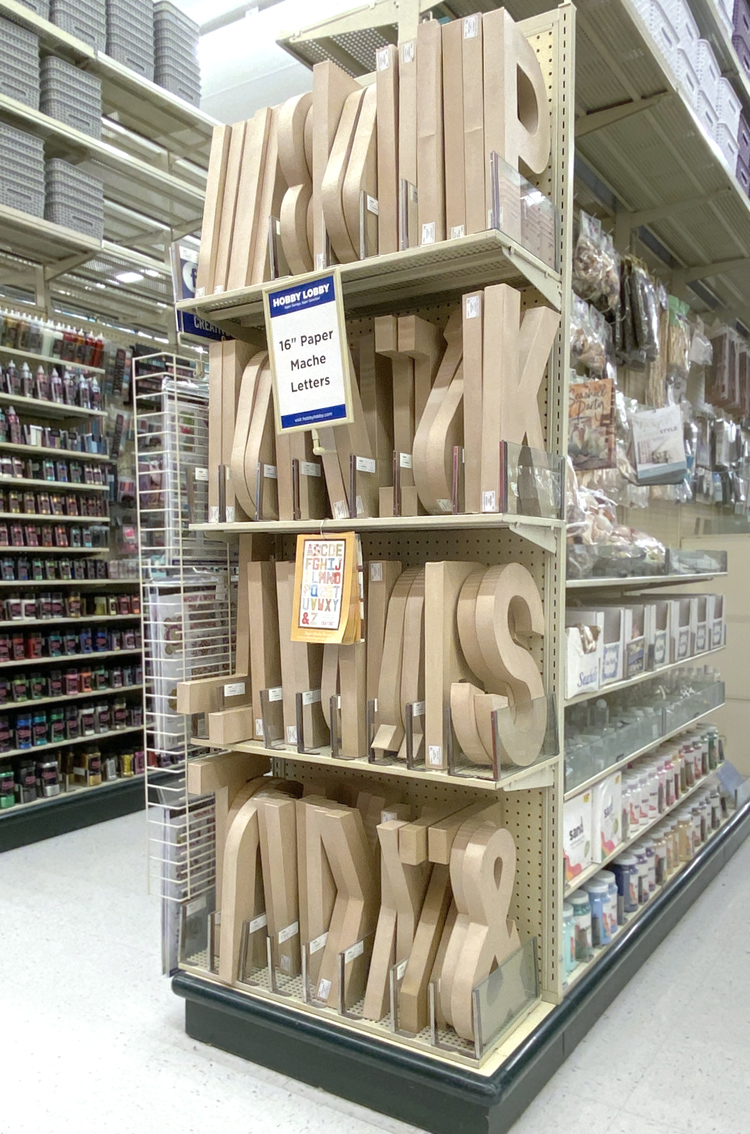
Materials Needed
- 16 Inch Paper Mache Letters
- Utility Knife
- Wax Paper
Instructions
Step 1: Use the utility knife to cut all around the top edge of each letter. Go slowly and please be careful not to cut yourself!
Step 2: Once the top piece is free, remove it, then remove all of the squiggly spacer pieces inside the box.
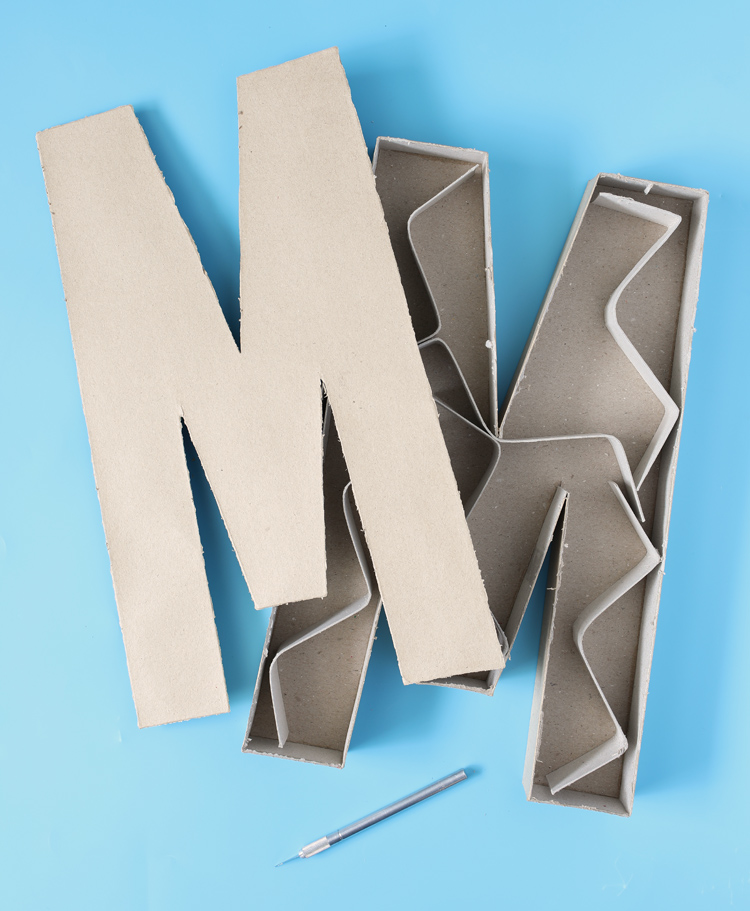
Step 3: Trim any ragged edges and don’t forget to remove the price stickers.
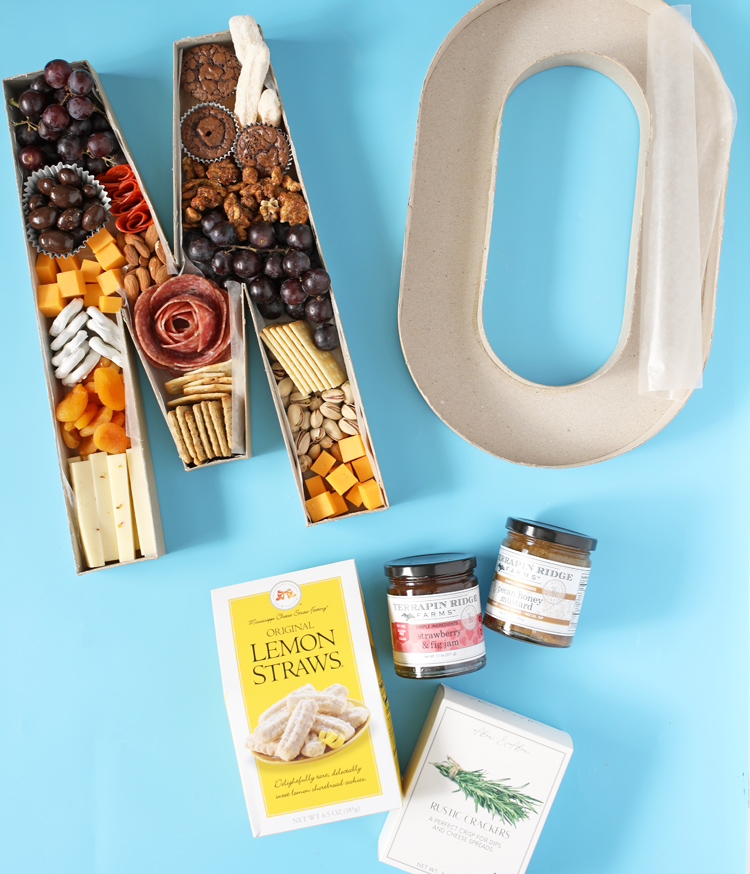
Step 4: Line the letters with wax paper. This makes the project food-safe and protects the cardboard from getting soggy or greasy.
Step 5: Fill the letters up with all of your favorite meats, cheeses, crackers, fruit, nuts, etc.
I found a few really yummy charcuterie board additions at Hobby Lobby. They have an entire section of nonperishable foods that are geared towards gift baskets and charcuterie boards and there were some really unique specialty items. The lemon straws were quite delectable if I do say so myself.
I added faux flowers around my letters as decoration to make it feel extra special. Talk about a party spread! This was a huge hit with the whole family. My mom especially loved it and I think it may need to become a yearly tradition.
PAPER MACHE LETTER CHARCUTERIE BOARD VIDEO TUTORIAL
Like this project? Pin it to save it for later.
The post DIY Paper Mache Charcuterie Letters appeared first on The Craft Patch.