DIY RECYCLED CARDBOARD CASTLE JEWELRY BOX
This post is sponsored by Disney Book Group.
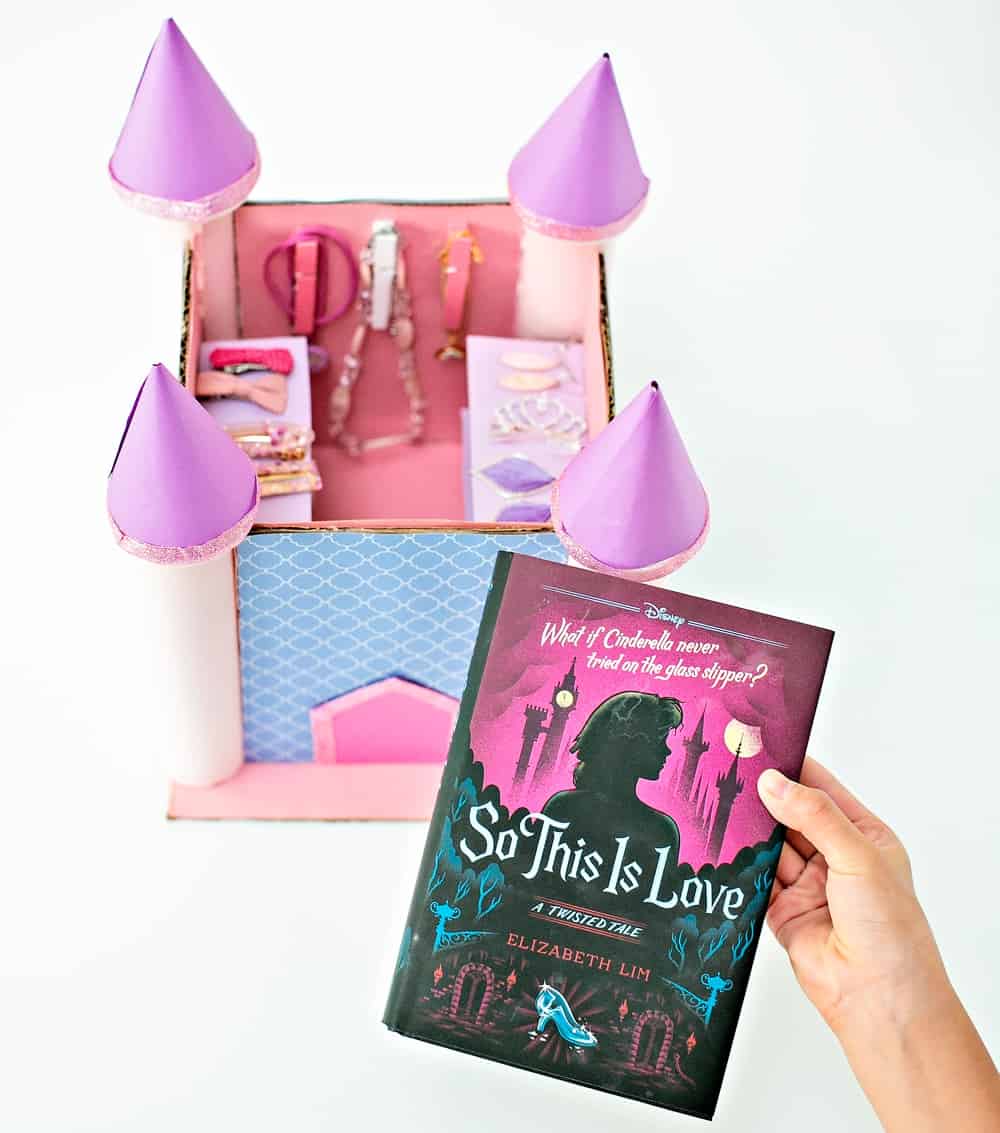
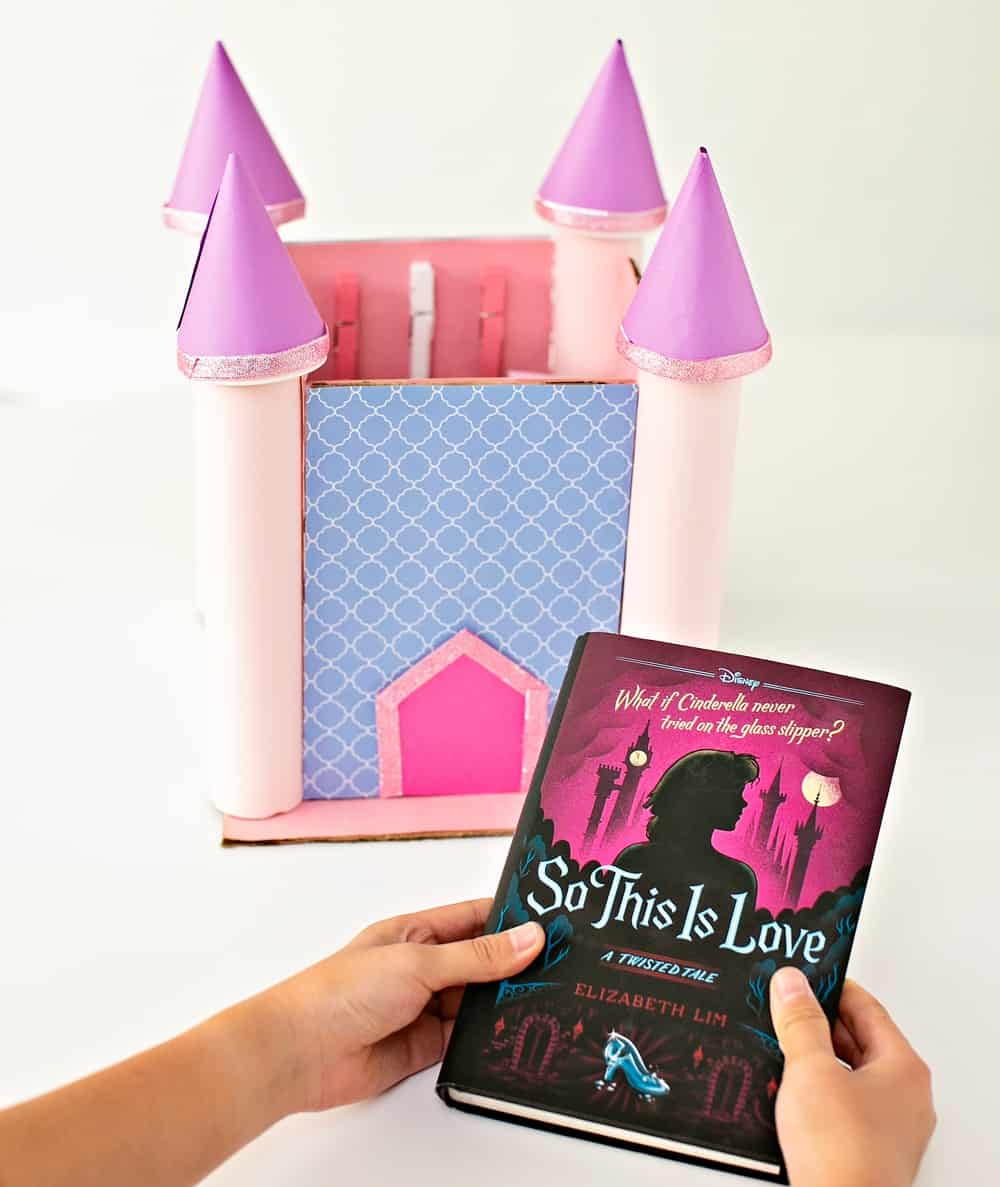
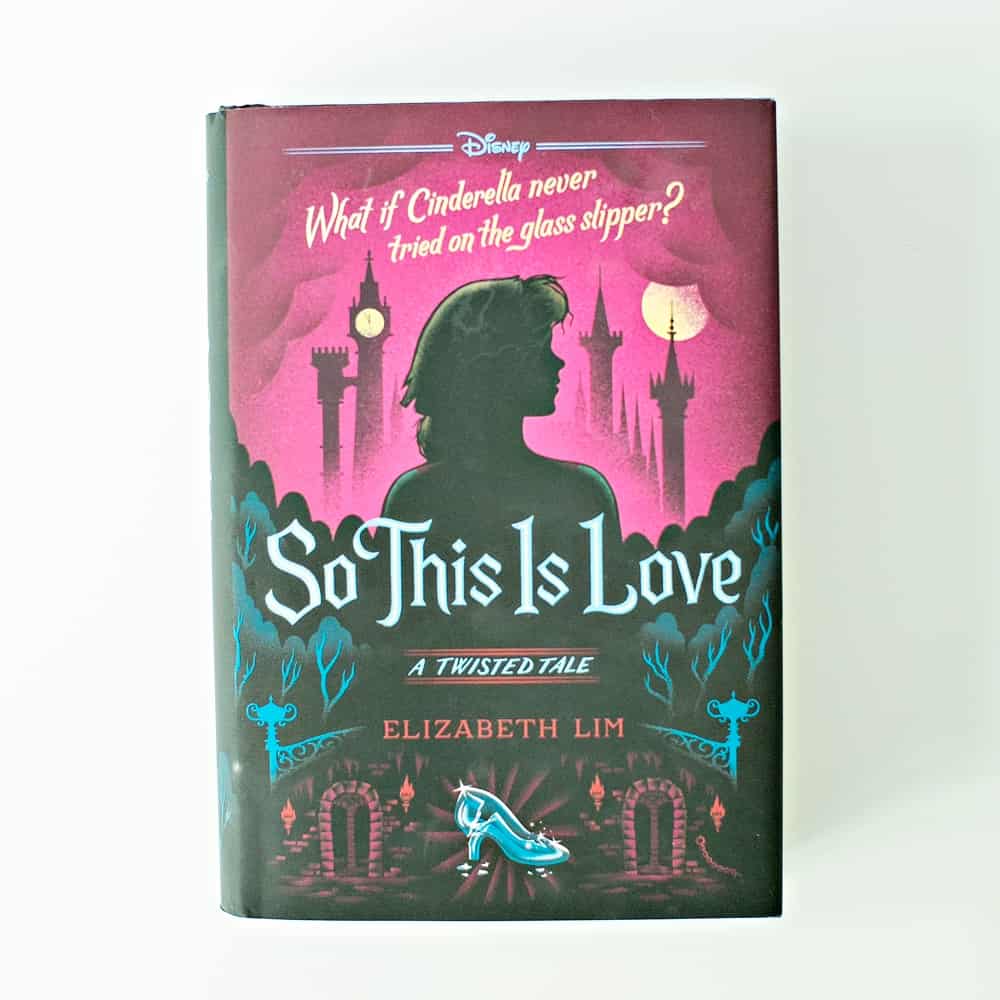
We all know and love the classic Disney tales, but who says that they can’t be repurposed with a bit of a “twist”? We just finished reading “So This Is Love” by ElizabethLim (the 9th book in the A Twisted Tale young adult series!) and we literally couldn’t put it down.
The plot revolves around the key idea of Cinderella never being able to try on the glass slipper. Talk about a major plot twist, right?!
First, make sure to grab your copy as it’s available in stores now. We had so much fun reading this together and talking about all the fun differences between the Cinderella story that we all know versus the thrilling and exciting words written on these pages.
Tween and up boys and girls will both enjoy this young adult book (grown-ups, too!). It’s a MUST for any Disney fan out there! With the summer months right around the corner, ordering this now means that you’ll have it in plenty of time for a great summer read.
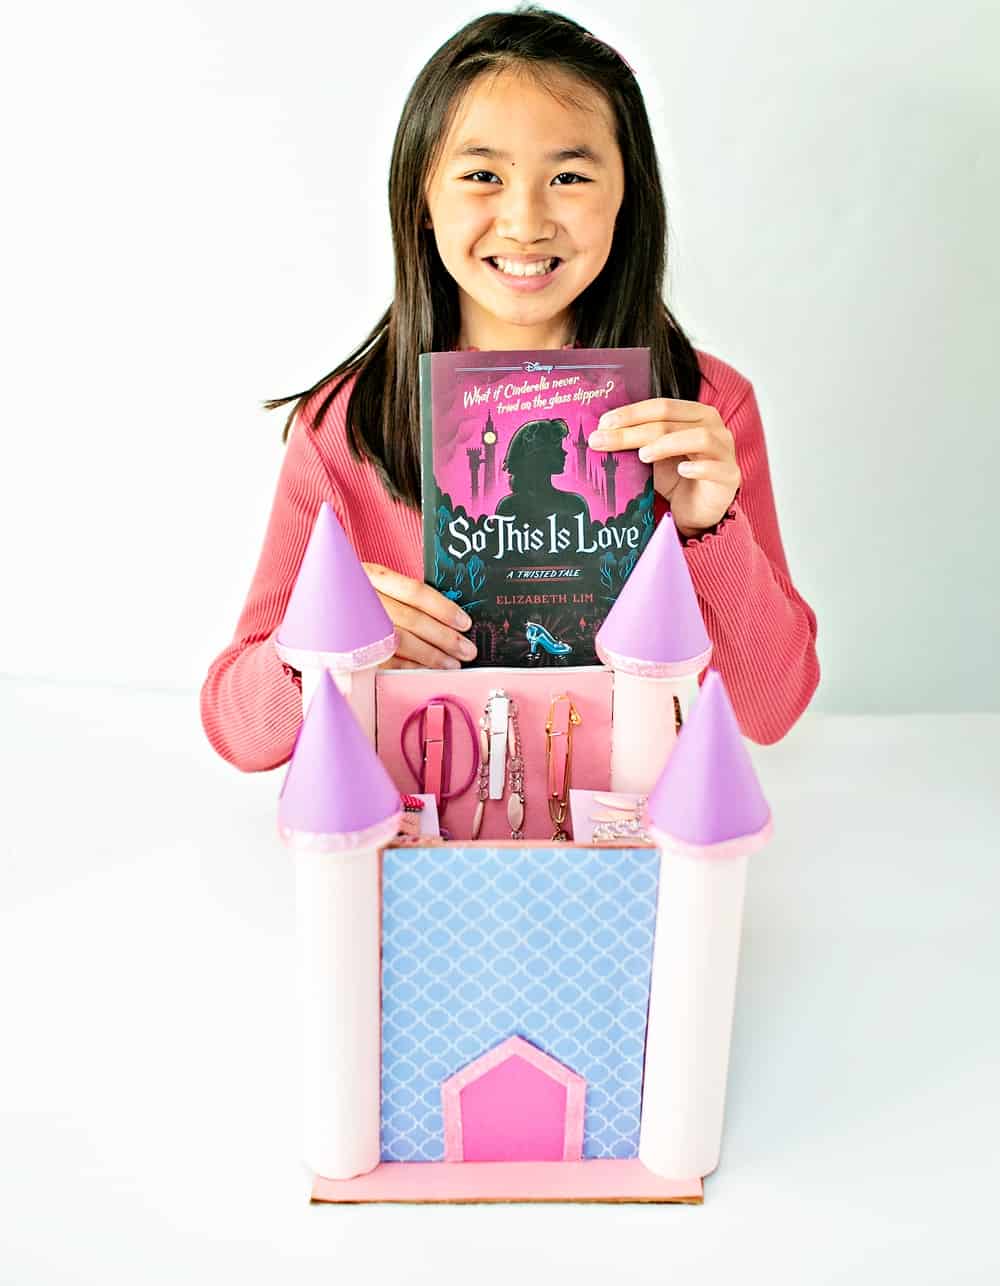
Fun Talking Points to Discuss With Your Kids About “So This Is Love”
I actually like reading the same books as the kids so that I know what they’re about and can base conversations and fun activities off them. While we did create an awesome castle craft (see it below) to go along with this great book, check out some of these fun talking points as well that you and your children can talk about, too.
- How does the book differ from the original Cinderella story?
- If you were the author of this book, what would you add to the story?
- What would be an alternate ending to add?
- How is Cinderella portrayed in this book? Do you agree with her character? Why or why not?
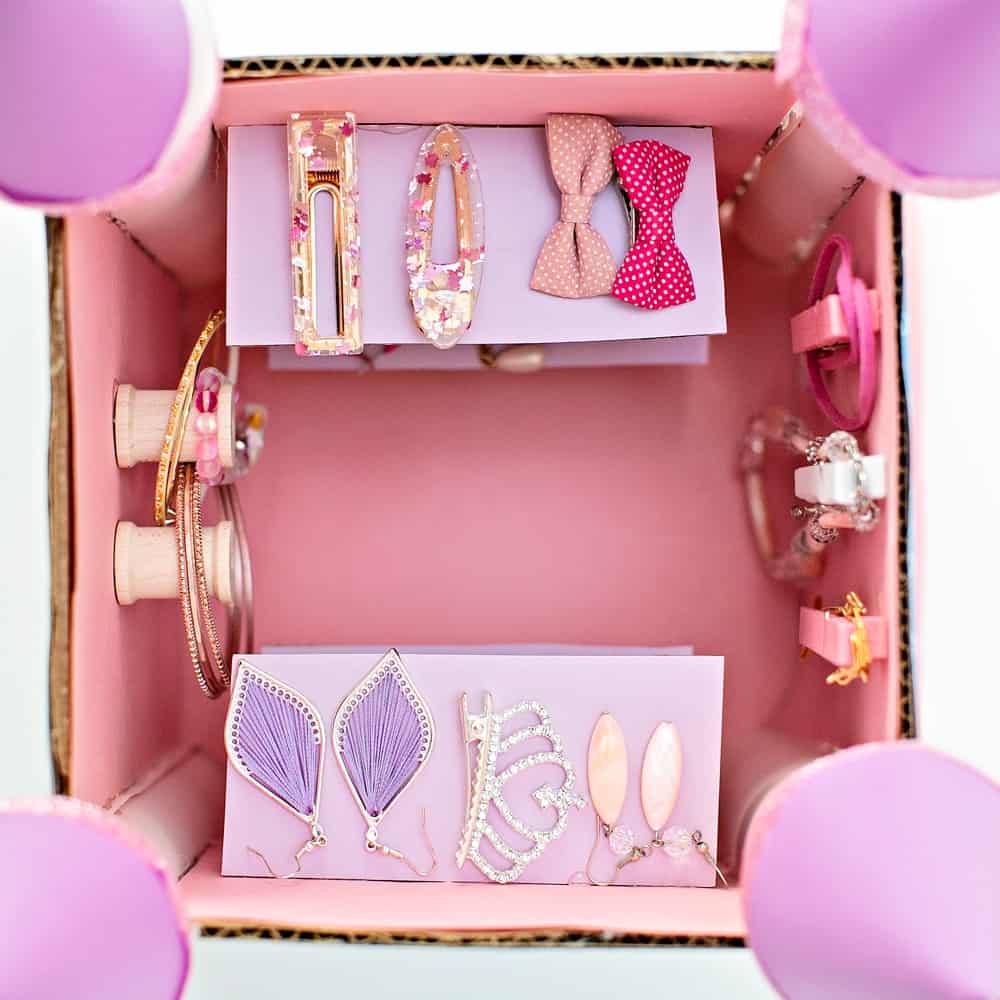
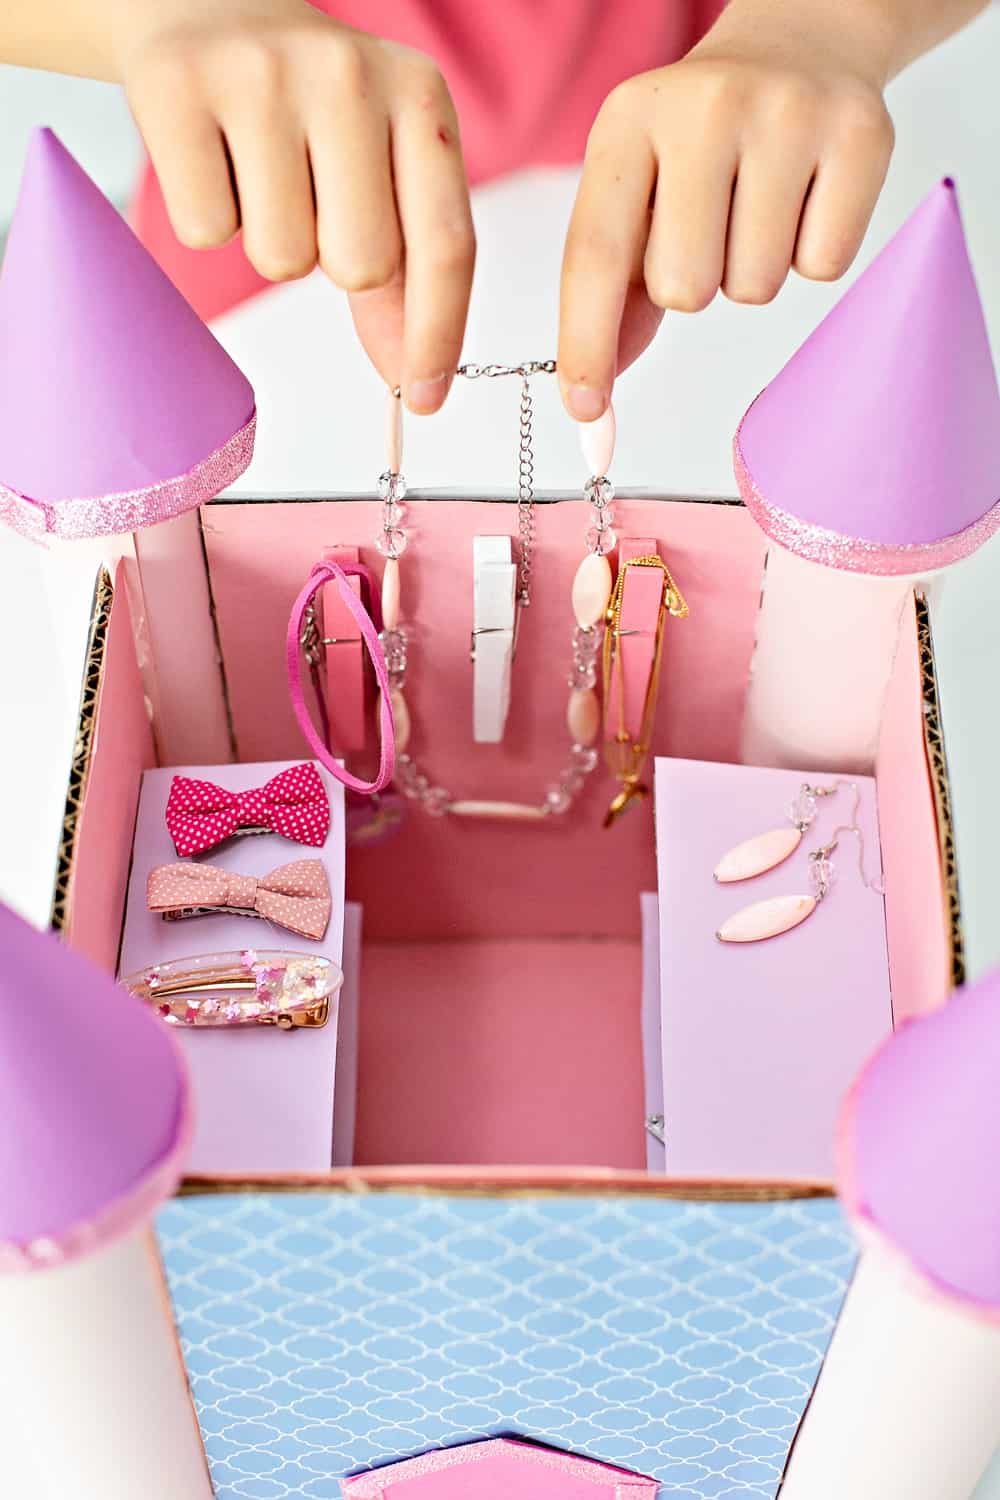
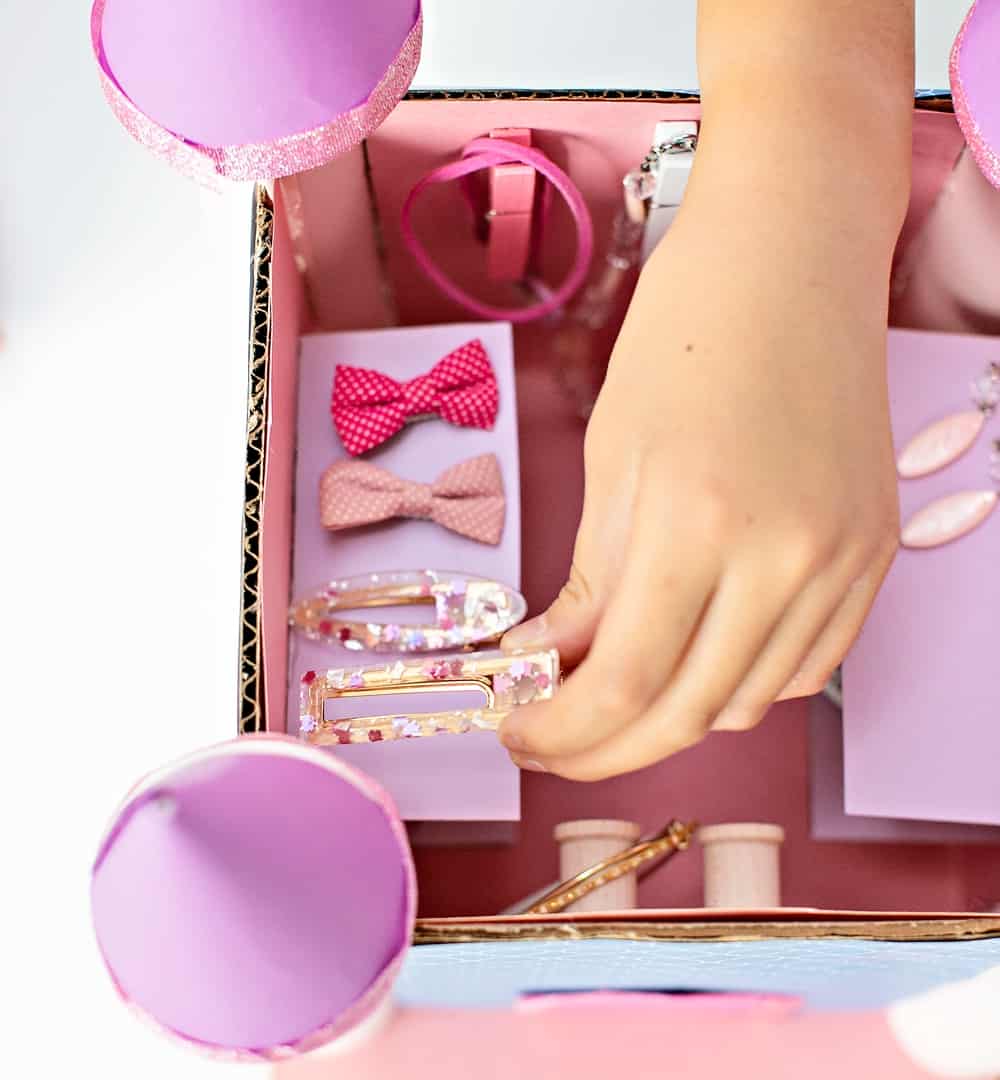
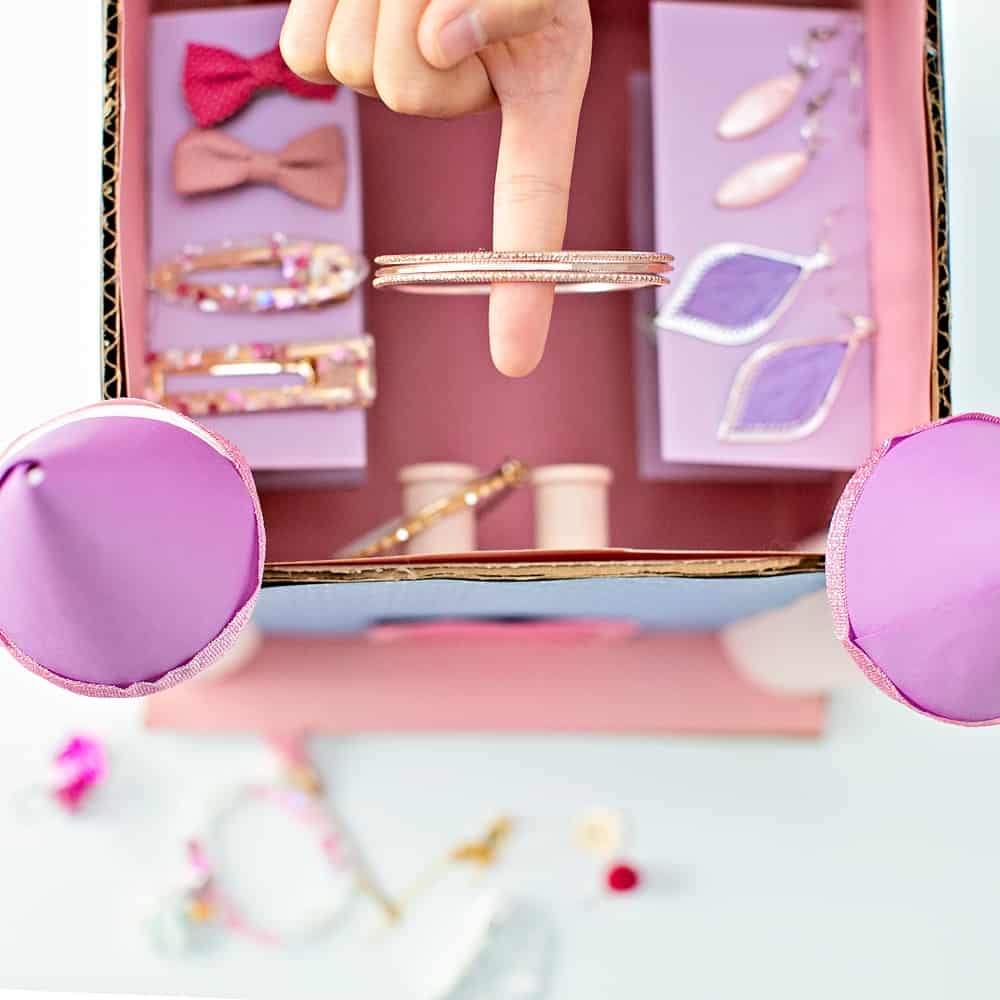
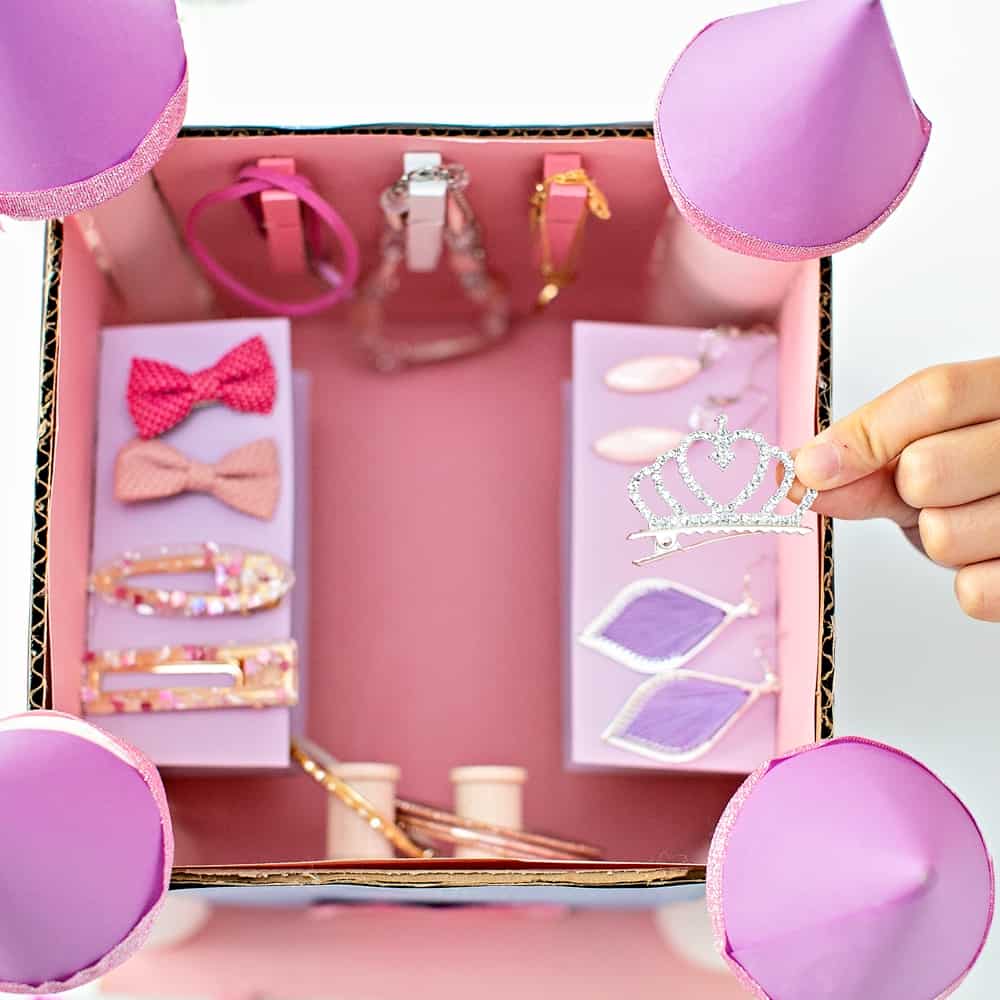
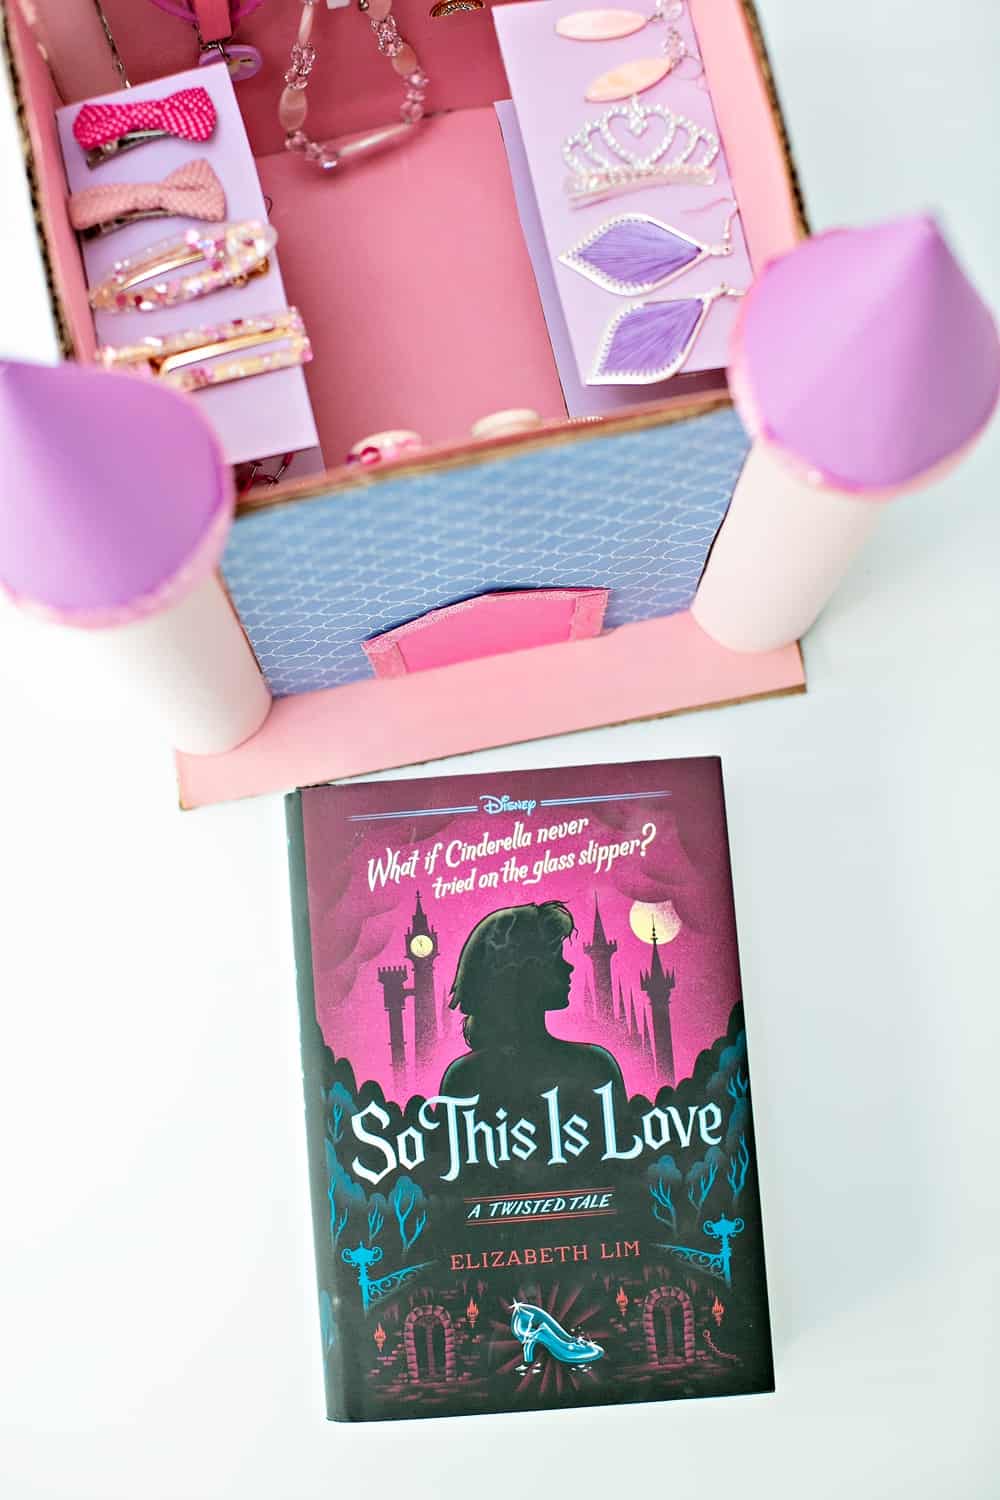
Cardboard Castle Jewelry Box – A Fun Recycled Castle Craft
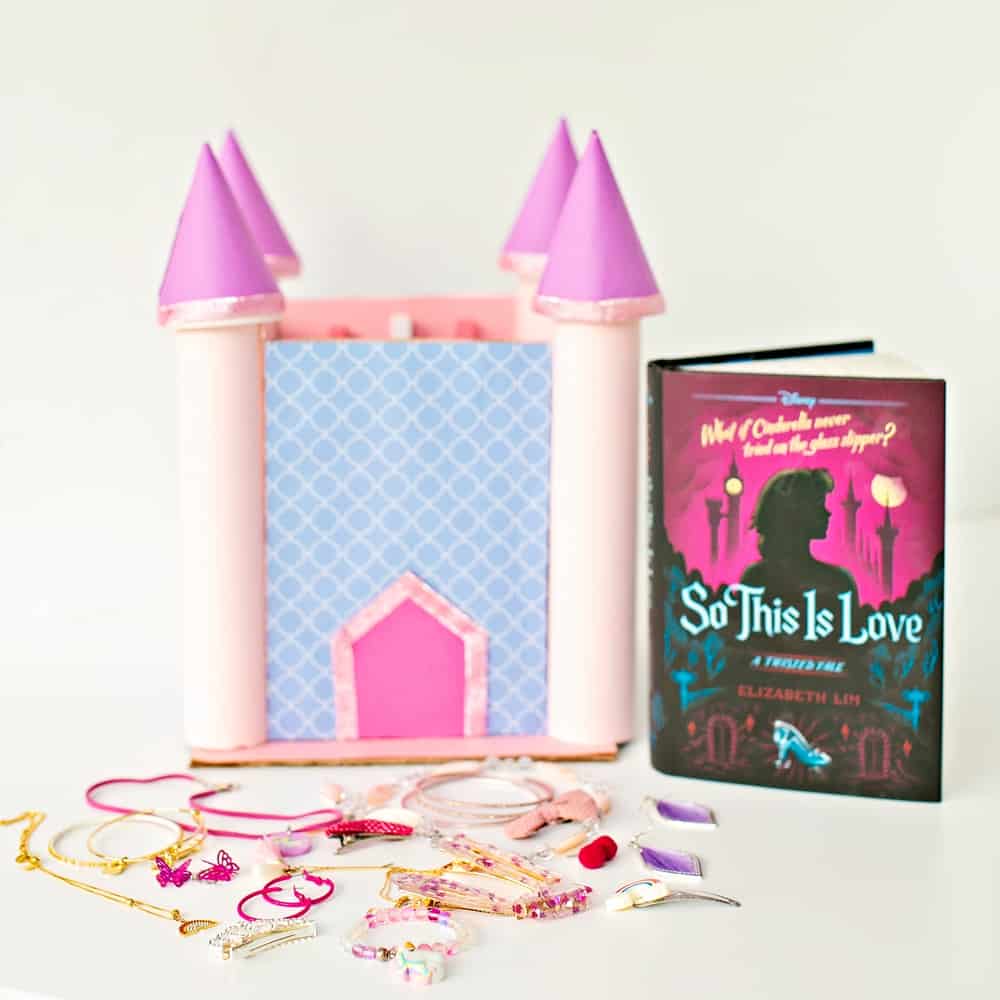
Since this book is such a great spin-off of the Disney classic tale, I thought it would be fun to create a recycled cardboard castle using everyday supplies that we had lying around the house. It’s always fun to be creative together and reuse items in a fun way!
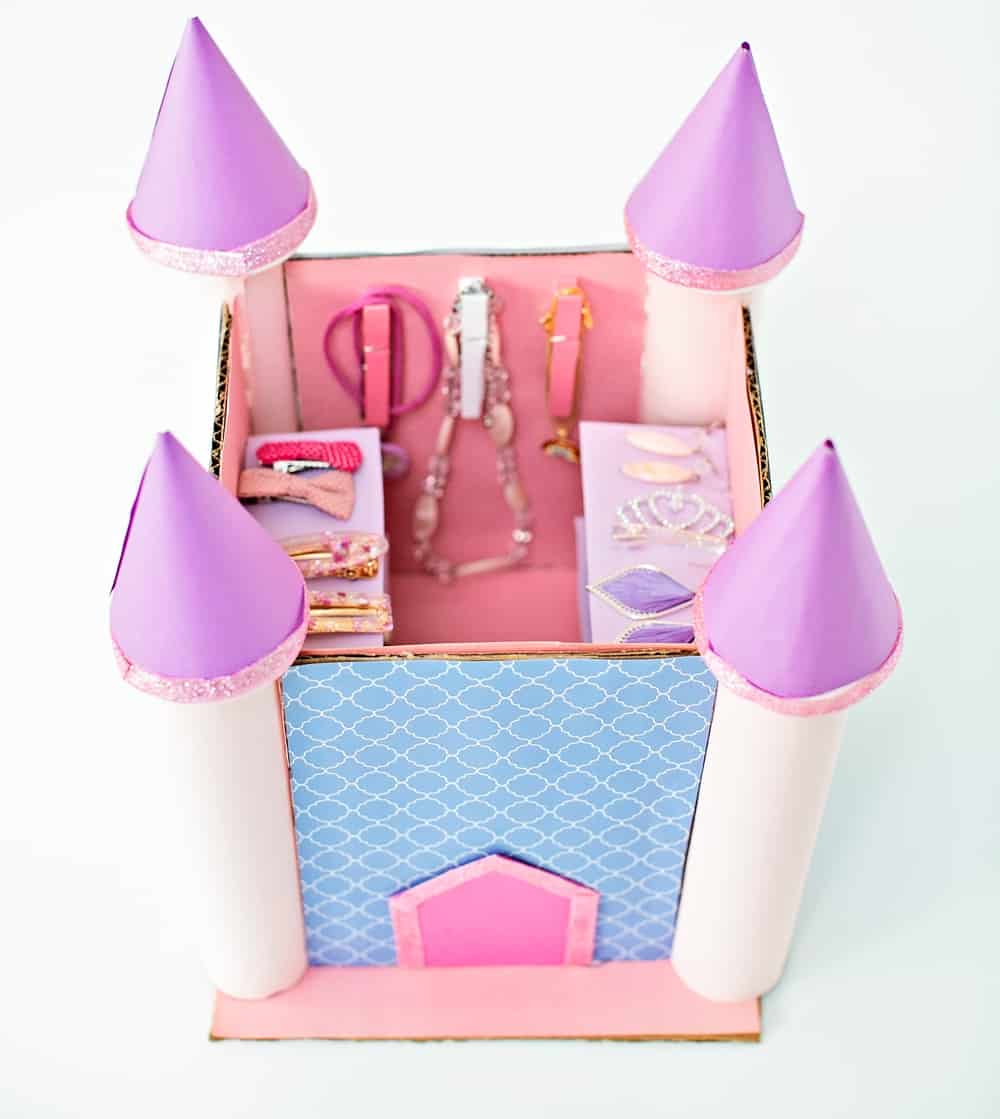
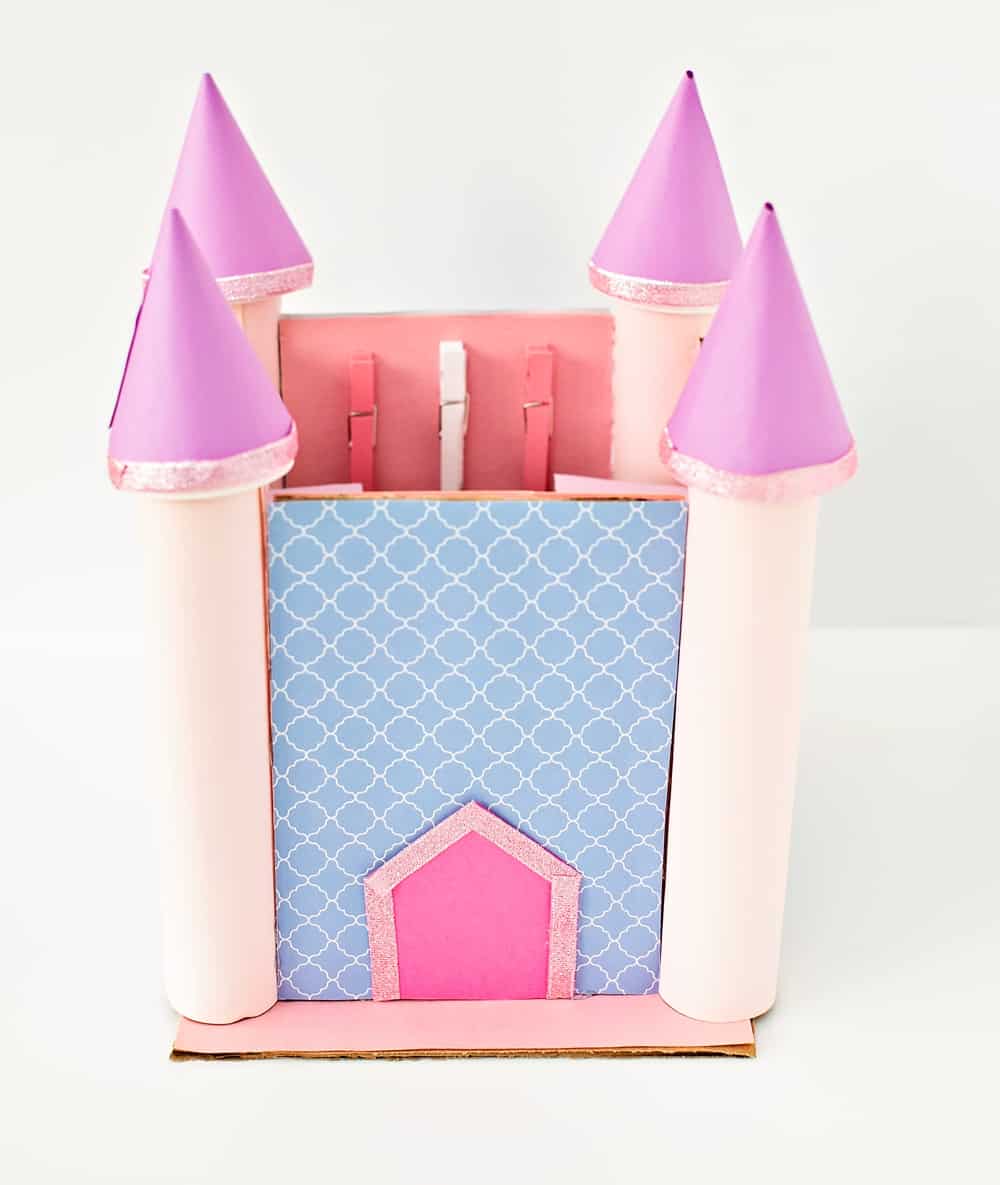
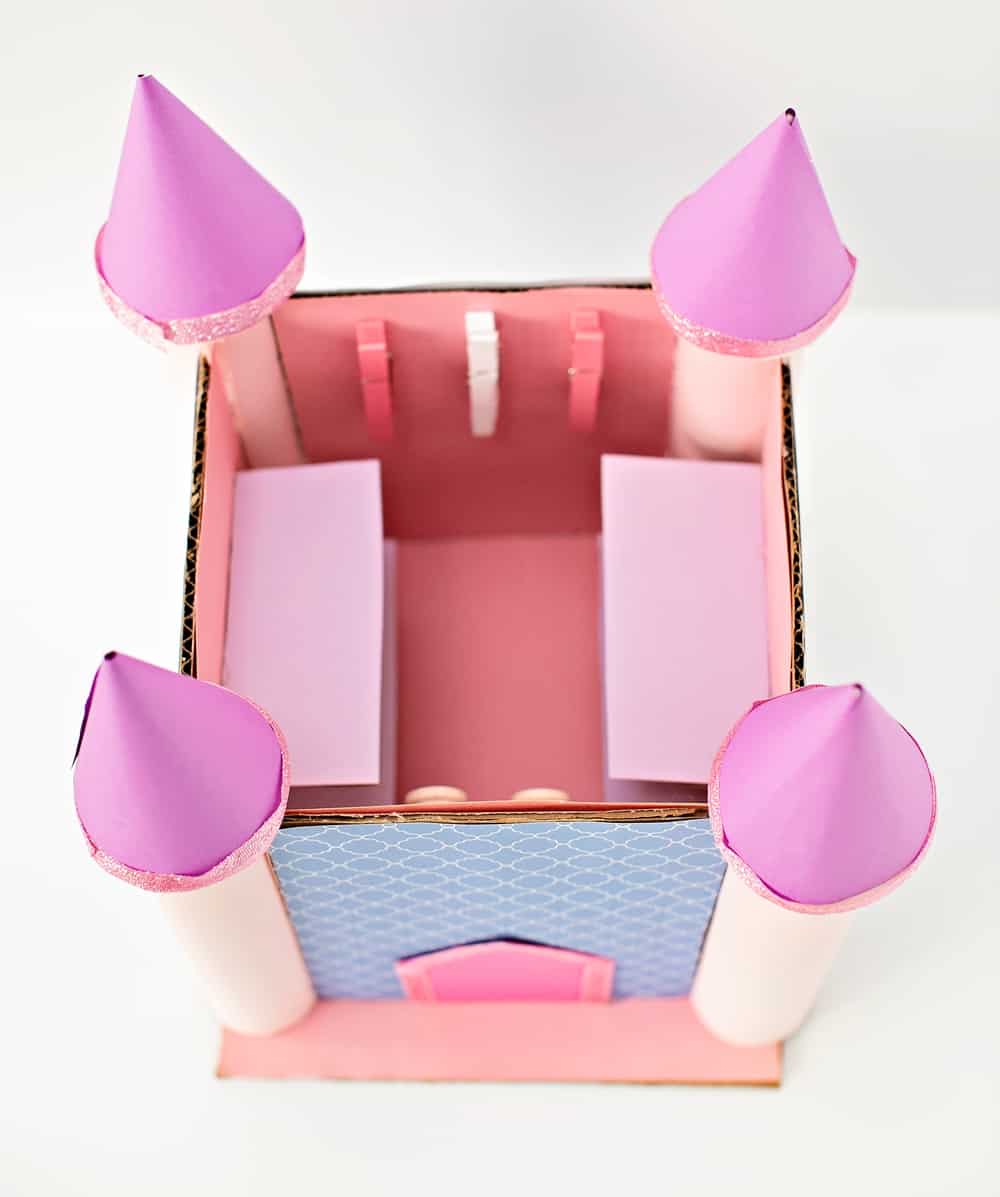
Who knew that compiling a few paper tubes and leftover cardboard would turn out to be one of the best homemade jewelry boxes, ever. I made it with my 11 year old daughter so she can store all her fun hairpieces and jewelry items.
As a tween she is collecting such a fun collection, you can never have too much storage for jewelry and hair clips!
As we were making this fun jewelry box, we also talked about how we were a little bit like the Fairy Godmother from Cinderella. She used her magical abilities to turn a pumpkin into a carriage just like we were using our creative abilities to upcycle cardboard into a beautiful cardboard castle jewelry box.
Now we have this wonderful DIY project that my daughter will use daily to remind her of her favorite latest read, So This Is Love, and our quality crafting time.
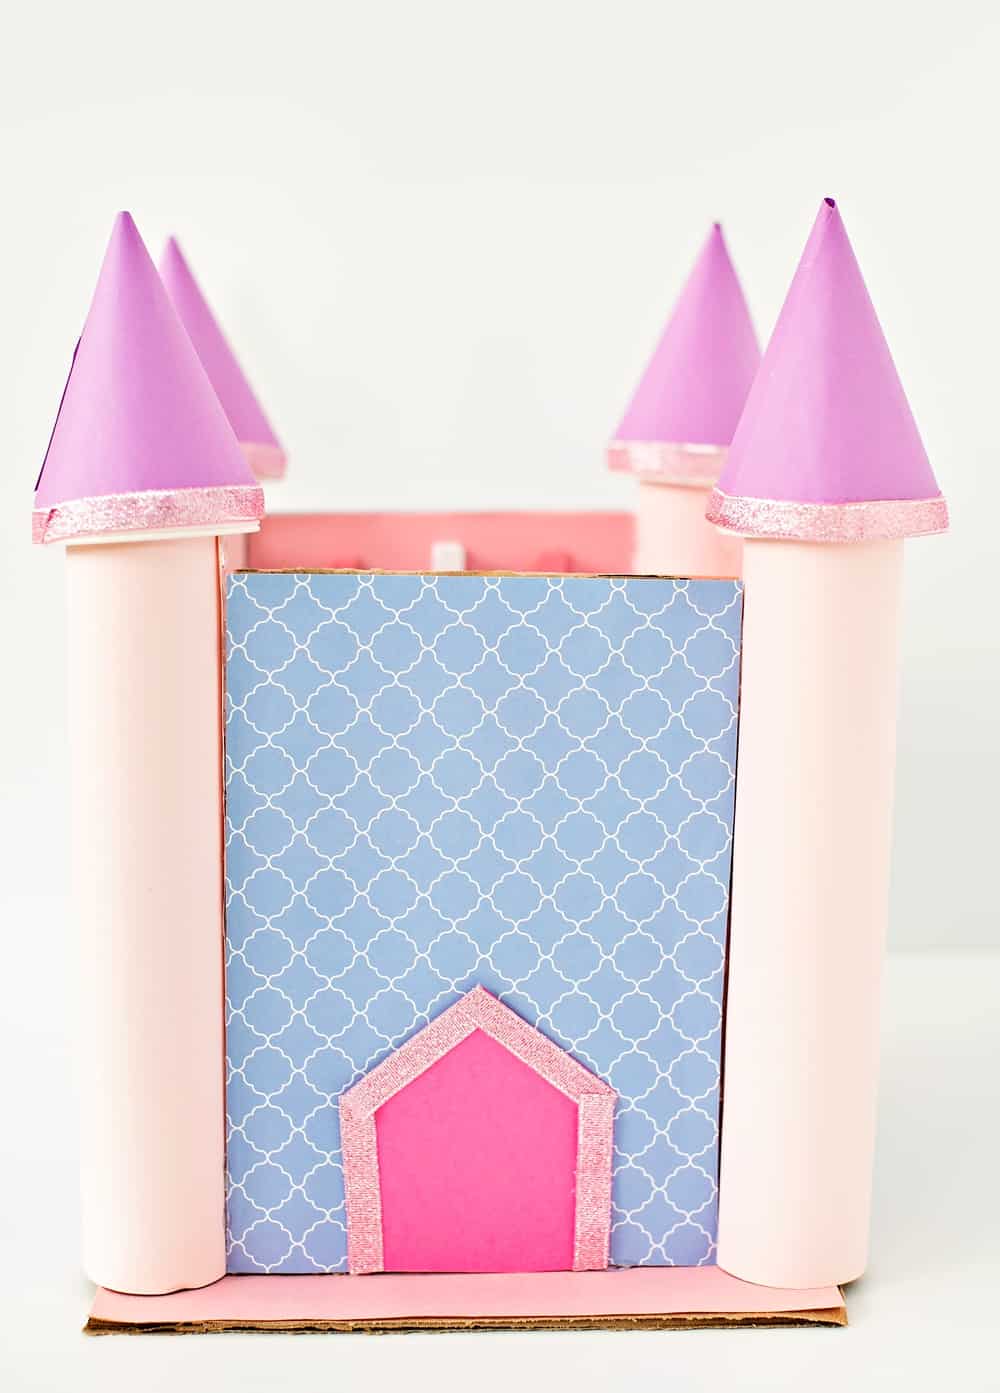
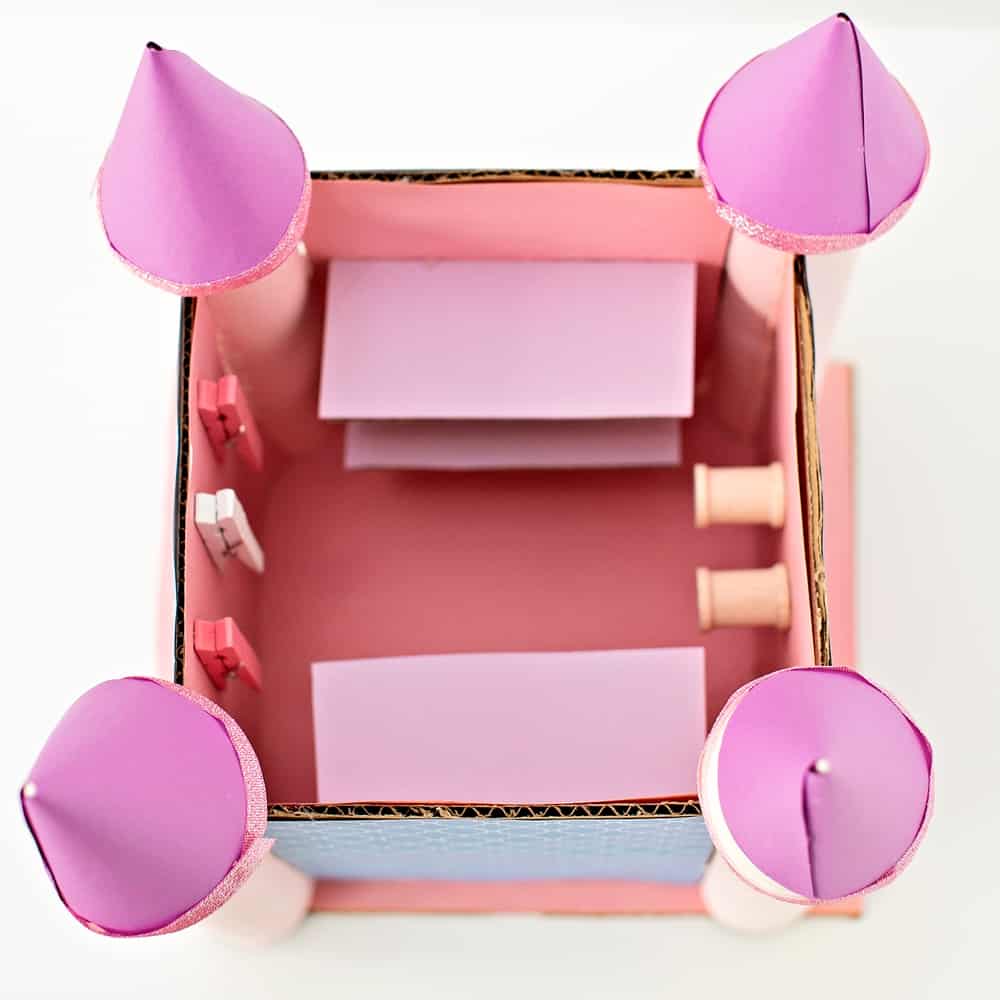
Cardboard Castle Jewelry Box – Materials:
- Cardboard
- 4 Empty paper towel rolls
- Paper cones (20 total). These are the tops of the castle turrets. Alternatively you can roll paper into cones but note they will not be as strong.
- Glitter tape (optional)
- Colored or patterned cardstock
- Hot glue gun
- Wooden spools
- Wooden clothespins
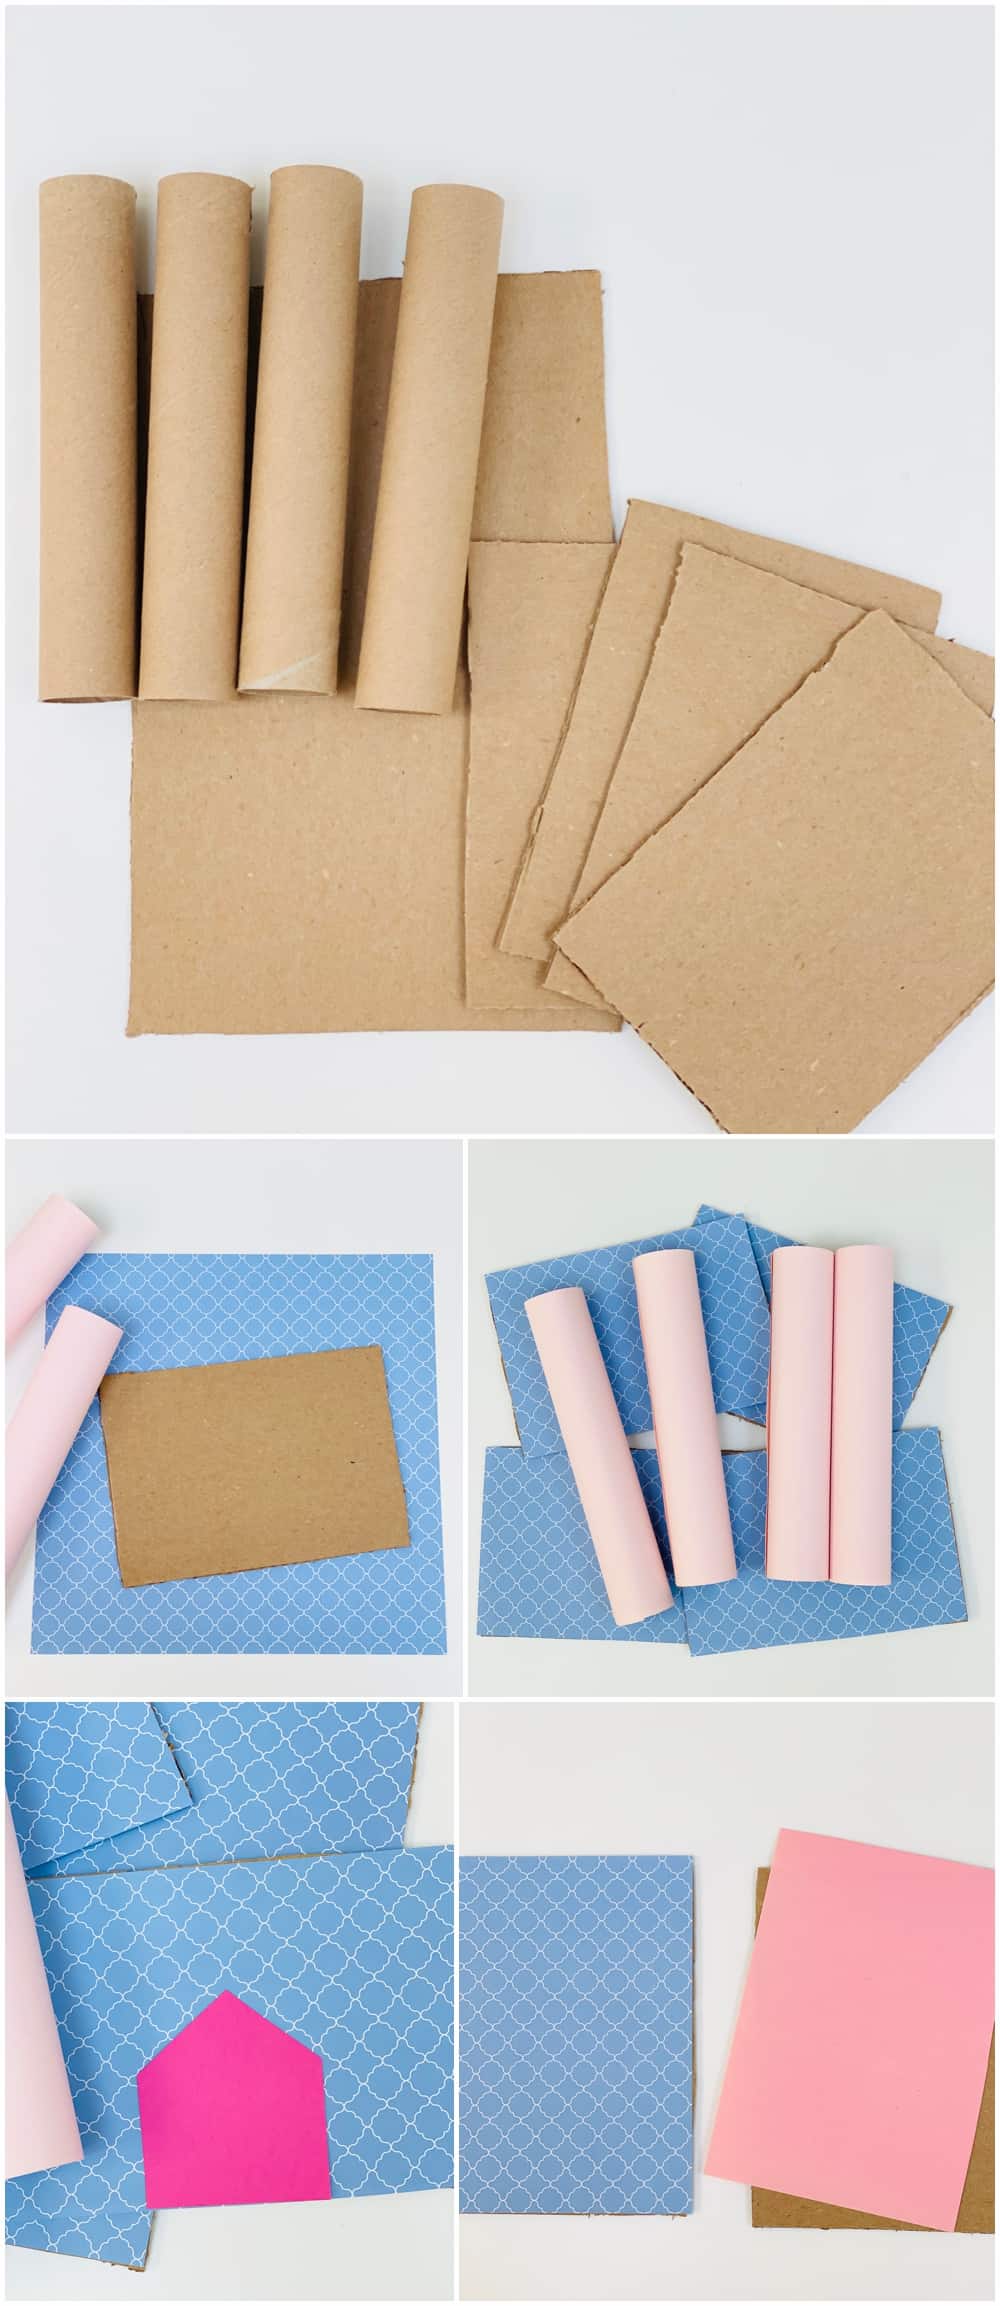
Directions to make a DIY Cardboard Castle Jewelry Box
- Cut 4 panels of cardboard around 6” x 8.5
- Cut another piece of cardboard around 14” x 9” (for the base)
- Cut patterned or colored cardstock to glue on the front and back of your 4 wall panels.
- Cut one piece of cardstock for your bottom base
- Hot glue the cardstock pieces to your cardboard.
- Roll paper around your tubes and tape or glue. Cut off excess paper at top.
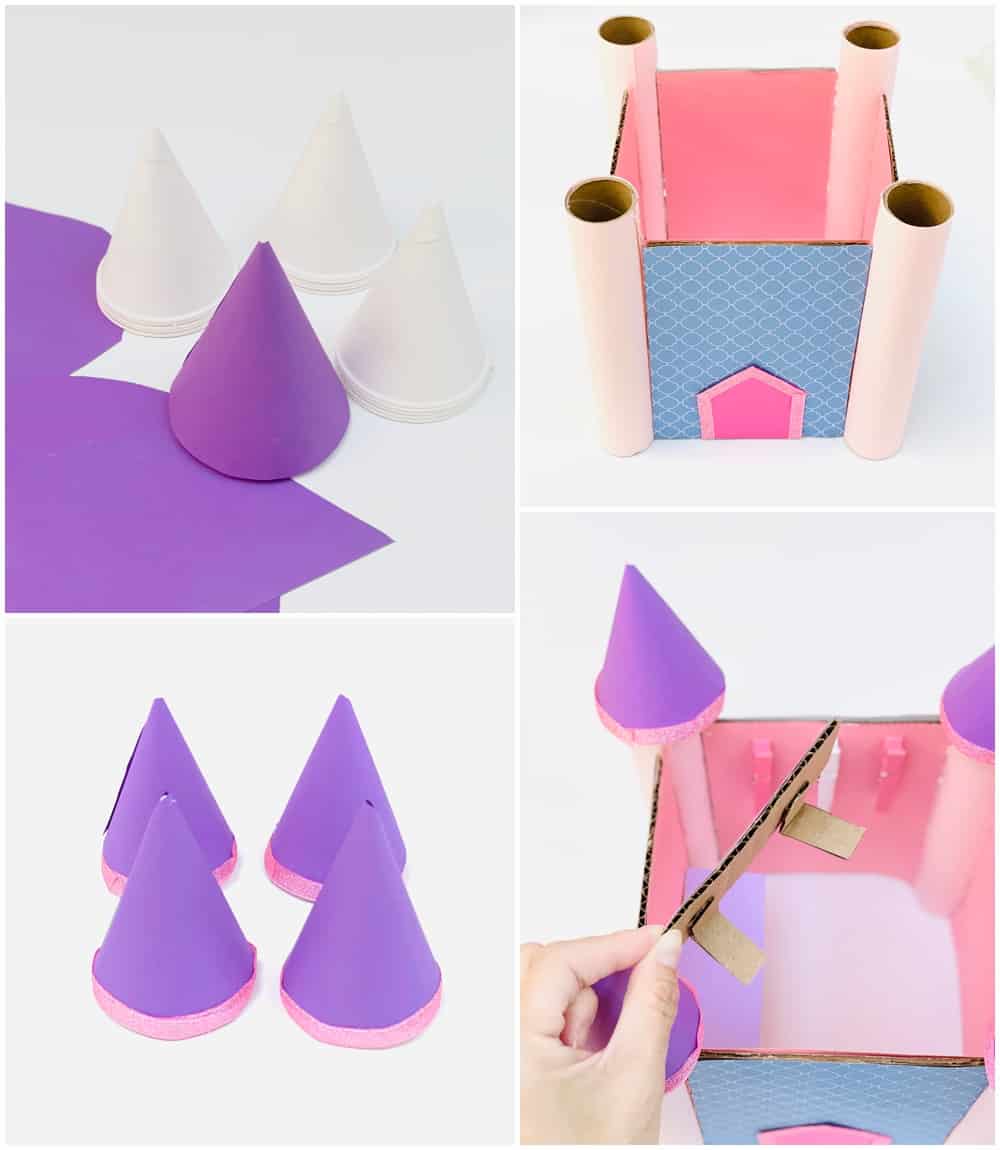
- Glue 5 paper cones together and repeat to make a total of 4 cones. Roll colored cardstock around the cones and either glue or tape.
- Hot glue your 4 panels with a paper tube on each corner, also hot glued.
- Hot glue your paper cones on top of each turrets. If you wish, decorate edges with glitter tape.
- Cut out a cardstock door and glue to one of the panels.
- Glue your castel to your base.
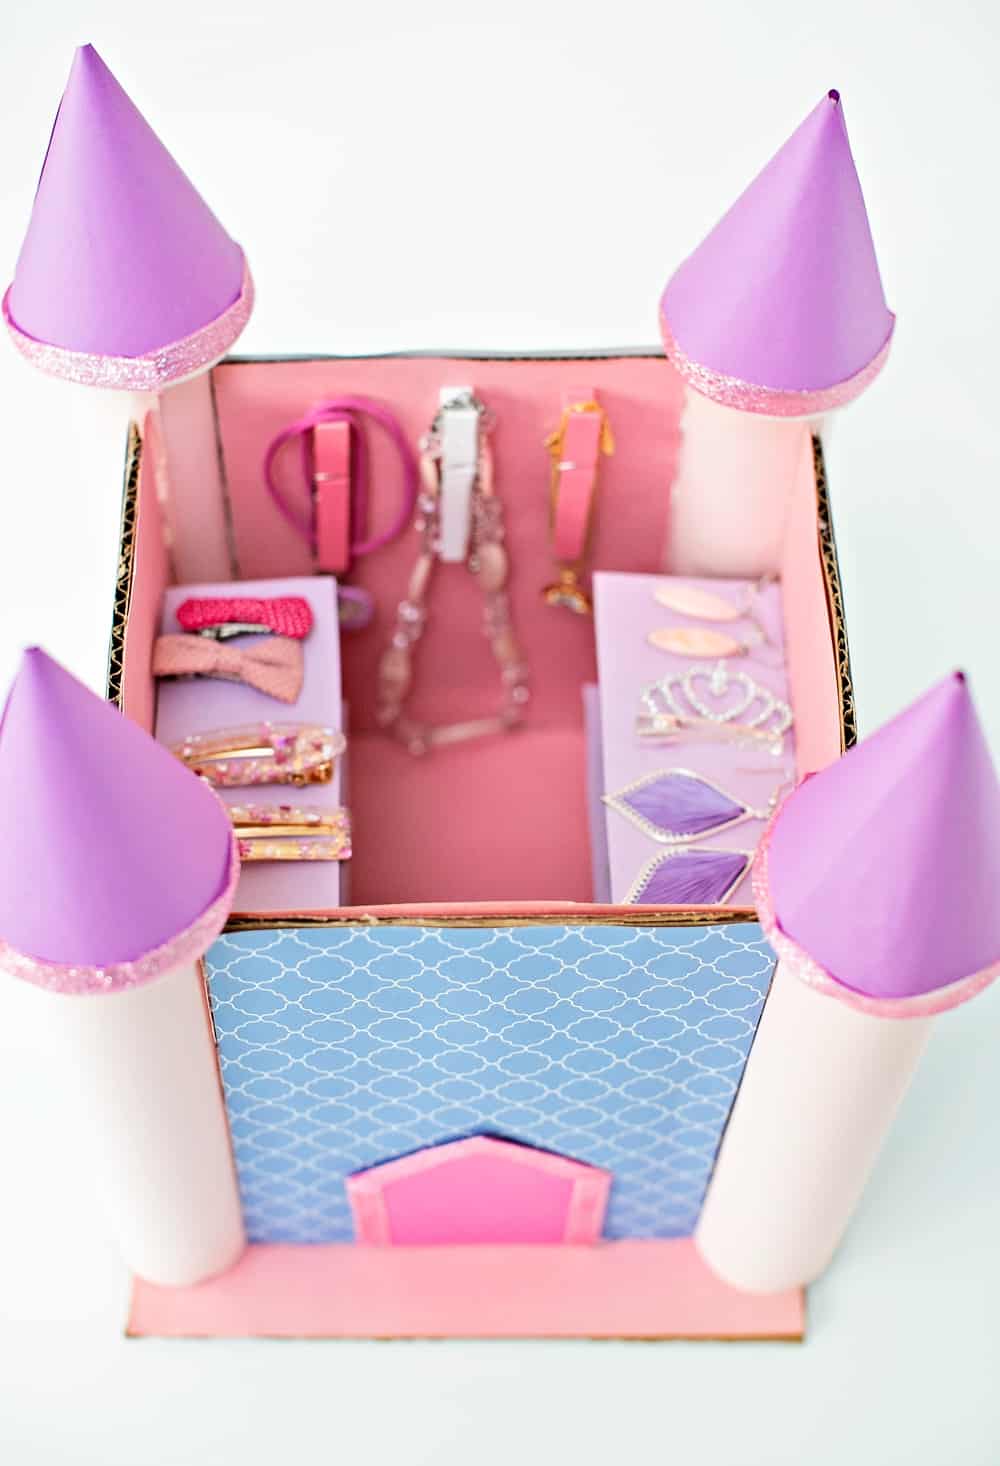
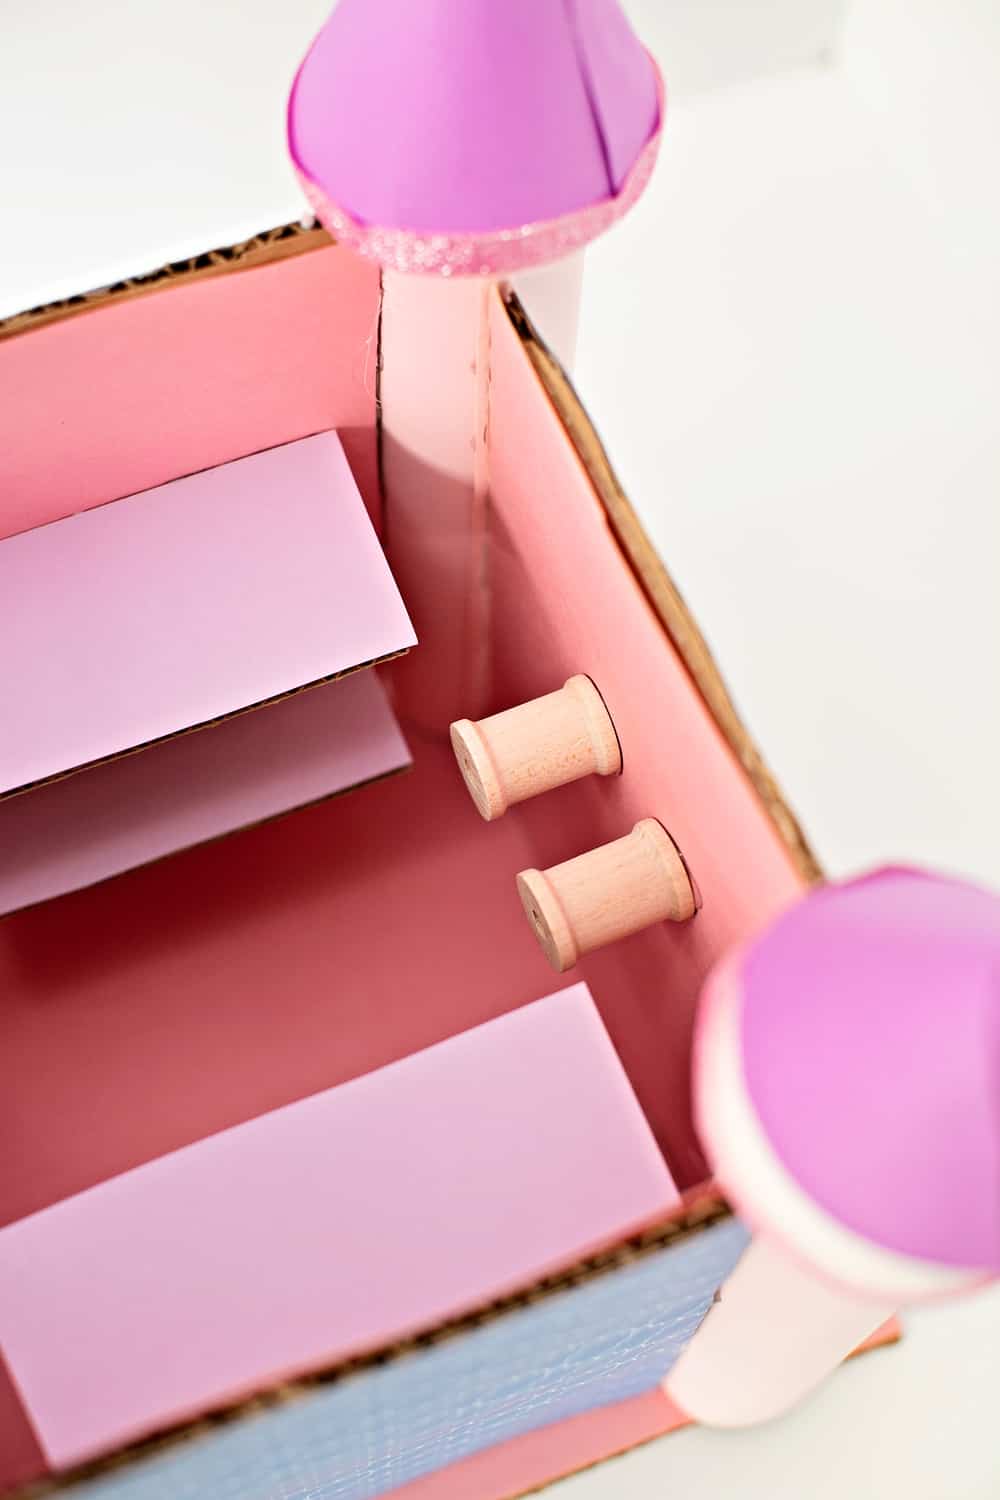
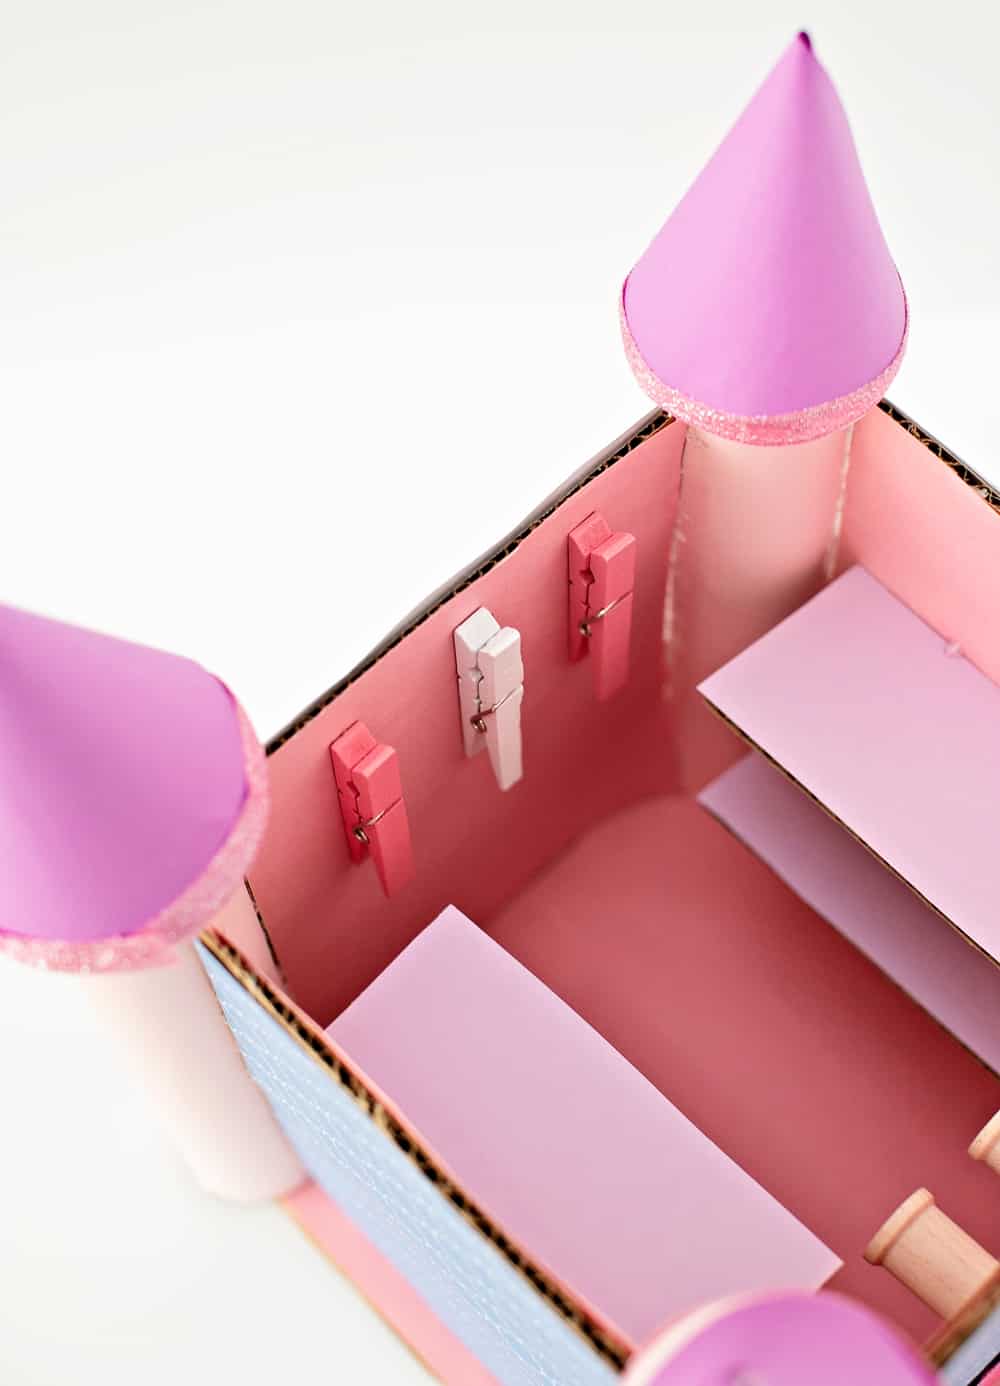
- For the inside of the jewelry box, hot glue wooden spools and clothespins on opposite ends. These are great to hold necklaces.
- Cut out cardboard strips (4 total) and hot glue cardstock over to make shelves.
- You will also need twostrips of cardboard per shelf to serve as “brackets” (see image). Hot glue the brackets to shelves and then on the castle interior walls. We have two shelves on each wall and decided to add shelves on two walls total.
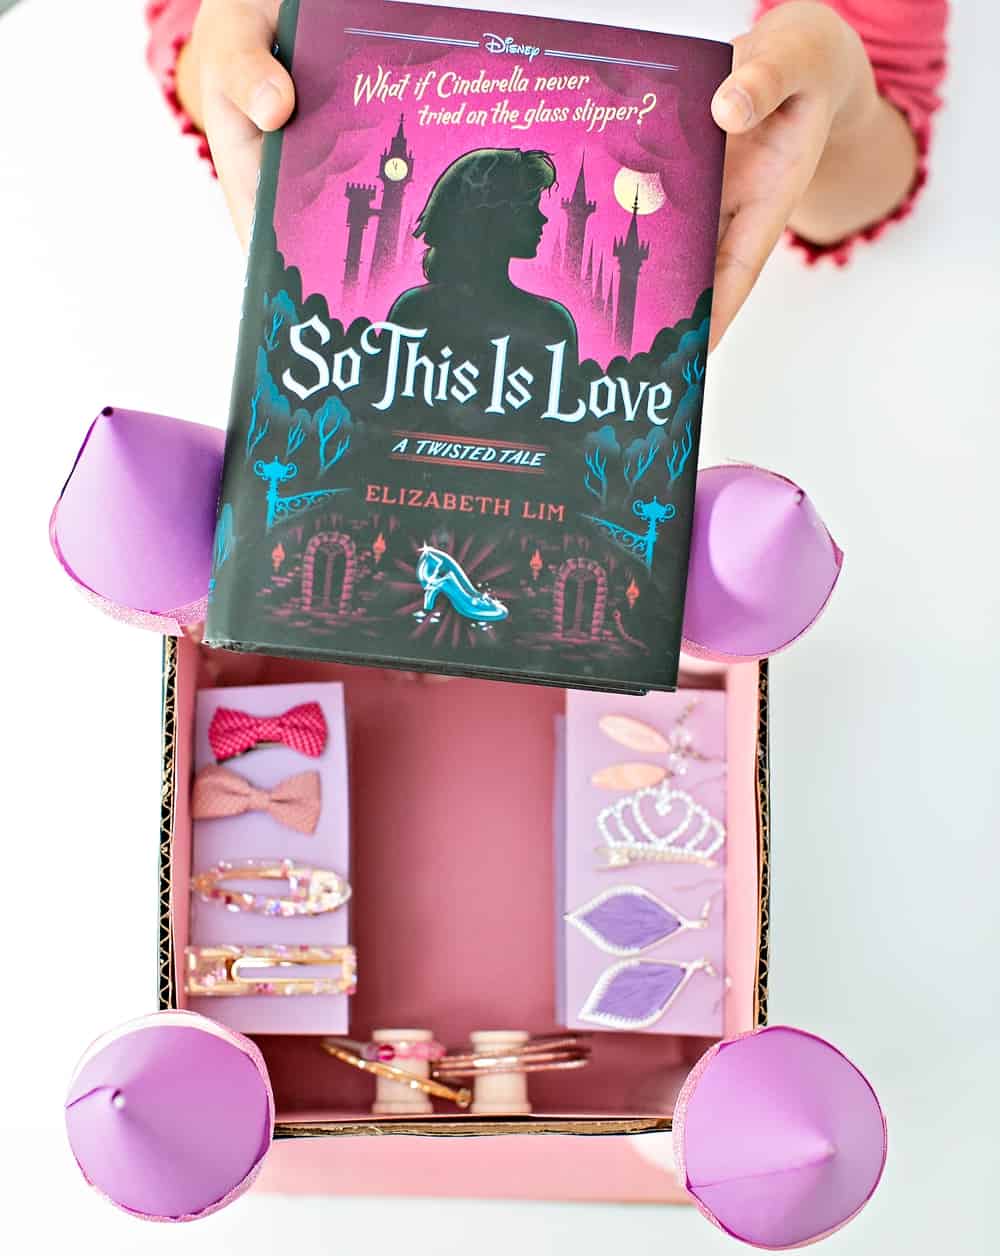
If you’re looking for a great young adult book that will bring the whole family to the edge of their chair in suspense, order your copy of “So This Is Love” today. It’s one book that will have you wanting to spend the whole day curled up reading and take you away to a magical place.
The post DIY RECYCLED CARDBOARD CASTLE JEWELRY BOX appeared first on Hello Wonderful.