DIY Scrap Fabric Covered Styrofoam Balls
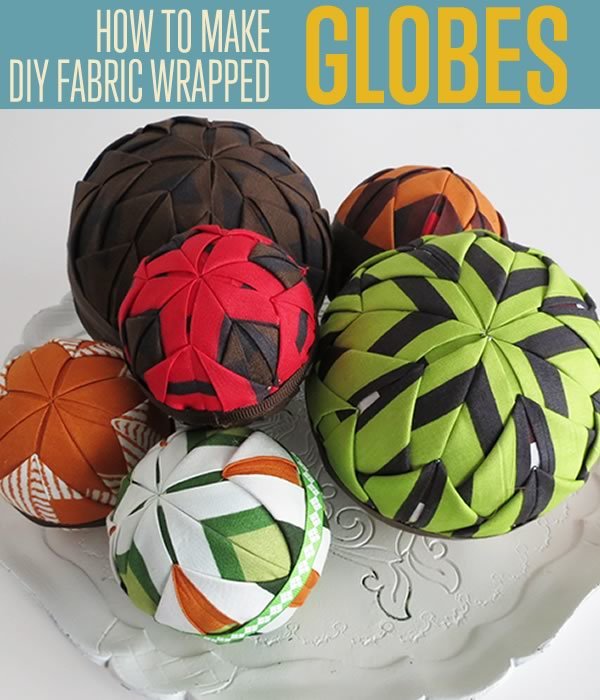
If you want to put a little color and originality in your decor, this DIY is for you! Here’s an easy way to make fantastic decorative fabric balls. The best part is you only need a few supplies and you can use your scrap fabric. You’ve most certainly seen these fabric centerpieces floating around people’s homes as simple and minimalist table decor. Did you know that making them is very simple? We know that decorating interiors can be pretty boring, but with our easy tutorial you’ll love the results! Check out how it’s done!
DIY Scrap Fabric Covered Styrofoam Balls
Alright, so let’s get started. Remember that you can use any size styrofoam balls! It looks better when you have varying sizes. You can really use anything spherical that got glue adheres to. Okay, let’s begin crafting!
You Will Need:
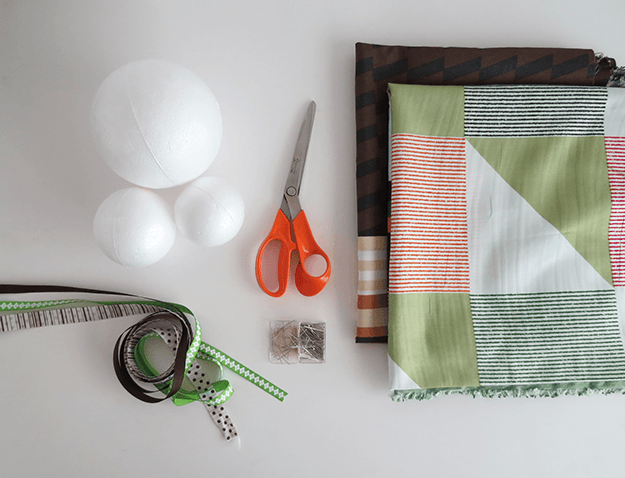
Supplies needed:
- Styrofoam balls
- Fabric
- Ribbon
- Pins
- Cissors
- Hot glue gun
Step 1.
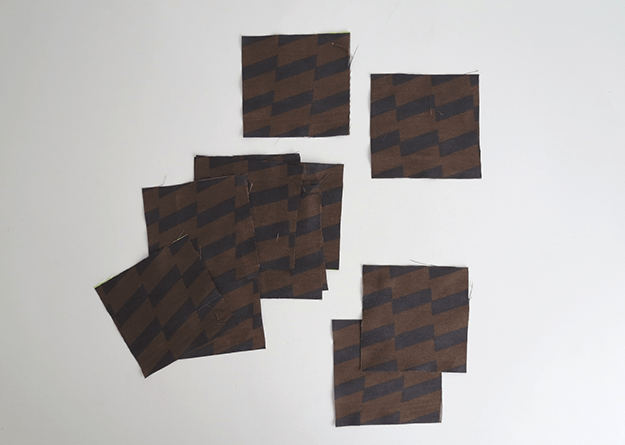
Cut small squares in the fabric. To cover the large styrofoam ball make 4” x 4” squares and for the smallest ball 3” x 3” squares.
Step 2.
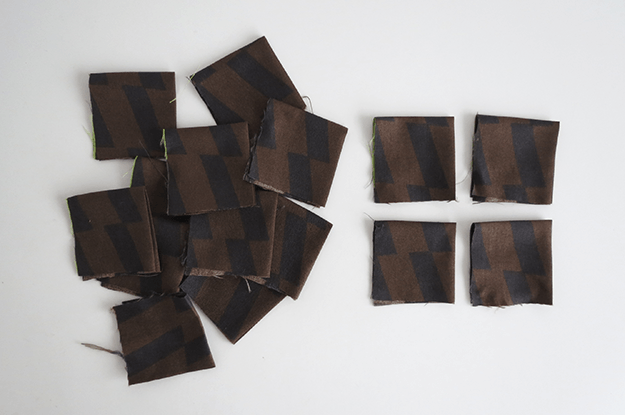
Fold the fabric squares in four, right side out. Iron them to mark the folds.
Step 3.
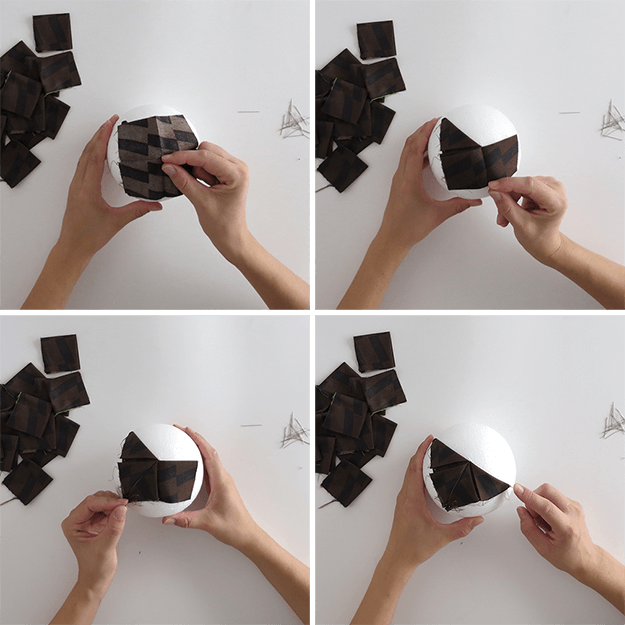
Unfold a square of fabric. Stick a pin in the center and push it into the styrofoam ball.
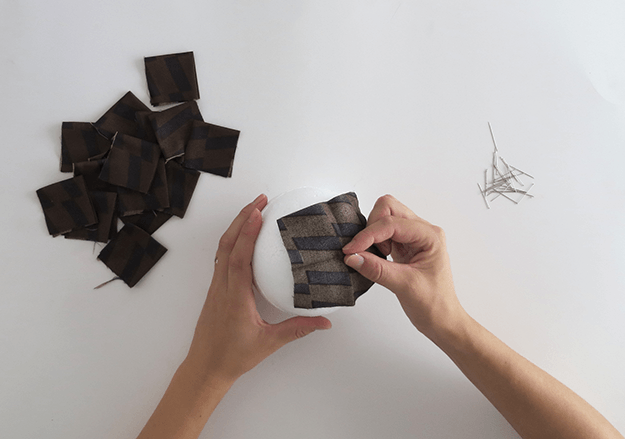
Step 4.
Fold the fabric on top of the pin. Put a second pin a bit lower to secure the fabric on the styrofoam ball.
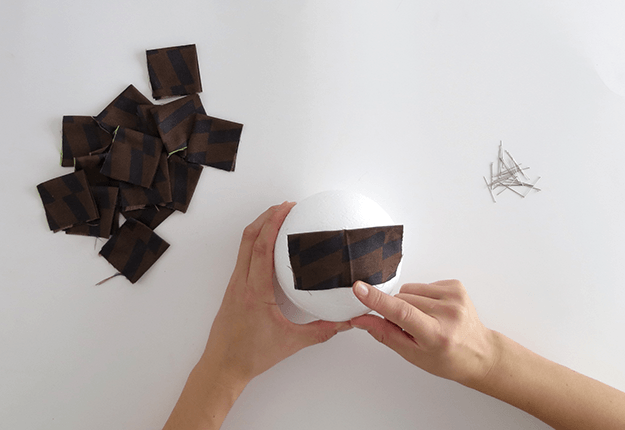
Step 5.
Fold one side of the fabric on the diagonal and fasten the edge with a pin.
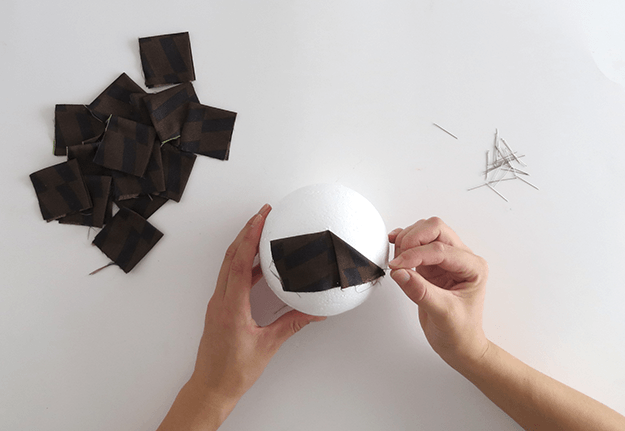
Step 6.
Fold the other side of the fabric on the diagonal and fasten the edge with a pin.
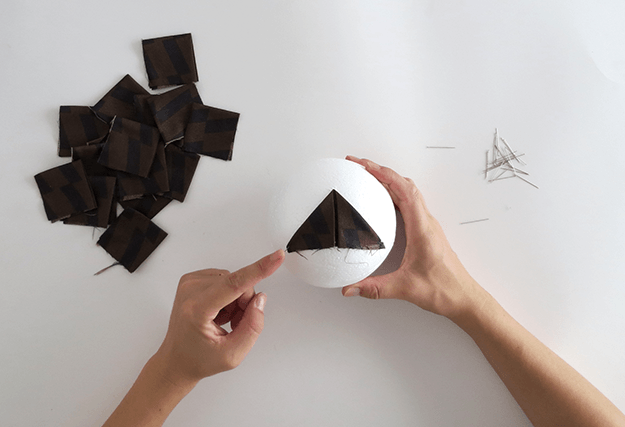
Step 7.
Now you have the first triangle, repeat steps 3 to 6 to cover the top of the styrofoam ball with 4 triangles.
Step 8.
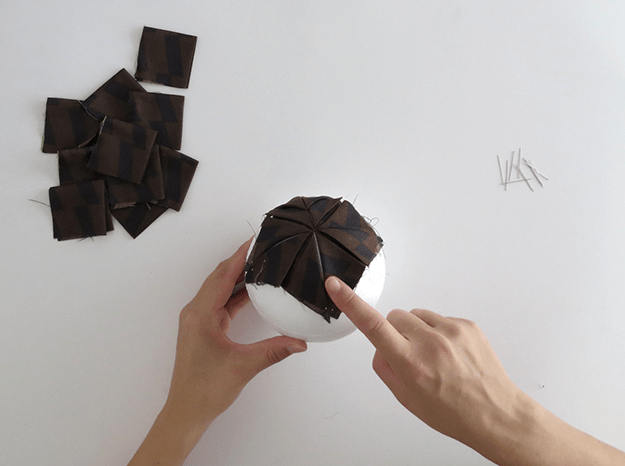
Let’s start the second row of triangles. Place the fabric halfway between two of the sides of the triangles.
Step 9.
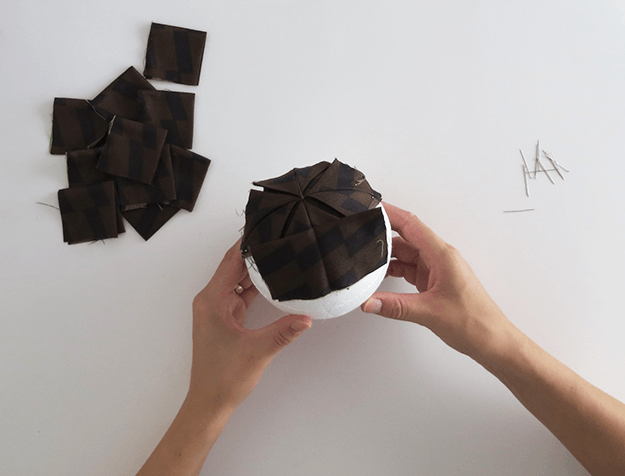
As before, stick a pin in the center of the fabric square and push it into the styrofoam ball. Fold the fabric on top of the pin. Put a second pin a bit lower to secure the fabric on the styrofoam ball.
Step 10.
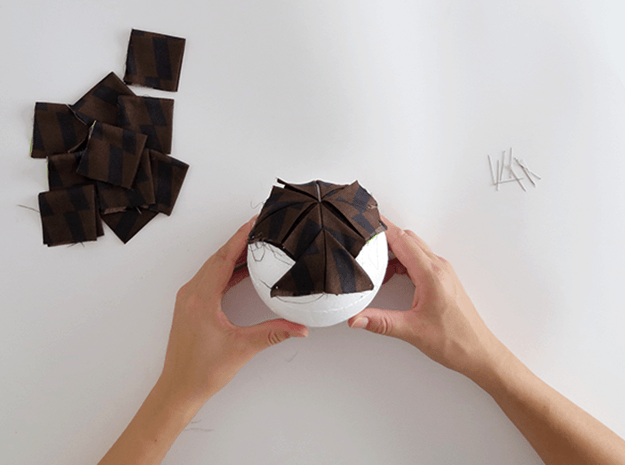
Fold both side of the fabric on the diagonal and fasten the edges with pins.
Step 11.
Repeat steps 8 to 10 to cover the ball with the second row of triangles.
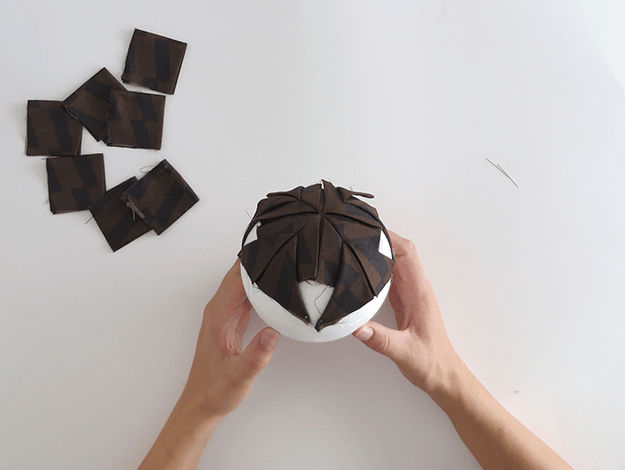
Step 12.
Make a third row of triangles, the same way as before. Place the triangles the best way you can to cover the ball.
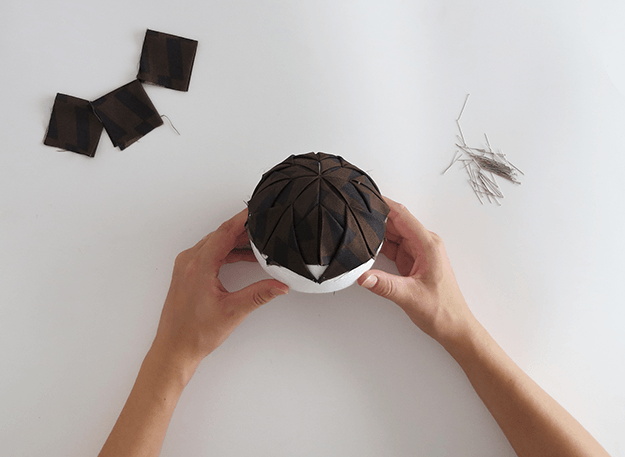
Step 13.
Continue until half of the styrofoam ball is cover. Here we use five rows of triangles.
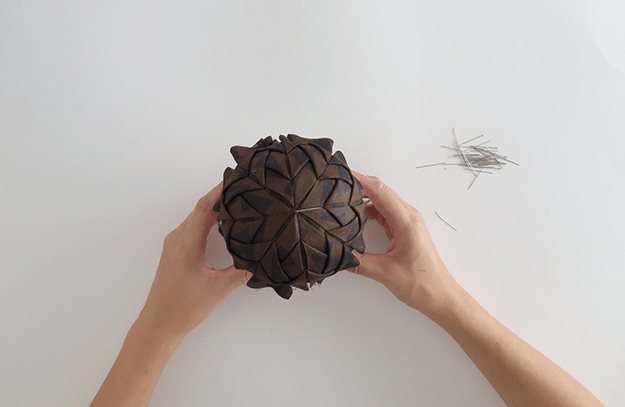
Step 14.
Cut the fabric that exceeds beyond the half of the ball. Add a few pins if necessary to ensure that all pieces of fabric are secured to the ball.
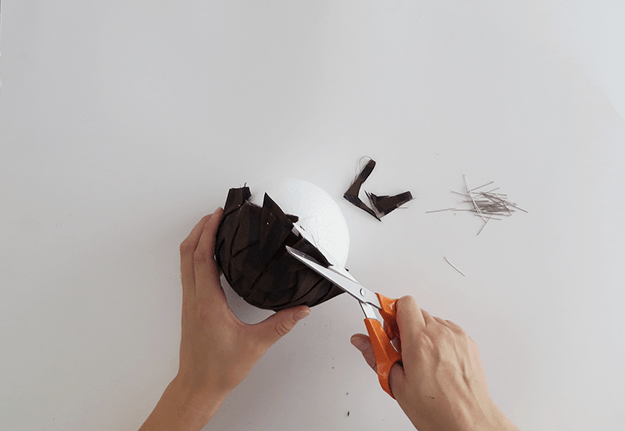
Step 15.
Cover the same way the other half of the styrofoam balls. So repeat step 3 to 14.
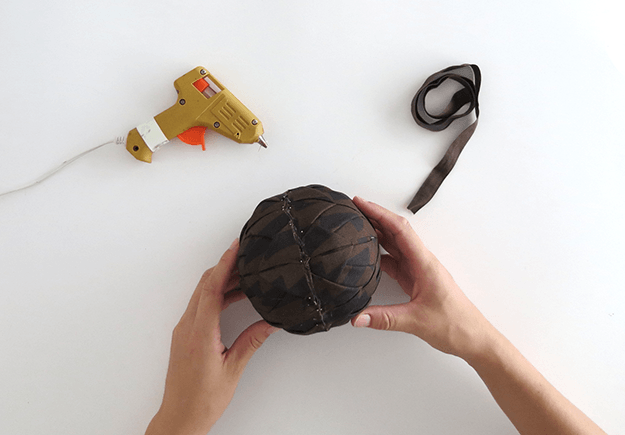
Step 16.
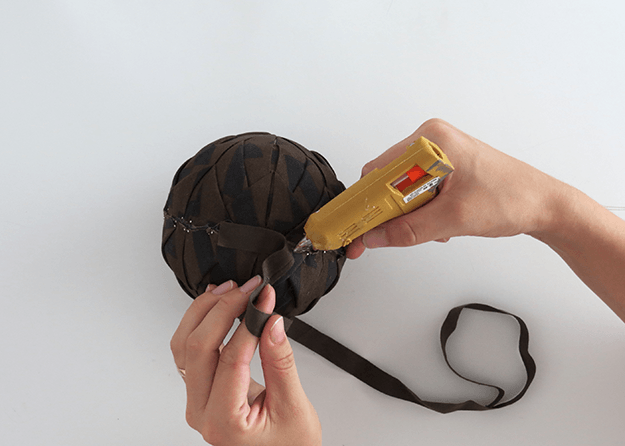
It remains to finish the ball nicely. Using a hot glue gun ,fix a ribbon to cover the edges of the fabric.
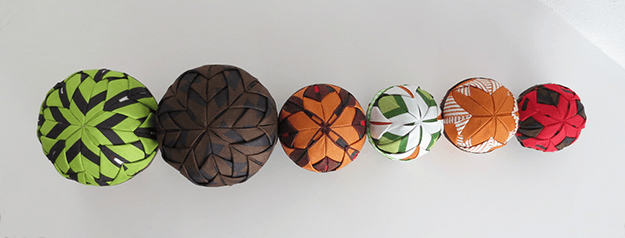
You can make these lovely fabric balls in any size or color! You can also play with the fabric patterns to give more texture to the ball! And you can add a ribbon loop to hang it! Have fun crafting decorative balls! We’d love to see how your project turned out! Do you have a blog of your own that you’d like to share with us here at DIY Projects? Let us know in the comments section below and we’ll be sure to link to your site! Do you have a project that you’d like us to attempt? Please let us know in the comments section and we’ll get started making it. We love hearing from you. The more you comment, the more likely we are to do craft projects like this in the future.
Like Us on Facebook to get all the latest and greatest DIY projects straight to your feed! Pin your favorite projects to Pinterest to share with your friends!
Thanks and happy DIY’ing!
Here are some fun related projects: