Garage Makeover with Epoxy Floor
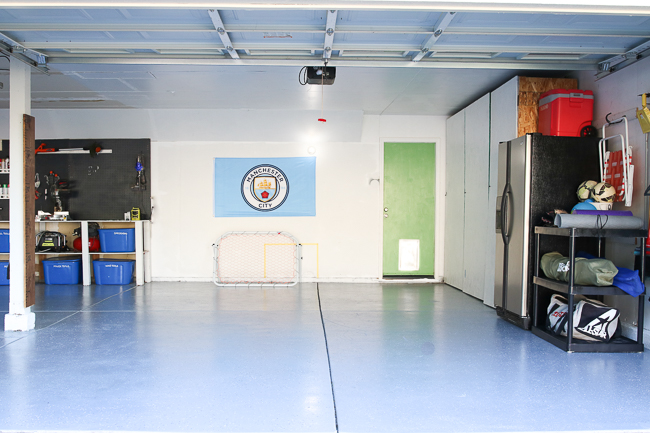
I have been trying to come up with projects that we can tackle during the shelter in place time – things that would positively impact our time at home, affordable projects that we can do ourselves and things that didn’t require a lot of running around or shopping for supplies.
The first thing we decided to do was a complete garage makeover. It was a lot of work but was so well worth it in the end! Our garage looks so much better and instead of a space that always put me in a bad mood, it has become a super functional space we use daily.
The garage before was filthy, unorganized and full of junk we don’t need or use. The floor had an epoxy treatment about 12 years ago but I don’t think a primer coat was used and the epoxy has chipped off and looked terrible. We had a foster puppy awhile back that did some minor damage to the drywall that we never did fix and overall the garage was a depressing and gross space.
My vision was to create a clean, fresh space that our children can use to practice soccer drills and speed/agility training. Somewhere that I can work out and that we weren’t ashamed to have open when doing projects or crafts.
We spent roughly $150 on this entire project overall and I really challenged myself to use things we had on hand to eliminate the need to run to various stores. The main expense was the floor- epoxy and primer plus a few cans of spray paint- that was about it.
Here is what we did:
- We started by emptying a lot of the garage. I already went through a lot of our holiday decorations and we really went through each item to see what we absolutely needed and used regularly. We made piles for Goodwill and piles of things to sell on our local Facebook page and piles of junk that needed to go straight into the trash. Sadly we weren’t able to sell much on Facebook before California’s shelter in place went into effect and the Goodwill items are awaiting the reopening of Goodwill stores. But it is all bagged up and ready to drop off.
- Next up was cleaning the floor. We finally got the floor cleaned thanks to a power wash and lots of scrubbing. The kit we purchased comes with a concrete etching product that you can use to prep the floors for primer. You do need a really clean floor and a really dry floor before you begin the process. A pressure washer is definitely not necessary but it is handy if you have one or can borrow one. I’ll link to a good cleaning product below that you can use with a broom or your pressure washer and broom.
- Once the floor was completely clean, thoroughly dry and everything was out of the garage, we used a shop vac to clean all the spiderwebs and dirt and grossness off the walls and in all the corners. And we removed everything from the walls. A lot of it was clutter that just made the garage look junky and considering there are no windows in this space, I wanted it to be as fresh and clean as possible.
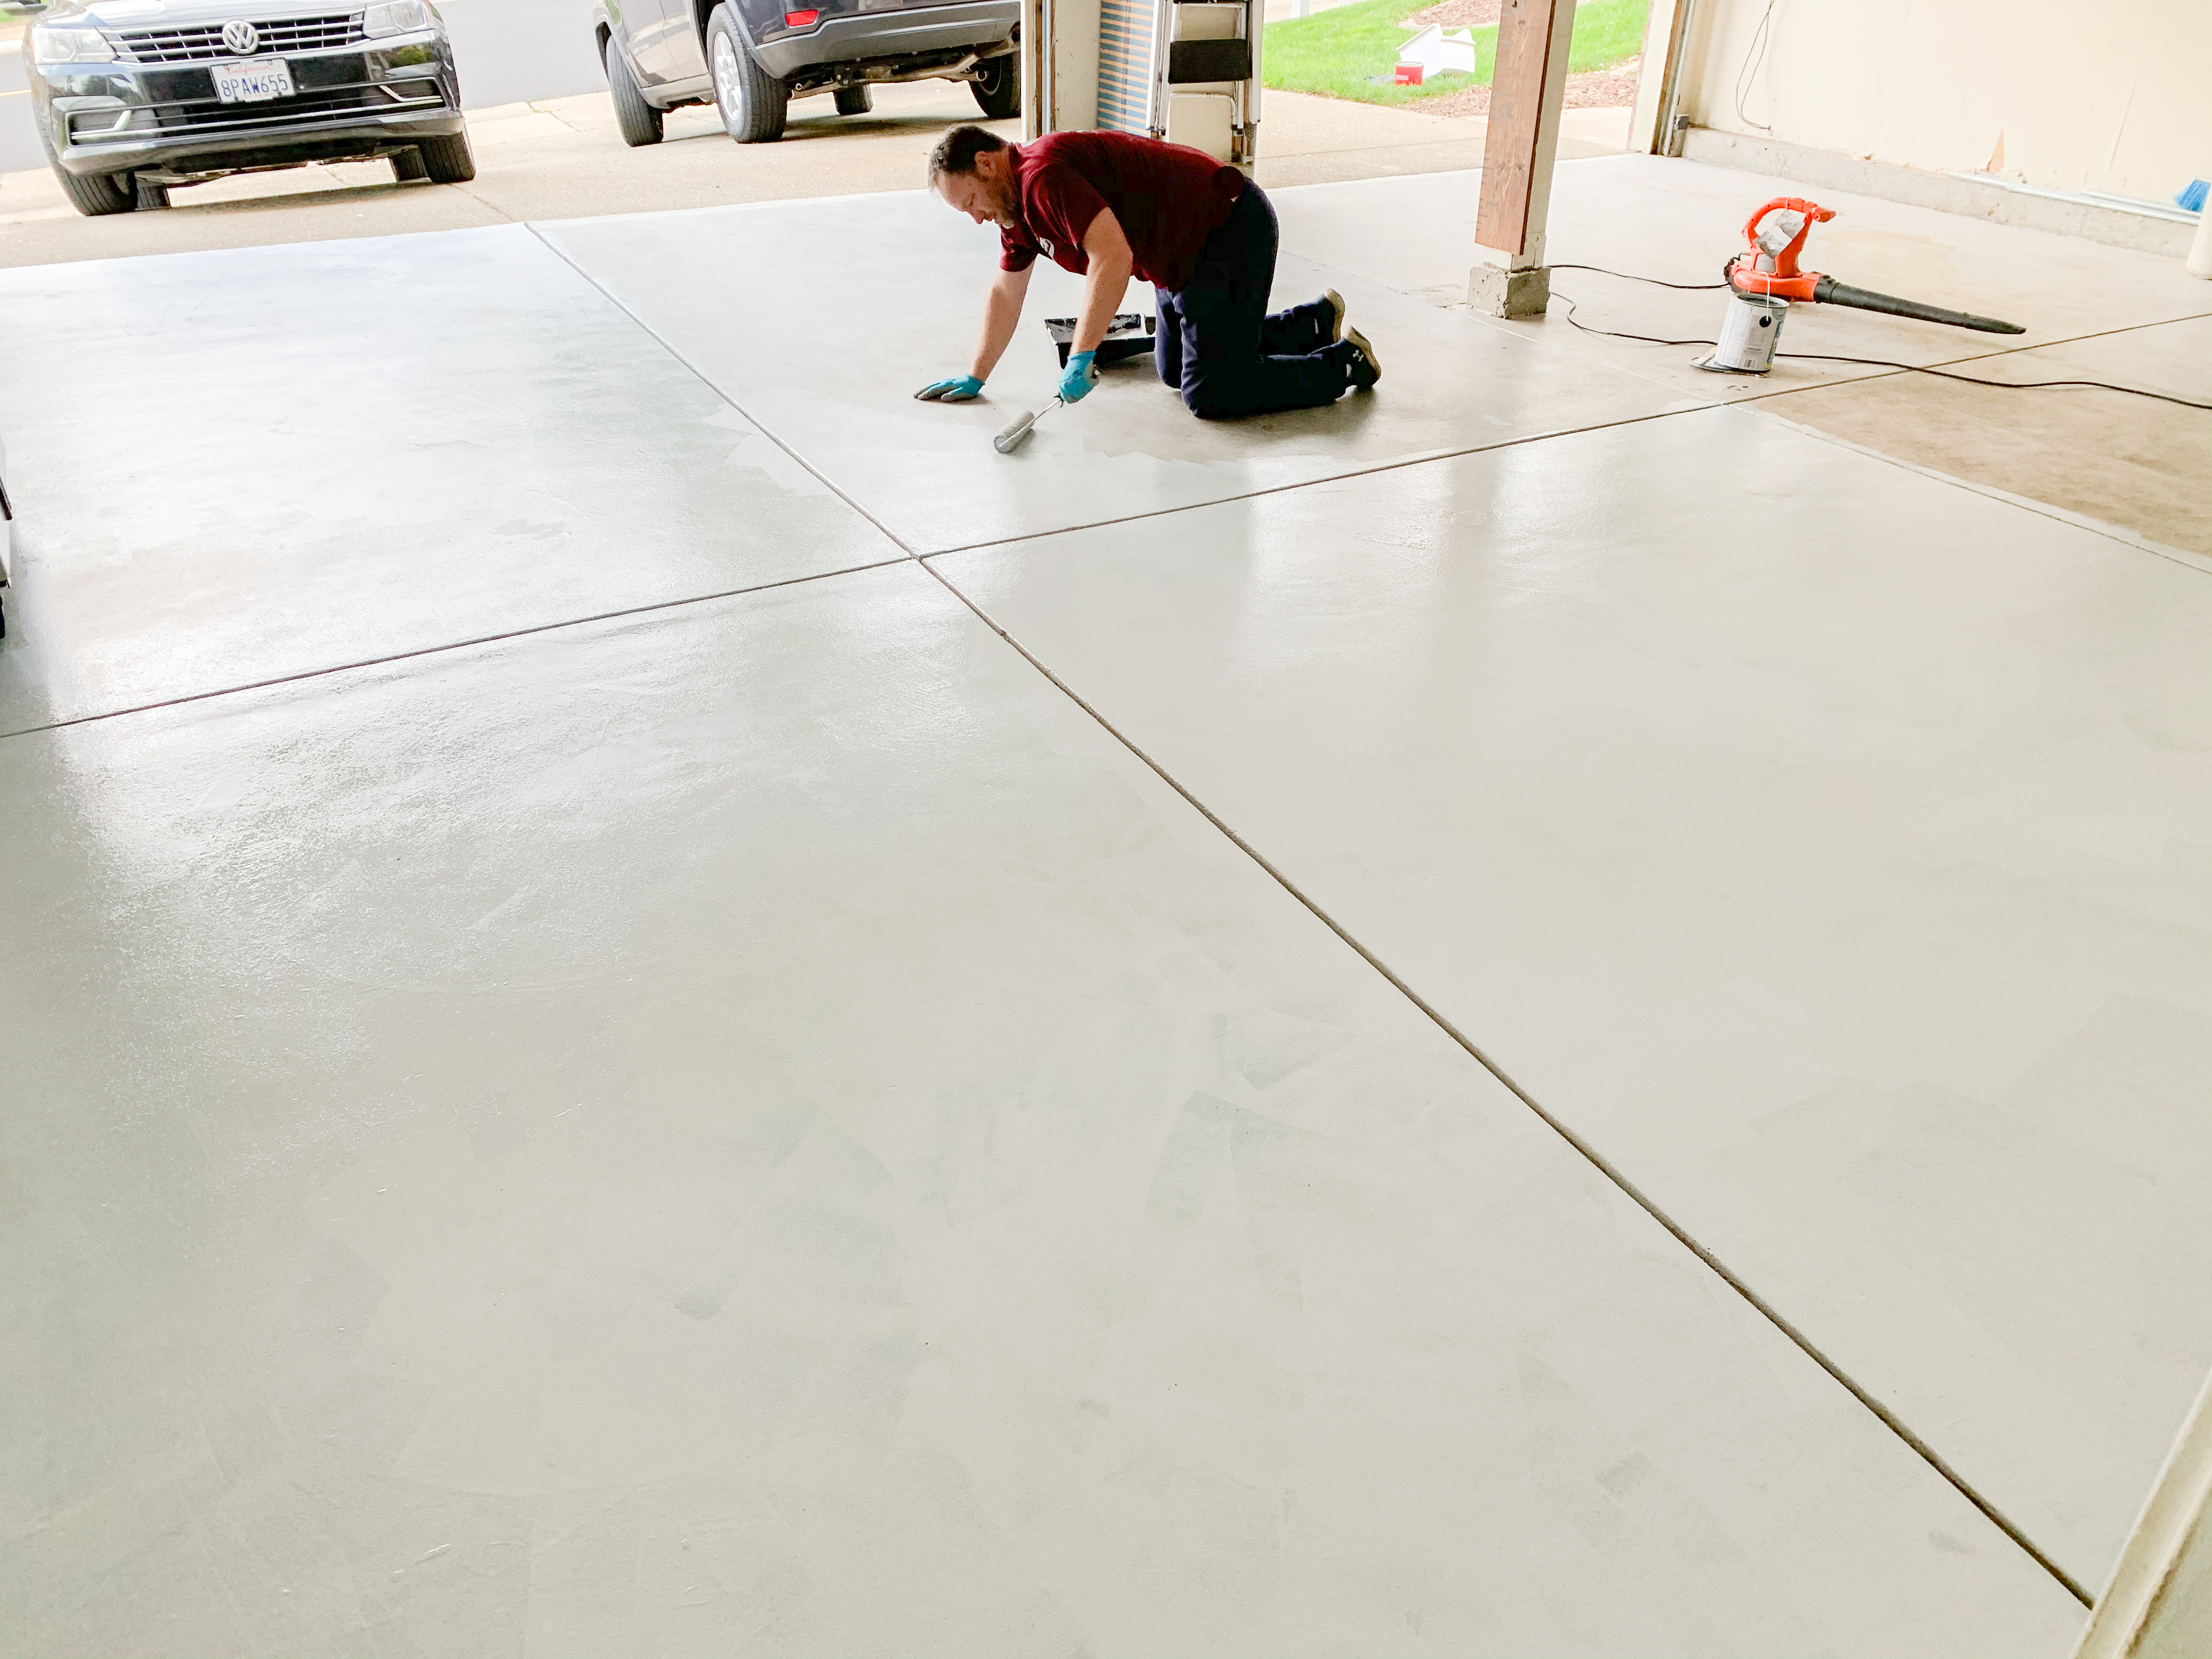
4. Due to some rain forecasted, we decided to paint the floor first as it requires several days to completely dry. I would have preferred to paint the walls and the curb around the garage floor first but we really wanted to get the project going with enough time to dry during the sunny days. I picked up Zinsser 123 primer which adheres to concrete without requiring sanding. It is supposed to be resistant to peeling and to mildew and is very fast drying. One paint can was sufficient for our entire garage floor (2 car garage).
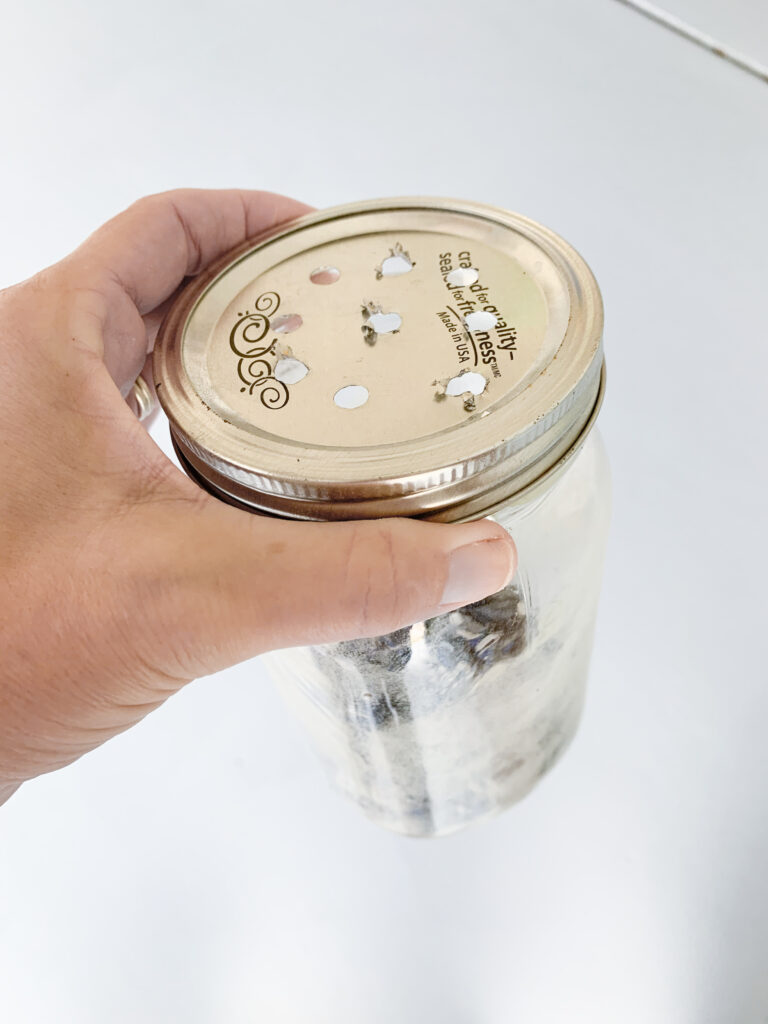
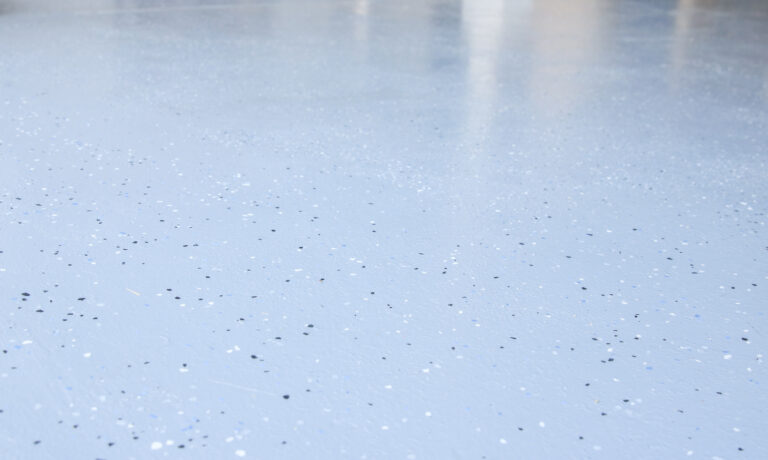
5. We used Rustoleum Epoxy Shield in grey to epoxy the garage floor. You work in sections and it dries very quickly but my husband did the entire floor in just a few hours using a paint roller. You do need to sprinkle the decorative chips on each section after painting and the kit just recommends sprinkling with your fingers. We wanted a more uniform look so I took an old mason jar and we punched holes in the lid to create a large shaker and the kids had fun shaking the little chips over the wet epoxy as Dad painted.
6. Let thoroughly dry and you are done!

I decided to touch up the walls with a fresh coat of white paint we had on hand and we actually didn’t quite have enough primer to finish the cement edges that are all around the garage floor. I used white spray paint to try and make those curbs look a little better. Finally I painted the peg board over my husband’s workbench a more neutral black (again all with paint we had on hand). I wanted to paint the side door green just to give the space a little color but we actually decided it would be fun to use a chalkboard paint instead. The idea was to use the chalkboard for scorekeeping if we did games in the garage or maybe even make project lists for the house or inspirational quotes for working out etc… but my daughter immediately jumped on the chalkboard door to detail out her soccer training. (She was so excited, we didn’t even have a chance to remove the painter’s tape from the door.)
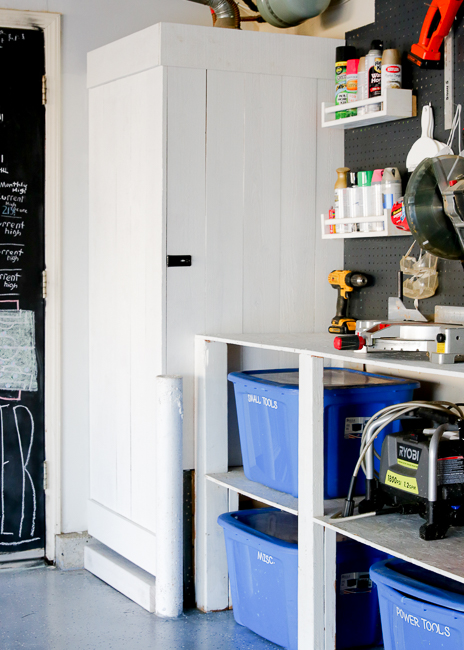
The very last project was this little box my husband built out of fence posts to disguise our water heater. Really fast project and very inexpensive and the door is on hinges just in case we need to replace or access the water heater.
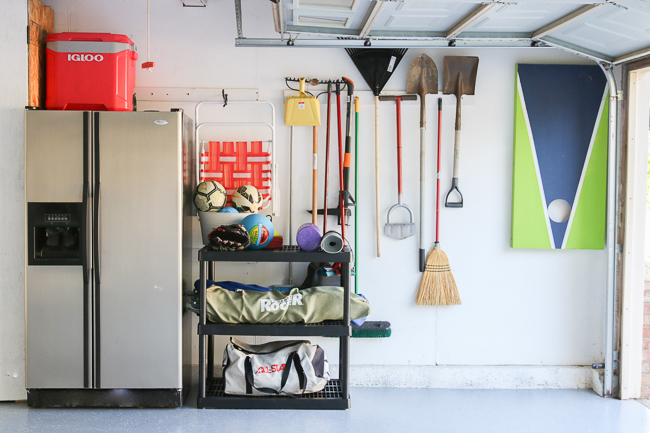
So here is the side of the garage- our old fridge that isn’t especially pretty and the storage shelf was originally tan and really junky but I spray painted it black. It holds catcher’s gear, yoga mat, soccer balls and the chairs that usually sit in our cars for sports, plus our Cornhole game (get the DIY directions here) and a few lawn and garden tools.
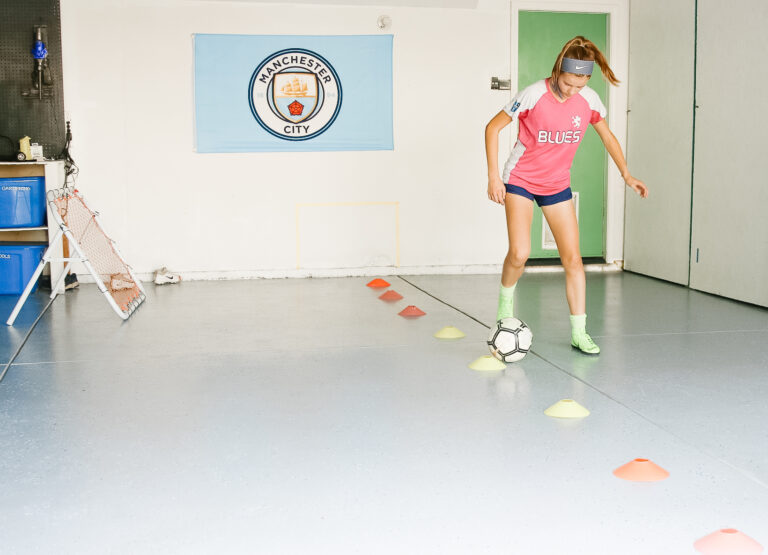
And that is it. The space is so much brighter and we have used it every single day. You can sometimes find me getting in a workout, my big girl doing soccer drills, the little one hitting whiffle balls or lot of games with Dad, like soccer tennis.
This was not expensive, nothing fancy, almost entirely with basic supplies we already had and just took a little team work and elbow grease and it has been so worthwhile. Ready to see the before?
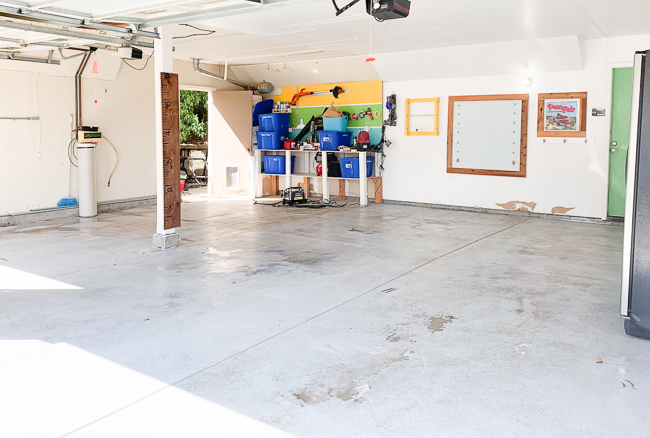
What a difference a little paint makes.
Here are the products we used for the transformation:

The post Garage Makeover with Epoxy Floor appeared first on My Frugal Adventures.