How to Craft a Fun DIY Penguin Christmas Ornament in 5 Steps
A DIY penguin Christmas ornament is a fun and creative way to create rustic holiday décor and have fun with your kids. Read on to discover how to make a DIY penguin Christmas ornament using common crafting supplies.
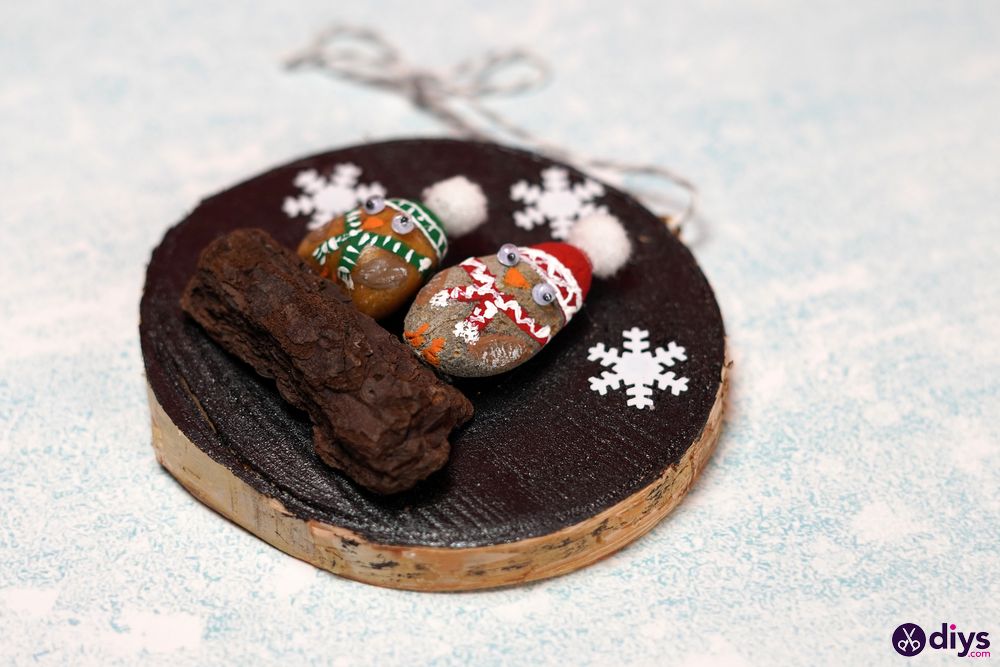
Penguins are associated with Christmas because they live in cold climates such as Antarctica and the Arctic regions, reminding us of the cooler temperatures that come along with wintertime. Additionally, their black and white feathers often resemble festive clothing like scarves, hats, mittens, and other winter apparel. The playful nature of penguins also makes them an appropriate decoration choice around this time of year since the animals seem cheerful despite their sometimes chilly environment. As such, penguins are common in winter decorations, from miniature stuffed penguins to delicate glass figurines.
This article describes the supplies, step-by-step instructions with images, and a video guide for making a DIY penguin Christmas ornament.
Supplies for a DIY penguin Christmas ornament
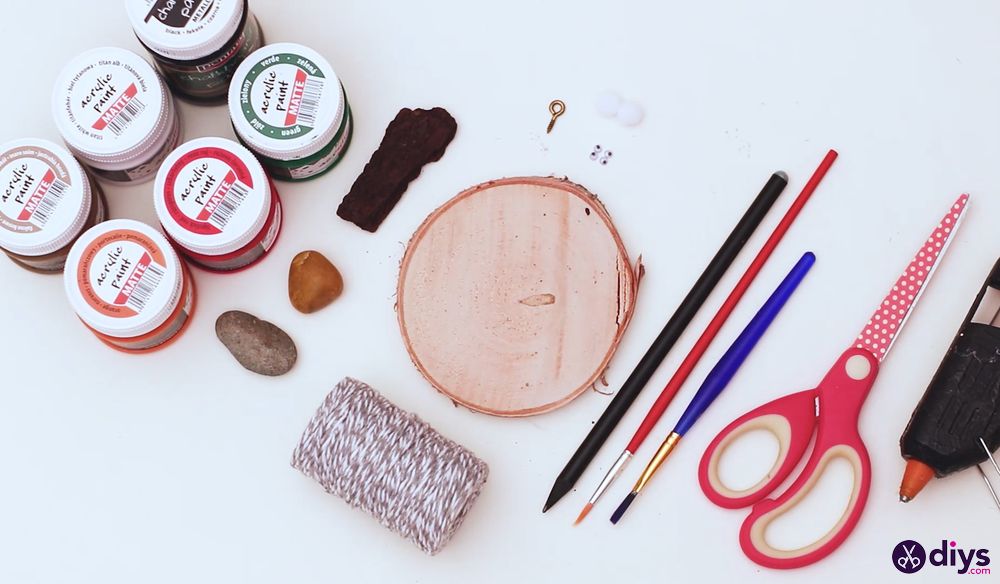
- Wood slice
- Two rocks
- Pencil
- Acrylic paint in various colors. We used matte black, white, red, green, orange, and brown acrylic paints, but use any colors that match your holiday decorations.
- Two paintbrushes
- Four googly eyes
- Pom-poms
- Tree bark
- Small decorative snowflakes
- A screw eyes
- Christmas twine
- Scissors
- A hot glue gun with glue
How do I craft a DIY rustic Christmas tree ornament?
-
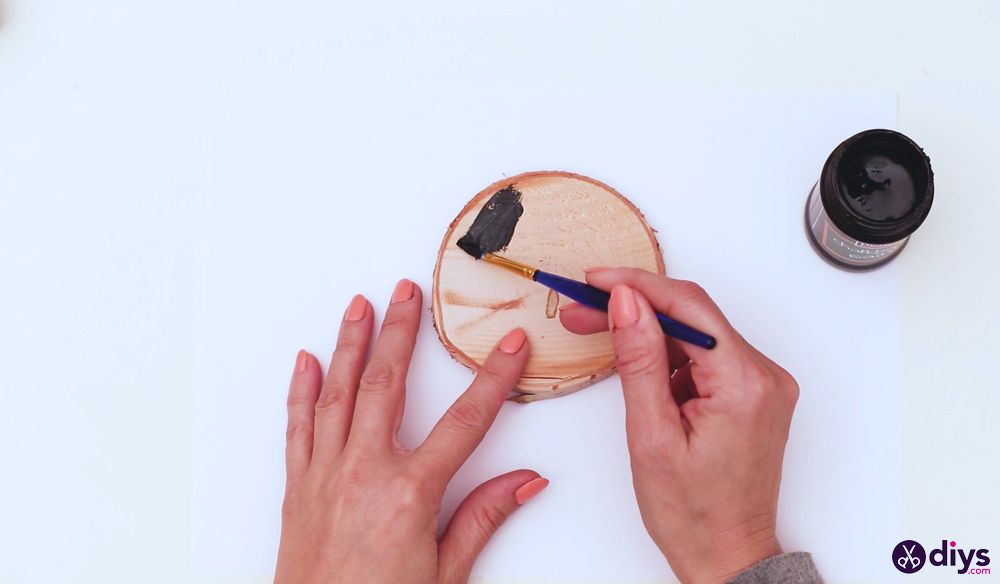
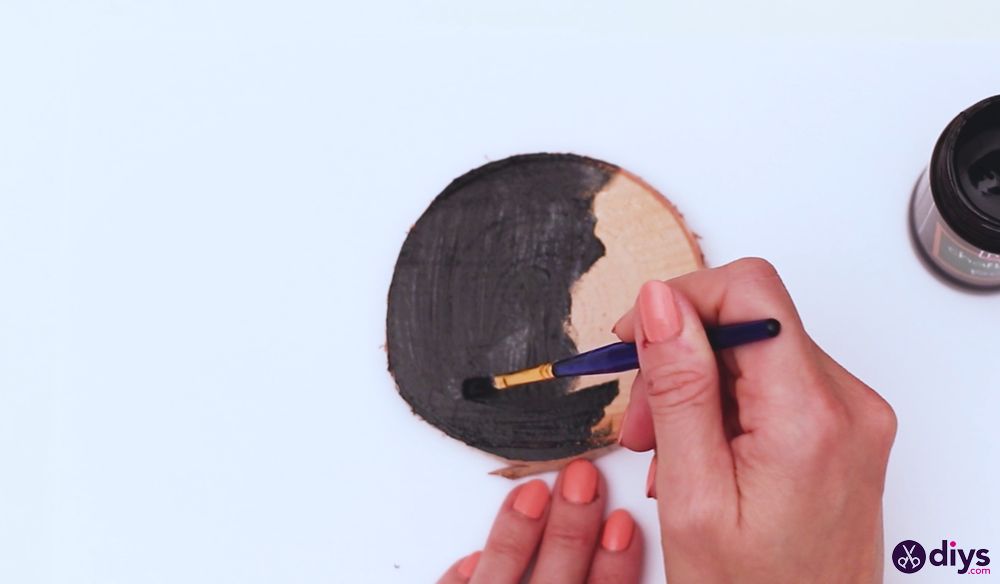
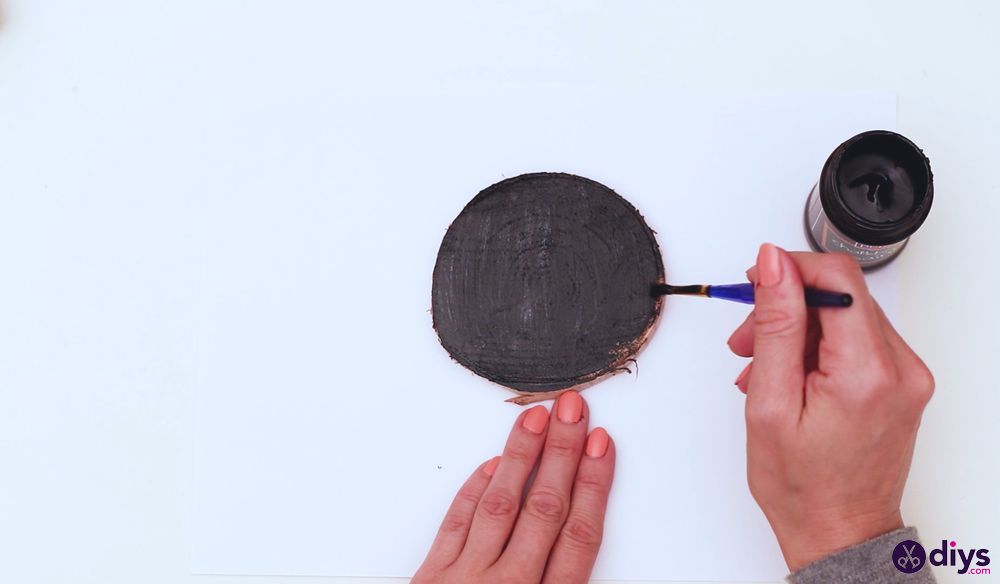
Prepare the ornament background: Start by painting the wood slice black. Allow the paint to dry. If you’re not satisfied with how the first coat turns out, apply a second coat of paint, and let it dry again.
-
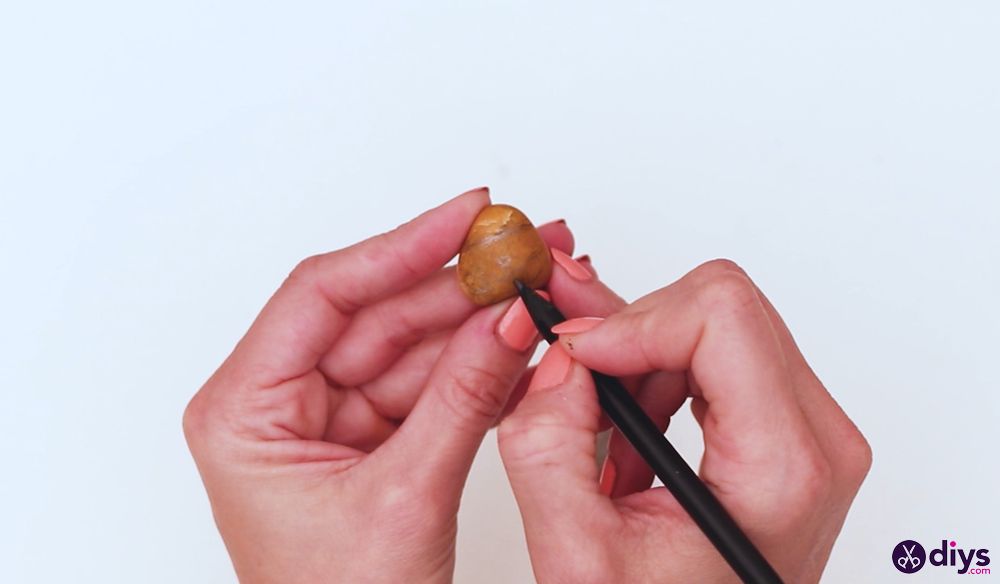
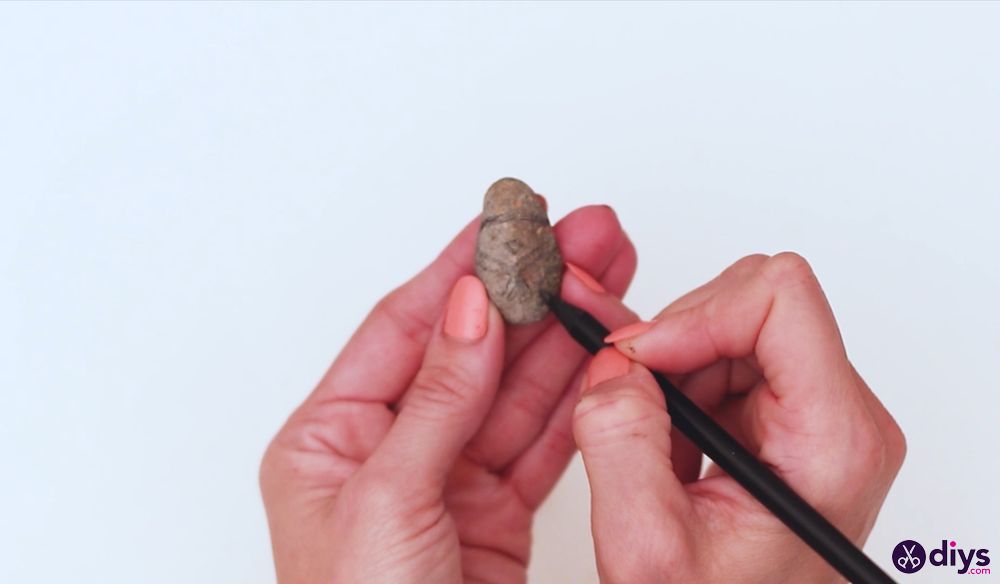
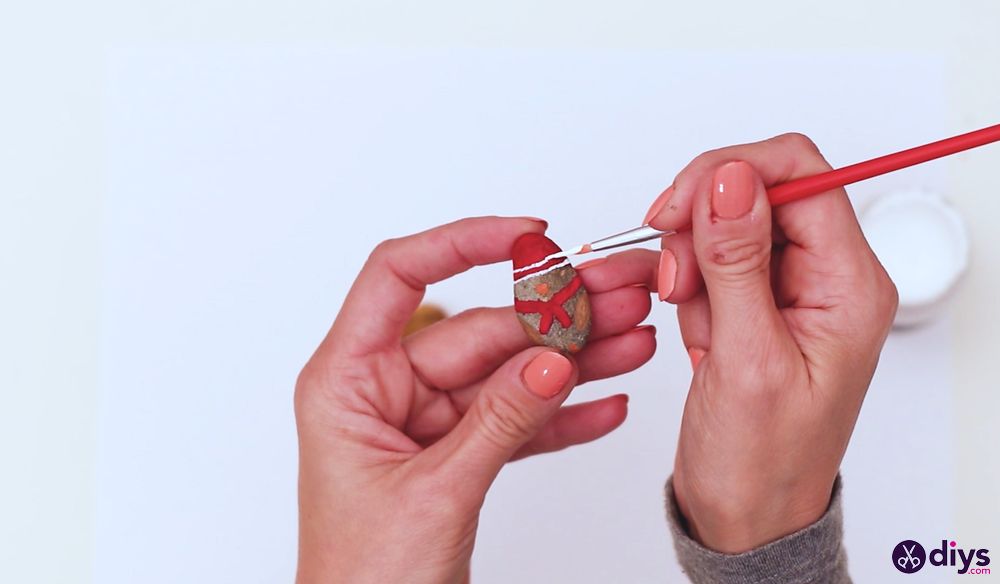
Design the penguins: Sketch the outline of a penguin’s beak, feet, and flippers on a rock. Fill in the sketched parts with acrylic paint and let the paint dry. Repeat this step for the second penguin.
-
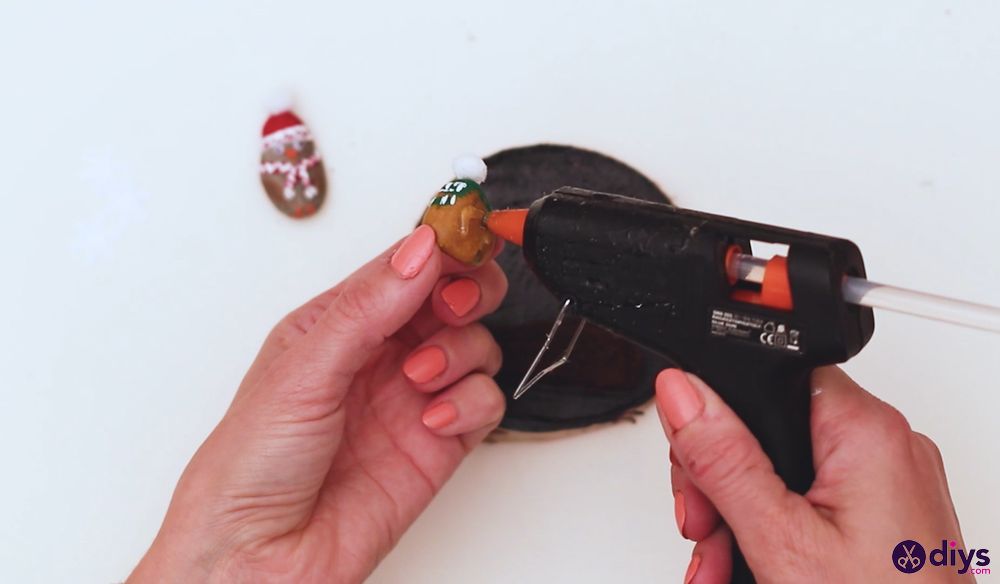
Add details to the penguins: Glue the googly eyes to each penguin and attach pom-poms to the top of the penguins to finish the hat designs.
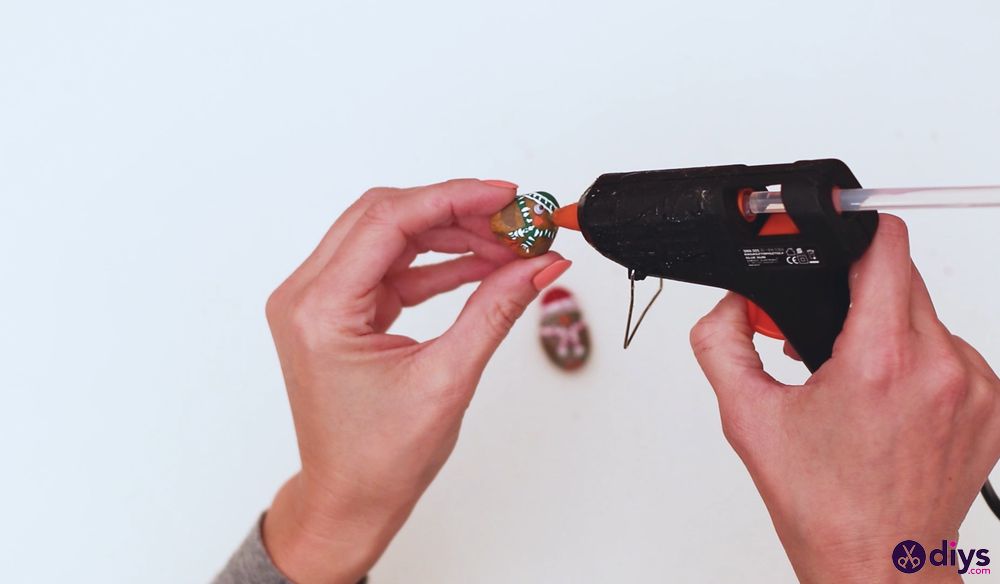
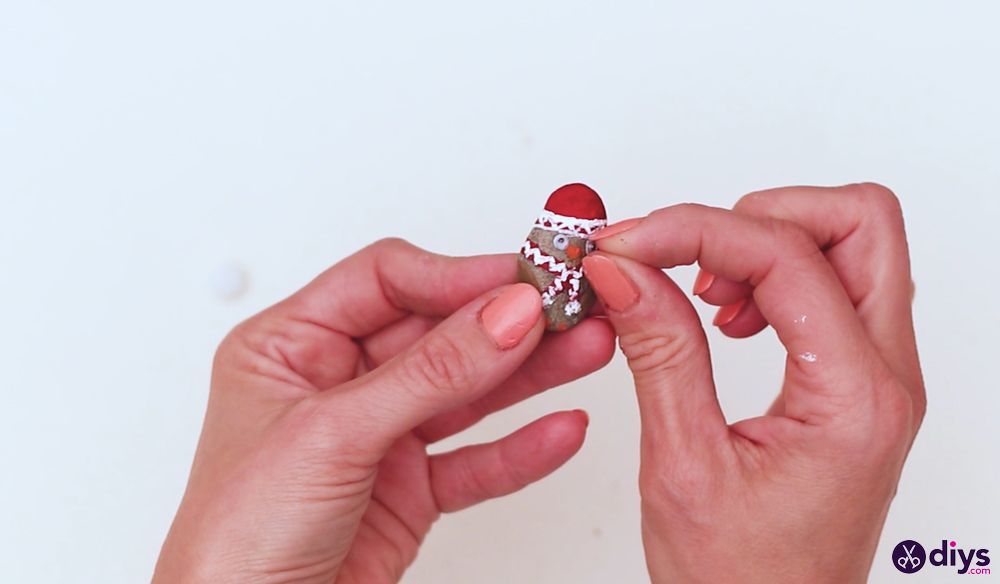
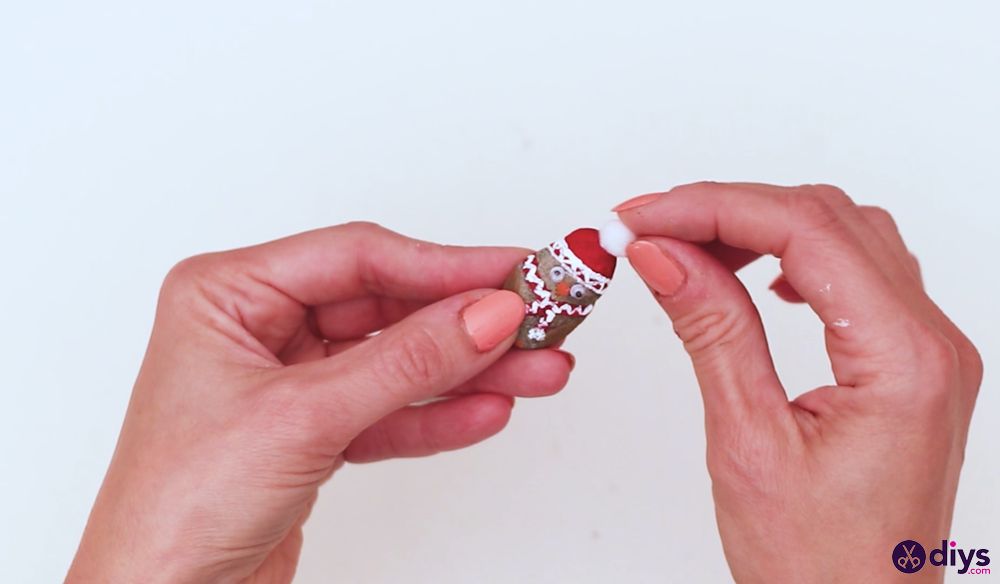
-
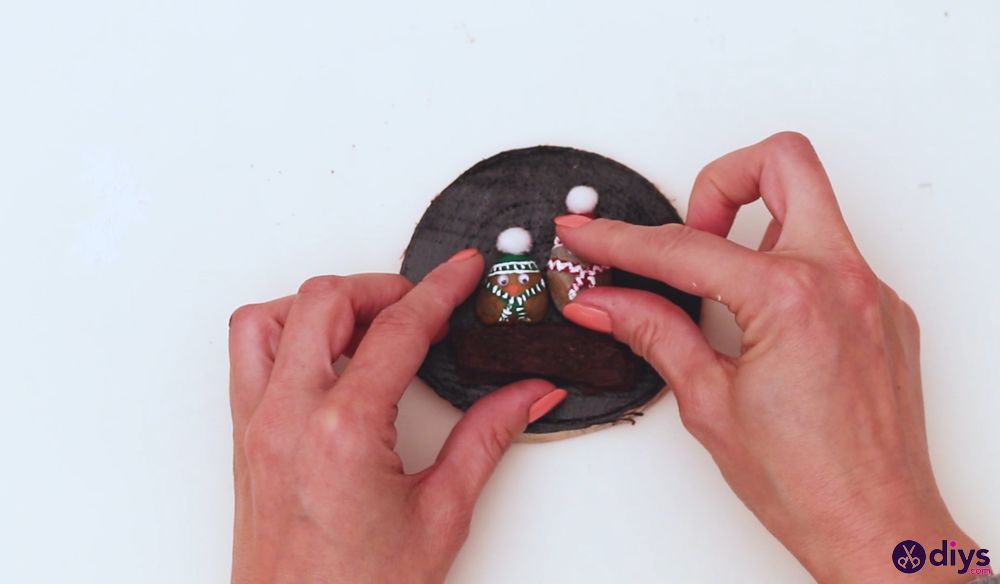
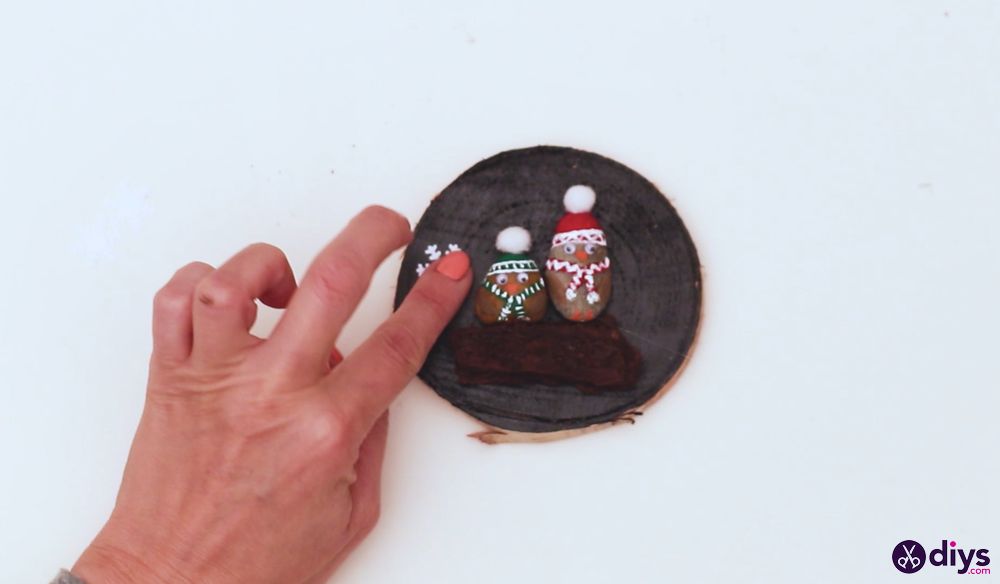
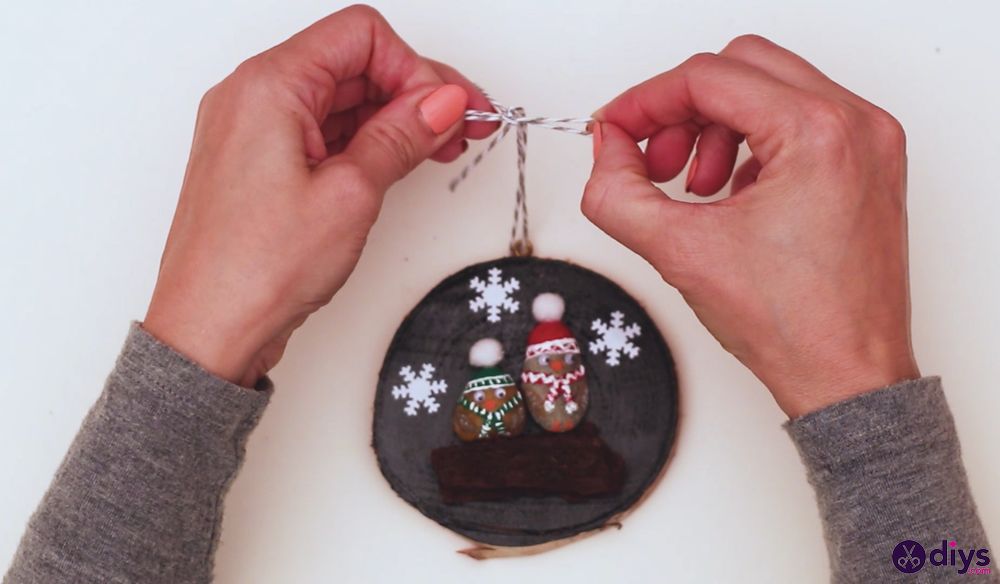
Attach the ornaments: Glue the tree bark to the bottom of the wood slice, leaving enough room for the penguins. Then glue the penguins, making it look like they are sitting on the tree bar. Next, glue decorative snowflakes around the penguins.
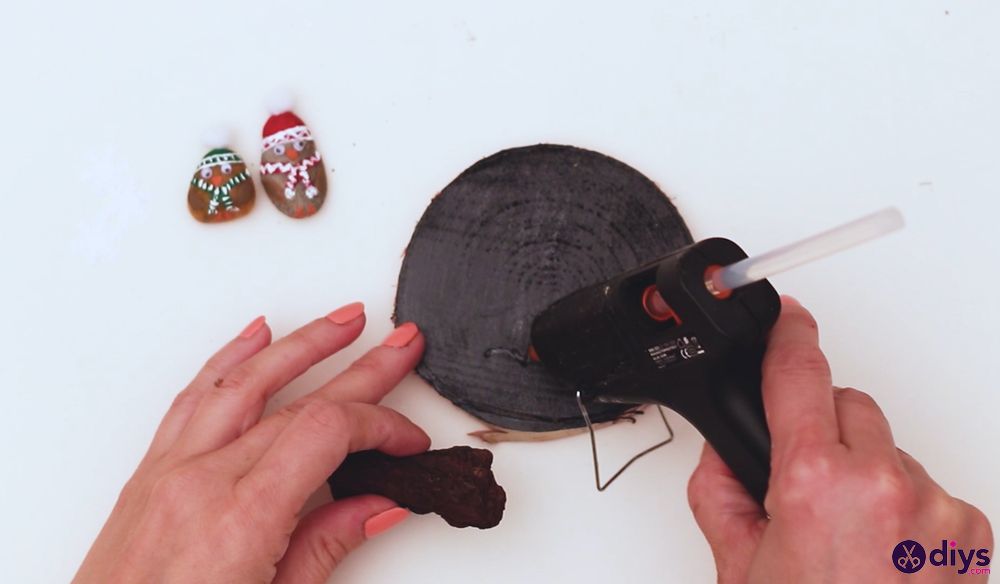
-
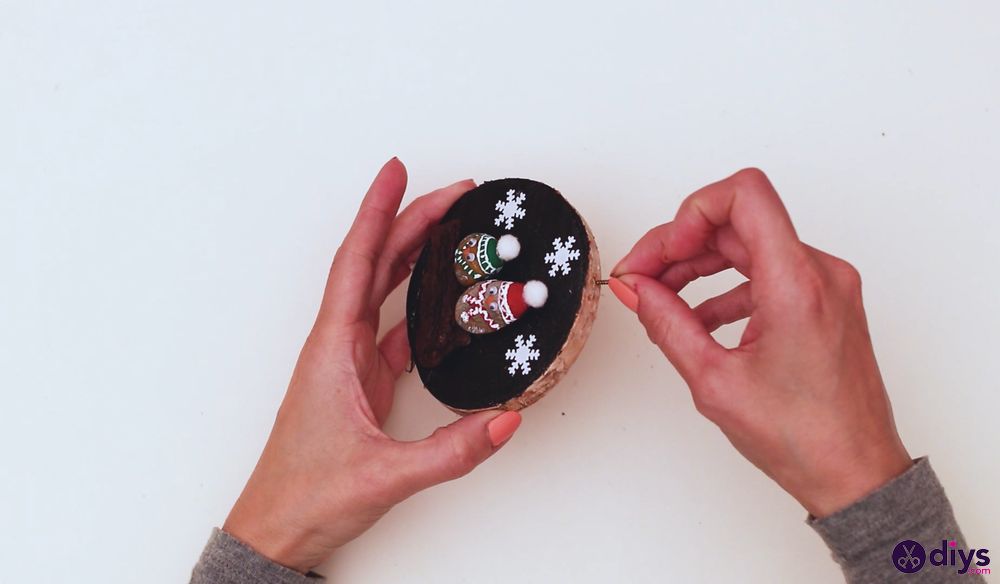
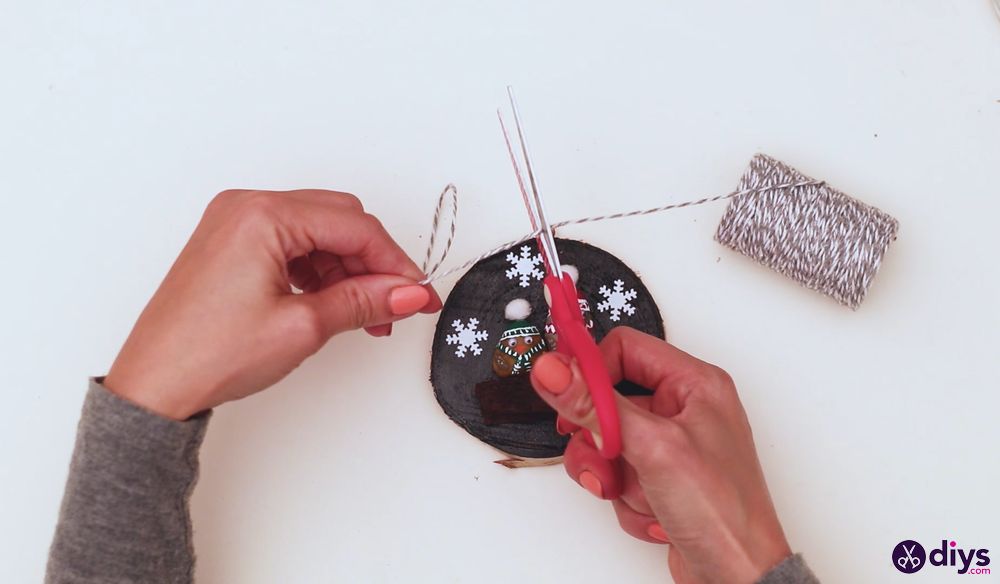
Add the hanging elements: Attach the screw eye to the top of the wood slice, run a string or twine through the screw eye and tie it into a knot to form a loop.
Video tutorial
Check out this video guide to better understand the steps involved for making this DIY penguin Christmas ornament:
Closing thoughts
This concludes our tutorial on creating a DIY penguin Christmas ornament. It’s a simple project that requires only basic supplies, and the results are worth it. Use your imagination to customize the design however you want. Check out more ideas for rustic Christmas ornaments.
The post How to Craft a Fun DIY Penguin Christmas Ornament in 5 Steps appeared first on DIYs.com.