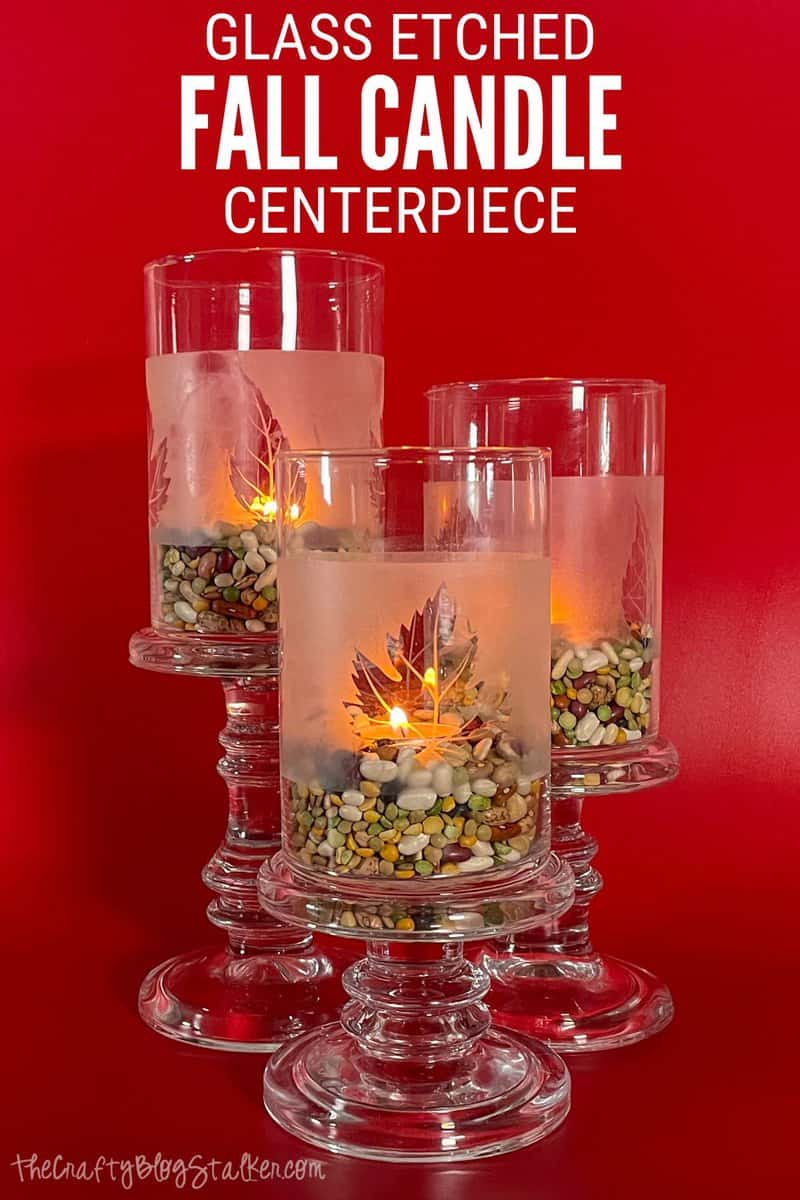
How to Make a Glass-Etched Fall Candle Centerpiece
This candle centerpiece is easy and is a stunning centerpiece for the autumn season. Follow these simple steps to make your own glass-etched candle centerpiece. If you make a purchase using the links included, we may earn a commission.
Can't decide how to decorate for Fall?
I always have good intentions with decorating, but then life gets in the way and it gets put off.
This DIY fall centerpiece will come together pretty quickly, so even if you only have an hour of creative time, you can get it done and put it on display.
Craft Tutorial Video:
Like videos? I have a video tutorial for you! Please subscribe to my YouTube Channel so you don't miss out on any future video tutorials!
More DIY Fall Tutorials:
Crafting and DIY are what we are all about here at The Crafty Blog Stalker, and we have several tutorials to show you how! Like a Hand Painted Pumpkin, Faux Cotton Stem Napkin Rings, and a Fabric Fall Wreath.
Be sure to look around the blog for more fun Fall Craft Tutorials!
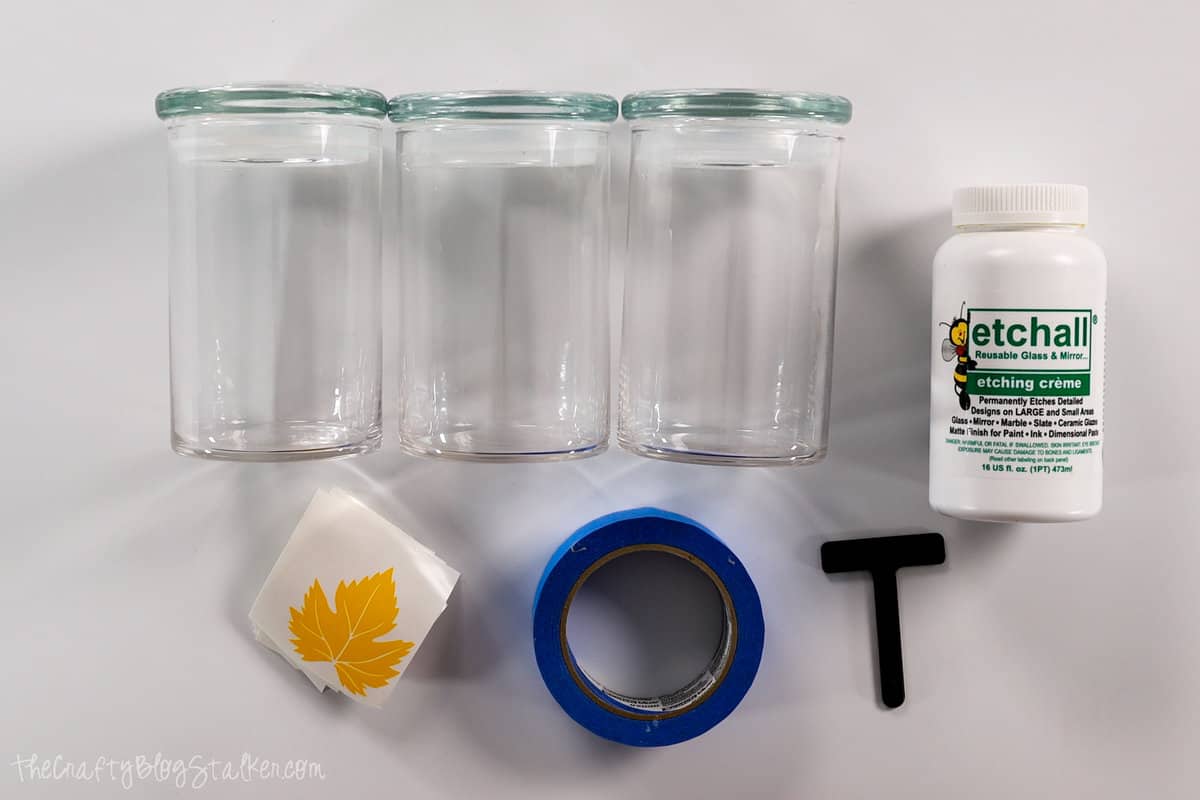
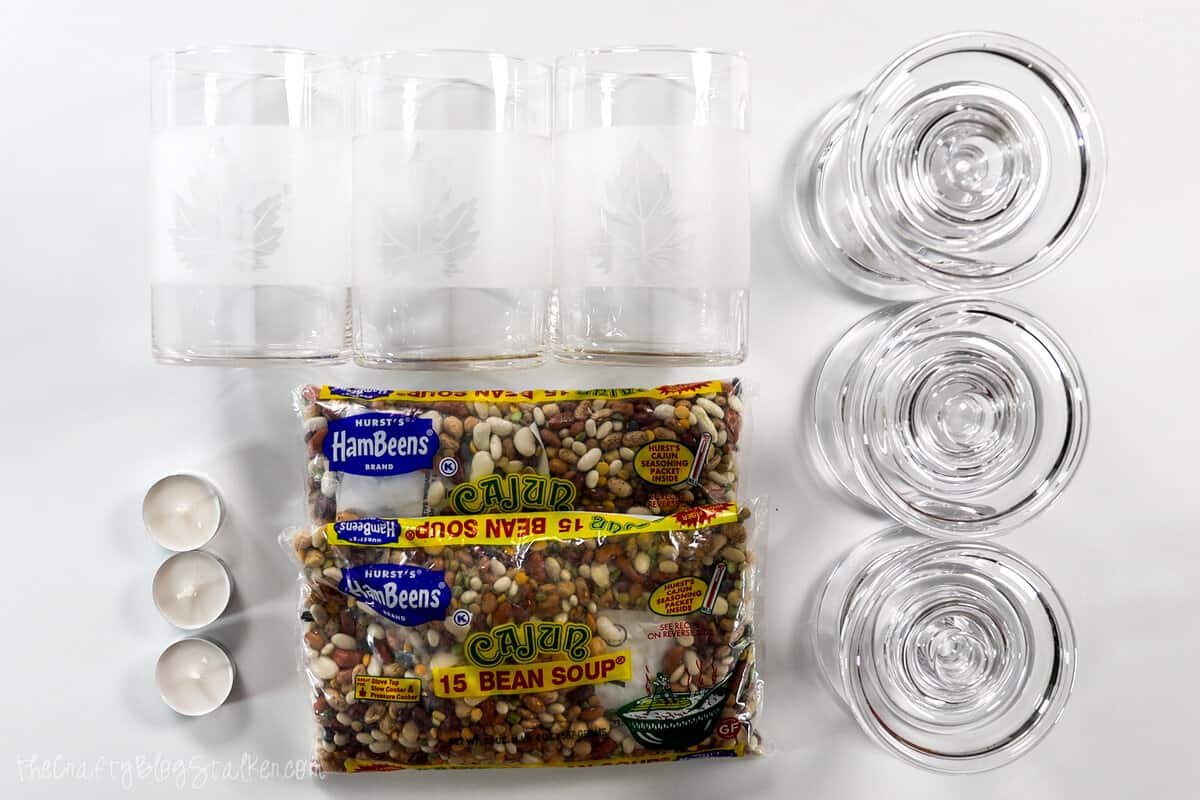
Supplies You'll Need to Create this Project:
- Cricut
- Autumn Leaves SVG
- 1 ½-inch Painter's Tape
- Etchmask Vinyl
- Etchmask Transfer Tape
- Etchall Etching Creme
- Etchall Squeegee
- 3 Glass Candle Holders
- Glass Pillars
- Tea Lights
- 15 Bean Soup
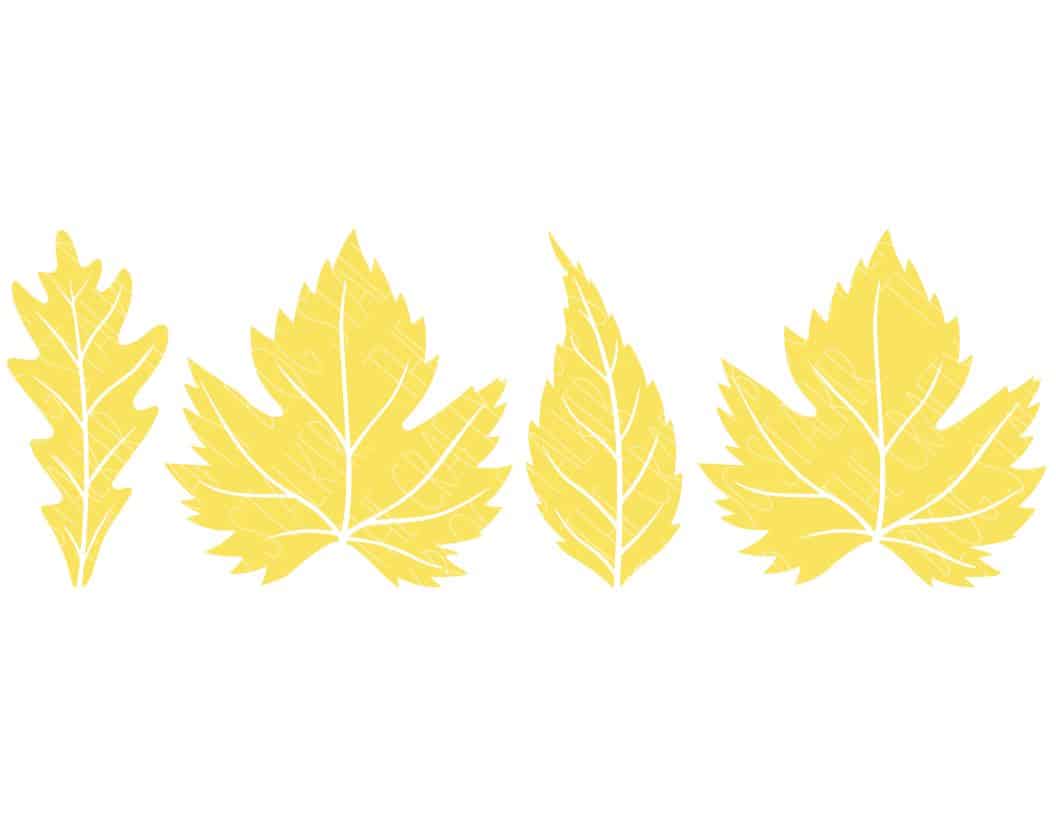
Cut the File in Cricut Design Space:
Upload the SVG into Cricut Design Space. If you need, you can resize the leaves to fit on your glass candle jar.
When ready to cut, lay the Etchmask on a cutting mat and load it into your Cricut to cut on the Vinyl setting.
You cannot reuse the cut stencils, so make sure to cut how many you need for your candle jars. I used four leaves per jar.
Weed the Etchmask so you are left with each leaf design.
Prepare the Glass Candle Jars:
Wrap 1.5-inch Painter's tape around the top and bottom of the glass candle jar.
When the two ends of the tape come together, make sure that they meet perfectly, creating a smooth line.
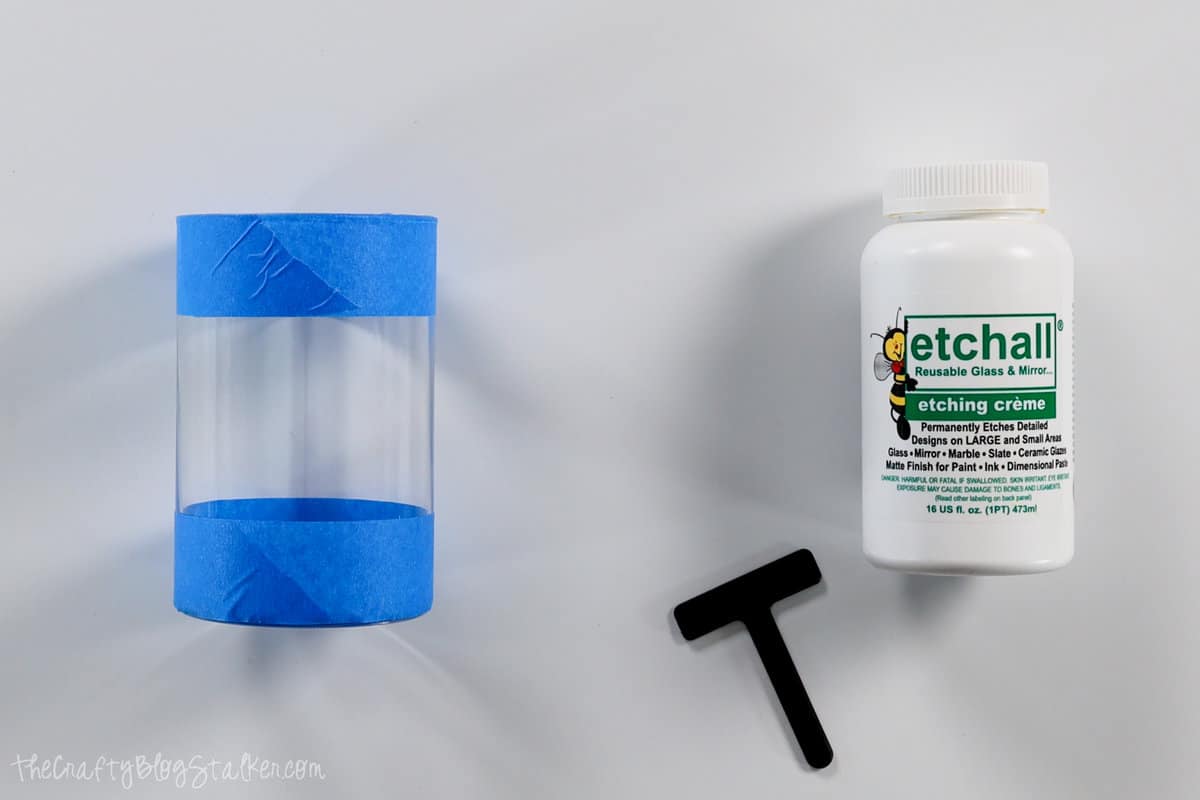
Apply more Painter's tape to the bottom of the jar. If your jar doesn't have a lid, you'll want to tape across the top, as well.
Remember anywhere the etching creme touches, if only for a second, it will etch. So cover any areas you don't want to be etched.
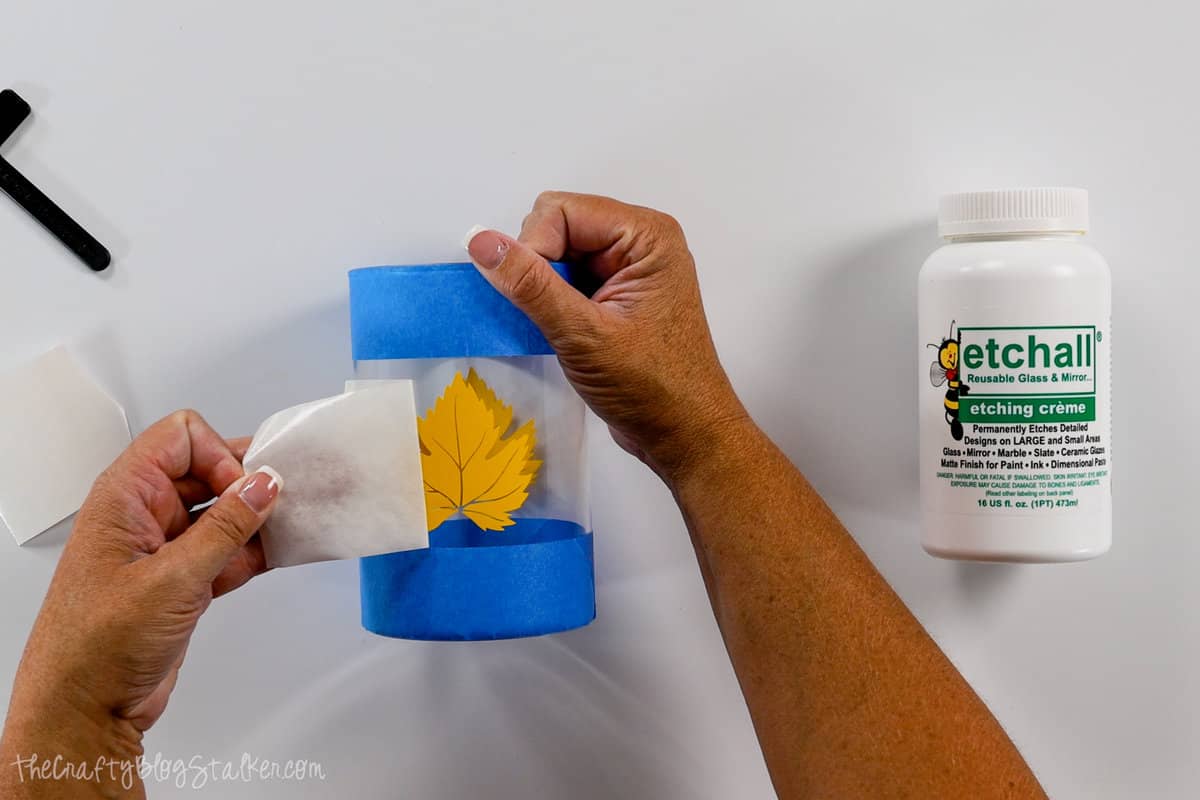
Apply Etchmask Leaves:
Cut the leaves apart, and lay a piece of Etchmask Transfer paper over the top of one leaf.
Go over the top of the transfer sheet with the squeegee tool, pressing the transfer sheet into the leaf.
Peel back the Etchmask Transfer Tape, removing the leaf from its backing sheet.
Apply the Etchmask leaf to the candle jar.
Rub all over the stencil with your thumb or fingers and then peel back the Etchmask transfer Tape.
Repeat this three more times to adhere all of the leaves to the jar.
You can continue to use the same Etchmask Transfer Tape until it is no longer sticky.
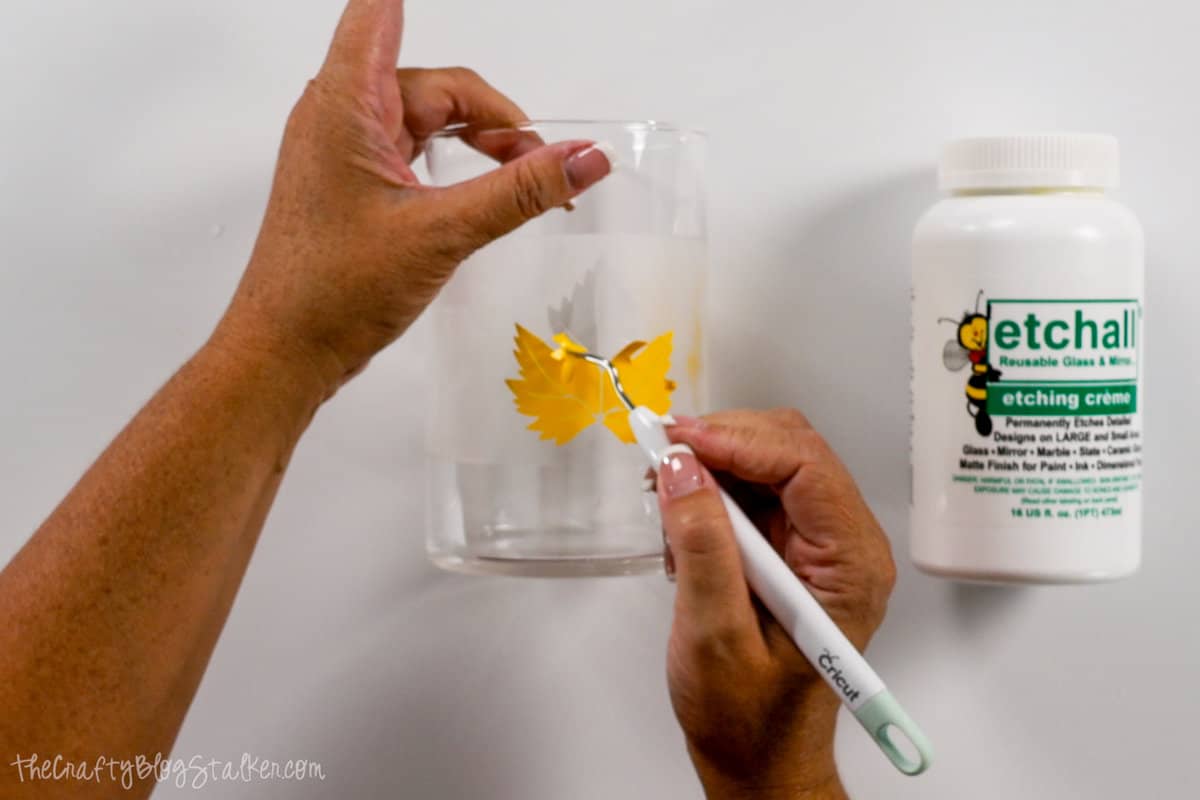
Apply the Etchall Cream:
Dip a plastic spoon into the jar of Etchall and scoop out about half of a spoonful, and tap it onto the side of the glass jar.
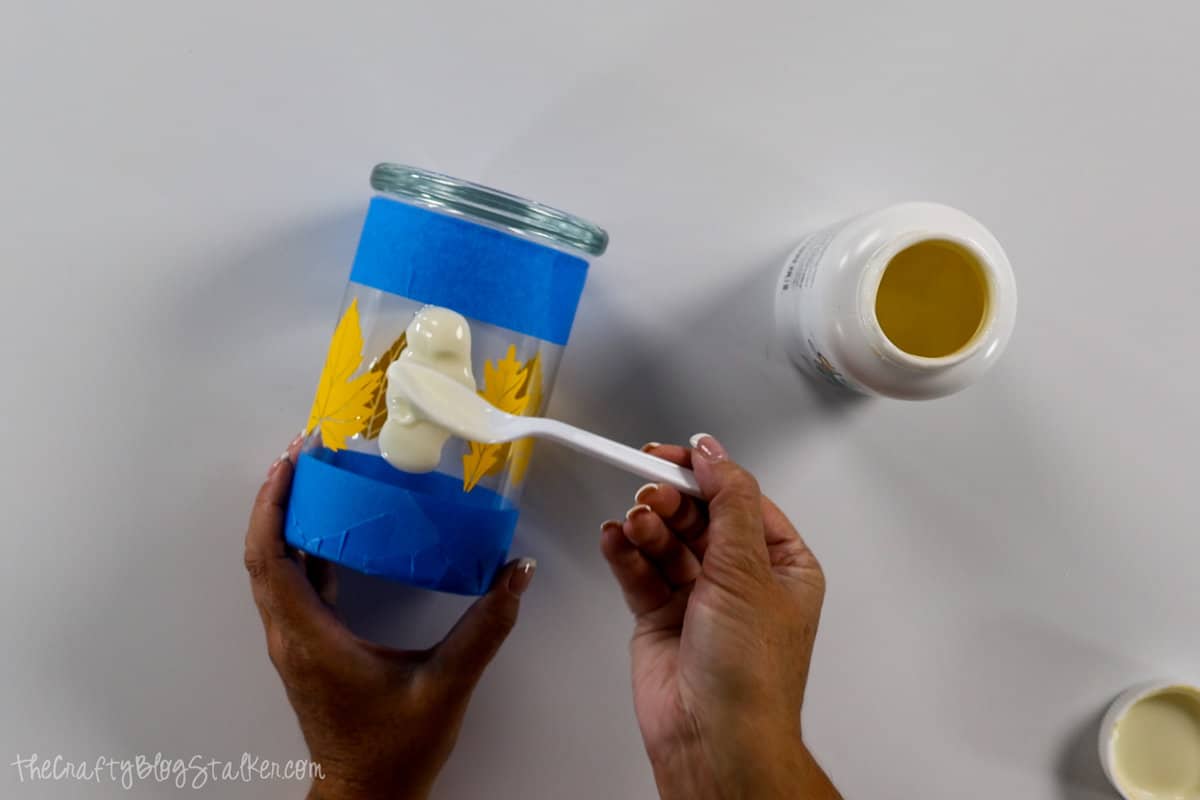
Use the squeegee tool to move the cream around the glass jar. You want the jar to be evenly covered with the etching creme.
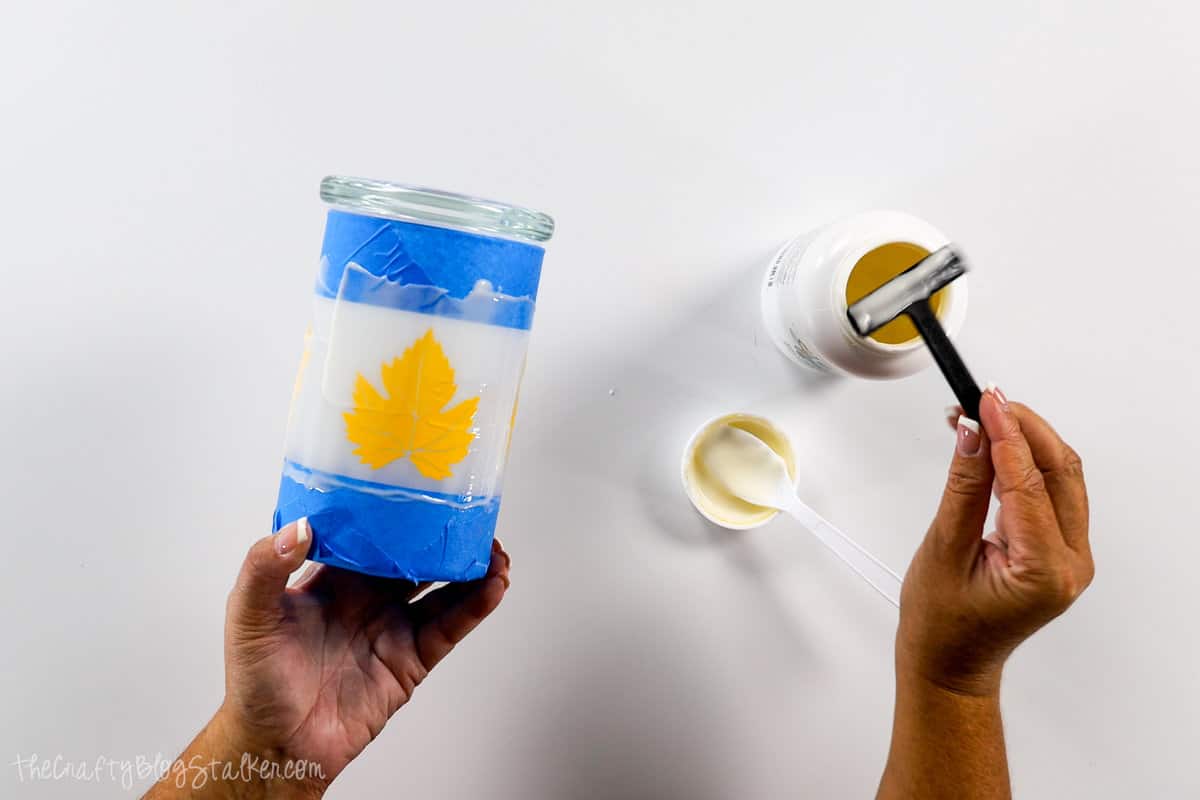
Let the etching cream sit on the glass for a minimum of 15 minutes.
Rinse and Remove Etchmask Leaves:
Scrape off any excess cream and put it back into the jar to be reused another time.
When rinsing, it is recommended that you rinse in a stainless steel sink because the etching cream can etch other materials besides glass.
Run the glass underwater and use your finger to run up and down the side of the jar to help wash the Etchall cream away.
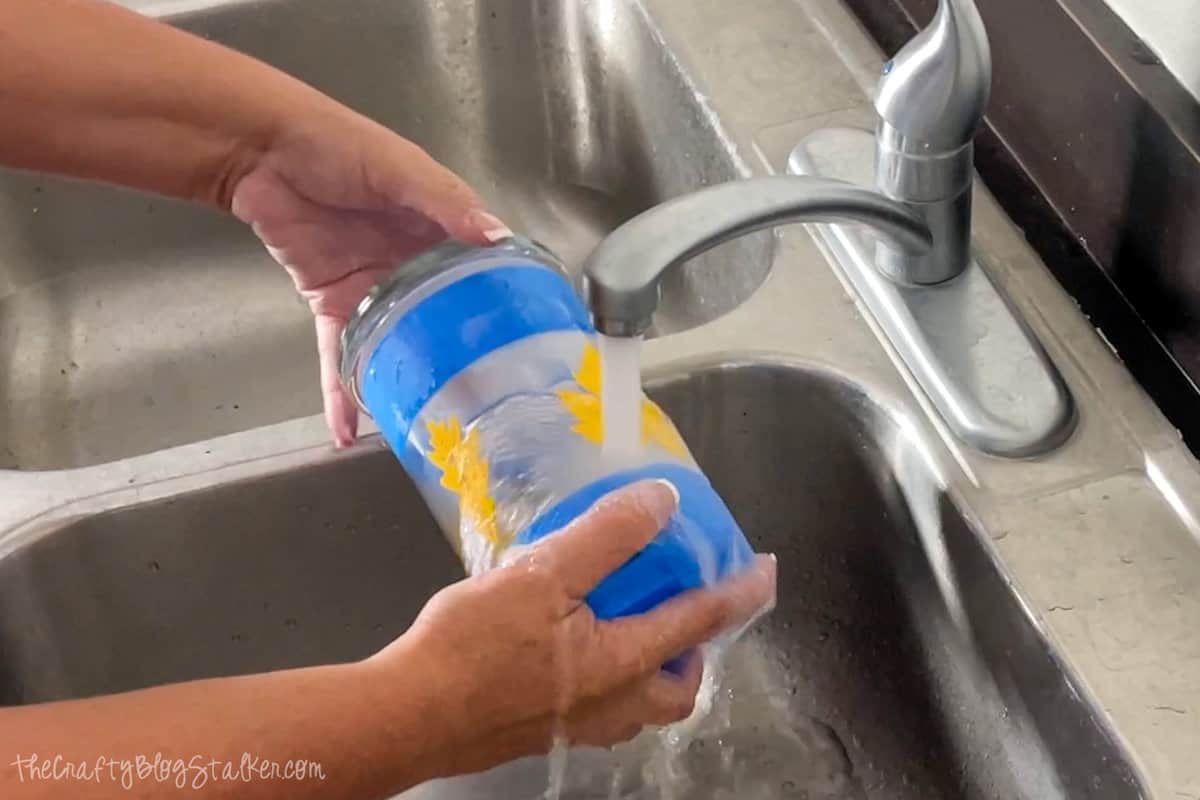
Do not remove any part of the tape or Etchmask until you are sure there is no Etchall left on the glass.
Once the Etchall is completely removed you can peel off the tape and the Etchmask leaves.
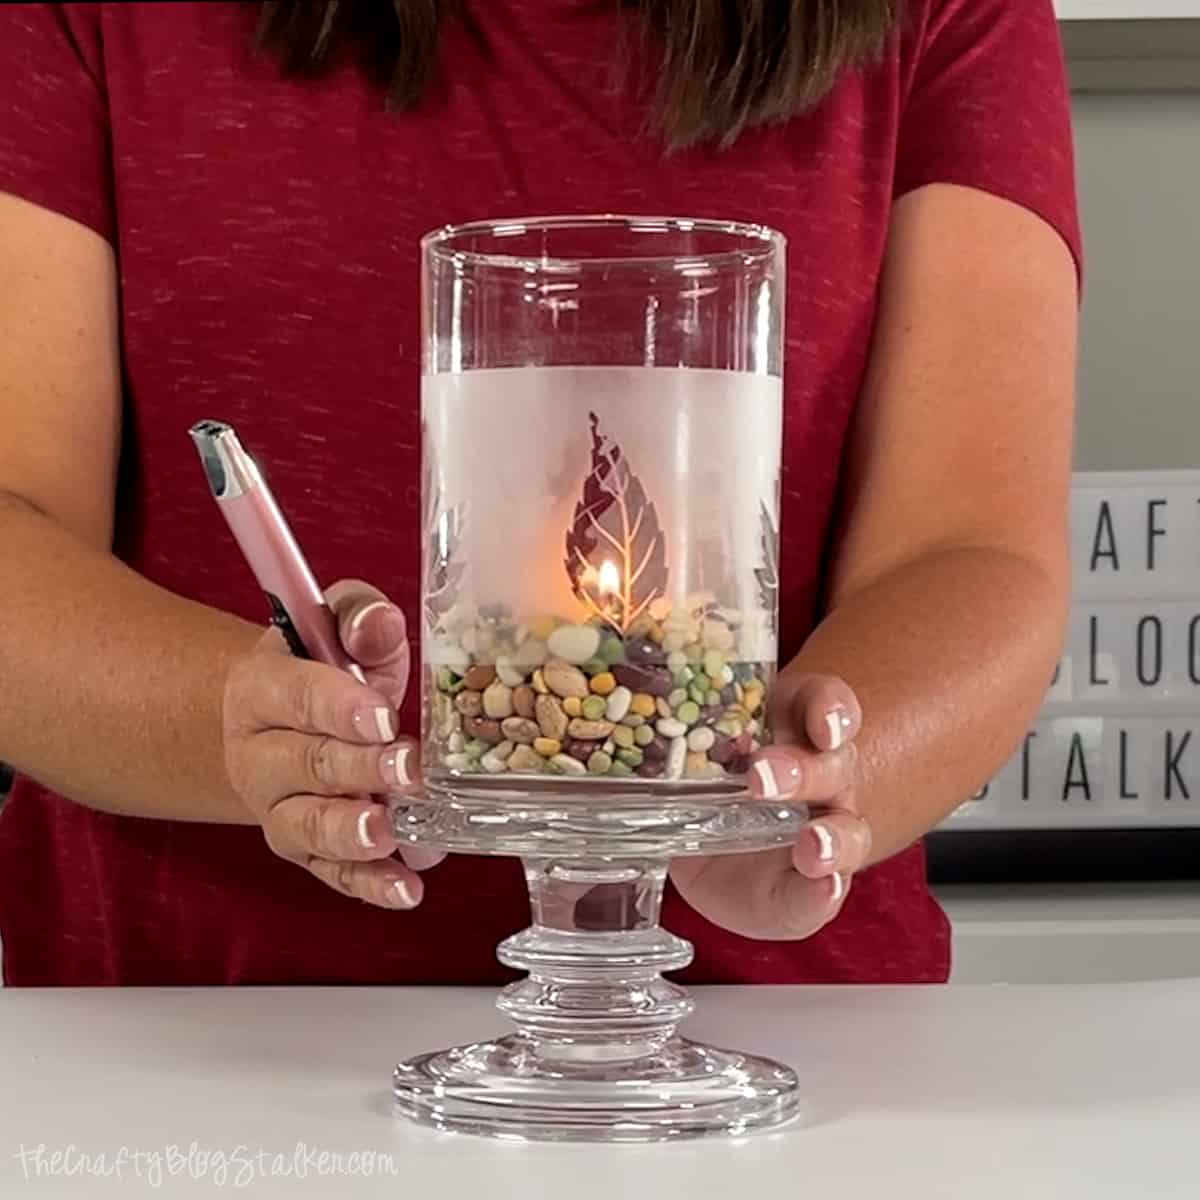
Build the Centerpiece:
Fill a glass jar just above the glass etching with the beans and place each one on top of a tiered candle pillar.
Push a tea light into the beans, and light.
They are so pretty grouped together!
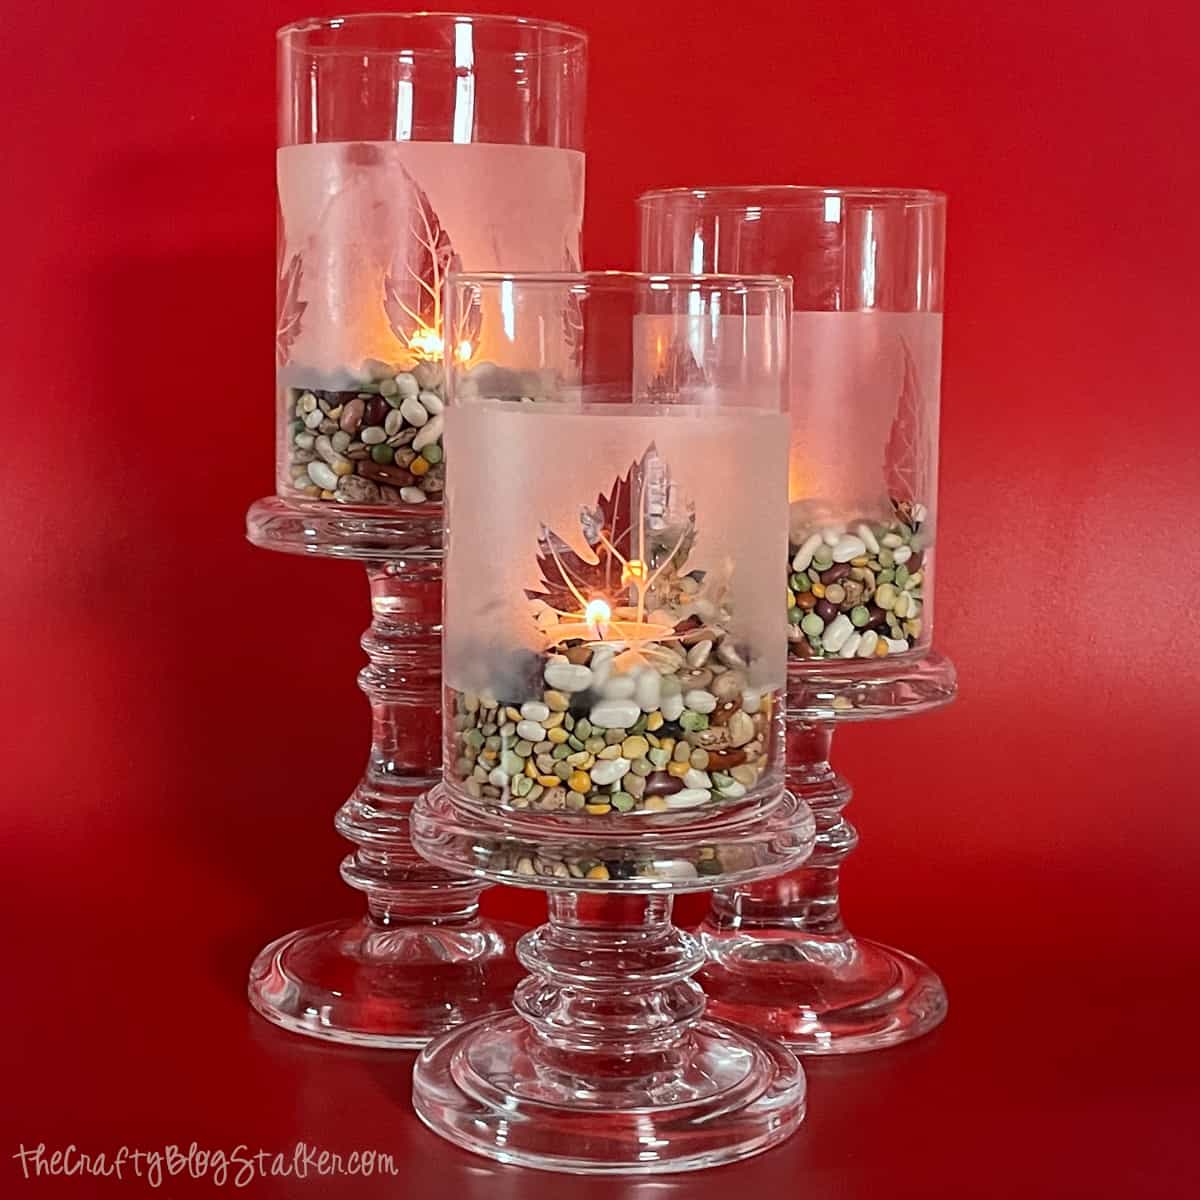
Where will you put yours? On a mantle or on the Thanksgiving table?
Our Crafting Essentials List:
- The Cricut Cutting Machine is easily our favorite crafting tool. We use it in so many of our tutorials!
- These MakerX Crafting Tools are perfect for keeping in the craft room, and are always ready when you need them!
- This Fiskars Paper Trimmer is easy to use and cuts nicely without frayed edges.
- These Scotch Precision Scissors cut like a dream and you get multiple pairs in a pack!
Follow The Crafty Blog Stalker

The post How to Make a Glass-Etched Fall Candle Centerpiece appeared first on The Crafty Blog Stalker.