How to Make a Spider Out of Paper? Video Tutorial
Spiders made out of paper are more difficult to make than those made out of other materials. They are more fragile and tend to tear more easily. Additionally, they require greater precision in their construction in order to maintain their structural integrity. Despite these challenges, origami paper spiders can be quite striking and are a popular project for both children especially. They can provide good deco ideas for Halloween when placed on a face web. With a little patience and practice, anyone can learn to make these unique creatures. This tutorial is a little more advanced than my latest one so you should allow more time.
Make sure to check my other origami video tutorial:
- How to Make a Kite Out of Paper?
- How to Make a Boat Out of Paper?
- How to Make a Heart Out of Paper?
- How to Make Fidget Toys Out of Paper?
- How to Make Flowers Out of Tissue Paper?
- How to make dice out of paper?
How do you make a paper spider easy? Step by Step
Step 1: Make sure your paper size is squire.

Step 2: Fold the bottom point up to the top point and crease well.

Step 3: Fold the right point over to the left point.

Step 4: Open the right part and flatten it to a triangle.

Step 5: Turn over.

Step 6: Fold to make a crease and fold back.

Step 7: The upper two parts fold along the middle.

Step 8: Flatten to squire.

Step 9: Turn over.

Step 10: Flatten to squire.

Step 11: Fold to make a crease and fold back.

Step 12: Cut it with scissors.

Step 13: Fold to meet the centerline.

Step 14: Fold upper head into down.

Step 15: Fold the legs one by one.

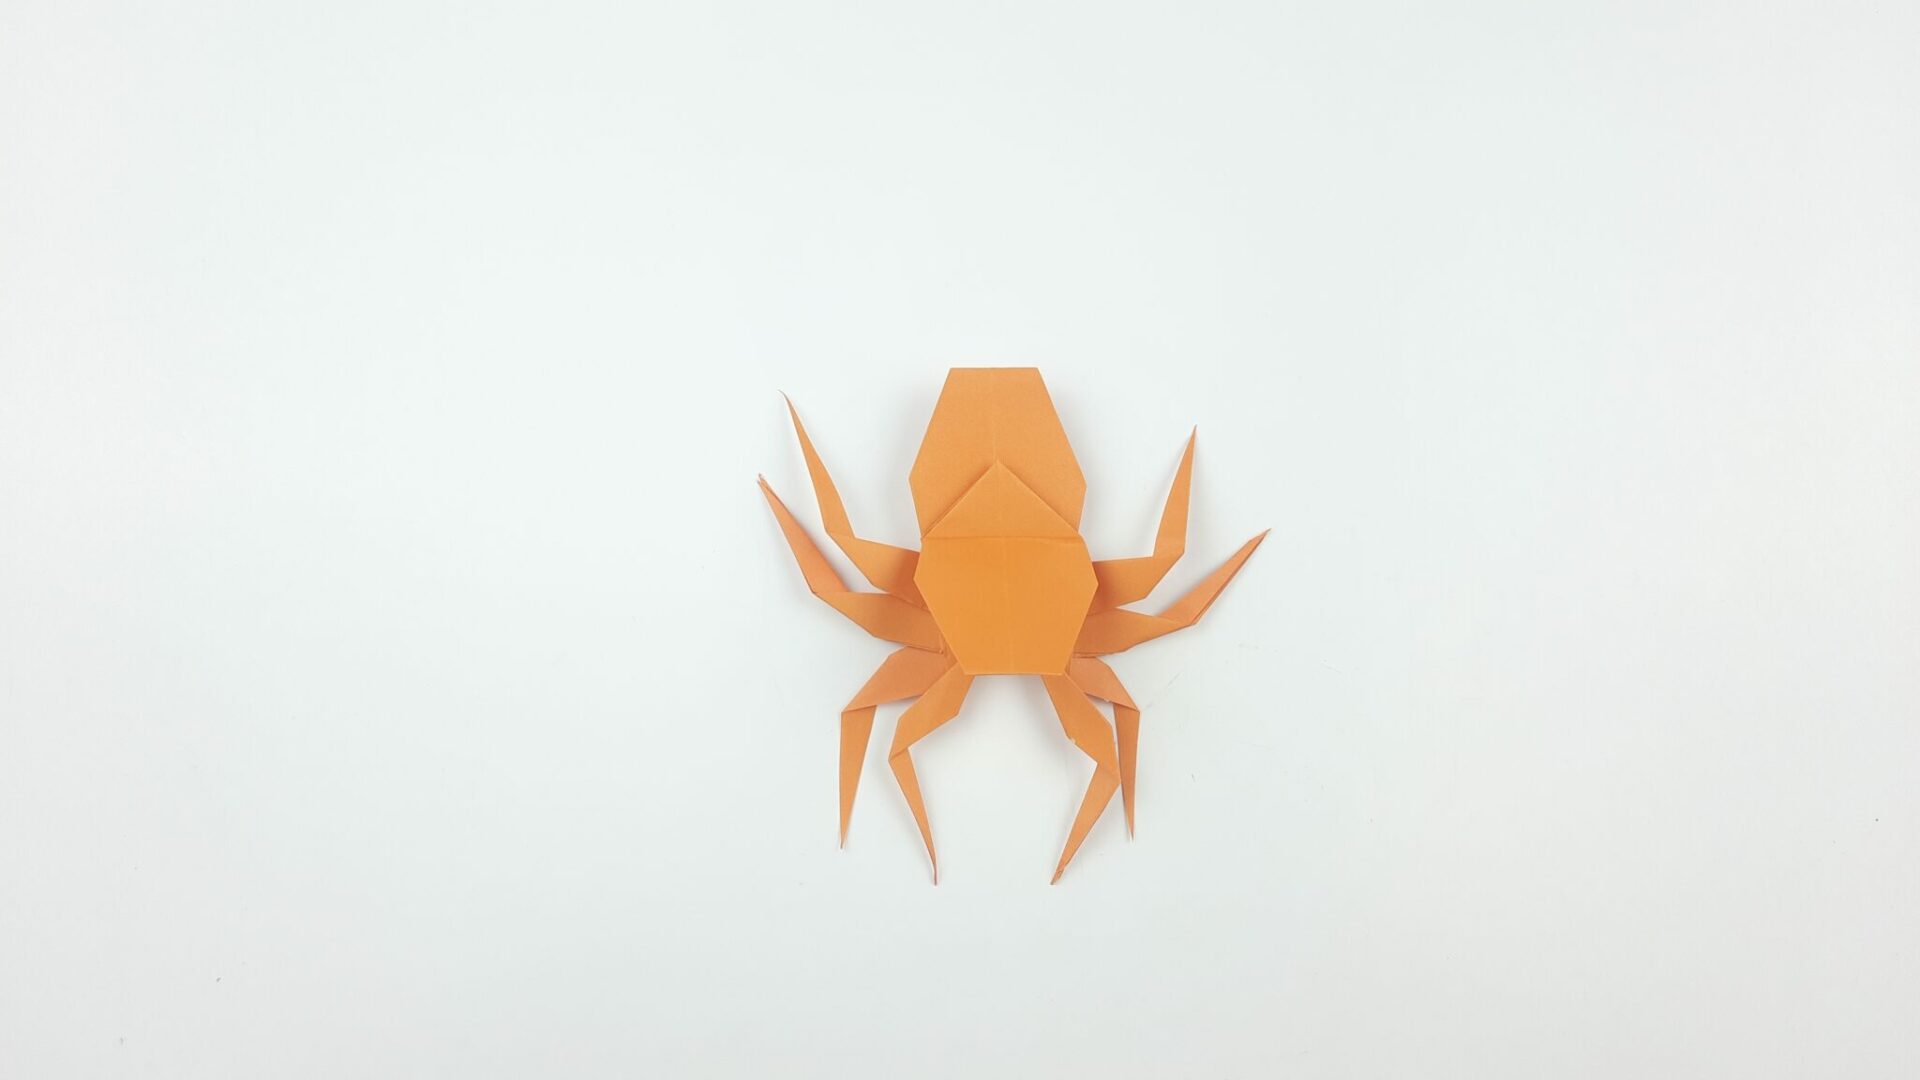
Step 16: Now legs will look like this.

Step 17: Fold the middle of all legs.

Step 18: Turn over.
Step 19: Draw eyes and Spider is finished!
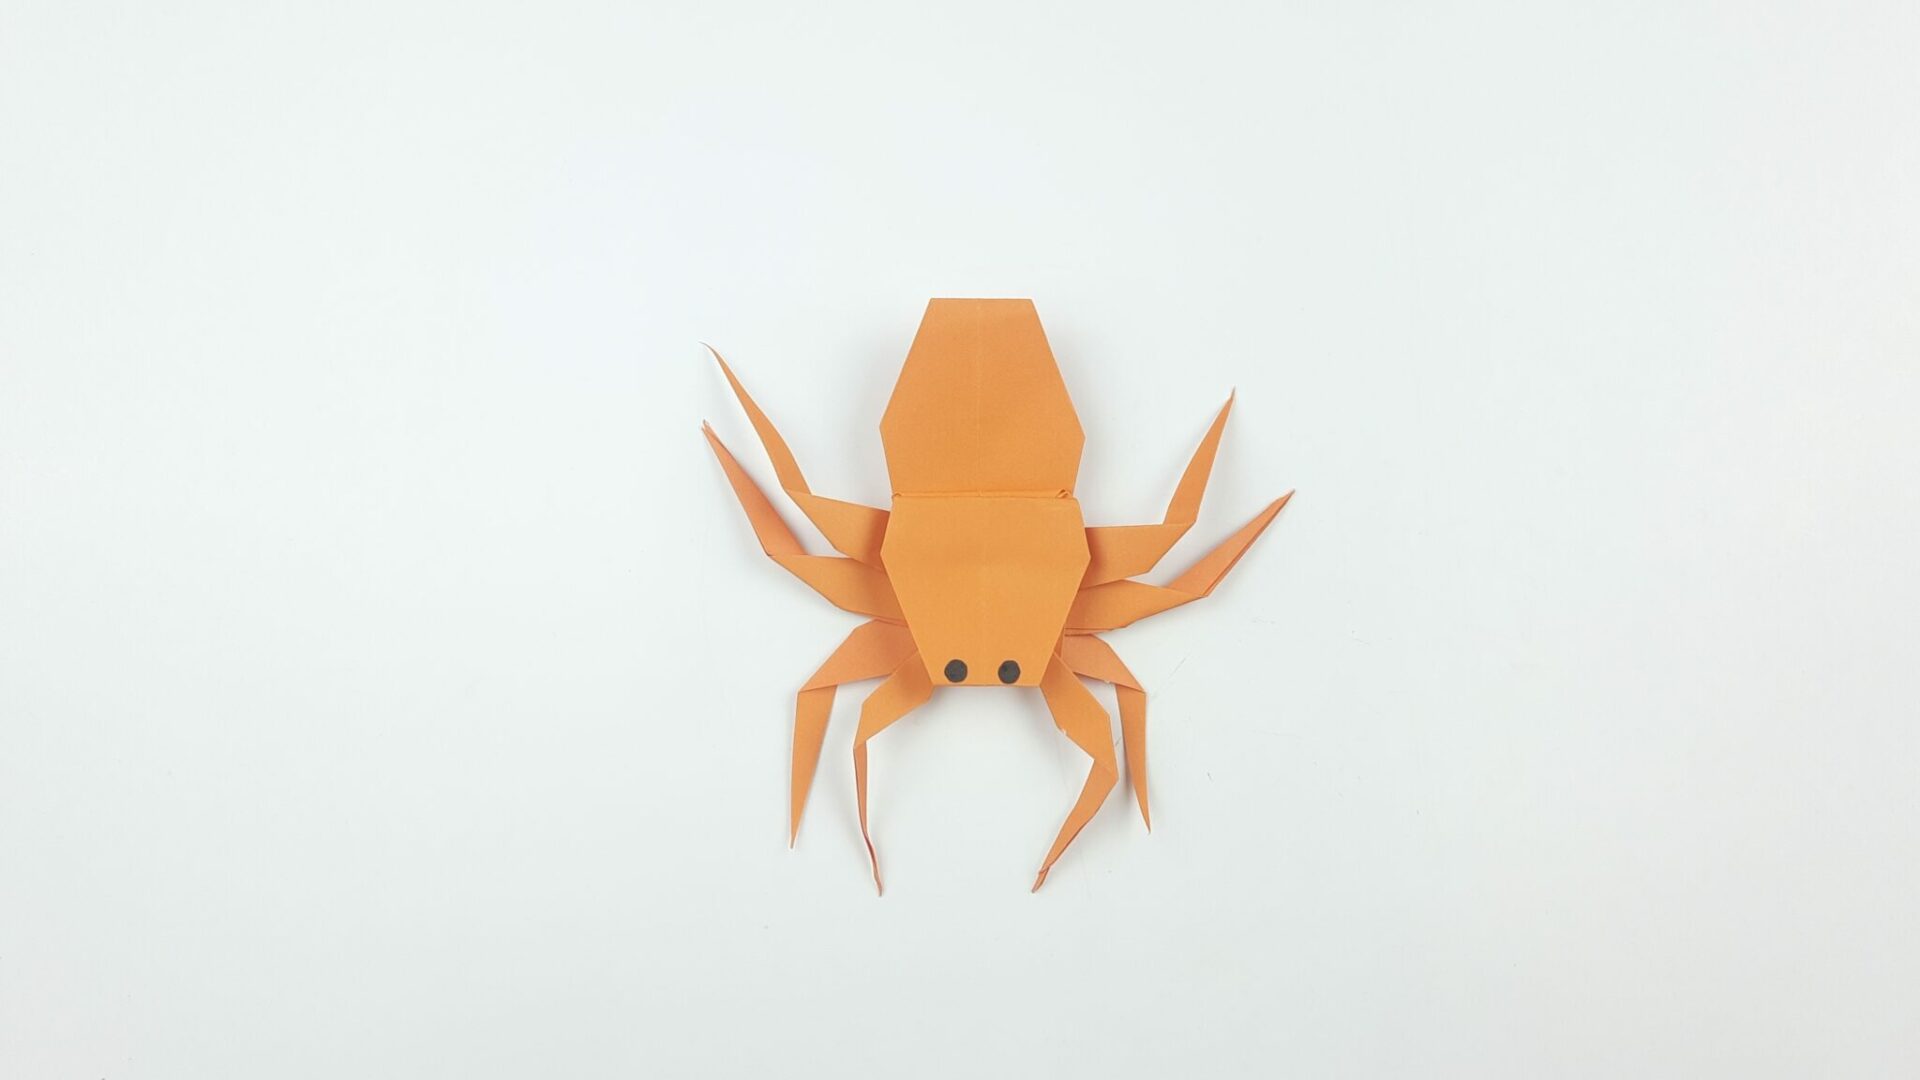
How to decorate your paper spider?
There are a few different ways to decorate paper spiders. One way is to use markers or paints to add color and patterns to the spider’s body. You can also use stickers, sequins, or other decorations to dress up your spider. Try making different designs and combinations to create a festive spider that will spook your friends and family members!
How to make a DIY spider web?
There are many ways to make a spider web. You can use string, yarn, or even dental floss! The key is to be patient and take your time. Here is a step-by-step guide:
1. First, tie a piece of string around a doorknob or other sturdy object.
2. Next, holding the string taut, use your other hand to wrap the string around itself in a spiral pattern.
3. Continue wrapping the string until you have reached the desired length for your spider web.
4. To finish, knot the end of the string securely. Now you have a beautiful spider web!
The post How to Make a Spider Out of Paper? Video Tutorial appeared first on Art & Craft, DIY ideas and Tutorials - Craftbuds.