How to Make an Easy DIY Teacher Appreciation Gift
Don't forget May 6th! Make your kid's teachers feel special with a homemade gift. Check out this cute gift idea for inspiration. If you make a purchase using any affiliate links below, we may earn a commission.
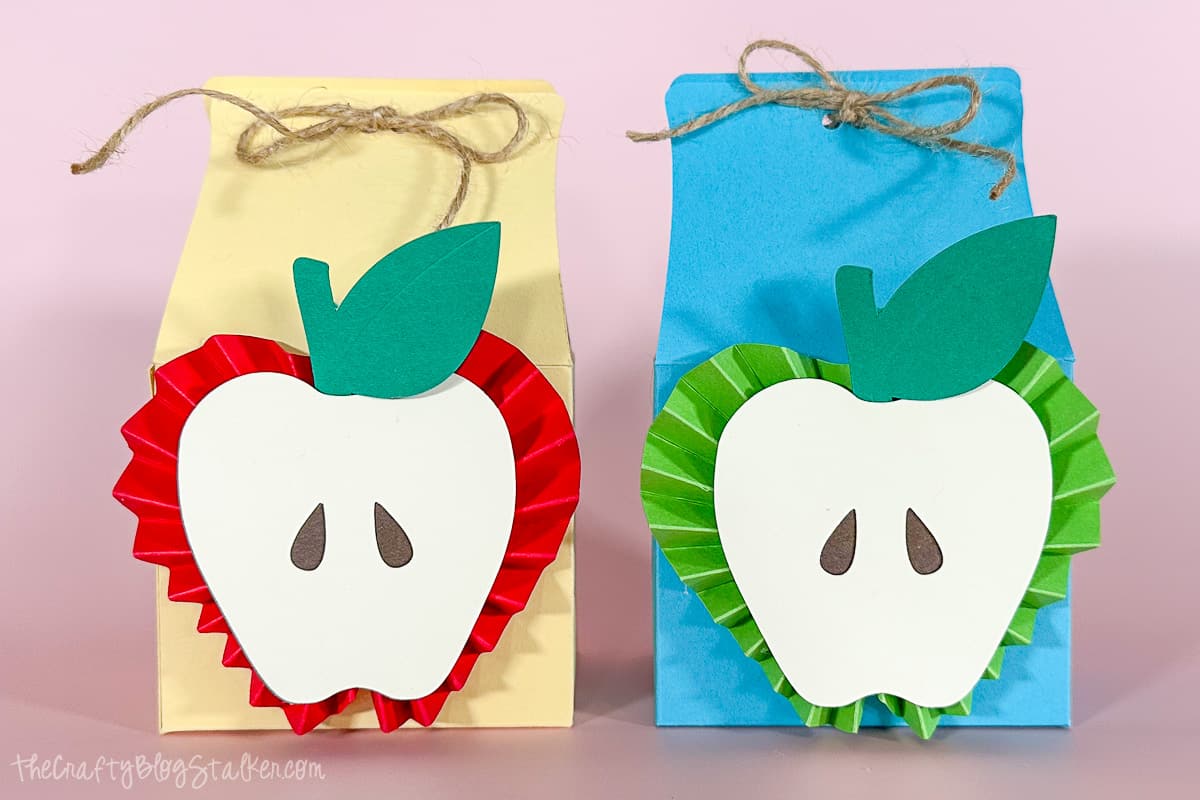
As parents, we all know how important teachers are in our children's lives. They work tirelessly to shape and educate the next generation, often going above and beyond their duty.
That's why it's crucial to show them our appreciation this time of year, and what better way to do so than with a unique and personalized gift, especially on teacher appreciation day?
This article will guide you through the process of creating a handmade apple box filled with delicious treats that will surely delight any teacher.
Even if you are running short on time, this great option is easy enough to make a great last minute gift.
Let's dive into this gift idea and show some love to the hardworking teachers in our lives!
Why a Handmade Gift is a Great Idea for Your Child's Teacher
One of the reasons DIY teacher gifts are a great idea for your child's favorite teacher is that it shows that you put thought and effort into expressing your gratitude.
While a store-bought gift is nice, it can lack the personal touch that a handmade gift provides. By taking the time to create something unique, you demonstrate your appreciation in a way that is memorable and meaningful.
Additionally, a handmade gift allows you to customize a fun gift to the teacher's preferences and interests. You can tailor the apple treat box and the treats inside to suit their favorite colors or flavors.
This personalization shows that you value the teacher as an individual, not just as a professional providing a service to your child.
Finally, a handmade gift can be a fun and rewarding activity to share with your child. Creating something together is a great way to strengthen your bond and also teaches your child the importance of showing gratitude and the value of hard work.
Plus, seeing their teacher's reaction to the gift can be a powerful lesson in kindness and appreciation.
With all these benefits, it's no wonder why a handmade gift is a great idea for all of your child's wonderful teachers. Now, let's get crafting with our step-by-step guide to making an apple box!
Pin for Later:
Supply List:
- Cricut Cutting Machine
- Project in Cricut Design Space
- Cardstock
- Bone Folder
- Double-Sided Adhesive
- Scissors
- Hot Glue
- Twine
- Candy
- Treat Bags (optional)
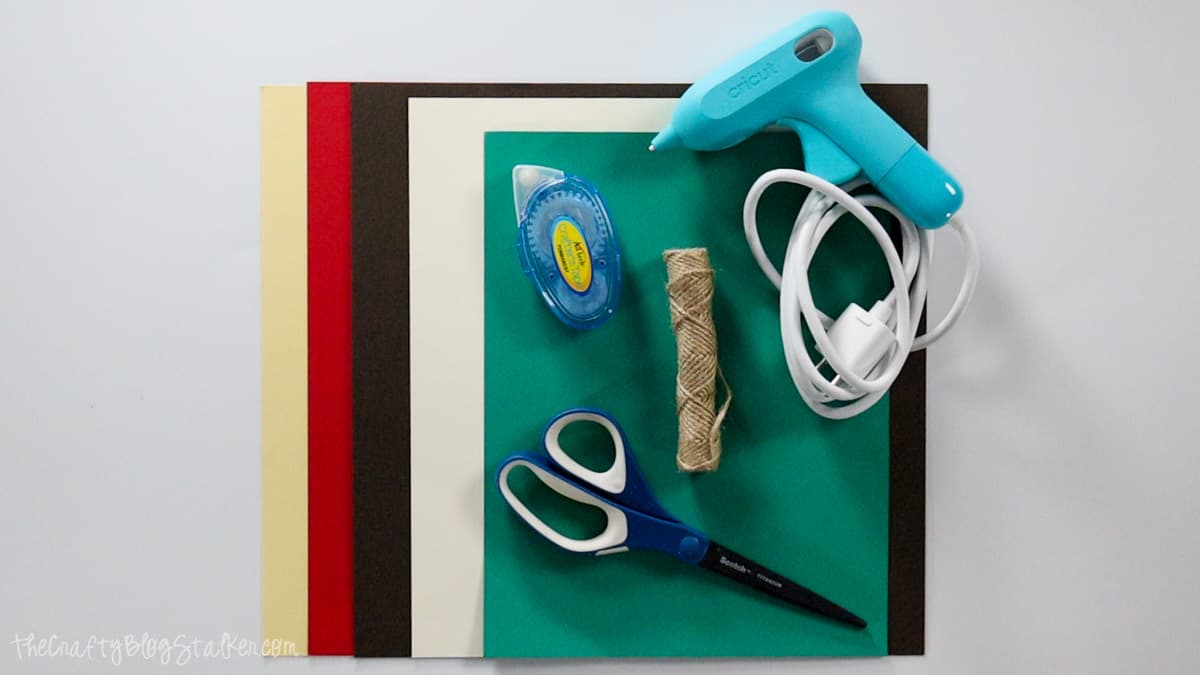
Instead of twine, you could also use a thin ribbon or baker's twine.
Feel free to substitute your favorite adhesive for the ones I use in this tutorial.
Craft Video Tutorial:
Like videos? I have a video tutorial for you! Subscribe to my YouTube Channel so you don't miss out on any future video tutorials.
Cricut Design Space:
This project is only available in Cricut Design Space.
This treat box is sized so the finished product measures 3x3x5 inches.
You can resize the project to fit any need, just make sure that you highlight all of the pieces so they stay proportionate to each other.
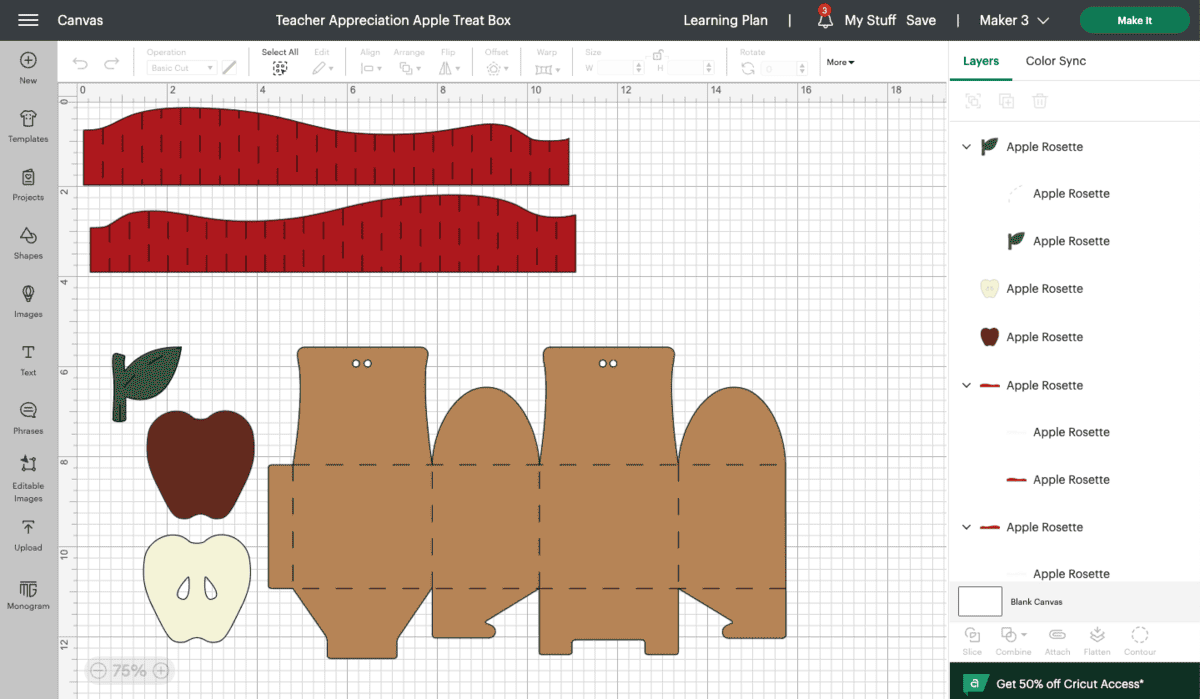
You will need 5 colors of cardstock or scrapbook paper. One color for each of these pieces.
- Box
- Front of the Apple
- Seeds (Back of the Apple)
- Stem
- Apple Rosette
In Cricut Design Space, click on "Make It", select your material (cardstock), and follow the prompts to know what color of cardstock to load with each mat.
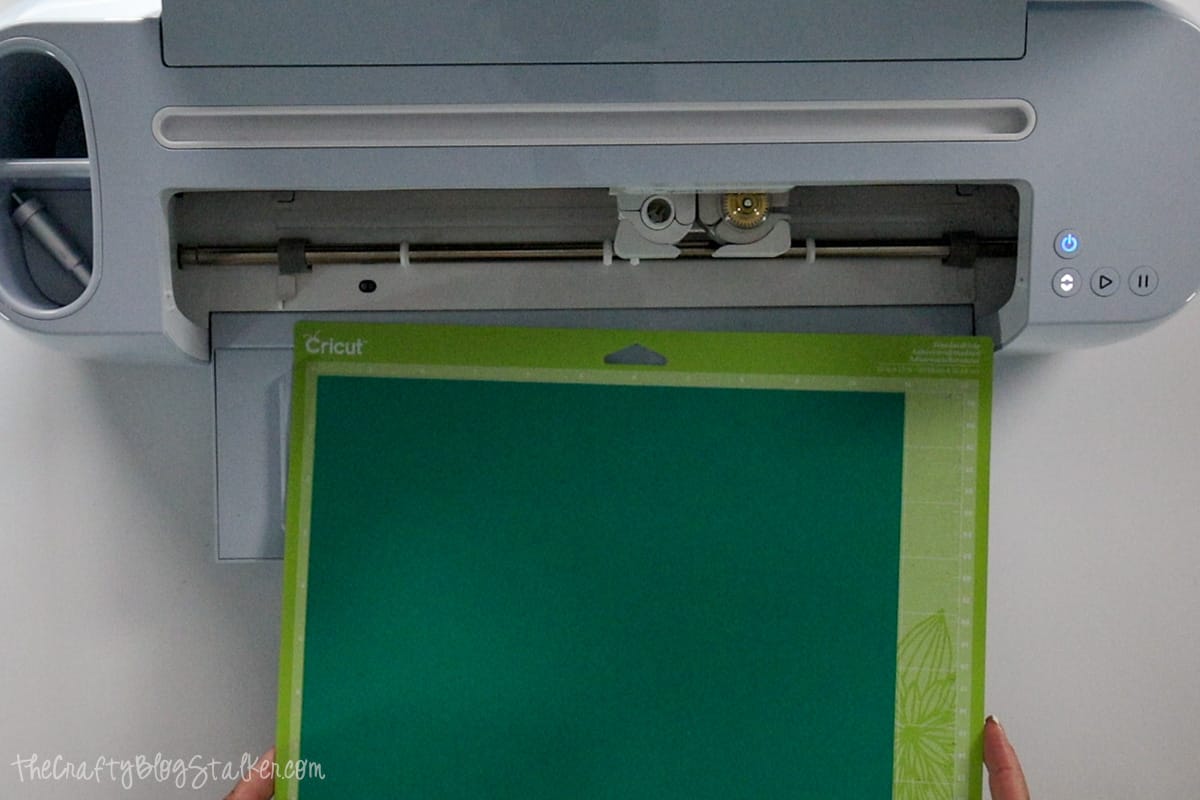
When all layers are cut you should have a total of 6 pieces.
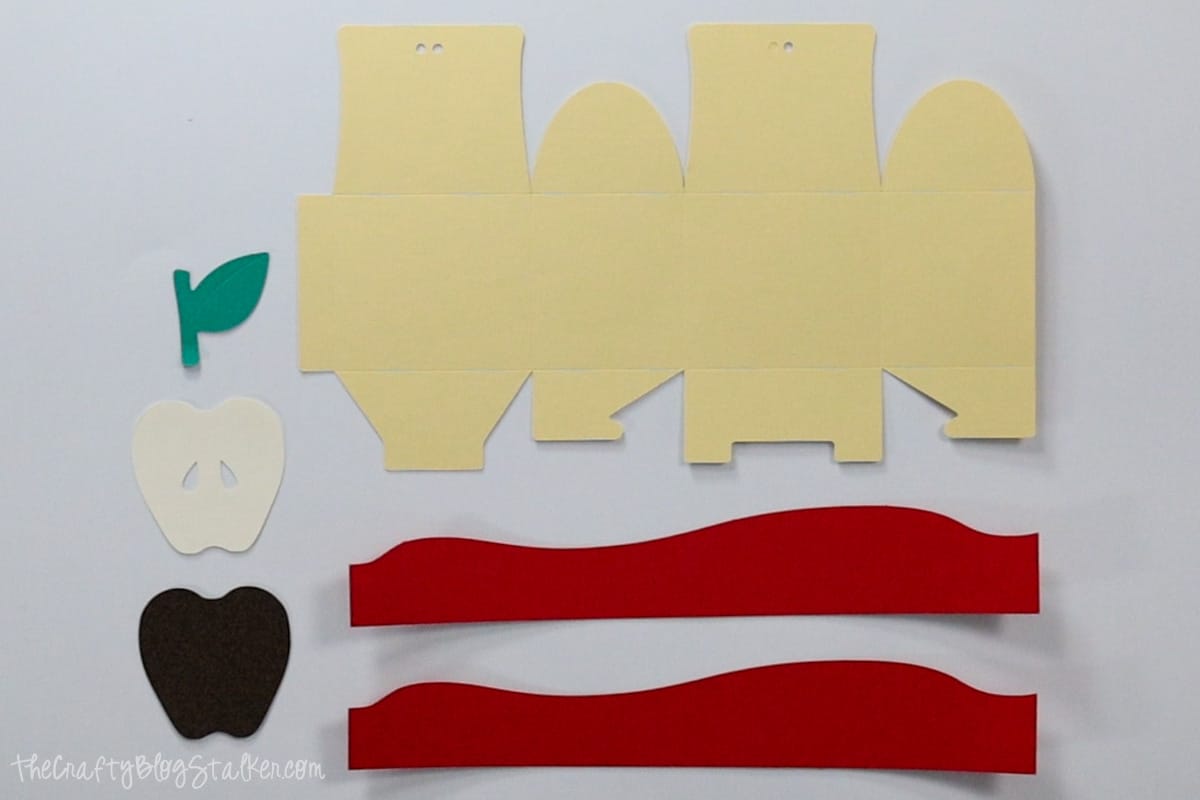
Apple Rosette:
Cut a square of cardstock about an inch square. Use the same color as your apple rosette.
There are two long pieces that have several score lines. We are going to start by accordion folding one of the strips.
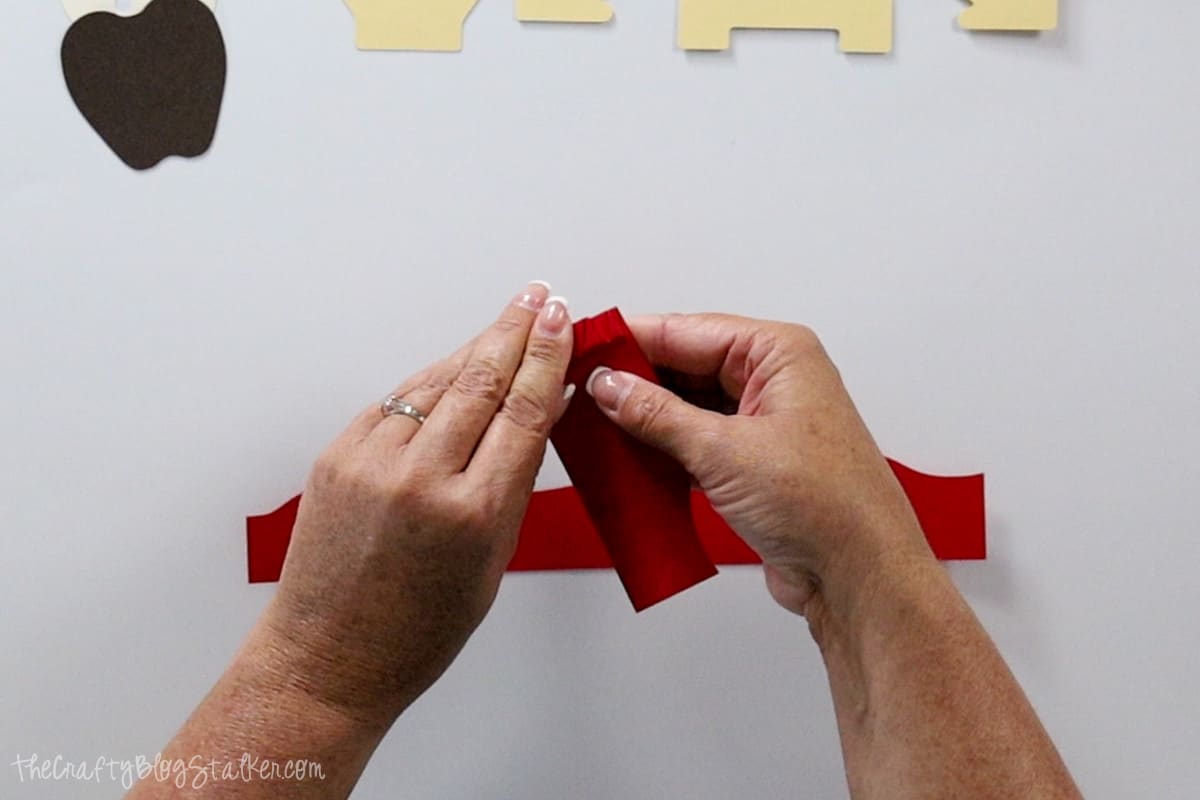
You'll notice that on each end of the strips, there is a thinner end and a wider end.
The two thin ends come together, and the wider ends go to together.
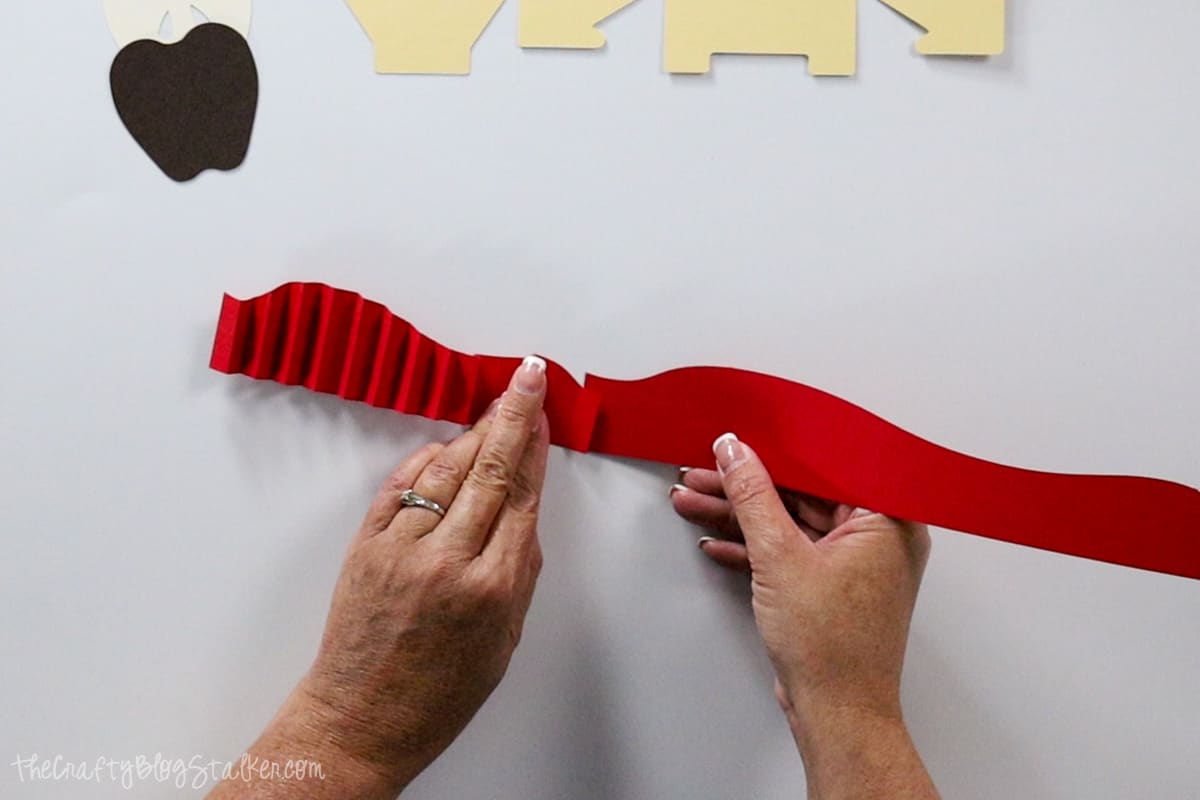
Add some adhesive to the last section of the thinner end of the strip, overlap it with the last section on the new strip, and glue the pieces together.
Continue the accordion fold down the second strip.
When you come to the end, apply adhesive and join the ends together so you have a loop.
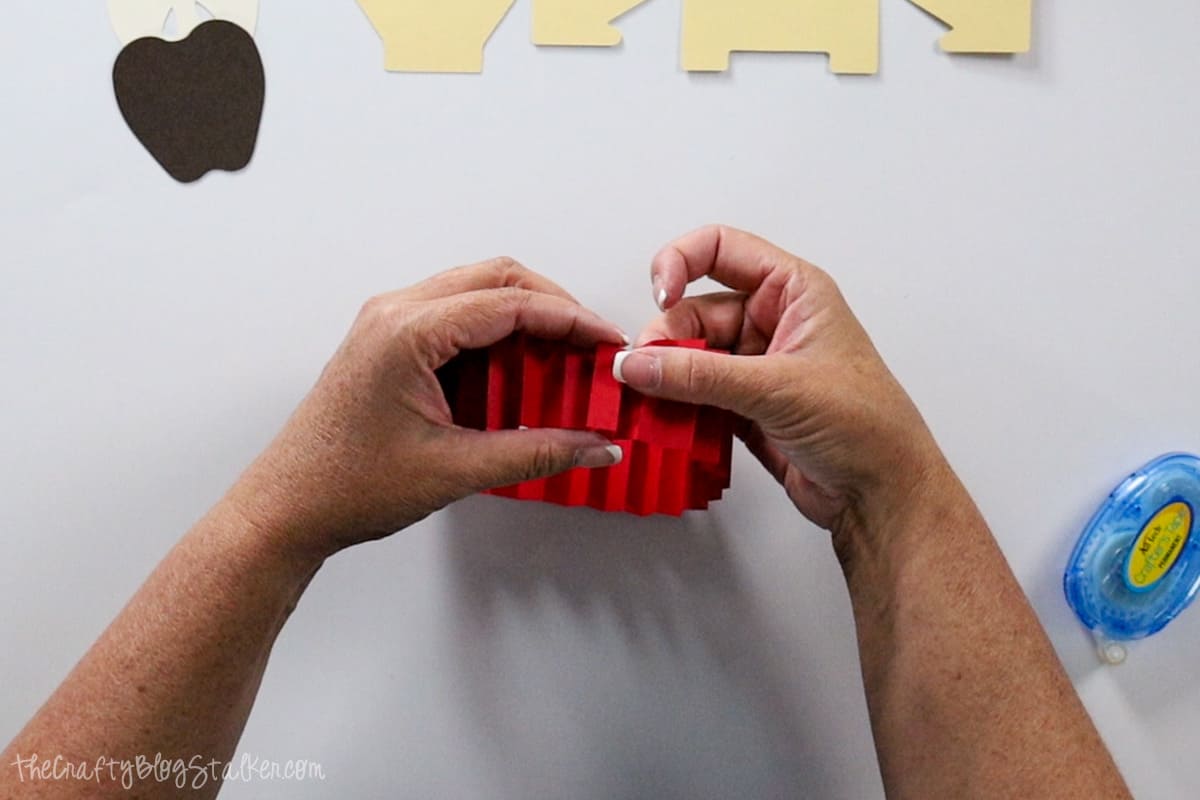
Place the loop in front of you with the straight edge touching the table.
Pinch each side of the loop with each hand. Put your knuckles together and then pull outward to pout your fingertips together. This will lay the loop flat,
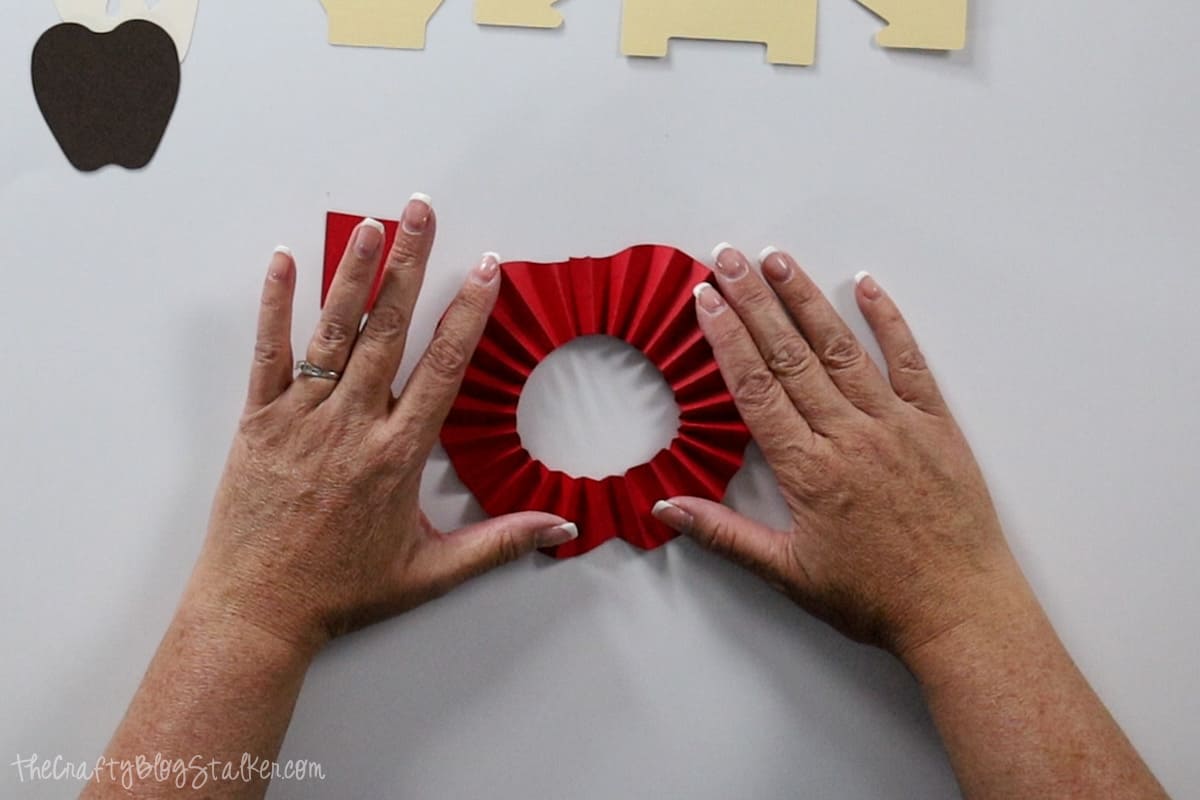
Push the sides in so the center hole is really small.
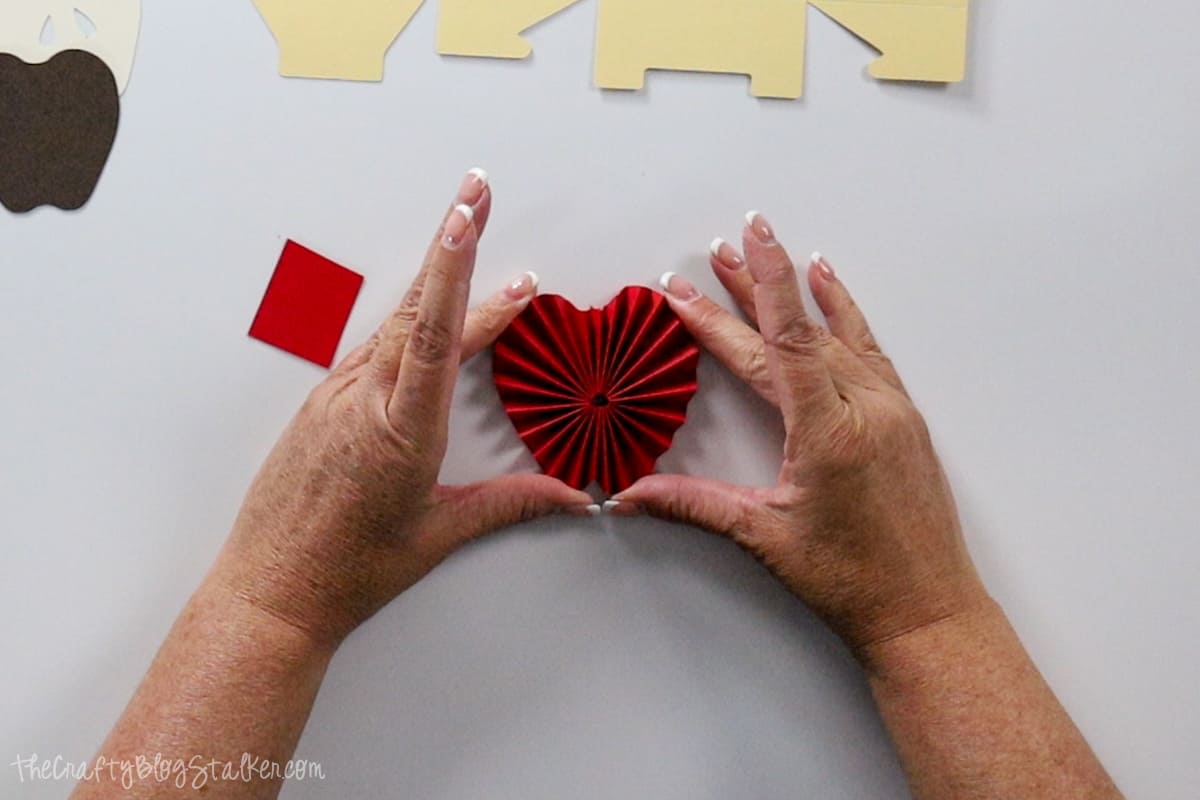
This next step is when another hand is helpful.
Apply a glob of hot glue onto the center of that red square we cut previously.
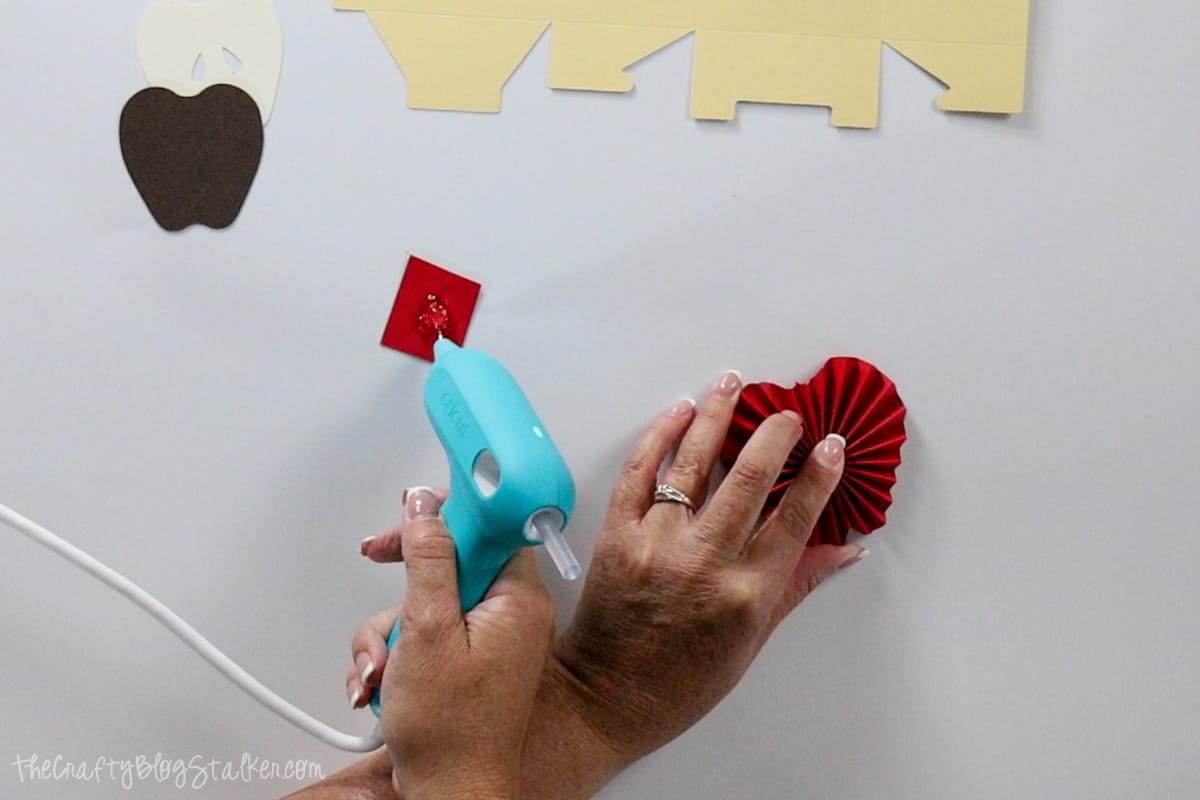
Pick up the square and turn it over onto the center hole of your apple rosette. Making sure all the sides are pushed in as tight as you can.
Hold everything in place for about a minute while you wait for the hot glue to cool and hold.
Turn the rosette over so the square is touching the table.
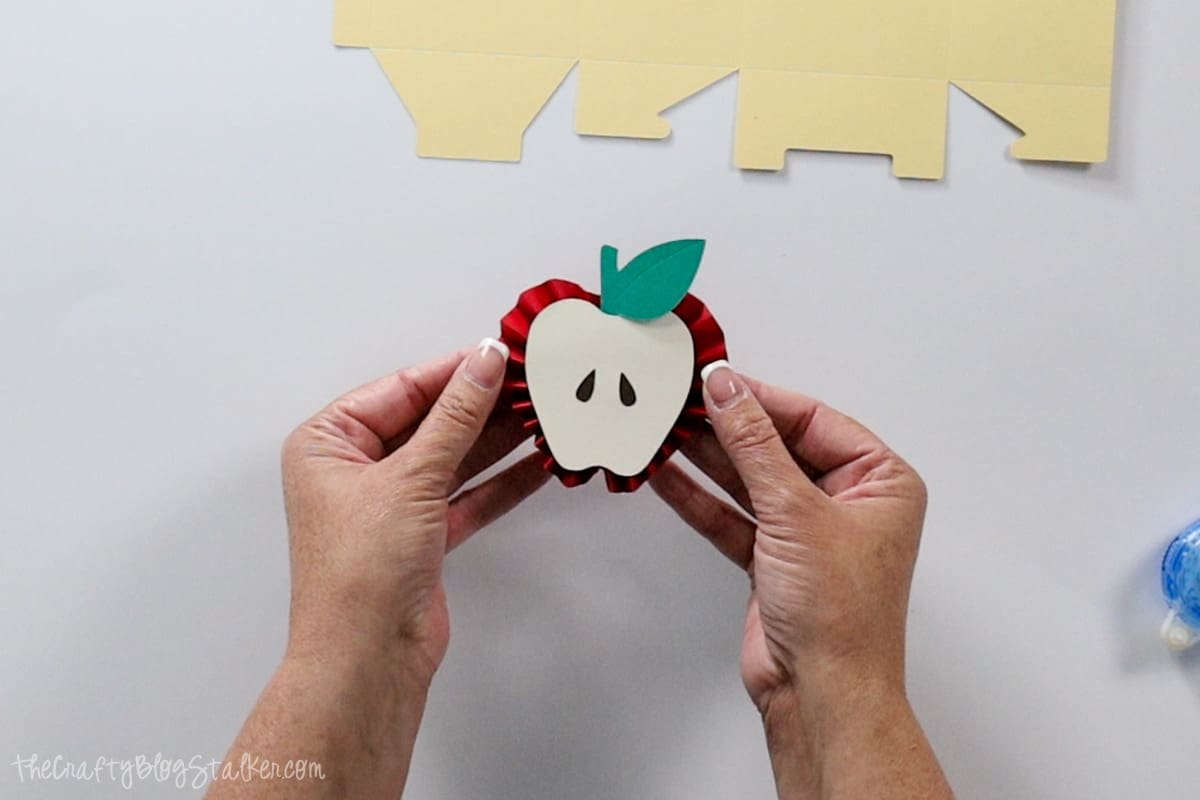
Apply adhesive to the seed layer of the apple and align the front of the apple slice on top.
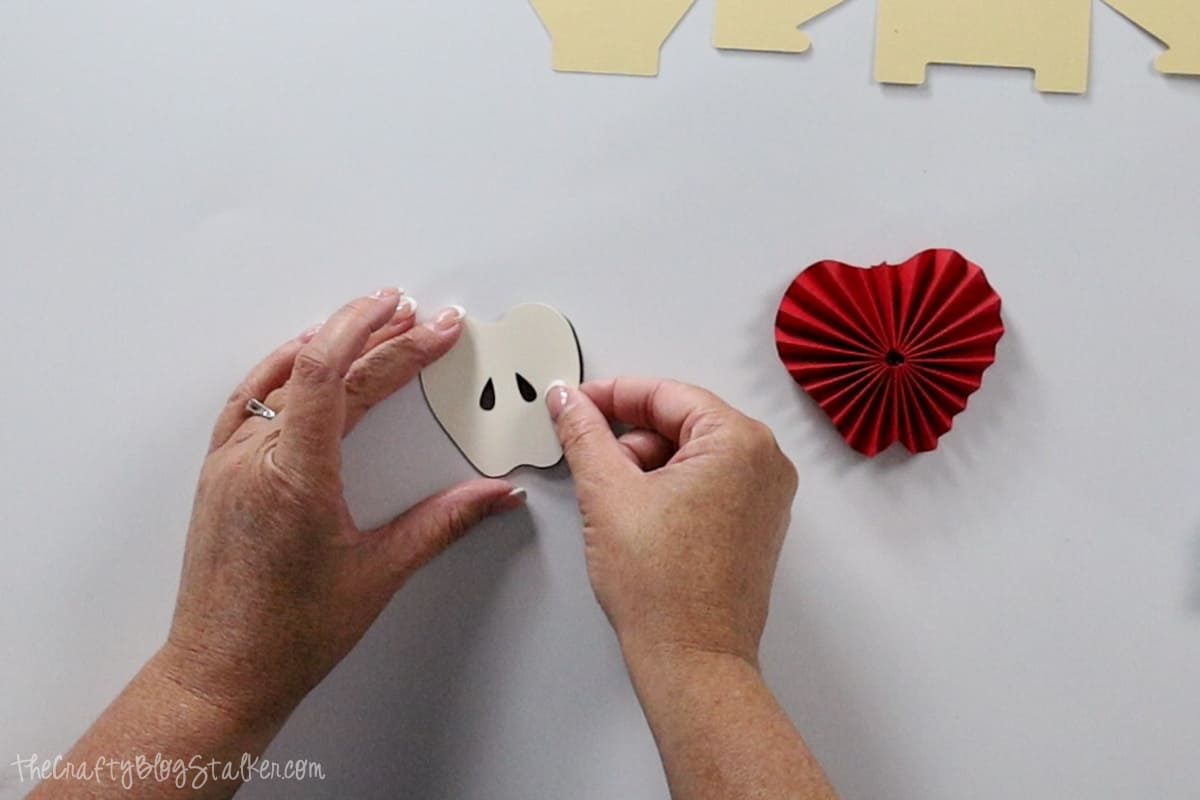
Apply a circle of hot around the center hole of the apple rosette, and center the apple slice front on top.
Add a dot of hot glue to the leafy stem and tuck it behind the front of the apple slice.
Box Assembly:
Place whichever side of the box you want to be the front, face down on the table.
Use a bone folder to fold in on all of the score lines. Pressing across the score line once folded will give you nice crisp fold lines.
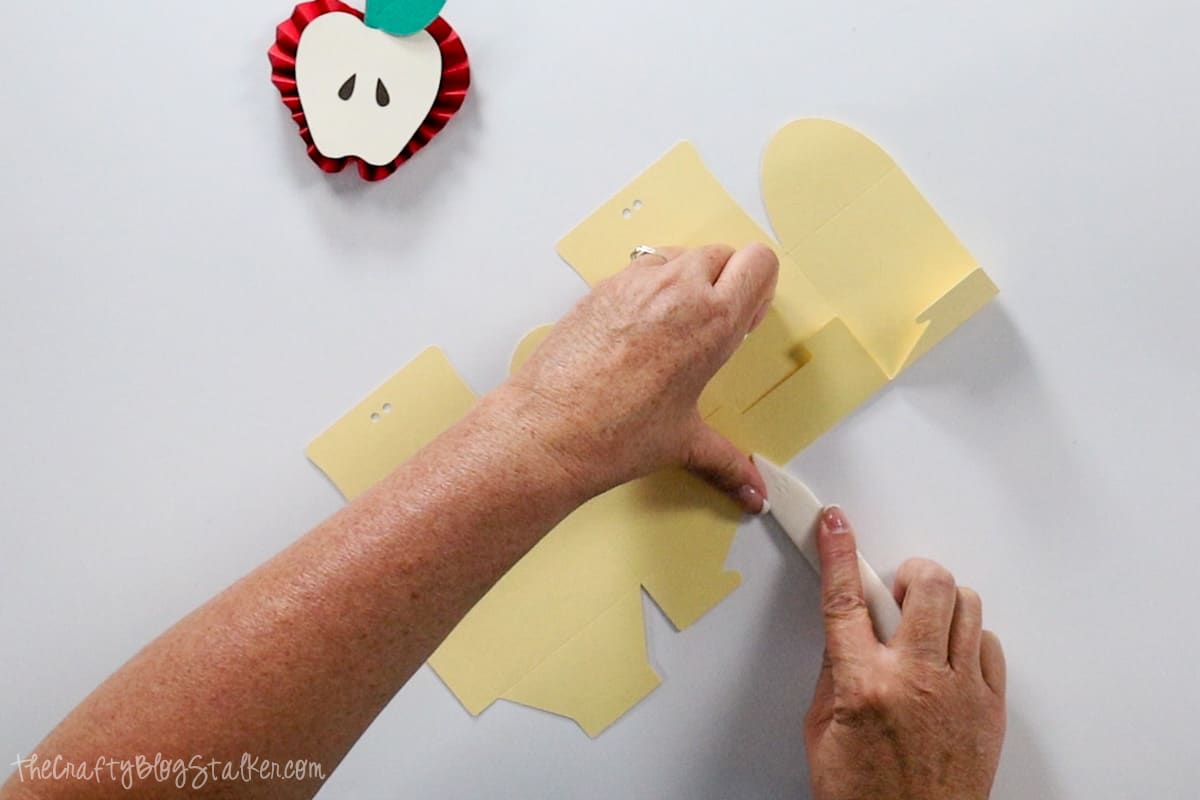
Fold the large flap in and apply double-sided adhesive to the tab.
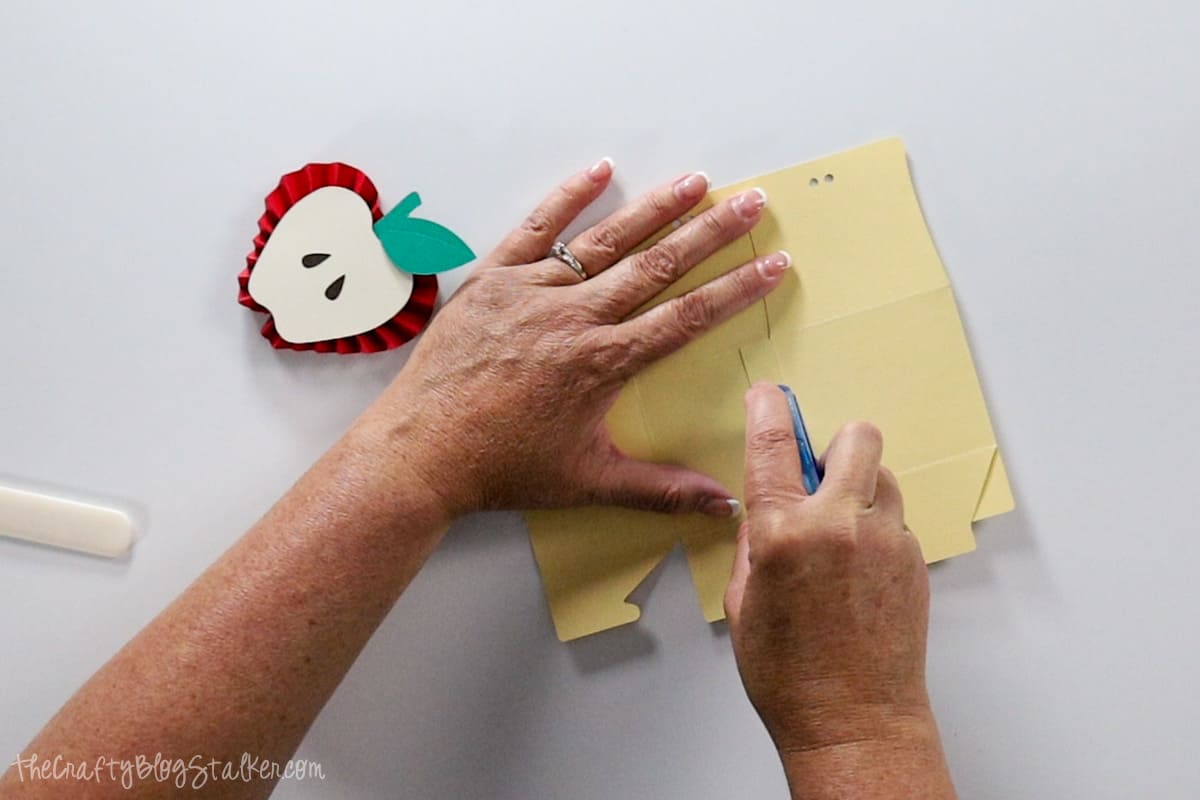
Fold the smaller side in and it should line up perfectly with that tab with the glue.
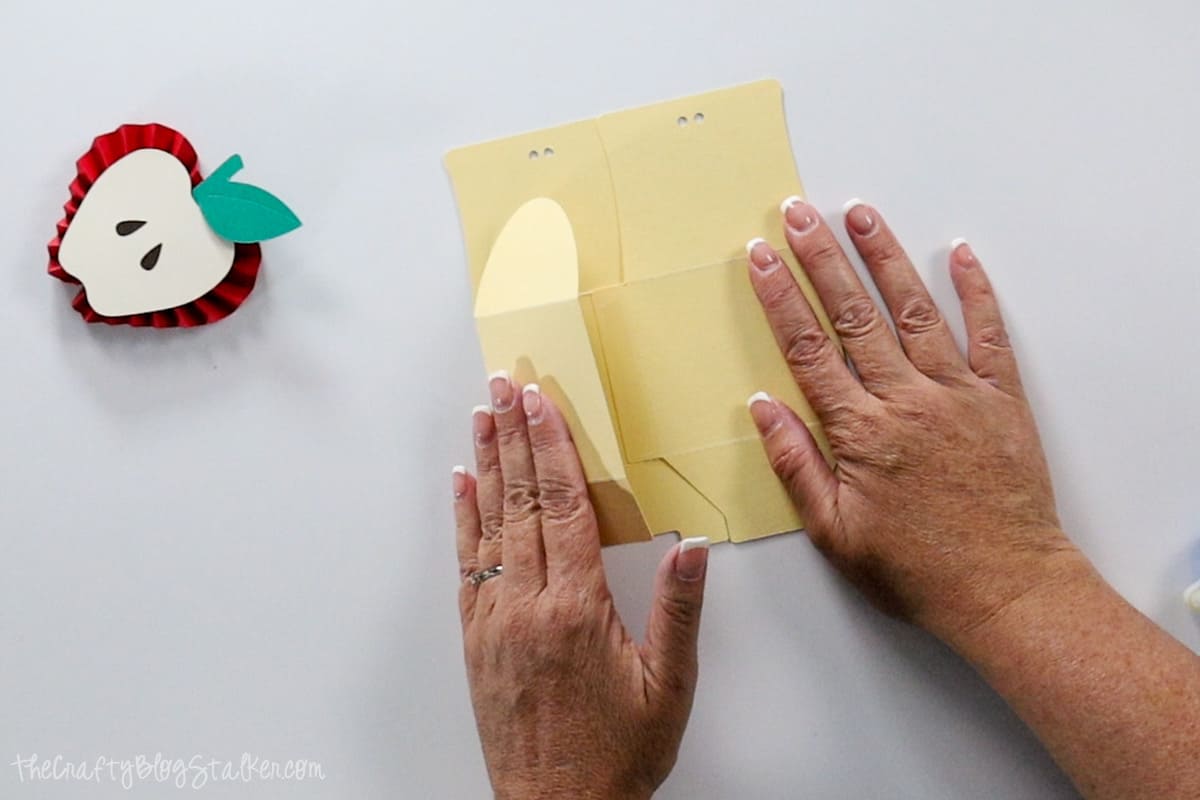
Run a thumb over where the two ends comb together to make sure they are good and stuck.
To the back of the apple rosette, add some hot glue.
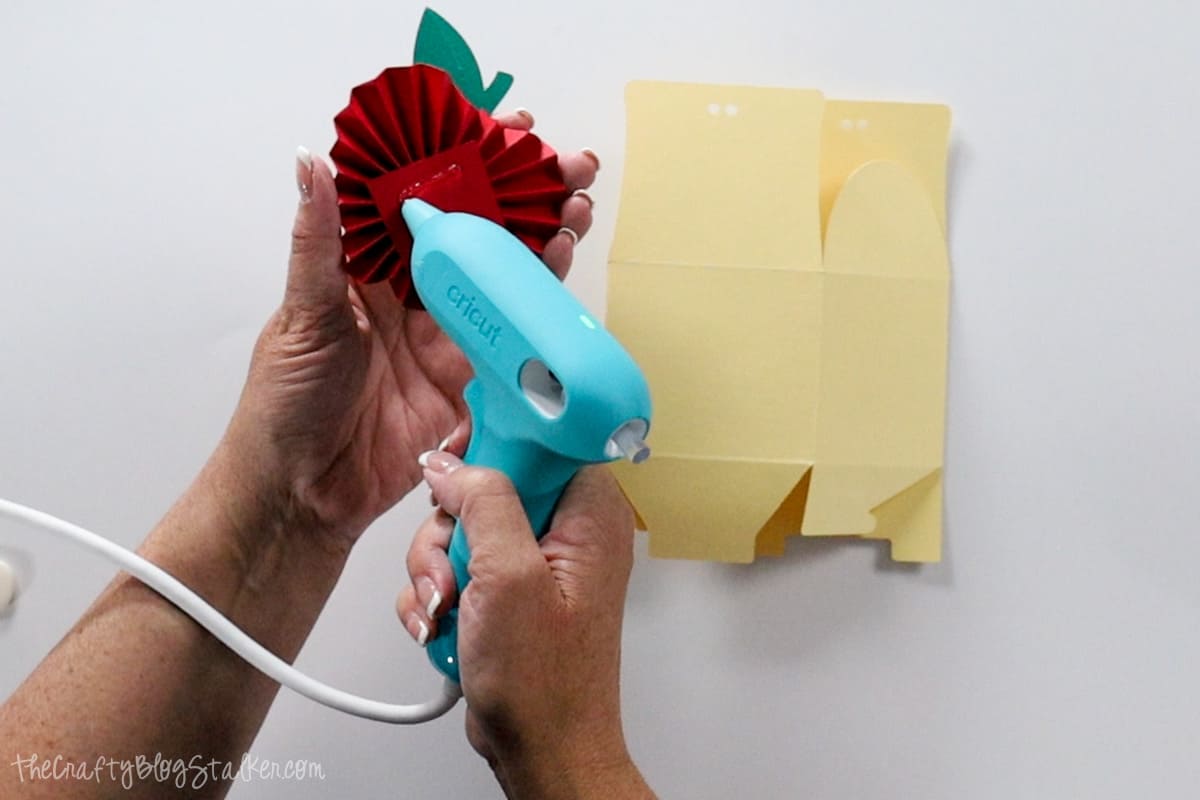
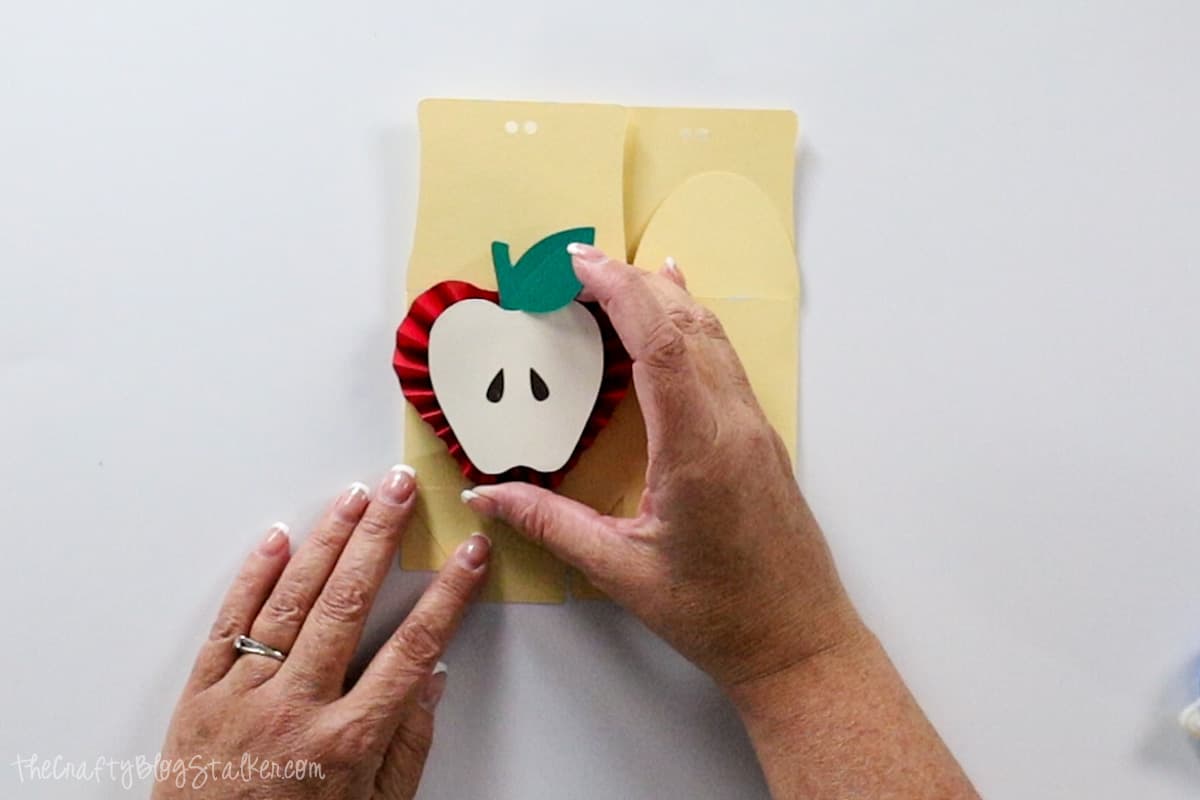
Center the apple rosette on the front of the box. Make sure the apple slice doesn't extend past the fold line of the bottom tab. Otherwise, the box won't stand upright.
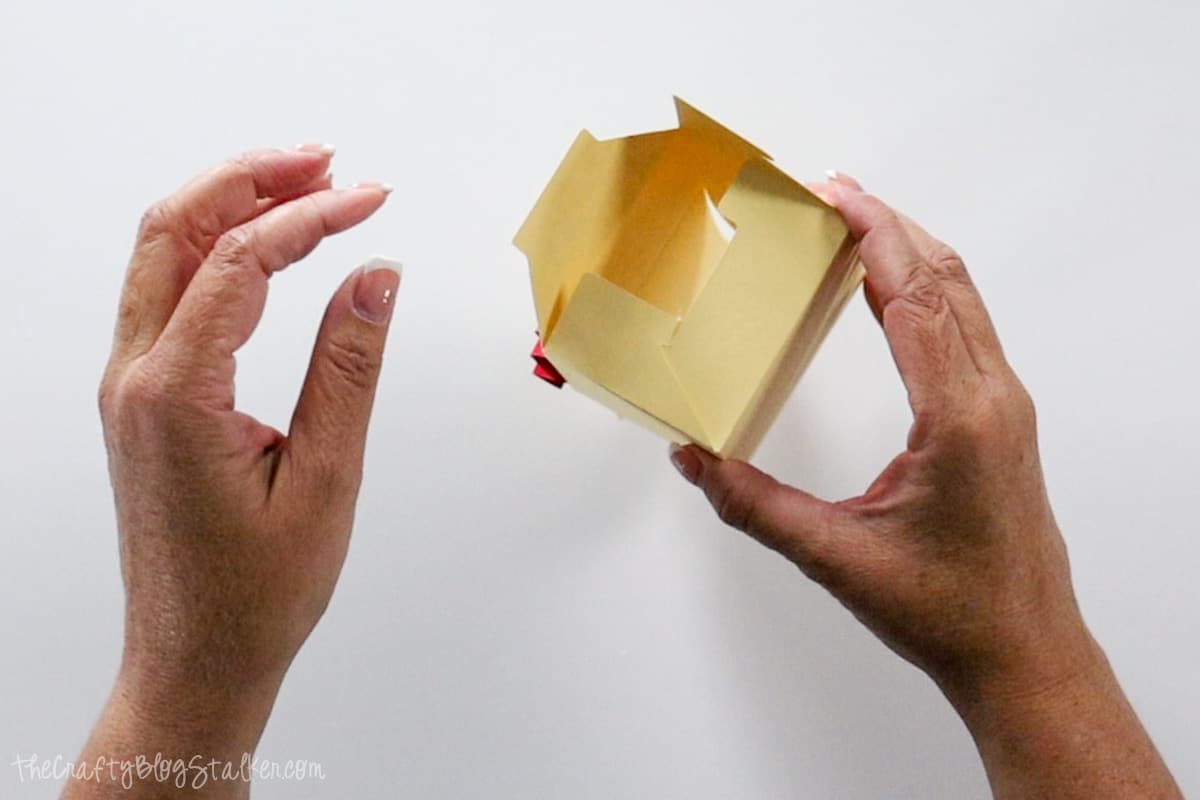
To fold the box, hold it so the bottom flaps are up, facing you.
There are two side flaps, and a male and a female flap.
Fold the female flap down and tuck each side flap underneath it.
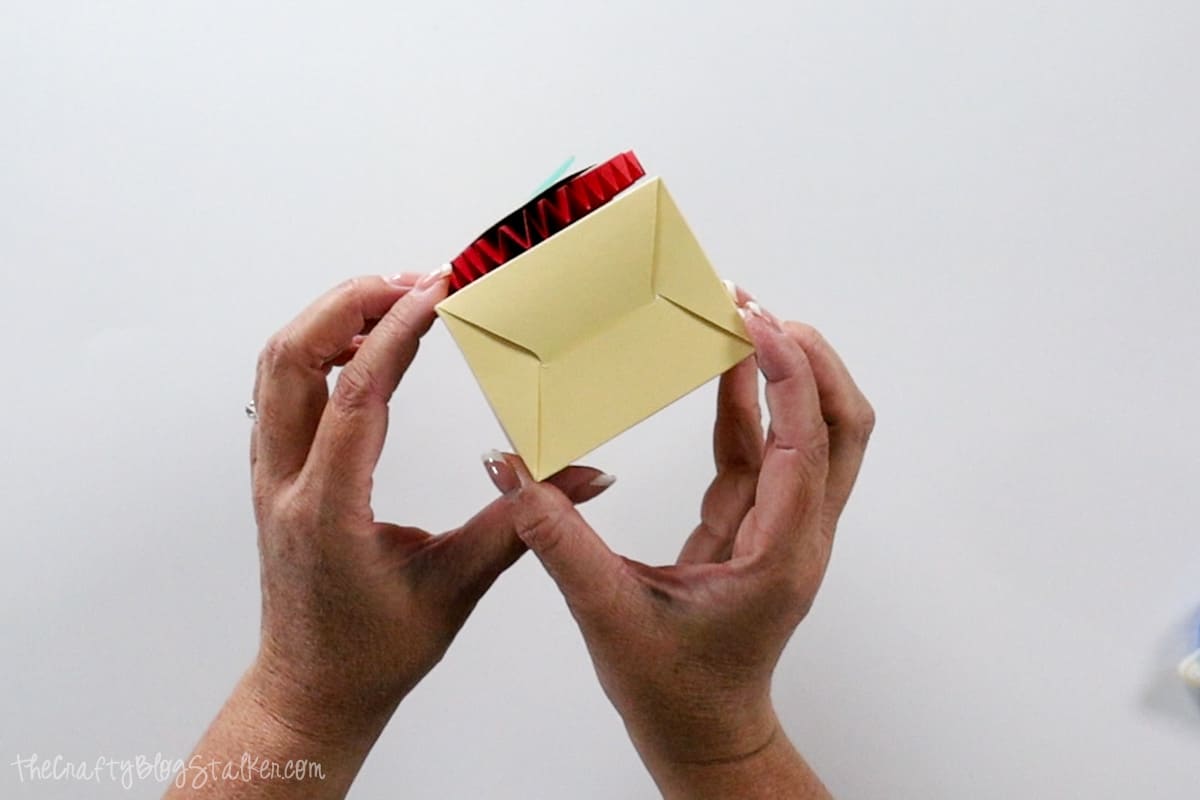
Last push the male flap under the first side. When all pieces are tucked appropriately, the bottom should have a nice clean look.
Fill the Box:
When it comes to choosing the perfect treat for your child's teacher, there are a few things to keep in mind.
First, consider any allergies or dietary restrictions they may have. You don't want to give them something they can't enjoy or even worse, something that could harm them.
The best gifts are personalized, so think about their taste preferences. Do they love chocolate or prefer something fruity? Would they enjoy a savory snack or something with a little bit of spice? Take the time to really consider what they would enjoy and appreciate.
Overall, the key is to choose treats that your child's teacher will truly enjoy and appreciate. After all, they work hard each day to educate and inspire our kids, so a little bit of appreciation can go a long way.
I chose red Cinnamon Jelly Belly candies to put in my red apple box, although an apple-flavored candy would have been a great choice too.
If it is a loose candy that isn't wrapped, you will want to put the candy in a small cellophane bag before you place it in the box.
Cut a length of twine and run through the holes on the top of the box.
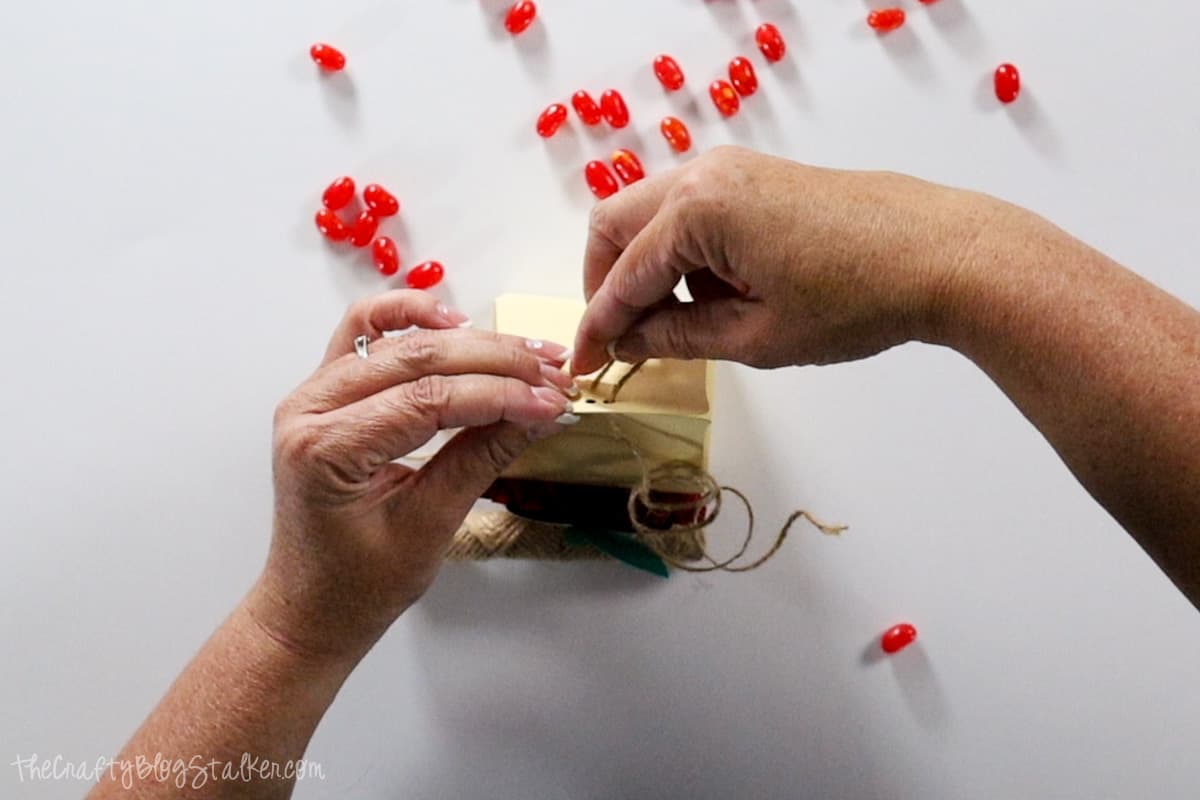
Tie the twine ends into a cute little bow and trim the ends with a pair of scissors.
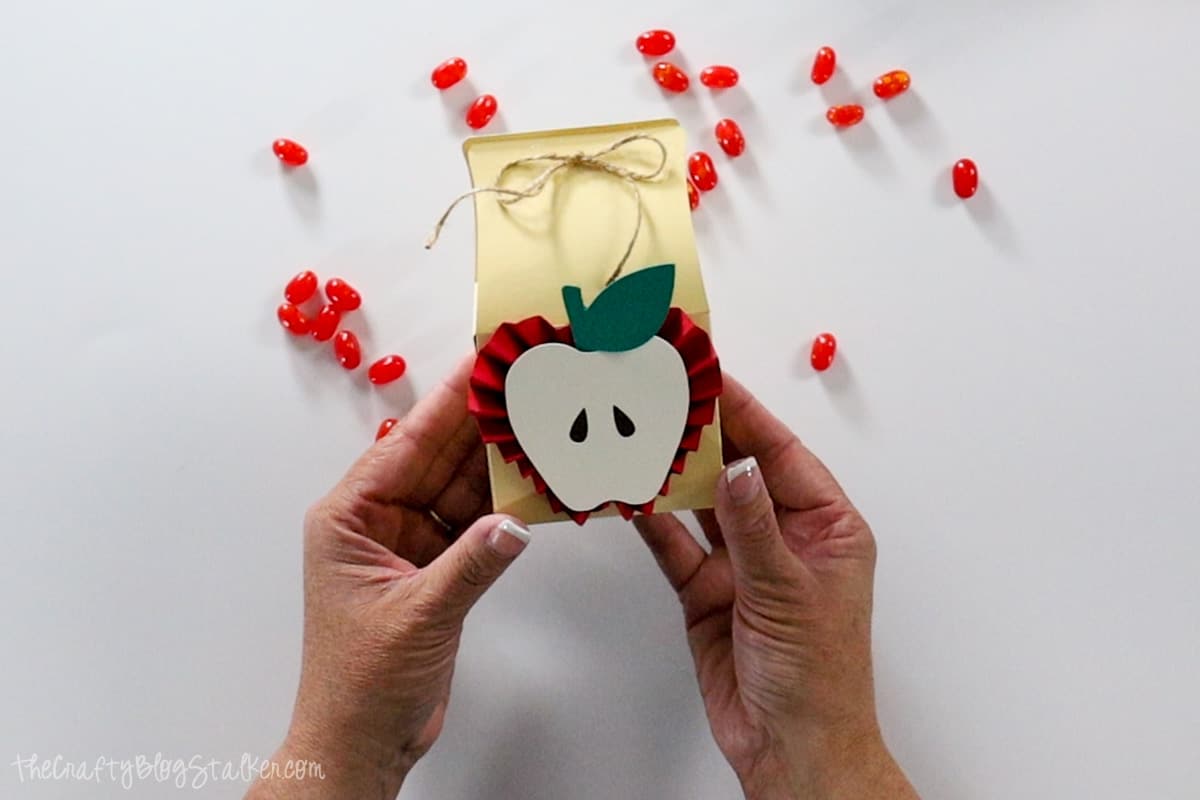
Tips for Adding a Personal Touch to Your Gift:
When it comes to a perfect gift, a personal touch can make all the difference.
A handmade apple-rosette box filled with treats is already a thoughtful gesture, but adding a personal touch can make it truly special.
Consider including a note expressing your gratitude for all their hard work.
It's a small way to make a big impact and create a lasting impression.

So, next time teacher appreciation week, day, or the end of the school year rolls around, consider making this fun and easy DIY gift for your child's teacher.
It is teacher, parent, and kid approved. Plus, it will look so cute sitting on the teacher's desk.
Our Crafting Essentials List:
- The Cricut Cutting Machine is easily our favorite crafting tool. We use it in so many of our tutorials!
- These MakerX Crafting Tools are perfect for keeping in the craft room, and are always ready when you need them!
- This Fiskars Paper Trimmer is easy to use and cuts nicely without frayed edges.
- These Scotch Precision Scissors cut like a dream and you get multiple pairs in a pack!
Follow TCBS
The post How to Make an Easy DIY Teacher Appreciation Gift appeared first on The Crafty Blog Stalker.