How To Sew A Bunting Banner
This bunting banner is so festive, I plan on making one for my craft room and a couple for the garden outside. I have been looking for a nice scrap buster project and this bunting banner really fits the bill. I love the nostalgic look of a bunting banner, but I realized recently that if you use a really varied mish-mosh of fabrics, you get a cool boho look, which is so desirable for my taste in decor. As I looked around the craft room, I realized that I had so many fabrics that were never going to be used in any projects and this project was perfect fr those pieces that were really too small to be used anywhere else. Debbie Shore on Youtube does an excellent job explaining this project in this video tutorial. Debbie is a gem, and I am so happy I found this project.
Materials:
- Fabric (2 kinds)
- Bias tape
- Scissors
- Thread
- A sewing machine
- A ruler
- A rotary cutter
Directions:
First, you will cut 4 pieces of fabric 6 inches wide. Then each flag for this lovely banner has a 5 inch wide top, and you will cut them in alternating directions. Place the flags right sides together and sew the two sides, leaving the top open.
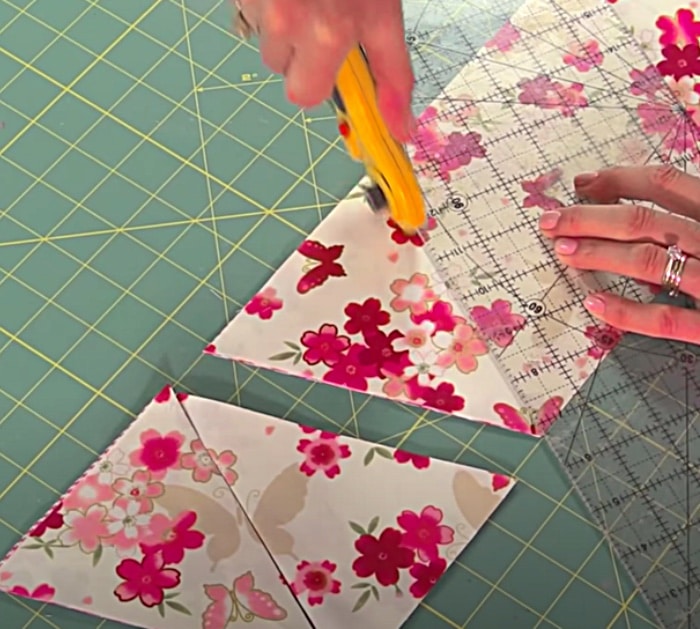
Then you turn the cute little flags right side out, press them, and nip off the excess fabric at the top. Then you will layout the bias tape and press it in half, (with bias tape folds to the inside), then place your flags inside the bias tape, pin, and sew. It is really that easy.
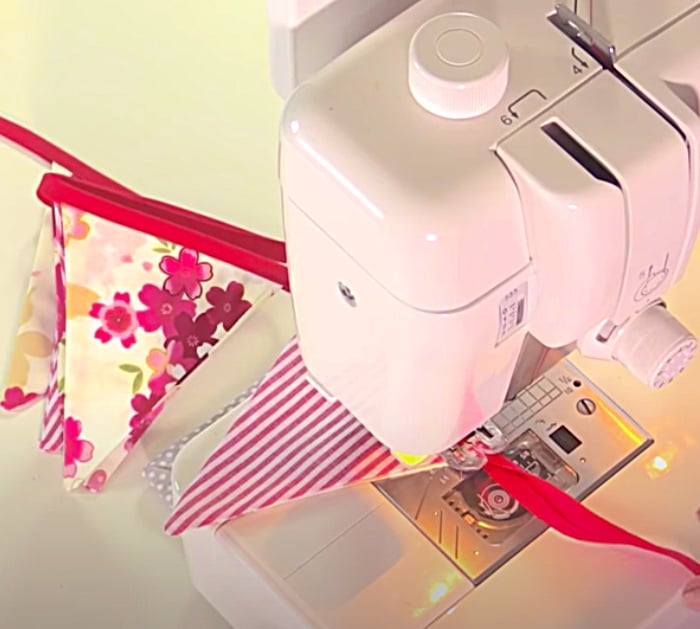
Bunting banners are so cheerful, and they brighten up any space they are placed in. I plan on making a few of these right away.
How To Sew A Bunting Banner
The post How To Sew A Bunting Banner appeared first on DIY Joy.