Make A DIY Vocal Booth And How To Start Your Own Podcast
You have ideas running in your head and want to share it with the world. Why not start your own podcast? I’ll teach you how you can make a DIY vocal booth to make your audio quality sound professional.
Besides your content, you also need high-quality audio if you want to start your online show. But don’t worry, it’s not hard to accomplish as long as you have all the things needed.
In this article, I’ll teach you how you can record clean vocals and set up your podcast in the comfort of your home. Probably inside your bedroom?
RELATED: Recording Tips For Your Home Recording Studio
Start Your Own Podcast and Learn How to Create a DIY Vocal Booth
Audio Recording Basics
Each room in your house is unique in terms of creating sound waves. It can depend on the furniture inside the room, the size of the room, the height of the ceiling, the materials of the flooring and walls, or if there are curtains or none.
Sound waves react differently to different materials. For example, the waves will bounce more on tiles or glass than wood or fabric. Bouncing waves can create echo and could make your audio sound bad.
Recording the best possible quality means getting the full tone of your voice and excluding external noises.
Materials for a DIY Vocal Booth:
- Acoustic foams
- Box (Where to encase the microphone)
- Bread knife
Note: For the box, you can use an IKEA Drona box, which is only $4. The acoustic foams are available on eBay.
Step 1: Get a Box
Make sure the box is open on one end and is big enough to use it as an opening for you to use to record. The material of the box can be a velvet fabric like the Drona box, a cloth, or even a soft carton.
Step 2: Cut the Foam
Cut the foam to fit the box. Shove a foam panel inside the box, one side at a time. The excess needs to be taken out and use the bread knife to cut the foam properly.
Do it to the remaining sides to get the foam to fit every side.
Step 3: You’re Ready for a Podcast
Your DIY vocal booth is done! Place the microphone inside the box and you’re ready to start your podcast. The sound booth should help make your voice sound more full and sound professional.
RELATED: Must-Have Home Recording Studio Equipment | DIY Music Room
How to Start Your Own Podcast
What You Need to Start a Podcast
- Microphone with sound booth
- DAW (Digital Audio Workstation) installed on a computer
- Audio Interface
Note: A DAW is a software you have on your computer and is used to record the audio and where you can edit your tracks. Examples: Garageband, Cubase, Audition Live, Abelton, and Pro Tools.
Step 1: Install DAW
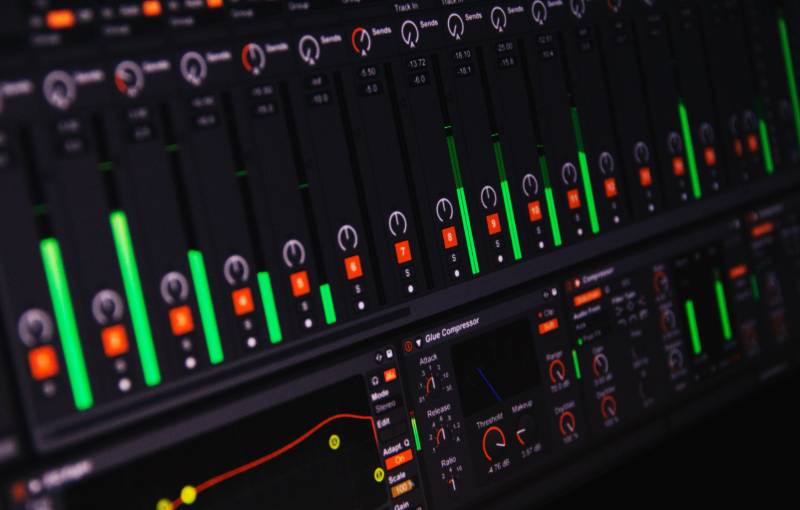
Get your computer ready and have your Digital Audio Workstation ready. For Mac users, Garageband is pre-installed on your computers or laptops. Logic Pro X is a more advanced version of Logic Pro.
For Windows users, Audacity or Cubase is free for download and is easy to use just like its Mac counterparts.
Almost all DAWs function the same and the ease in functionality and usability of these applications are usually the only differences, especially when using it for podcasts.
Step 2: Connect Microphone to Your Audio Interface
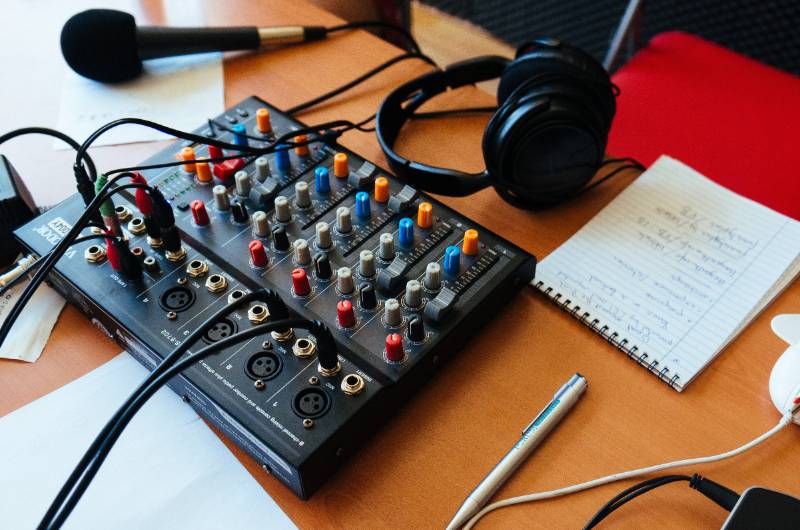
Now that you have your DIY vocal booth and your microphone set up, all you have to do is connect it to an audio interface that is connected to your computer.
An audio interface is a hardware where you can plug in an audio source such as a microphone or a musical instrument that sends its signal to the computer where it is recorded.
The audio interface lets you control the gain, volume, or is used as an equalizer for the source.
Examples of audio interfaces are Behringer U-phoria UM2 and Focusrite Scarlett 2i4.
Step 3: Record
Plan your program before recording. Write the outline of your program and then record.
Step 4: Edit and Publish
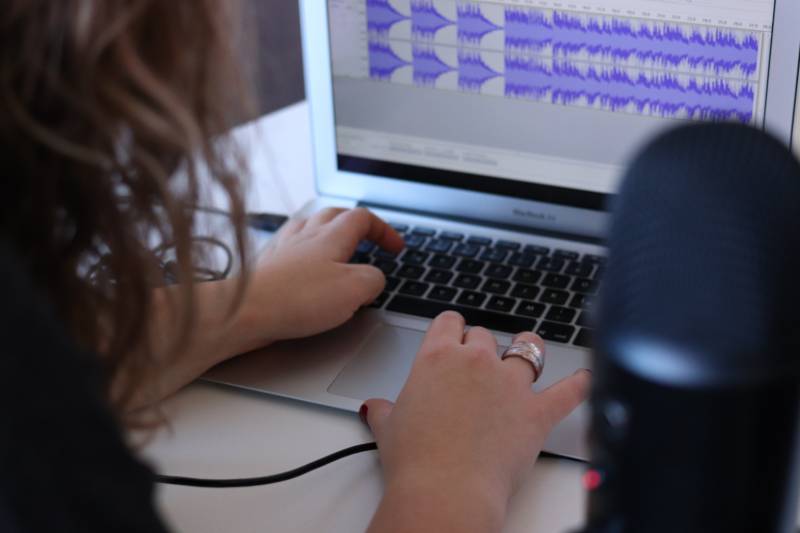
Add intro music, some background music, sound effects, outro music, and splice the parts you don’t want in your program. Put it all together and you have your first episode!
Now, put it out online for everyone to access. You can go to websites such as Buzzsprout, Blubrry, and PodBean. There are step-by-step guides on how to upload them.
Watch this video from Joe Lam and learn how to create a DIY vocal booth for your podcasting needs:
Now you have your own DIY vocal booth and you know how to start your own podcast. You can now share your thoughts with other people online and create your own online show.
If you are into music and want to record songs, this sound booth can also be used for vocal tracks. You can make a bigger box if you want to record instruments, too.
Were you able to build a DIY vocal booth of your own? Share it with us in the comments section below!
UP NEXT:
- DIY Soundproofing | How To Soundproof Your Space
- How To Make A Photo Booth For Your New Year’s Eve Party
- Young House Love Must-Try DIY | Rustic Centerpiece Box
Calling all crafting DIYhards, DIY Projects needs YOU! Click here if you want to contribute for us.
Don’t forget to stay connected with us on Facebook, Twitter, and Instagram!
The post Make A DIY Vocal Booth And How To Start Your Own Podcast appeared first on DIY Projects Craft Ideas & How To’s for Home Decor with Videos.