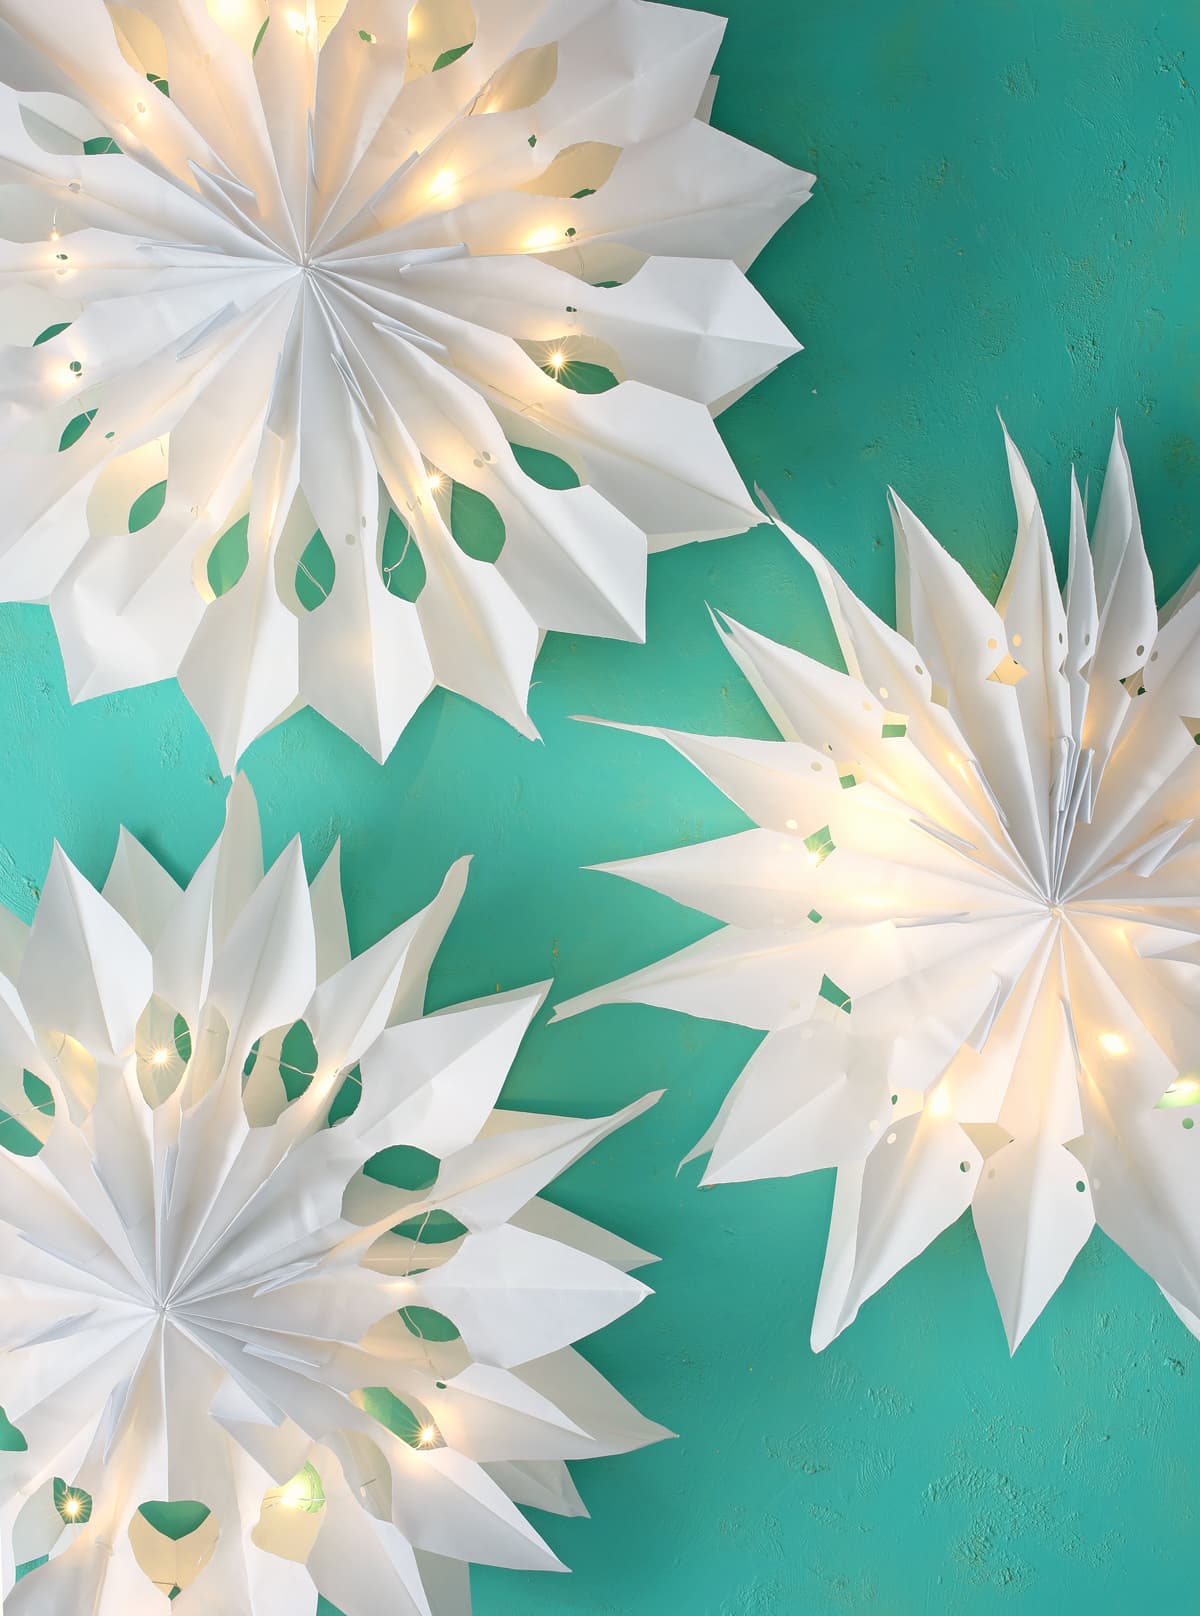
Paper Bag Stars with Lights
Learn how to make giant paper lunch bag stars that light up.

Have you seen these giant 3D stars made from paper lunch bags? It’s been a really popular craft the last few years but I had never tried making them. Then I got the idea to hang them in my entryway window and had to figure out a way to add lights to them so they’d look pretty during the day AND at night. And that is how we ended up here.
Today I’m going to show you how to make light up paper bag stars!

Materials Needed
- Paper Lunch Sacks – White or Brown
- Hot Glue Gun + Glue Sticks
- Twine, Ribbon or String for Hanging
- Battery Operated Fairy Lights with Timer
- Scissors
- Hole Punch
- Twine, Fishing Line or String for Hanging
You can use any fairy lights, but I liked that these particular lights also had a timer. They automatically come on for six hours and turn off for 18, so I just turned them on at 5pm the first day and haven’t touched them since. That’s so much better than having to dig around to find the switch and turn them on every night. I’ll never buy the regular kind again!
Some directions I looked at said to use school glue, then clamp the bags together while they dry, but I’m sorry… I don’t have the patience for that! Hot glue is so much faster. The only way I’d use school glue is if I were making this craft with kids so no little fingers get burned. Otherwise, it’s hot glue all the way, baby!
Instructions
Step 1: You’ll need 9 bags per star, so count those out and make a stack with all the bags going the same direction. Separate out the first bag. Make a T shape with hot glue down the center of the bag and along the closed bottom edge, then place the second bag on top, lining up all the edges. Repeat gluing and stacking until all nine bags are attached together in a neat stack.

Step 2: Cut out a design. At first I was trying to cut through all nine layers at the same time, but OUCH! That really hurts your hands. Instead, I just cut through two or three at a time until all of them were cut. Much less painful. You can see how I did that in the video tutorial at the bottom of this post.

CUTTING TIPS – When you cut traditional paper snowflakes like you did in elementary school, you want super intricate designs with lots of fussy cuts. I have found with these paper bag stars, the simpler designs actually turned out more beautiful. Cut some kind of point, petal, or star tip shape along the top edge, then add circular or triangular shapes to the two sides and let it be. Simple. Just remember not to cut through the bottom part where the bags double in thickness.

Step 3: Use a hole punch to make a hole as close to the middle of the bag as you can reach. I just did a few bags at a time until I had a hole that went through all the layers. Alternately, you can use the sharp tip of scissors to stab a hole. This just felt a bit dangerous to my clutzy self.

Step 4: Attach a string loop to the top center of the bags, then do the same hot glue pattern of an upside down T.

Bring the two ends of the bag around to form a circle shape and press them together. The easiest way is to put your hands inside the bags and then just press your hands together, lining up the tips and edges the best you can.

Step 5: Now comes the fun part… adding those fairy lights! Start at the top of the star where the hanging loop is located and string the lights through the holes you punched. Once the lights are all the way around the circle, tuck the battery pack into the bottom of the pouch and your star is ready for hanging.

To hang my stars in the window, I used a push pin on the top of my window molding, then tied a thin string to the hanging loop and adjusted the height, then tied off the string around the push pin. No one will ever see the hole since it’s up high on top of the molding.

Don’t the lights just take this whole project up a notch?! I love, love, love the twinkle and glow, especially at night looking in the windows from outside. So pretty!

Video Tutorial
The post Paper Bag Stars with Lights appeared first on The Craft Patch.