Paper Plate Owl Craft
By using this site, you agree to our Terms of Use. This post may contain affiliate links. Read our disclosure policy.
Follow us on Instagram for more fun ideas for kids!
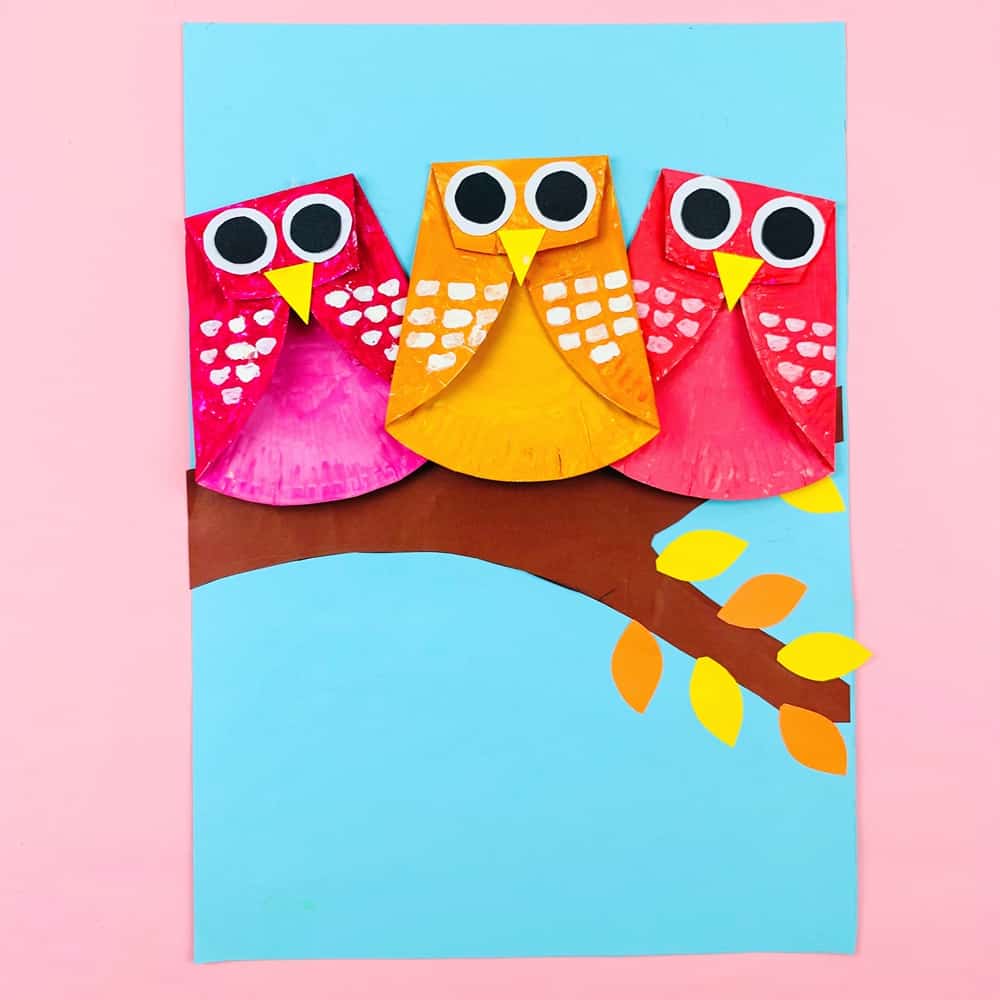
These paper plate owls are a hoot to make! All you need are paper plates and paint to make this “hootiful” fall craft for kids!
Fall is in full swing and owl crafts are always a fun way to celebrate the change in season and welcome of autumn! We’re sharing this super cute paper plate owl craft today to make with the kids!
All you need are some simple art supplies you probably already have at home like paints, paper and of course paper plates.
How do you make paper plate owls?
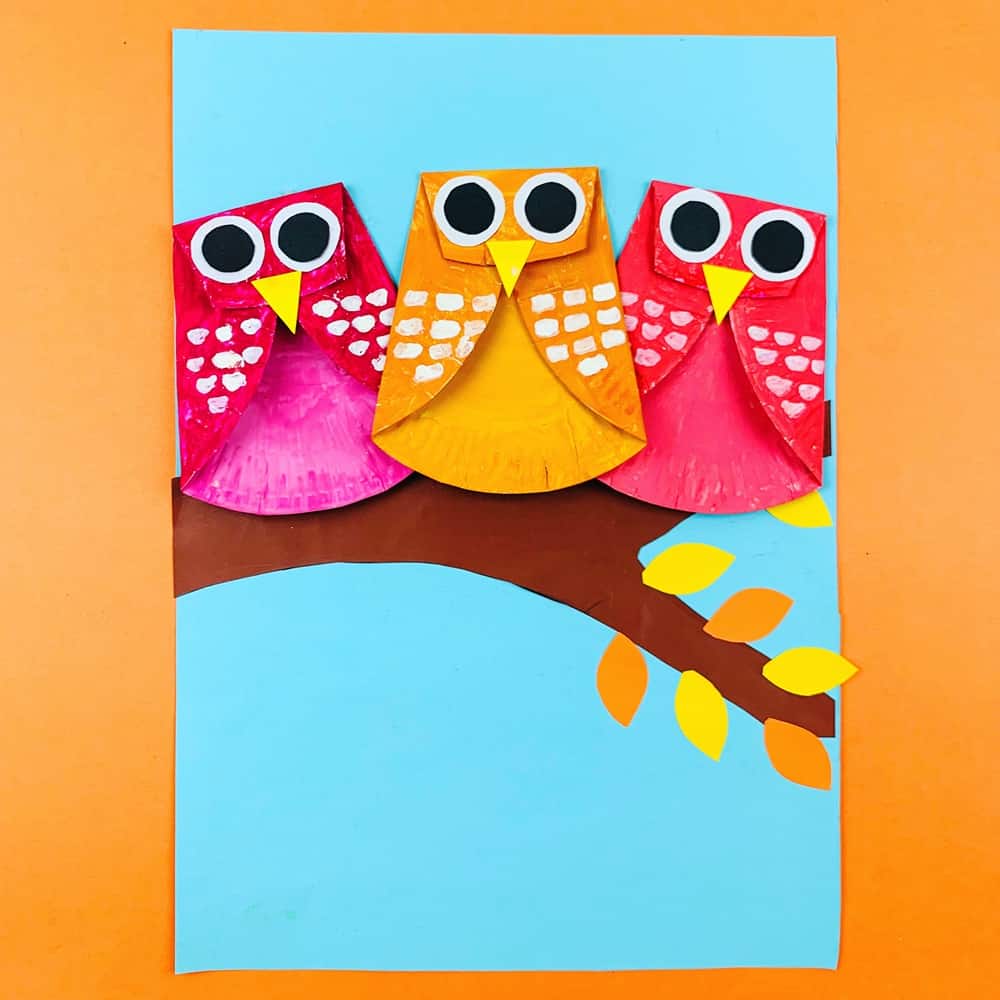
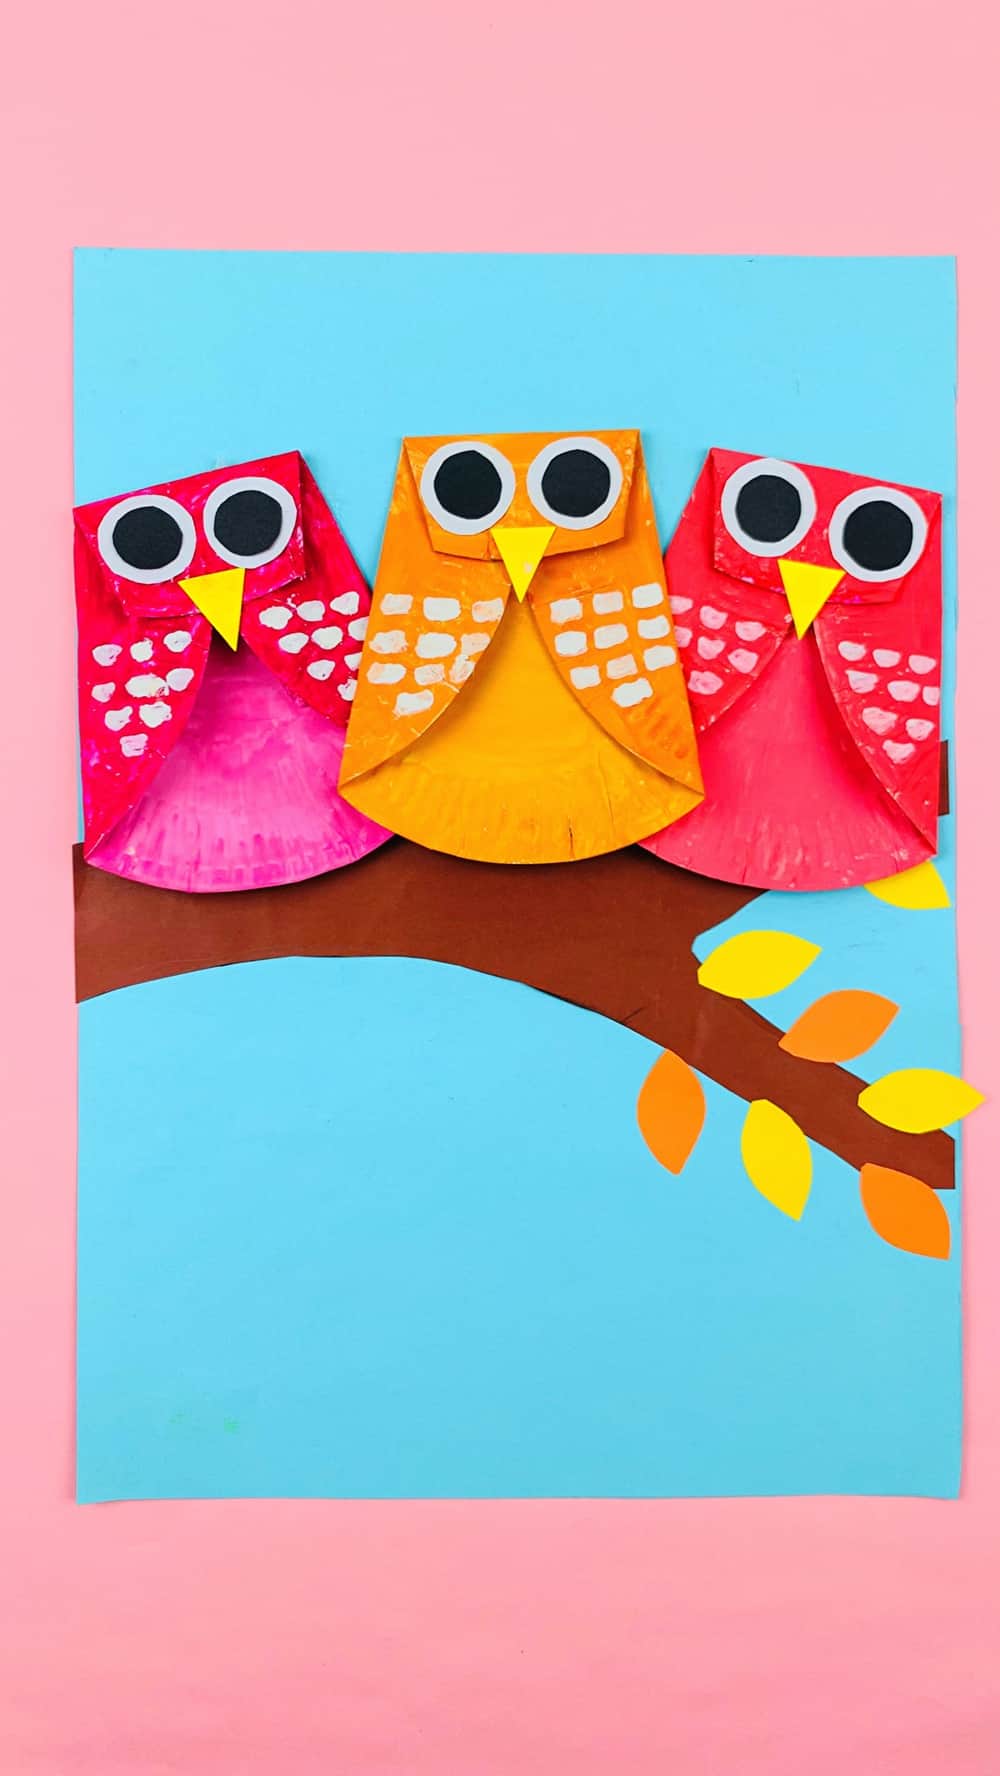
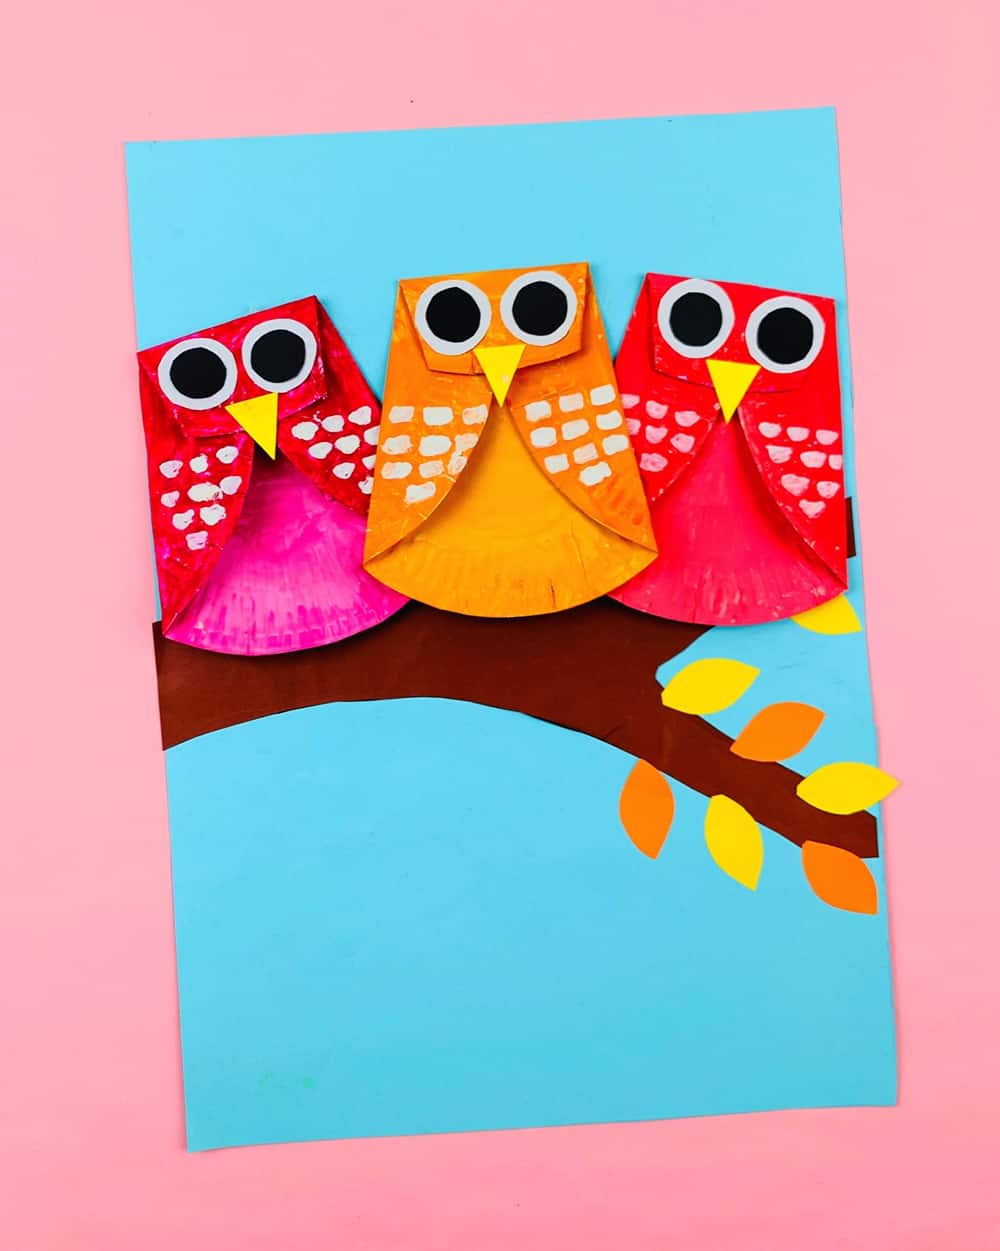
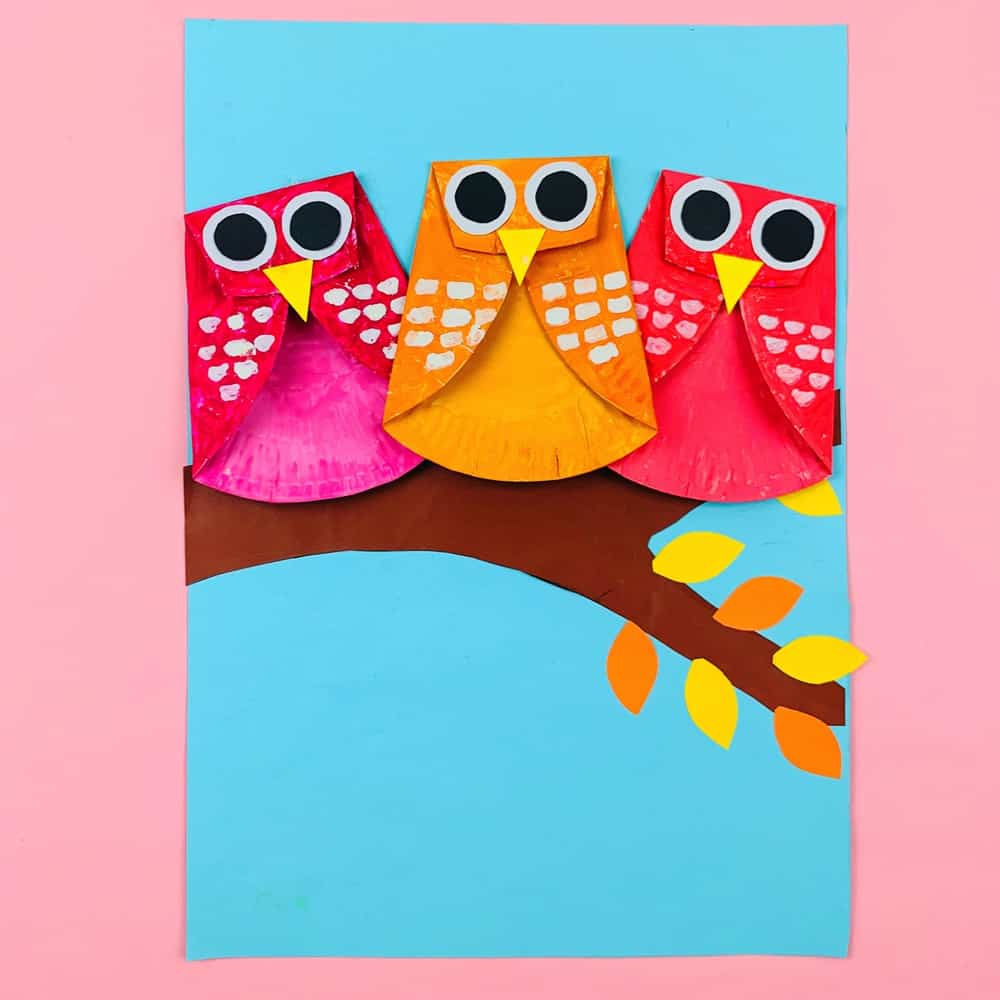
You’ll simply paint a paper plate front and back any color you’d like. Who says owls have to be brown! We made ours colorful like pink here! Let the kids decide what color their owls are.
Then you’ll add some fun details like eyes and feathers.
We gave our owls a decorative nature touch by adding them to paper branches! You could also gather a large branch from outdoors and stick them on for a cute fall decor!
Paper Plate Owl – Materials:
- White paper plates
- Paints (acrylic or tempera is fine)
- Colored paper (brown, orange, yellow, black and white)
- White paint or chalk markers
- Glue
INSTRUCTIONS
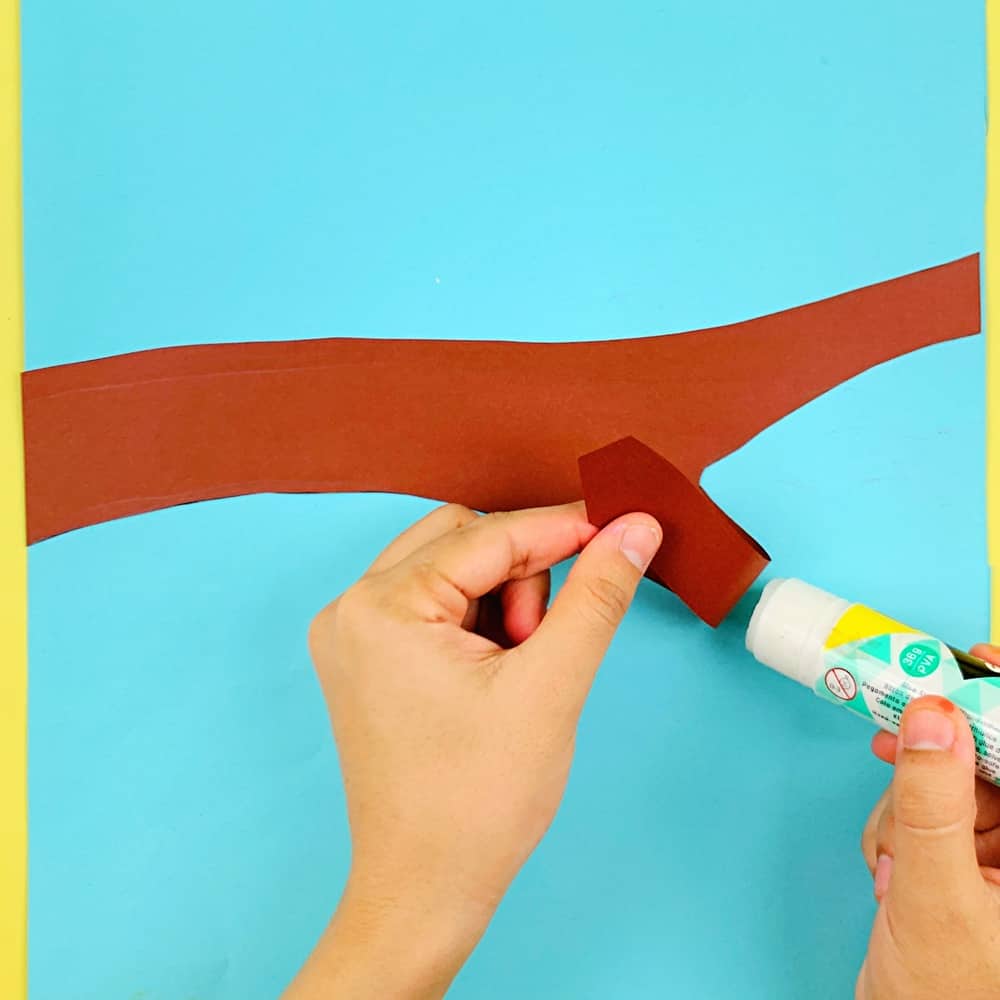
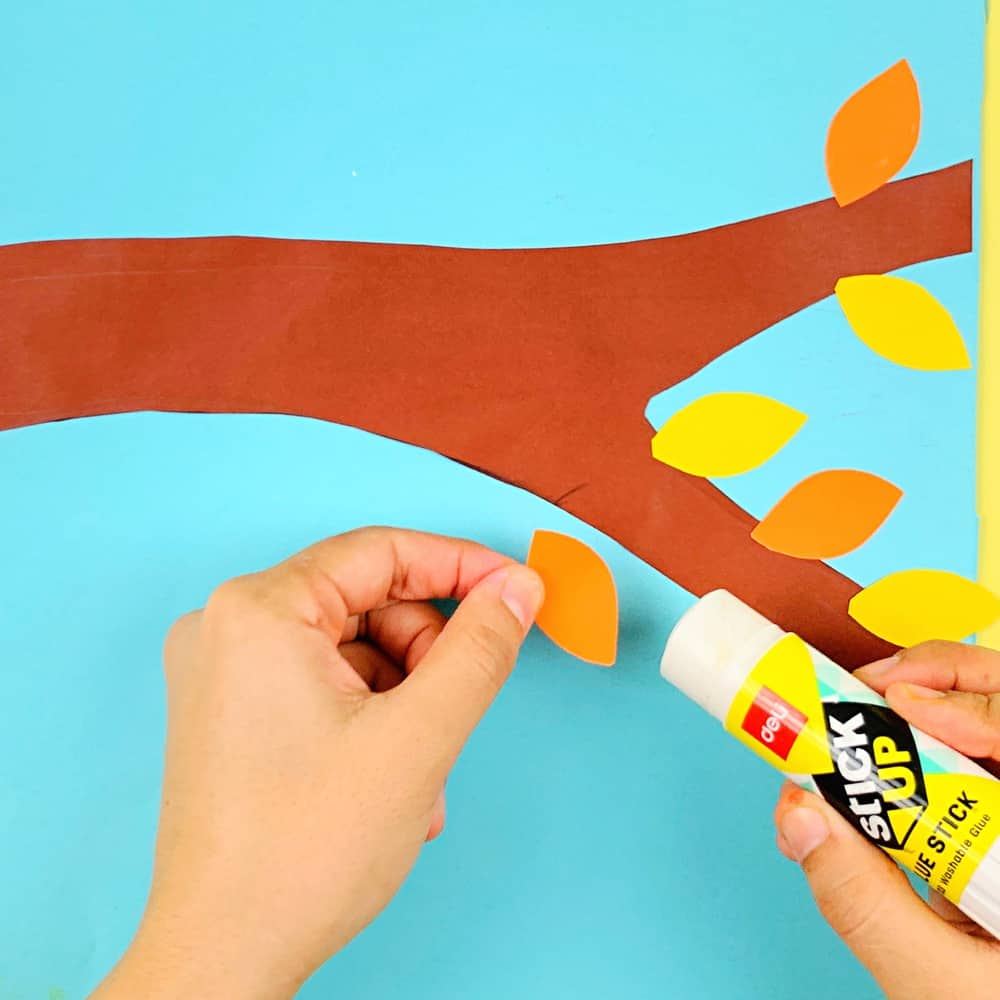
Step 1. Optional: draw a tree branch on brown paper and cut out some paper leaves. Glue that to a canvas or another large piece of paper.
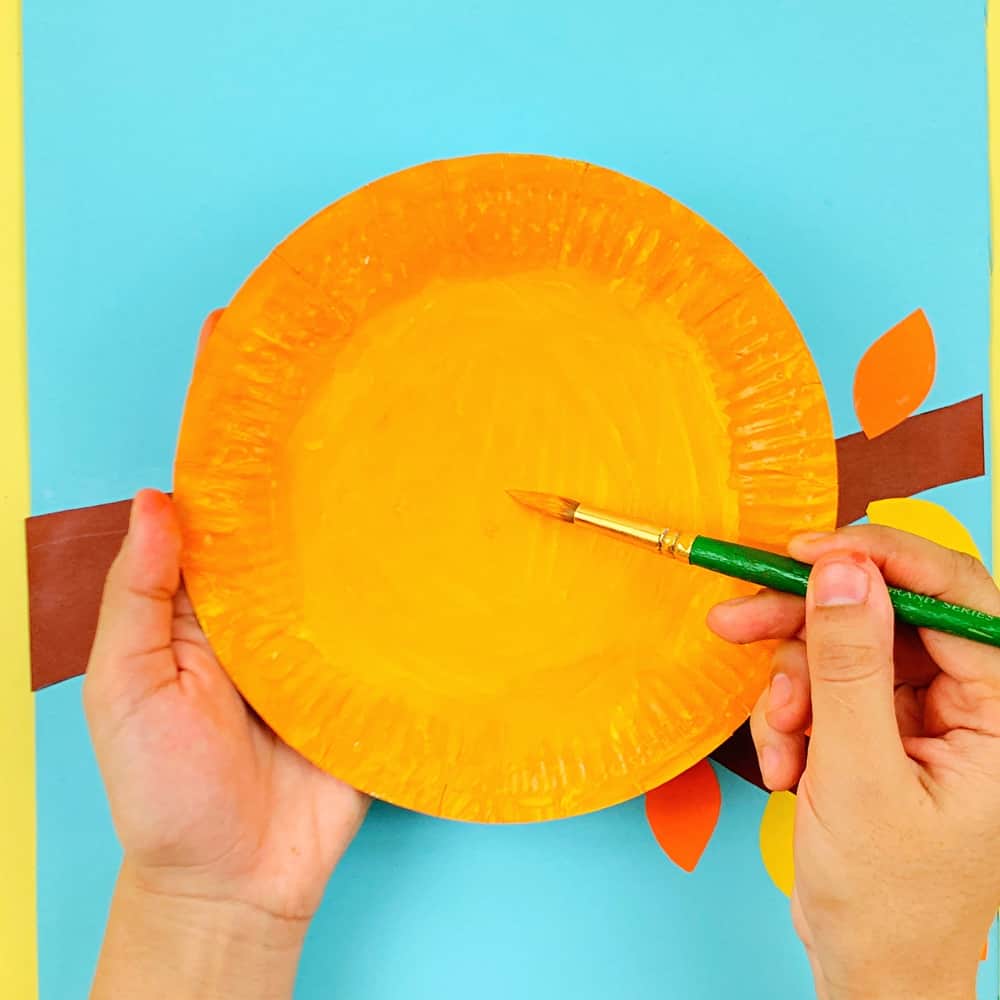
Step 2. Paint your paper plate on both sides and allow to dry fully.
Step 3. Fold both sides of the plate inward to the center and fold the top down. Use a bit of glue to adhere the folds.
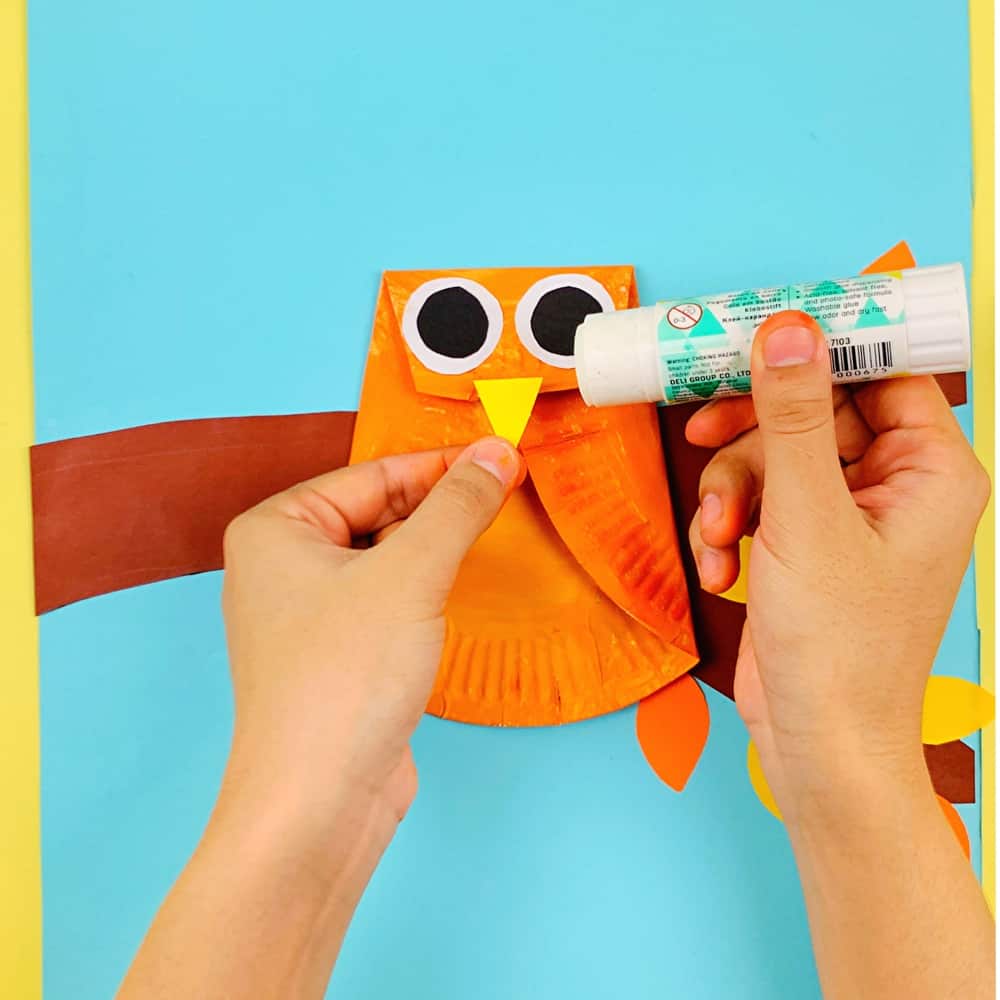
Step 4. Cut a yellow beak and add to the owl as the nose.
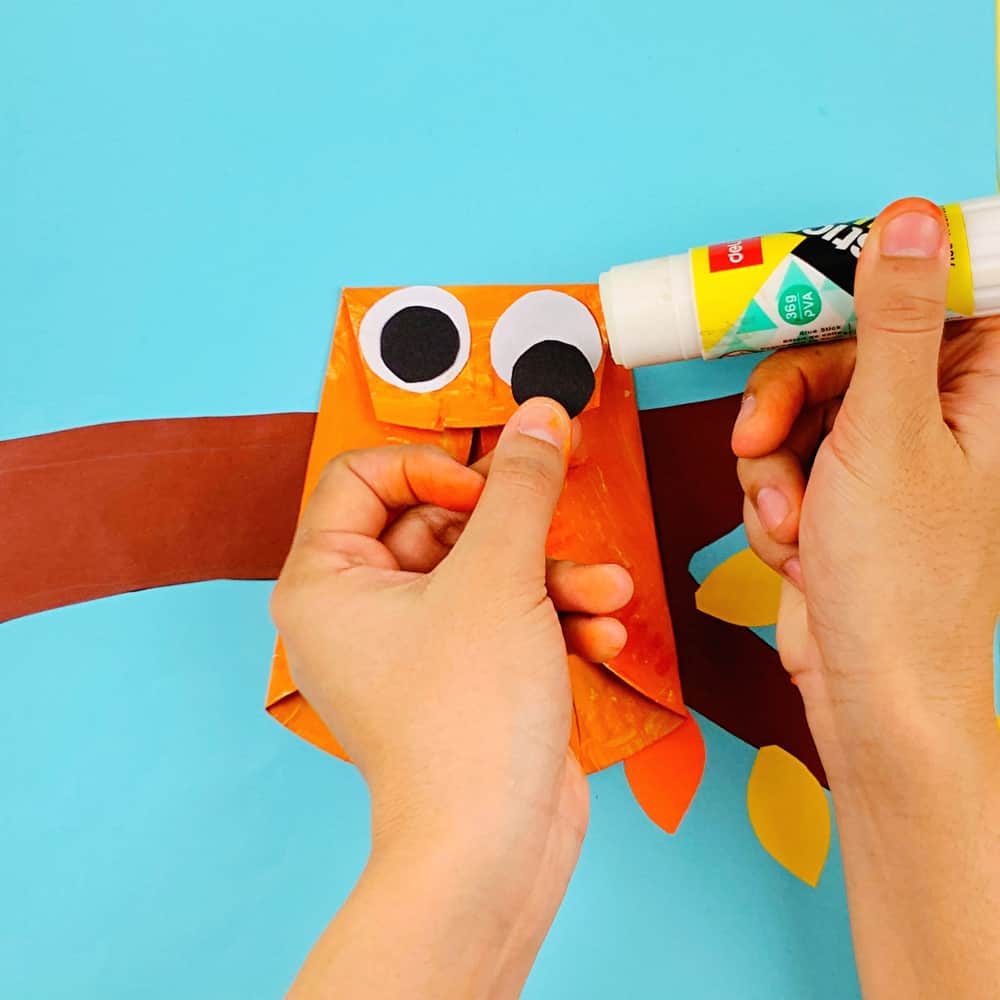
Step 5. Cut two large white circle and two black inner circles. Glue the black on top of the white circle and glue the eyes to the paper plate.
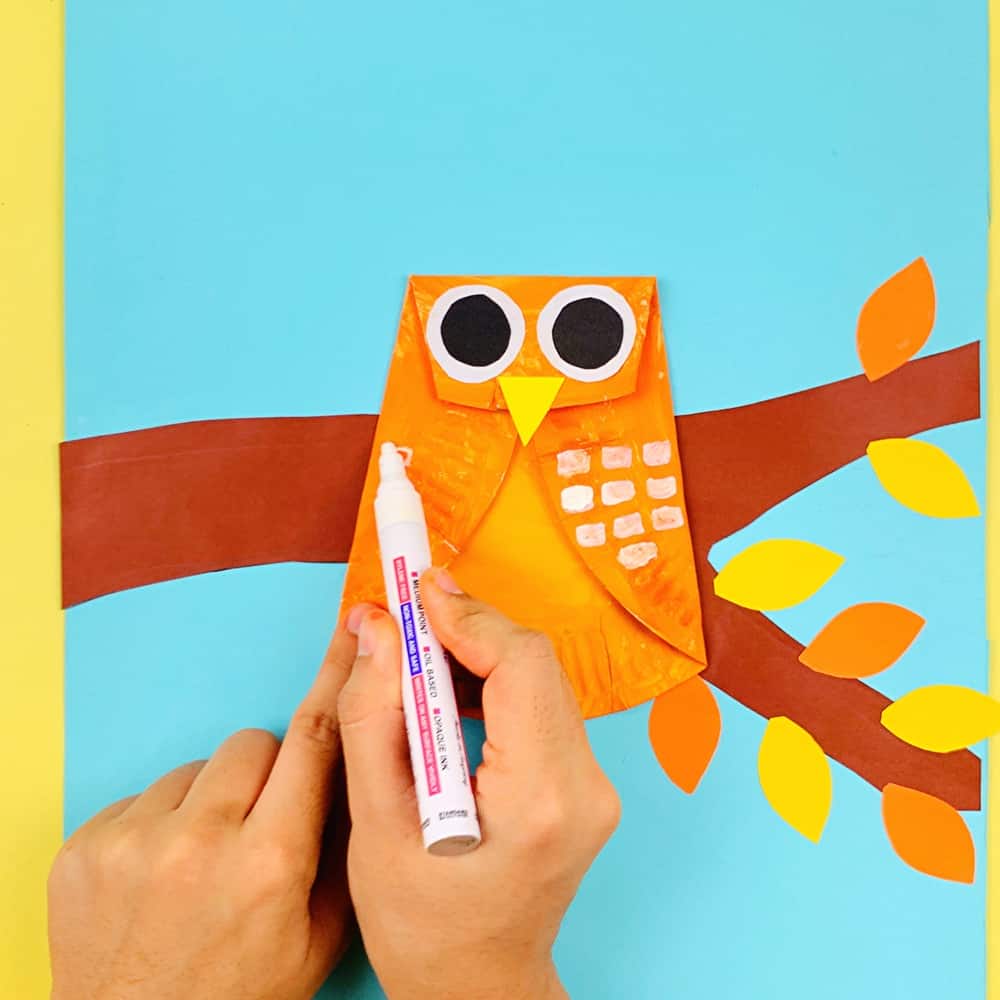
Step 6. Use a white paint or chalk marker to add feather details on the plate.
Step 7. Glue your owls to your tree branch!
Paper Plate Owl Craft

Materials
- White paper plates
- Paints (acrylic or tempera is fine)
- Colored paper (brown, orange, yellow, black and white)
- White paint or chalk markers
- Glue
Instructions
Step 1. Optional: draw a tree branch on brown paper and cut out some paper leaves. Glue that to a canvas or another large piece of paper.
Step 2. Paint your paper plate on both sides and allow to dry fully.
Step 3. Fold both sides of the plate inward to the center and fold the top down. Use a bit of glue to adhere the folds.
Step 4. Cut a yellow beak and add to the owl as the nose.
Step 5. Cut two large white circle and two black inner circles. Glue the black on top of the white circle and glue the eyes to the paper plate.
Step 6. Use a white paint or chalk marker to add feather details on the plate.
Step 7. Glue your owls to your tree branch!
The post Paper Plate Owl Craft appeared first on hello, Wonderful.