Recycled Bottle Herb Gardens: The Perfect Quarantine Craft
–
Here are ideas for recycled bottle herb gardens! Many states are starting to reopen for business, which is a relief for the nearly 28 million small businesses that exist nationwide. But there are still countless Americans, like me, who are staying home in order to keep themselves and others safe during the pandemic.
As a result, you might be starting to go a bit stir-crazy. I kinda am. I’m eager for something constructive to occupy the time.
I’m all about that crafty life, especially now. But I wanted to up my game and try something new. An increased focus on sustainability – both in terms of greener practices and self-sufficiency – means that engaging in a gardening craft is an excellent idea. Below, you’ll find a few crafting ideas for using recycled bottles to create your own herb garden.
Not only will you be able to grow something edible in your garden and make use of items that would otherwise sit in landfills, but you’ll also be able to reap the benefits of digging in the dirt and cooking at home!
Link to video above
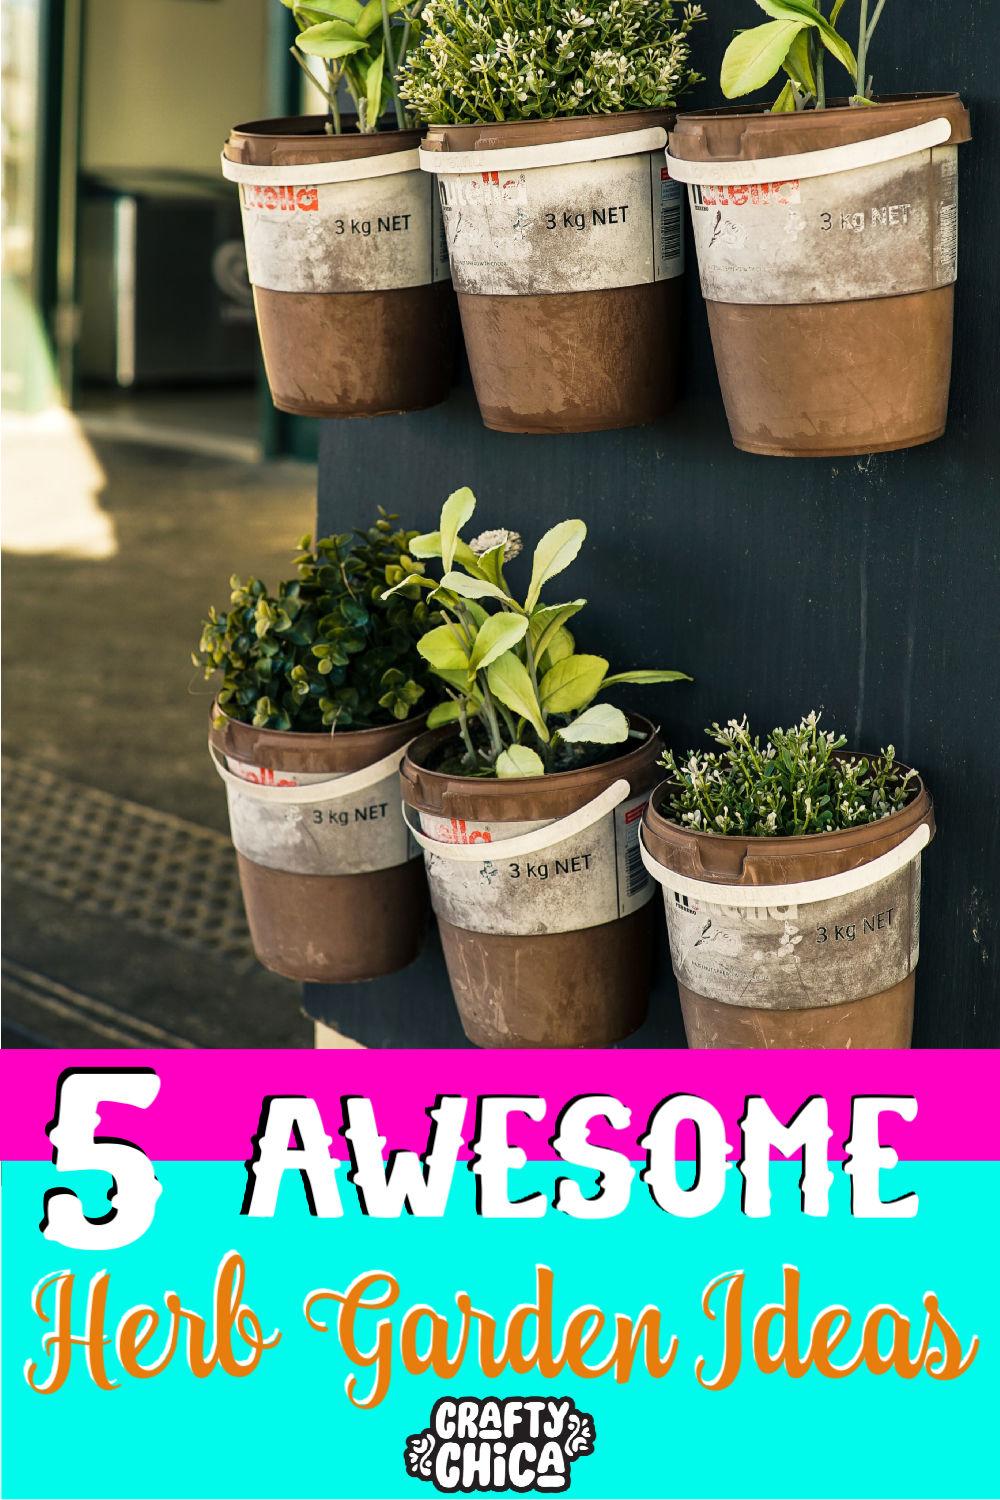
If you don’t have an outdoor space, don’t fret. You can still enjoy freshly grown herbs — and use plastic milk jugs to make it happen. The development of synthetic polymers exploded in the decades following 1940, so it’s no surprise that we still pick up all kinds of plastic containers when we do our grocery shopping.
Instead of throwing those bottles in the recycling bin, you can clean them thoroughly and give them new life with this craft idea.
You’ll need a place to hang up a piece of wood (like a sturdy wooden blind or part of a railing) for this craft, so make sure you have enough room and a place with enough sunlight. Gather your choice of herbs and potting soil from the garden store before beginning this as one of the recycled bottle herb gardens.
For this craft, you’ll need:
- 16-ounce plastic milk bottles
- Wood stick (approximately one inch wide and long enough to fit in a window)
- Scissors
- Hole punch
- Metal ruler
- Craft knife
- Black permanent marker
After cleaning your milk bottles with soap and water and removing the labels, use your scissors to remove the top and the handle of each bottle.
You should have one higher-end and one lower end when you’re finished.
Then, using your craft knife and ruler, cut around a half-inch from the longer side of the bottle’s top edge to make two vertical cuts parallel from the bottle’s center. These cuts should be about an inch and a half long and about a half-inch from either side of the bottle’s center.
Cross-reference with the size of the stick you’re using to make sure it will fit through.
Then, punch holes on the top end of the vertical cuts and use the black permanent marker to label each bottle with your choice of herb. You’ll then slide the bottles’ slits through the piece of wood and suspend the stick from your window sill in a secure fashion. Finish by planting your herbs inside.
RELATED CONTENT – DIY milk jug earrings using alcohol inks!
Self-Watering Juice Bottle Garden
Don’t think you can keep up with watering your herbs as often as needed? That won’t be a problem if you take on this craft. Your herb garden will be self-watering! You can keep your herbs in the kitchen or outside on a table to make sure they get enough sunlight.
Here’s what you’ll need:
- Plastic bottles (flat-bottomed)
- Herb seedlings
- Potting soil
- Duct tape
- String
- Scissors
- Mesh or fly screen material
Clean out and soak your plastic bottles to remove the labels.
Cut horizontally across the bottle, leaving the bottom three-quarters of the bottle and the top quarter cut loose.
Place the top part of the bottle upside-down into the bottom part, with the lid opening facing the inside of the bottom of the bottle.
Then, cut a strip of duct tape and line the edge of your bottle with it to remove any sharp edges.
Take a piece of string and place it in the bottle’s opening, making sure the string s long enough to reach the bottom of the bottle and to have slack through the top. The string will help transfer water from the bottom of the bottle to the soil on top. Cut a piece of mesh and lay it across the lid opening.
The mesh helps with drainage and prevents the soil from moving. Now, you can pour your potting mix into the container’s opening and fill it almost to the top. Plant your seedling into the potting mix and water it, making sure to observe the drainage system. Now it’s ready to display!
Macrame Hanging Herb Garden
If you want a beautiful piece you can show off in your sunroom or on your deck, these hanging herb planters are ideal. The macrame portion is the most difficult part, but once you get the hang of it, you can use this skill for other crafts you might take on.
You’ll need:
- Small juice or tea bottles
- Herbs
- Potting soil
- Pebbles
- Utility knife
- Twine or string
- Scissors
Directions:
As with the other crafts, you’ll need to wash the bottles and remove the labels first. Then, use your utility knife to cut the bottle horizontally, leaving around two-thirds of the bottle. You won’t need the top portion with the lid for this project. Next, fill your bottles with a thin layer of pebbles and top with potting soil, leaving room to then add the herbs.
Now, it’s time for the twine. Measure eight lengths of twine of approximately 24 inches each and cut.
Tie a knot at the top to keep all eight strands together.
Separate out two of the strands and tie a knot about two inches down from the big knot.
Repeat this process with each set of two strands, which will give you four knots all along the same horizontal line.
Take one strand each from two different knots and tie a knot in those strands, above 1.5 inches down from the set of four knots. Repeat this process until there are four more knots. Pull a strand from each of those knots and tie a new knot with the pair, about 1.5 inches down the strand. In this example, you can again knot together the first two strands from when you first separated out the eight lengths.
Use your hand to open the macrame and set the bottle with the herb plant into it. Then, pull up the twine and tie all of the strands into a knot at the top to hang it up!
Now that you know how to creatively plant some fragrant and delicious herbs at home, you can enjoy your family dinners and have a great excuse to spend some time outside. Plus, you can feel satisfied in knowing you were able to make use of materials you already had on-hand in new and exciting ways.
Herb Garden 101
If you are new to planting anything, here’s an easy way to get started. Create a simple herb garden in your house just to get you in the hang of making friends with your new organic roomies.
How to make a culinary herb garden using terra cotta planters.
If you’re like me and have a bunch of terra cotta planters, here’s a great way to put them to good use. Create herb planters inside them!
Need more “green” ideas – here are some other articles for you!
DIY Millennial Loteria Flower Pots
Make a Beautiful Gutter Garden
DIY Succulent Terrarium or Planter
Punny Plant Pokes
How to Make Coffee Mug Planters
Thanks for checking out my post about recycled bottle herb gardens, let me know if you try one of these!
The post Recycled Bottle Herb Gardens: The Perfect Quarantine Craft appeared first on The Crafty Chica.