DIY Pinecone Snowman with Headphones for Christmas Decoration
In my house, the opportunity to craft with supplies that are at least a little unconventional always makes for the best afternoons, especially on cold days when everyone is trapped inside. Thats why, when I was struck with a recent surge of inspiration for crafting with real pine cones, my kids were all for it! In trying to come up with child-friendly ideas that we could all make together, I made up these adorable little music-loving pinecone snowmen and my kids loved them so much that I couldnt help making another one and documenting the process for others to follow and try.
Check out these step by step instructions complete with photos! If youd rather follow along with a video tutorial instead of written words, scroll to the bottom of this post to find just what youre looking for.
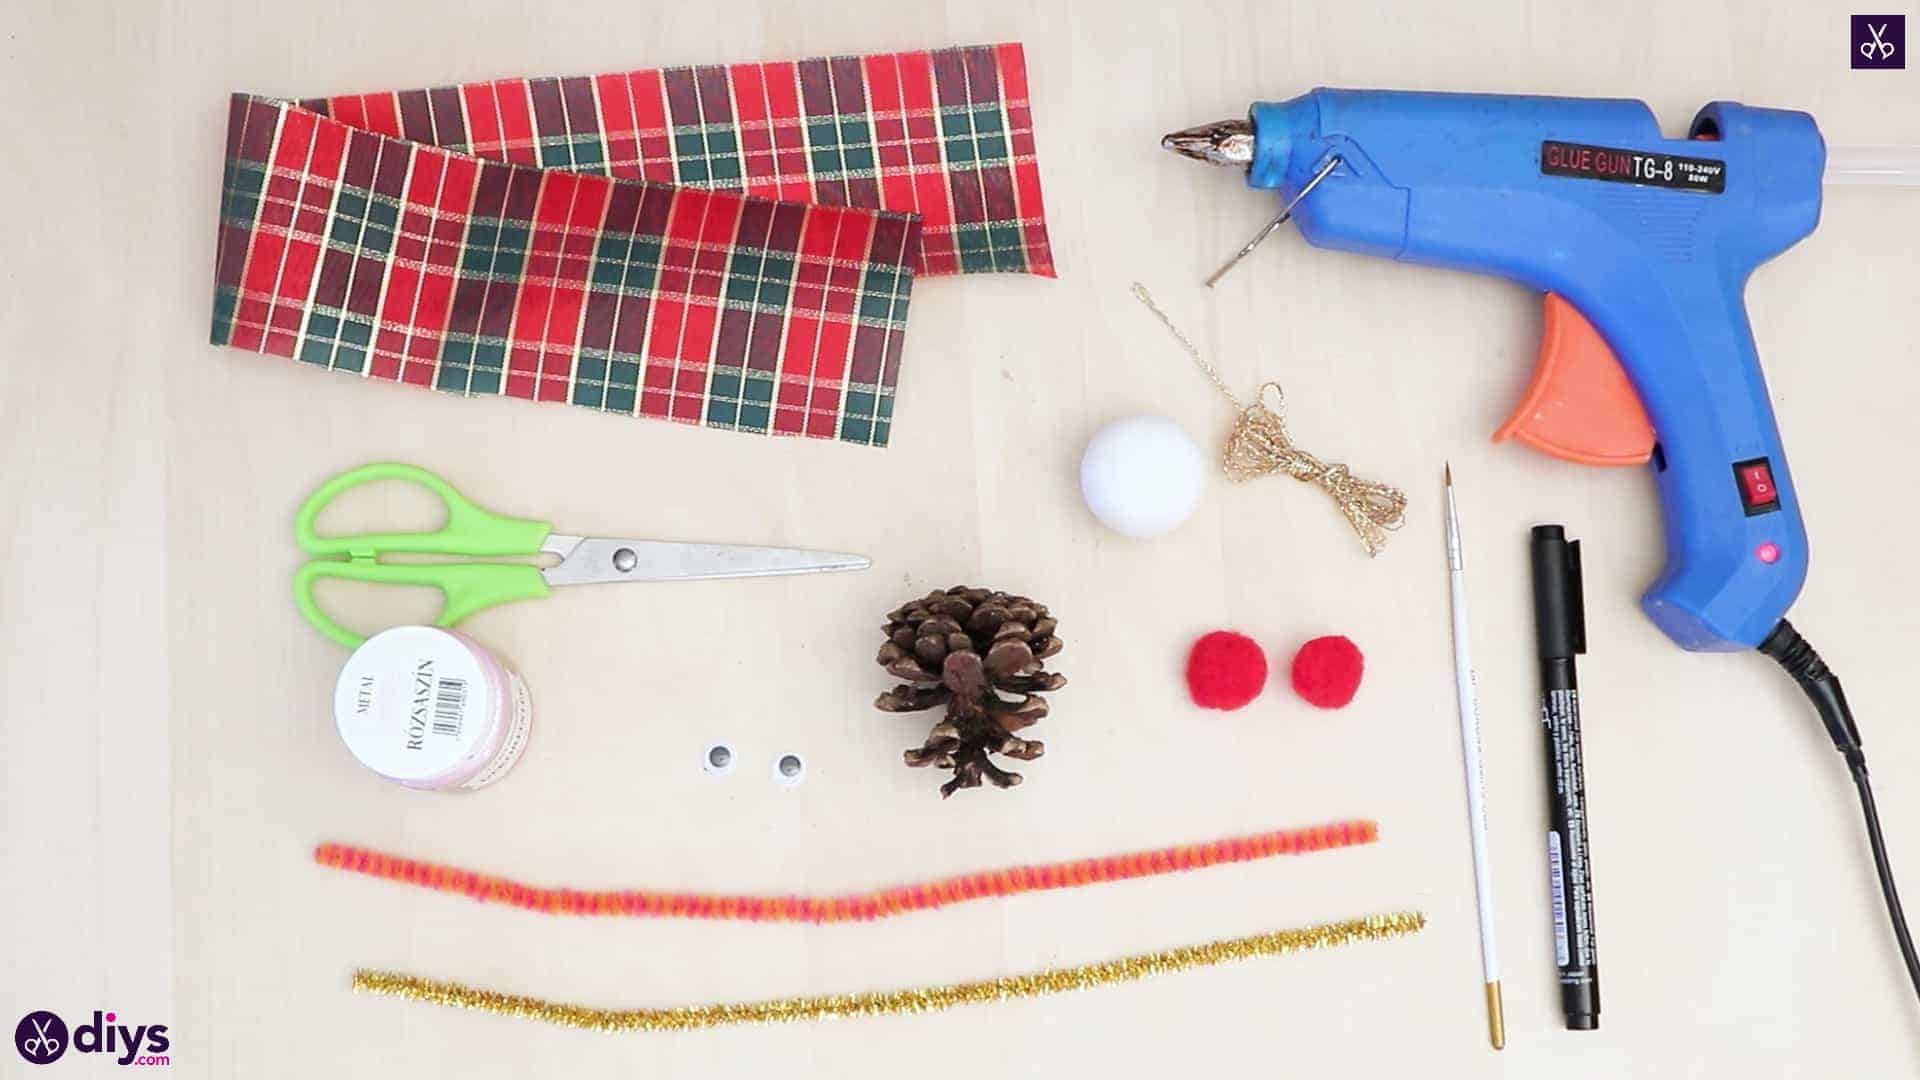
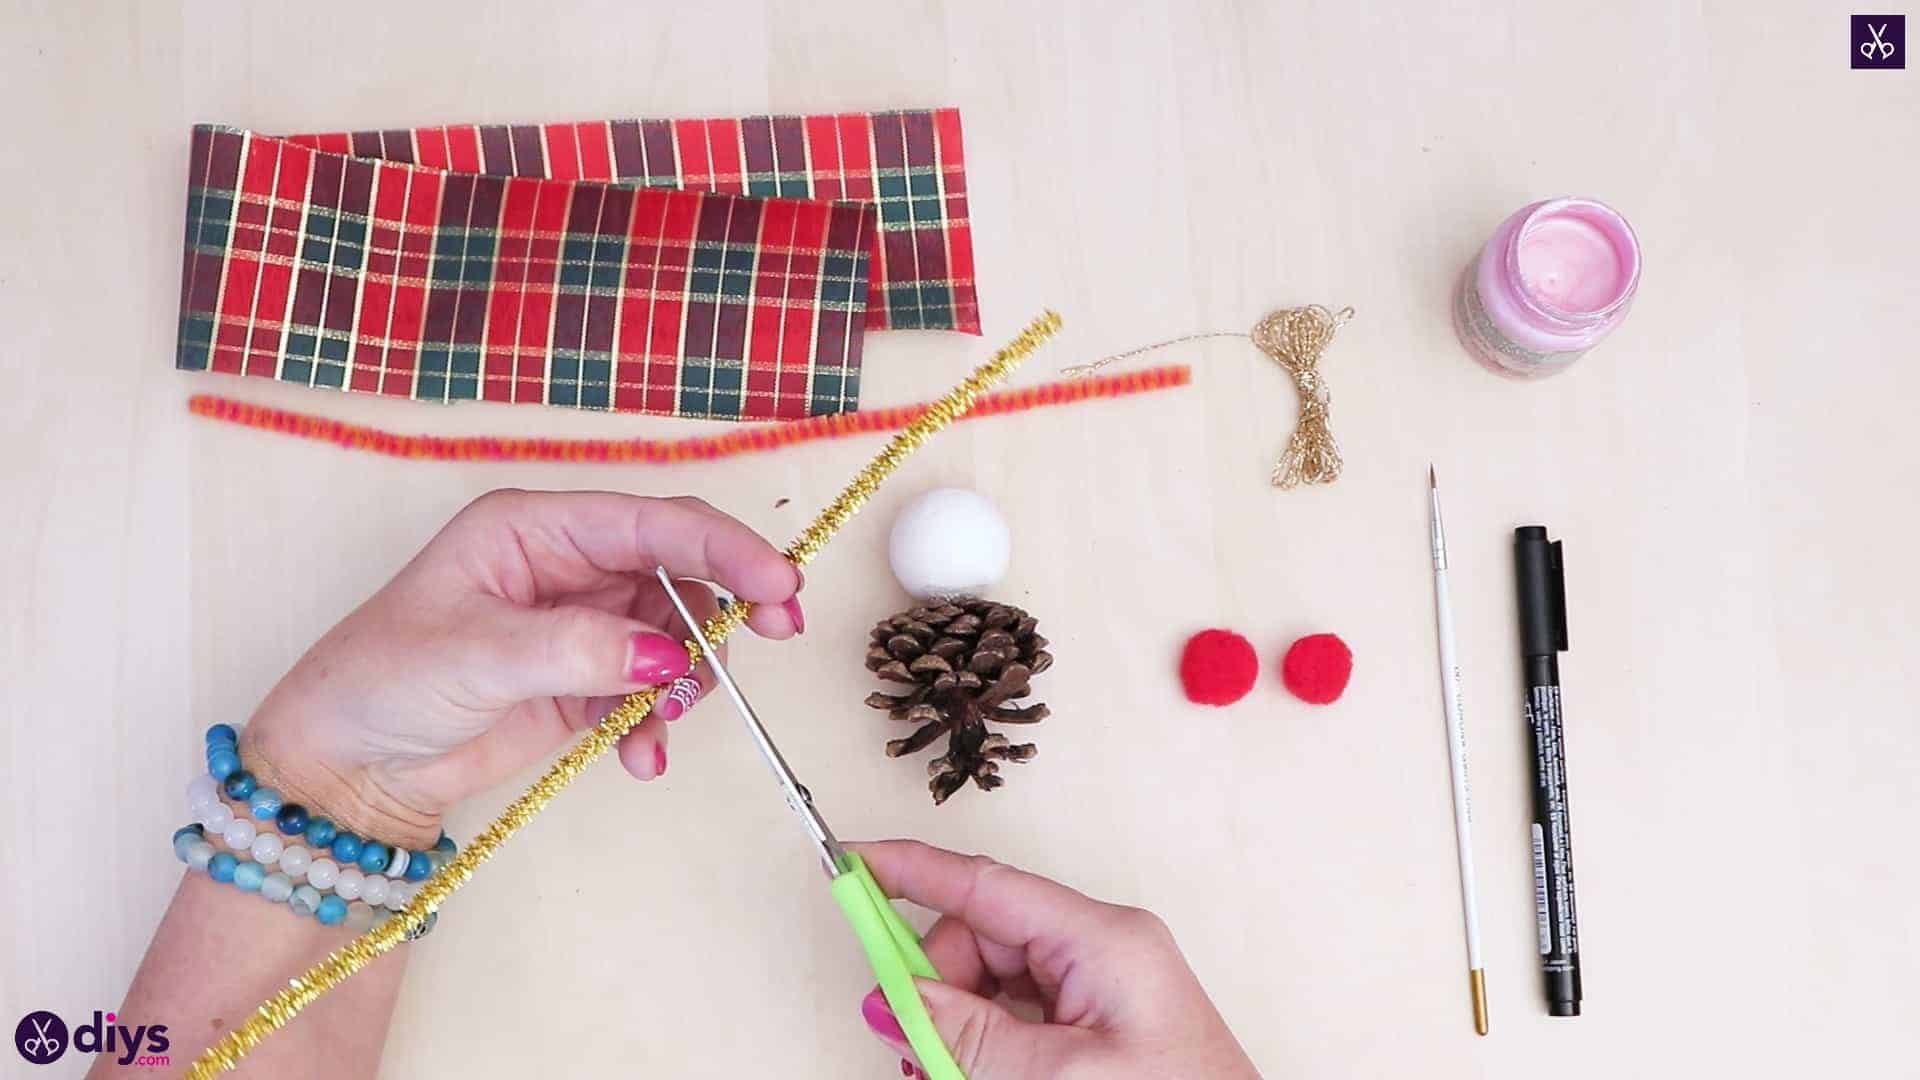
For this project, youll need:
- A pinecone
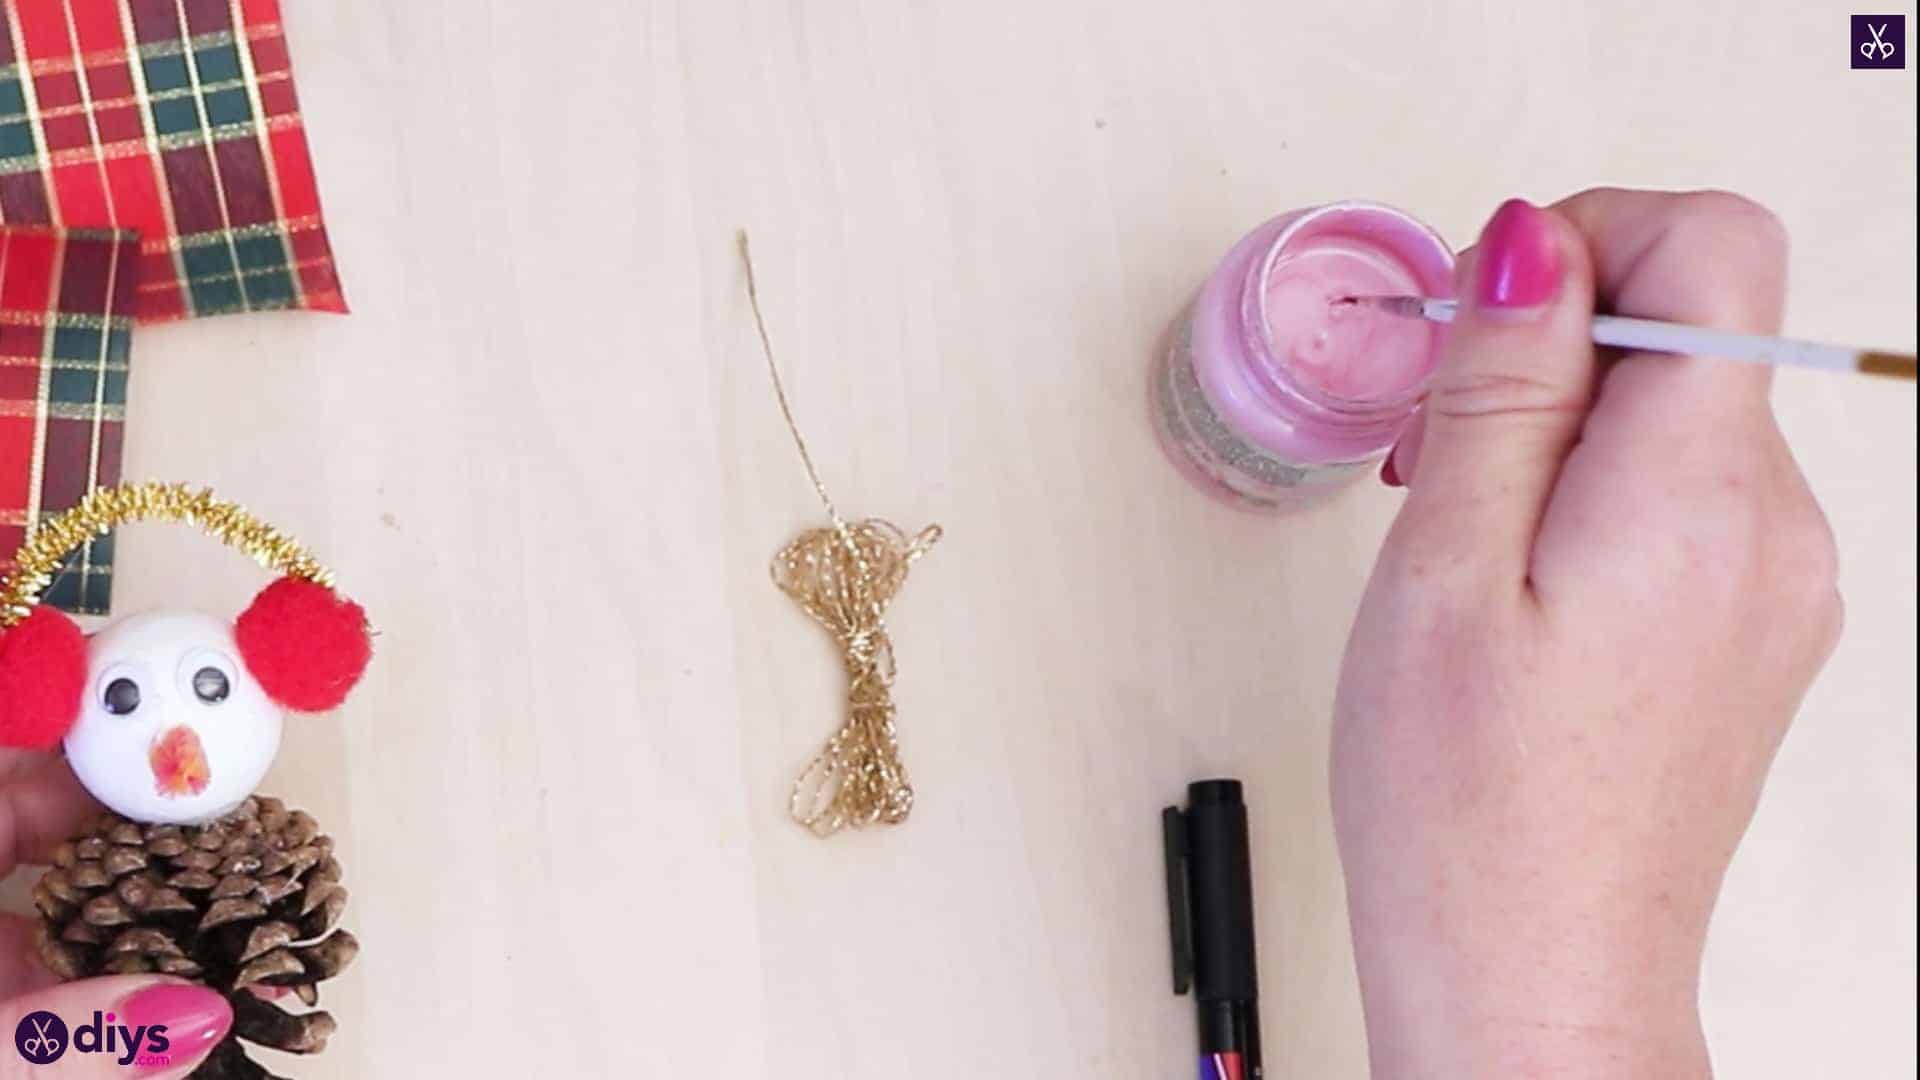
- Pink paint
- A black marker
- Pipe cleaner (gold and orange with pink stripes)
- A paintbrush
- A spun cotton ball
- Two googly eyes
- A red pom pom
- A checked ribbon
- Gold thread
- Scissors
- Hot glue
Step 1:
Gather your materials!
Step 2:
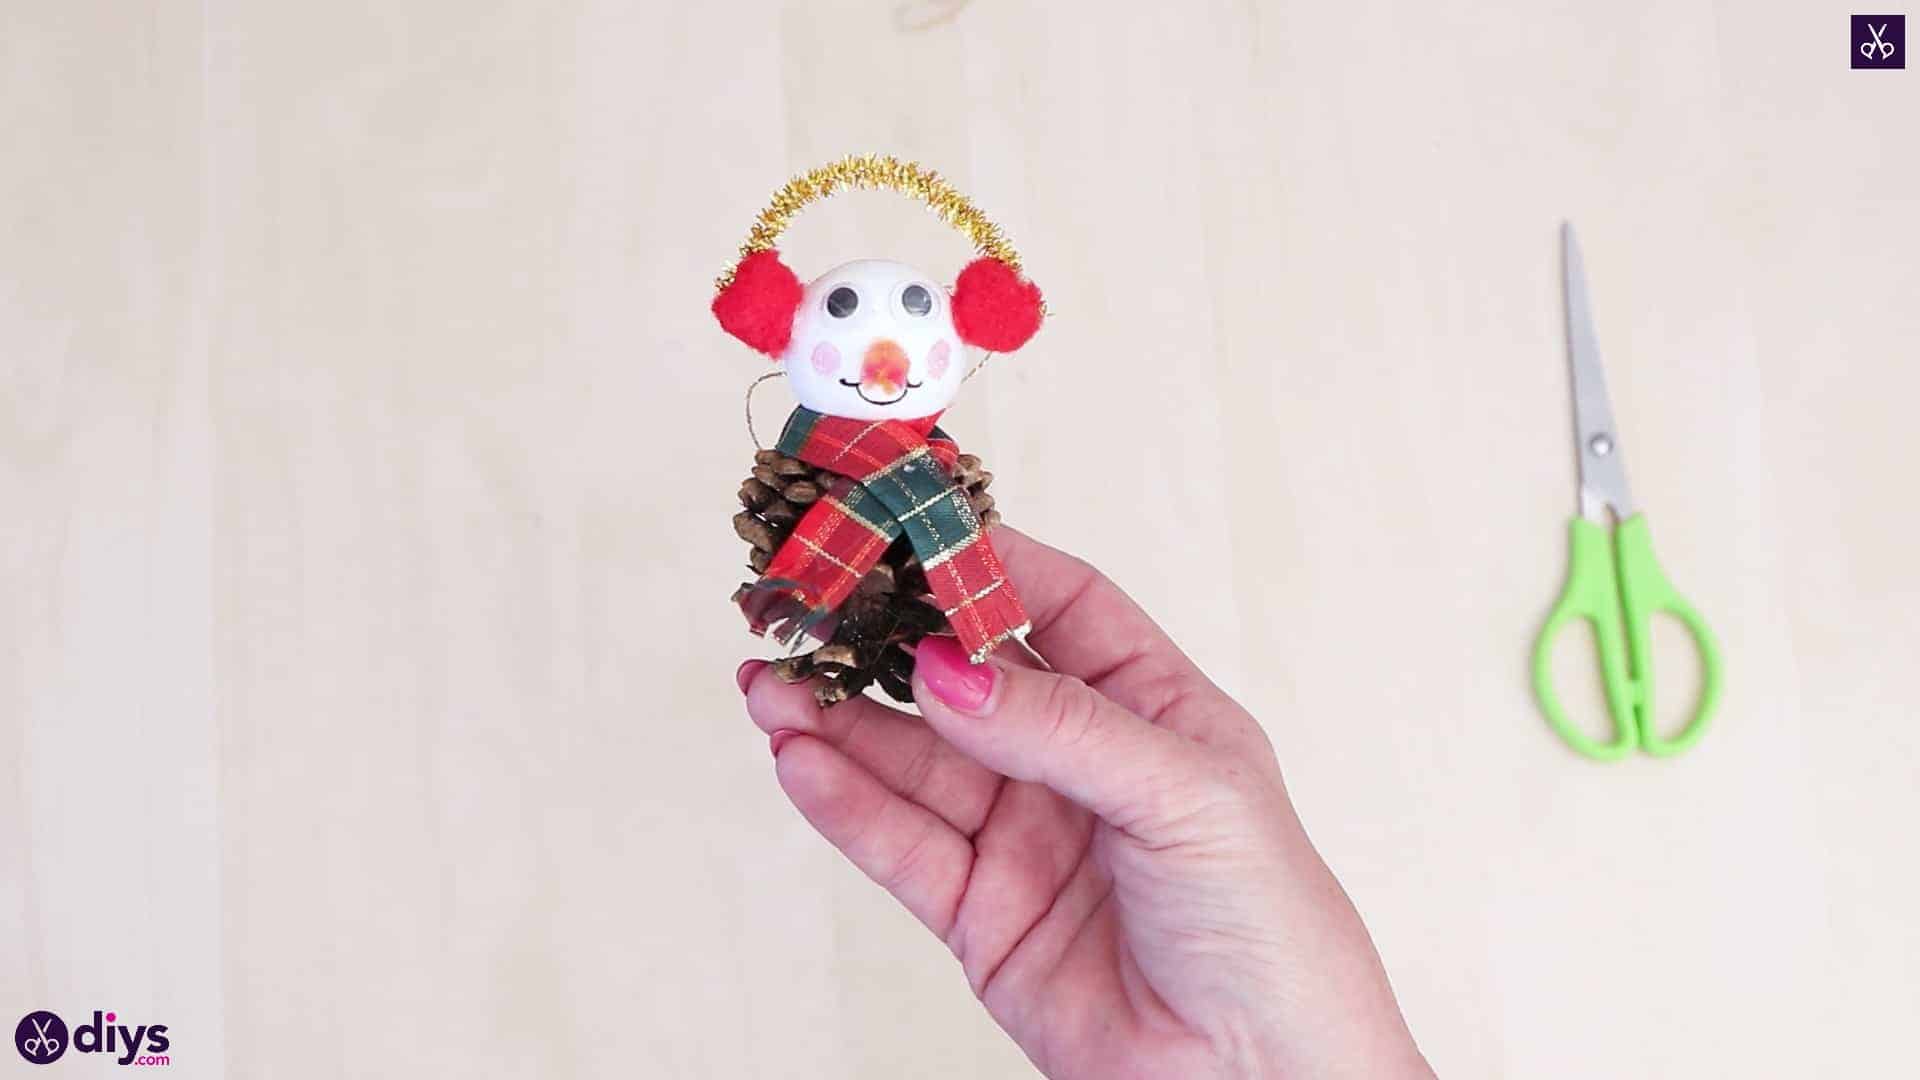
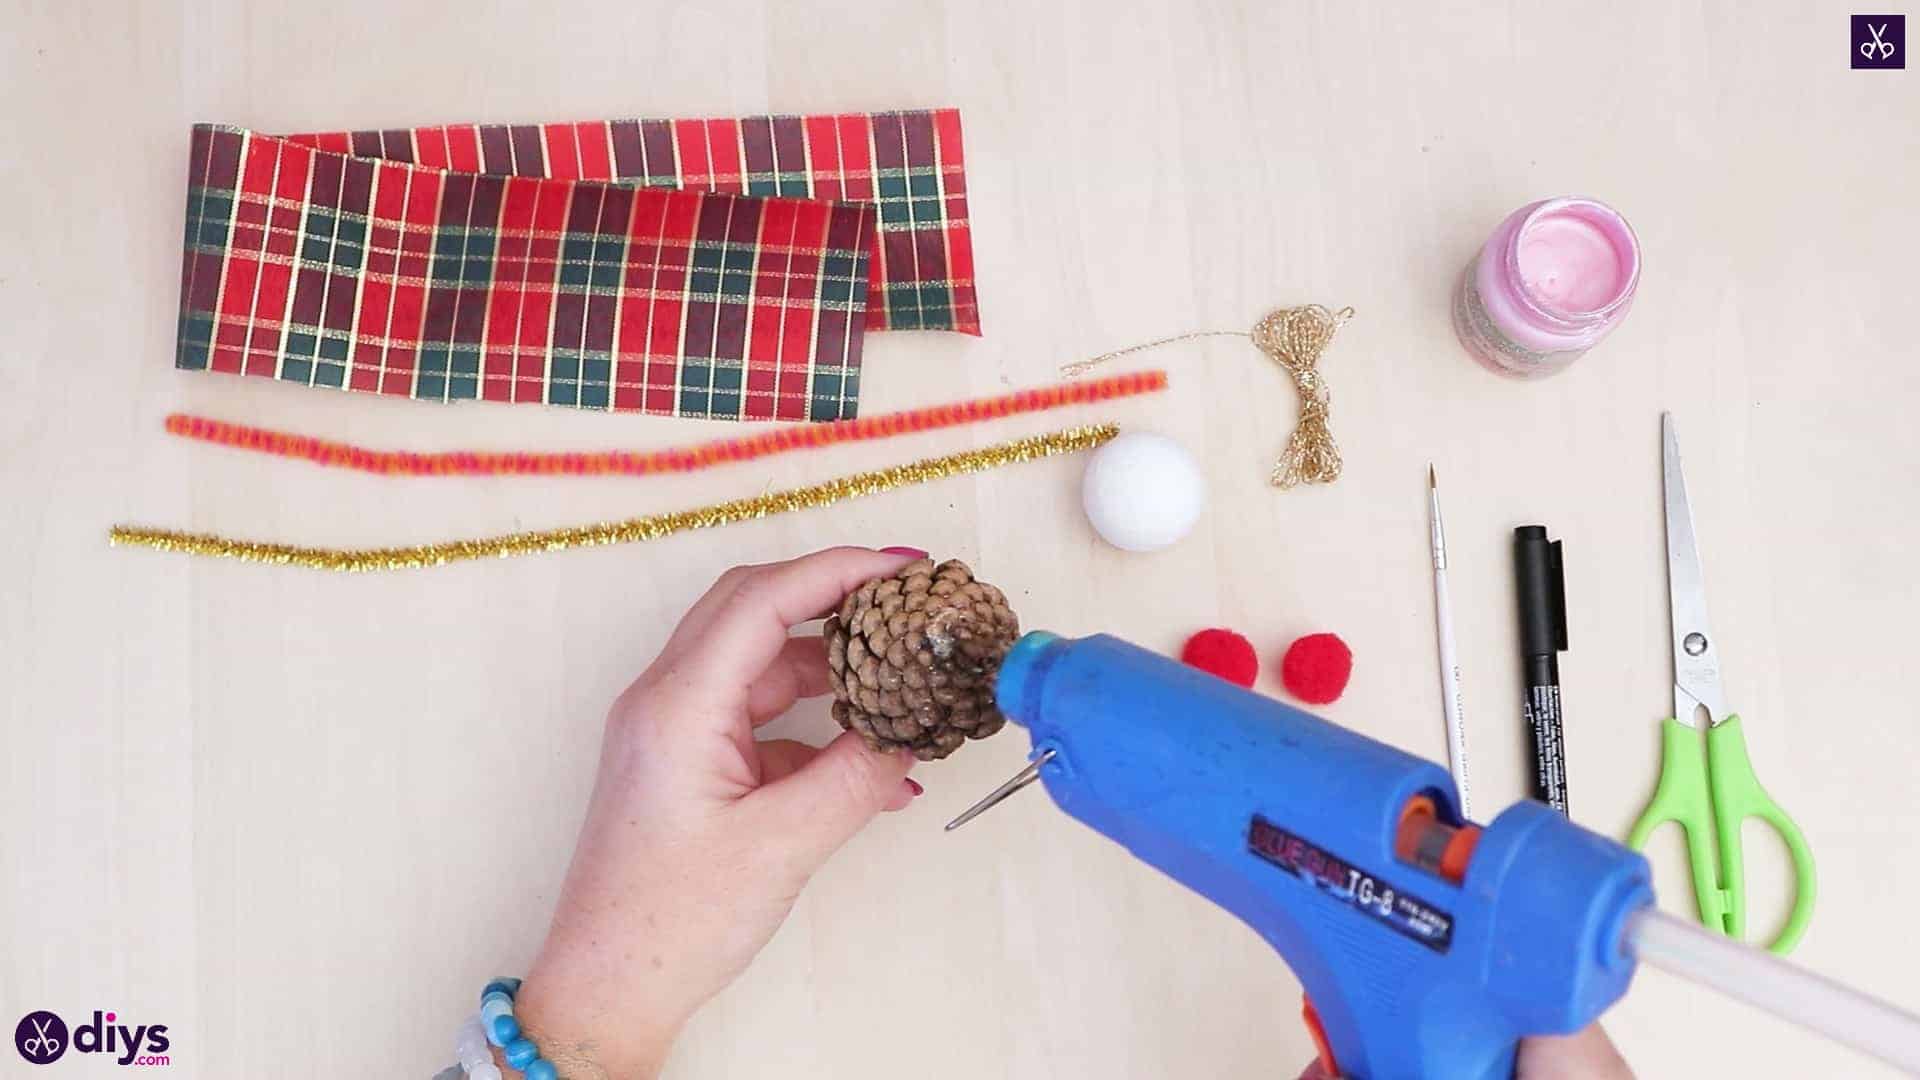
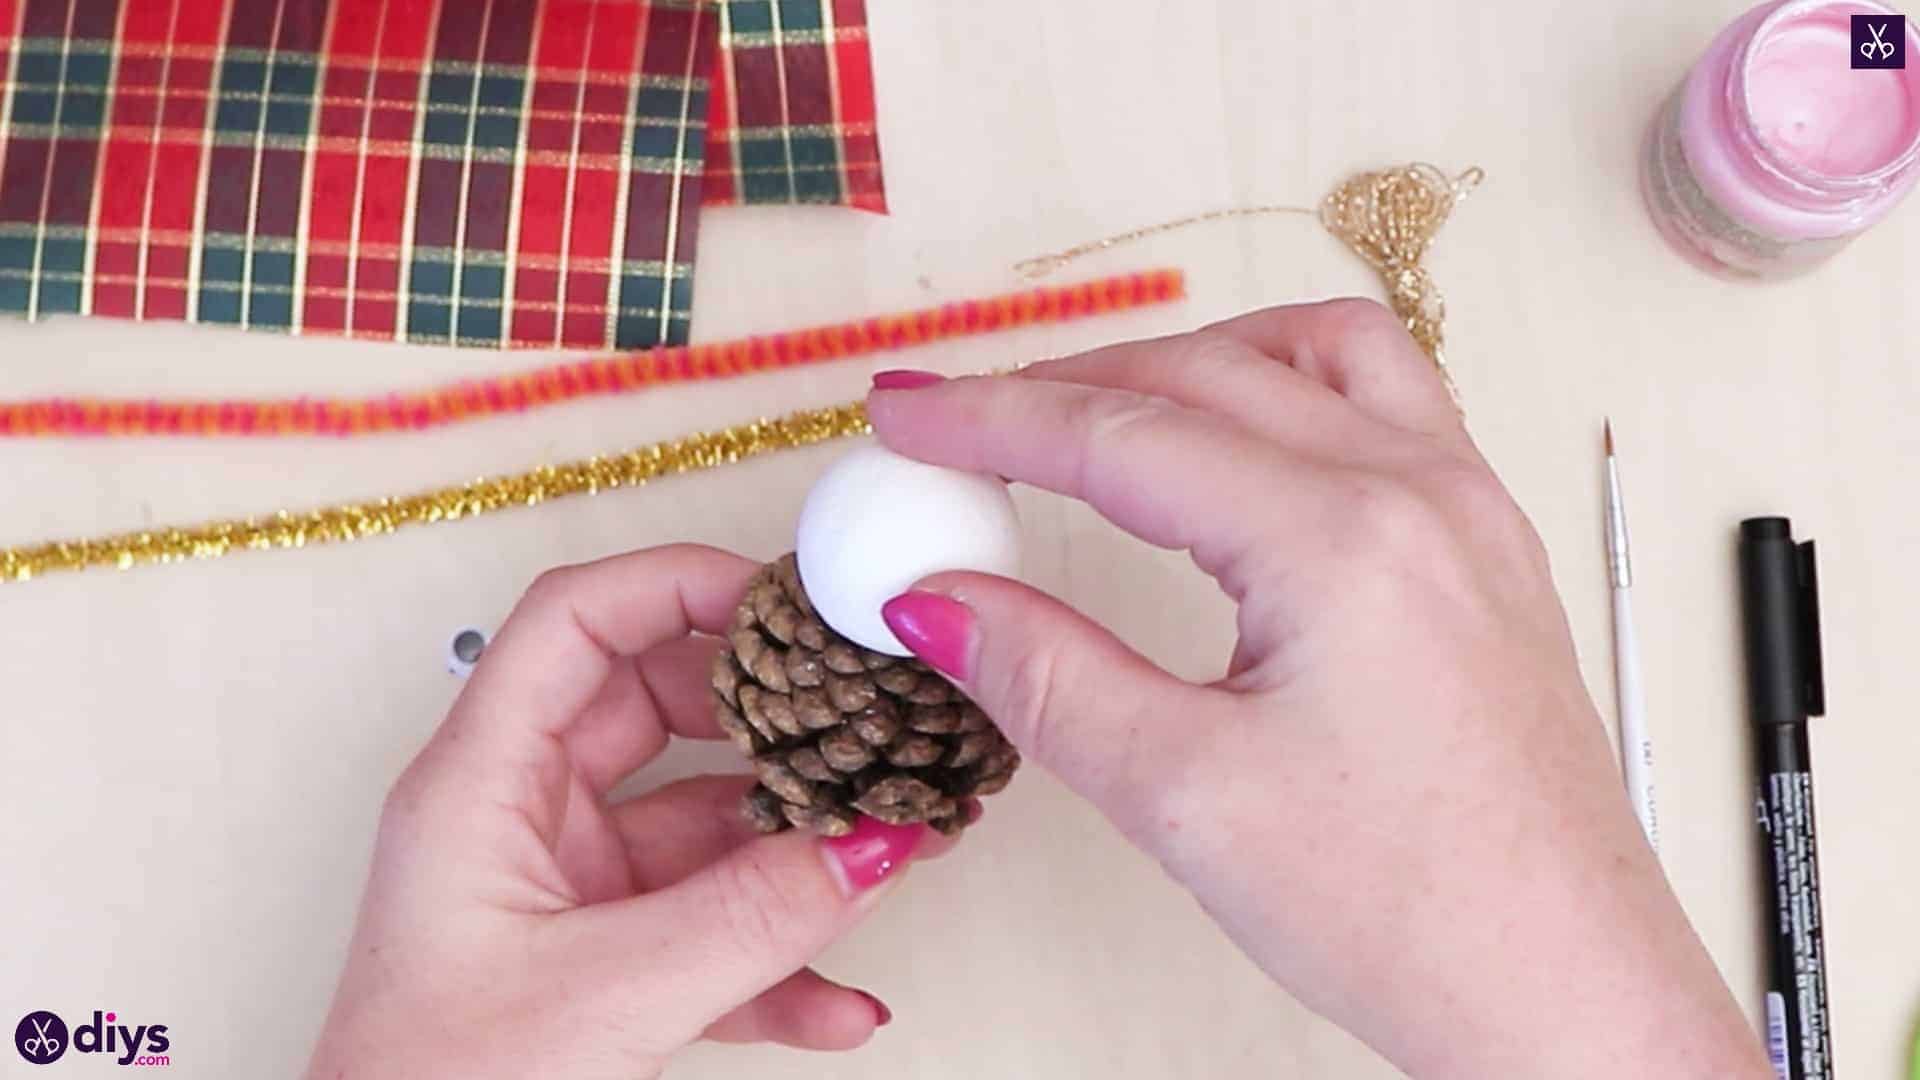
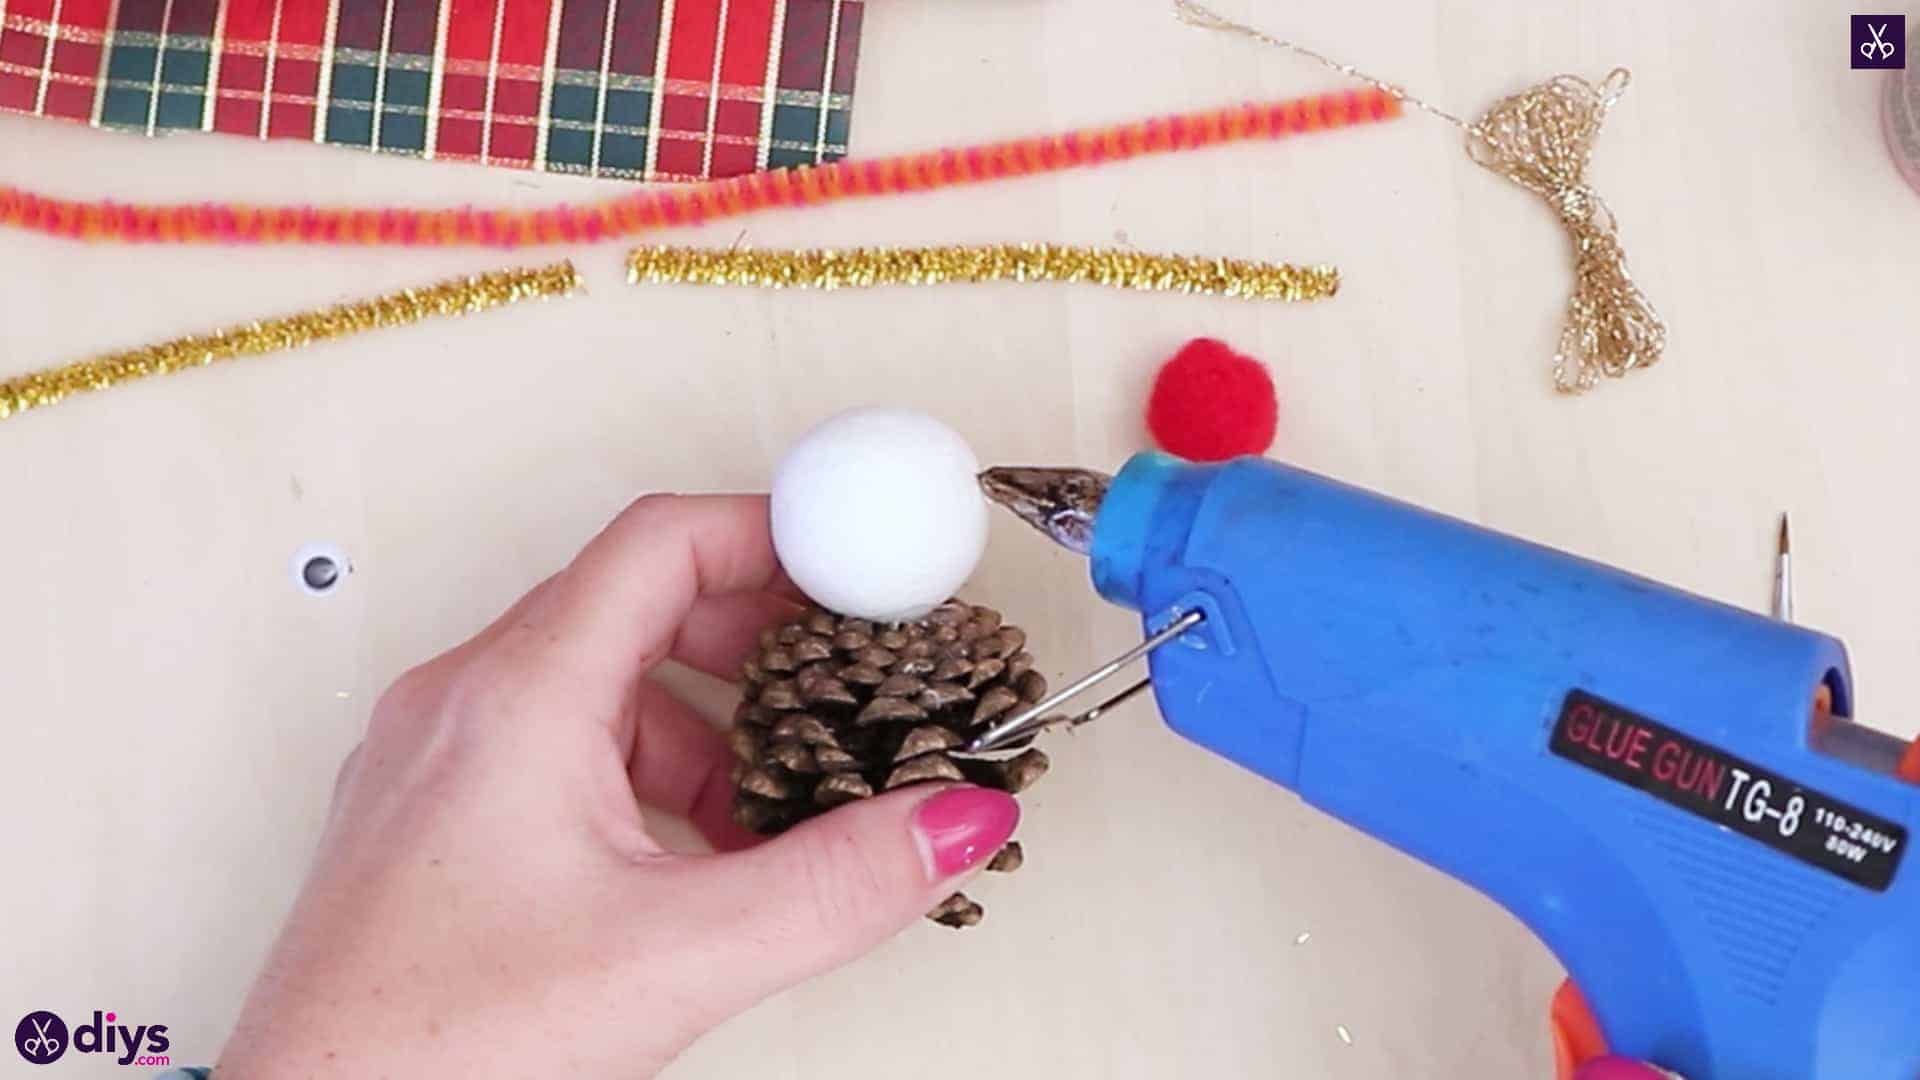
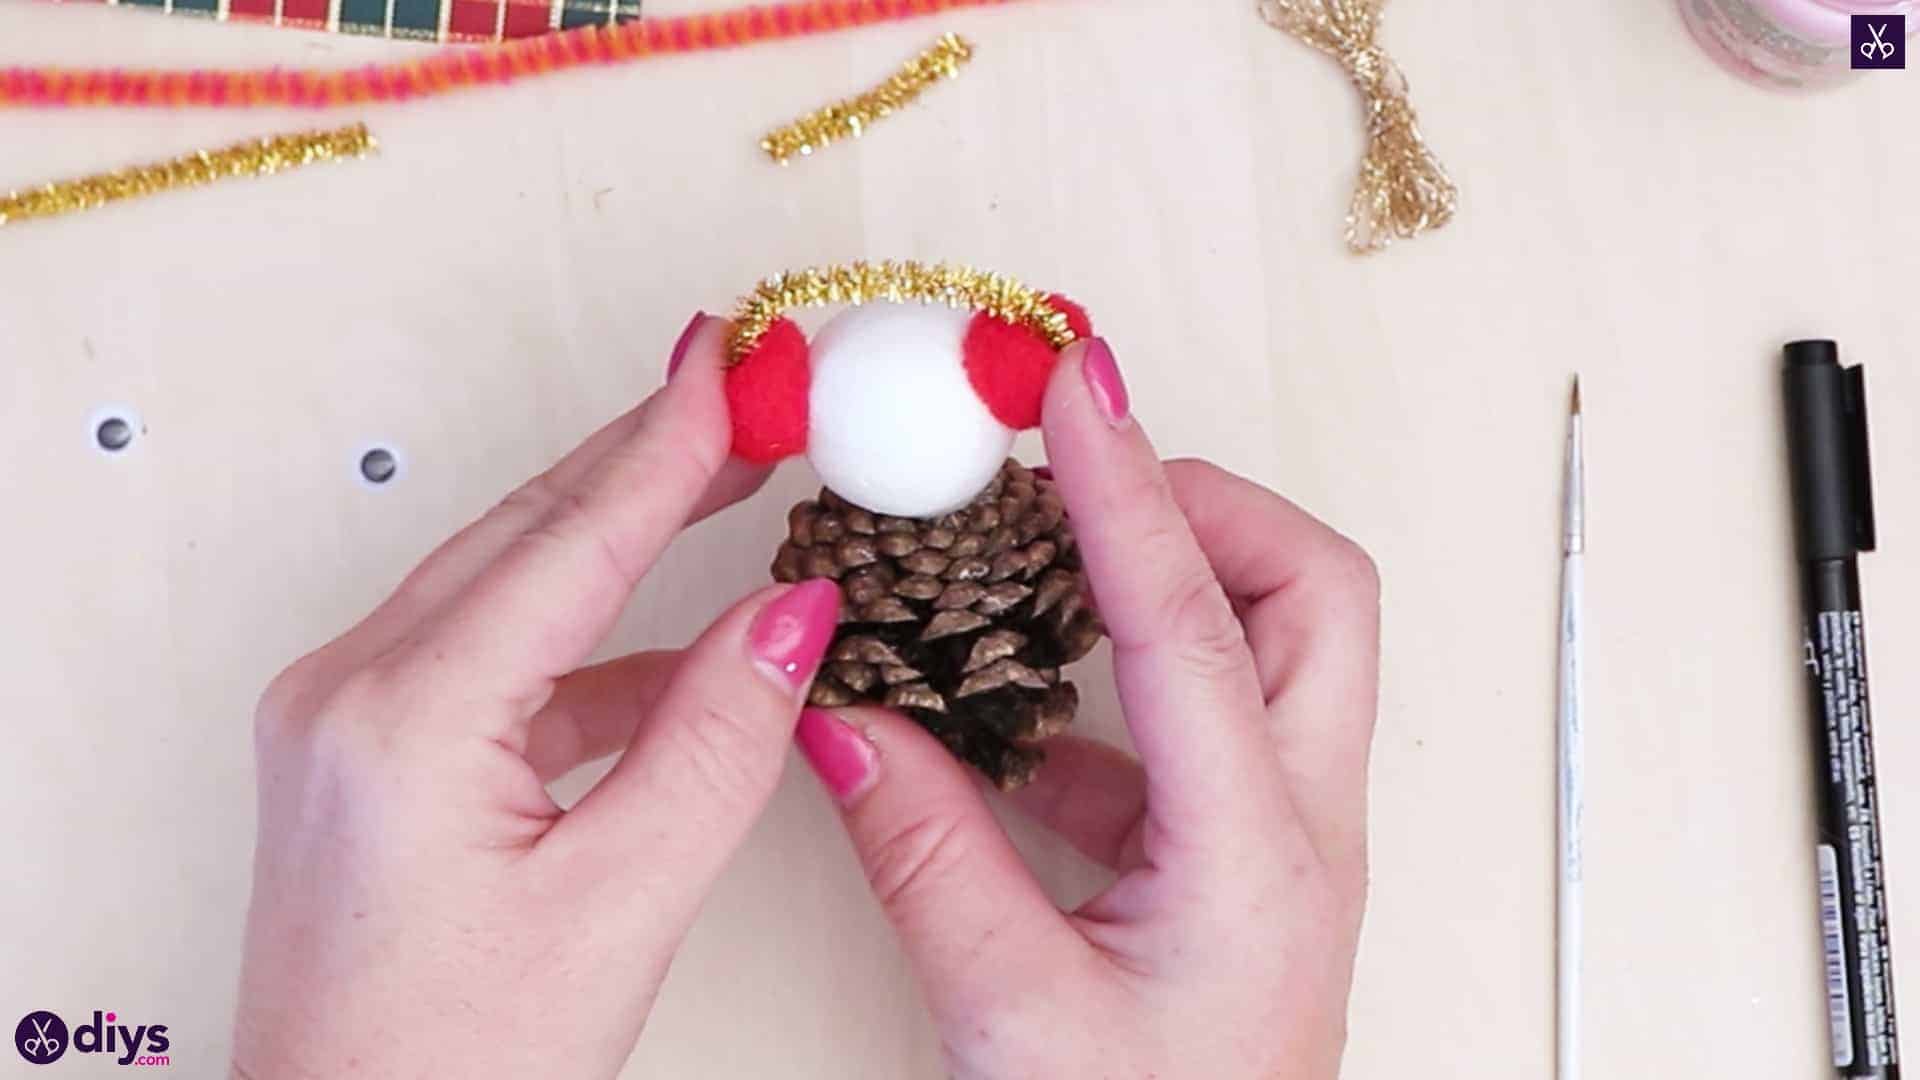
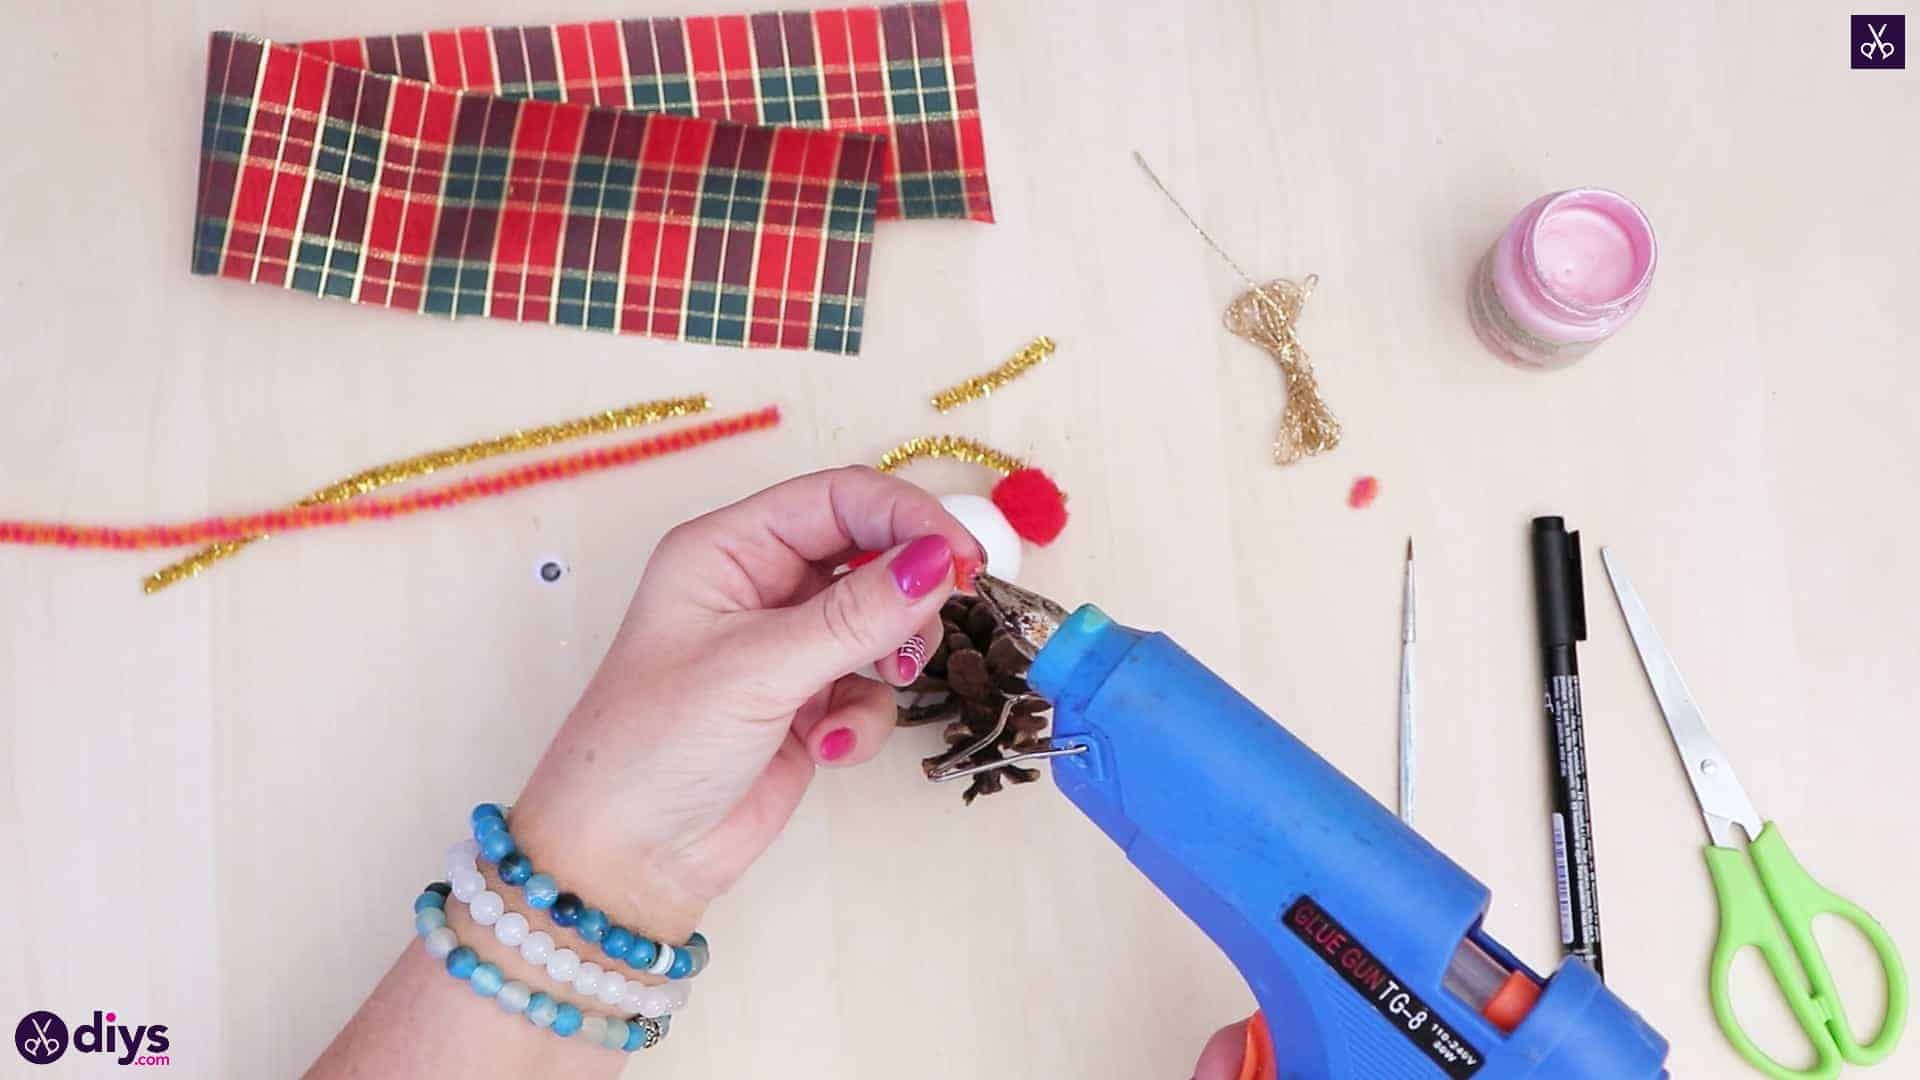
Flip your pinecone upside down so its wider, flatter end is now the top and its more tapered, smaller end is now the bottom. This will be your snowmans body. Apply hot glue in the centre of the top and stick your spun cotton ball there. This will be your snowmans head!
Step 3:
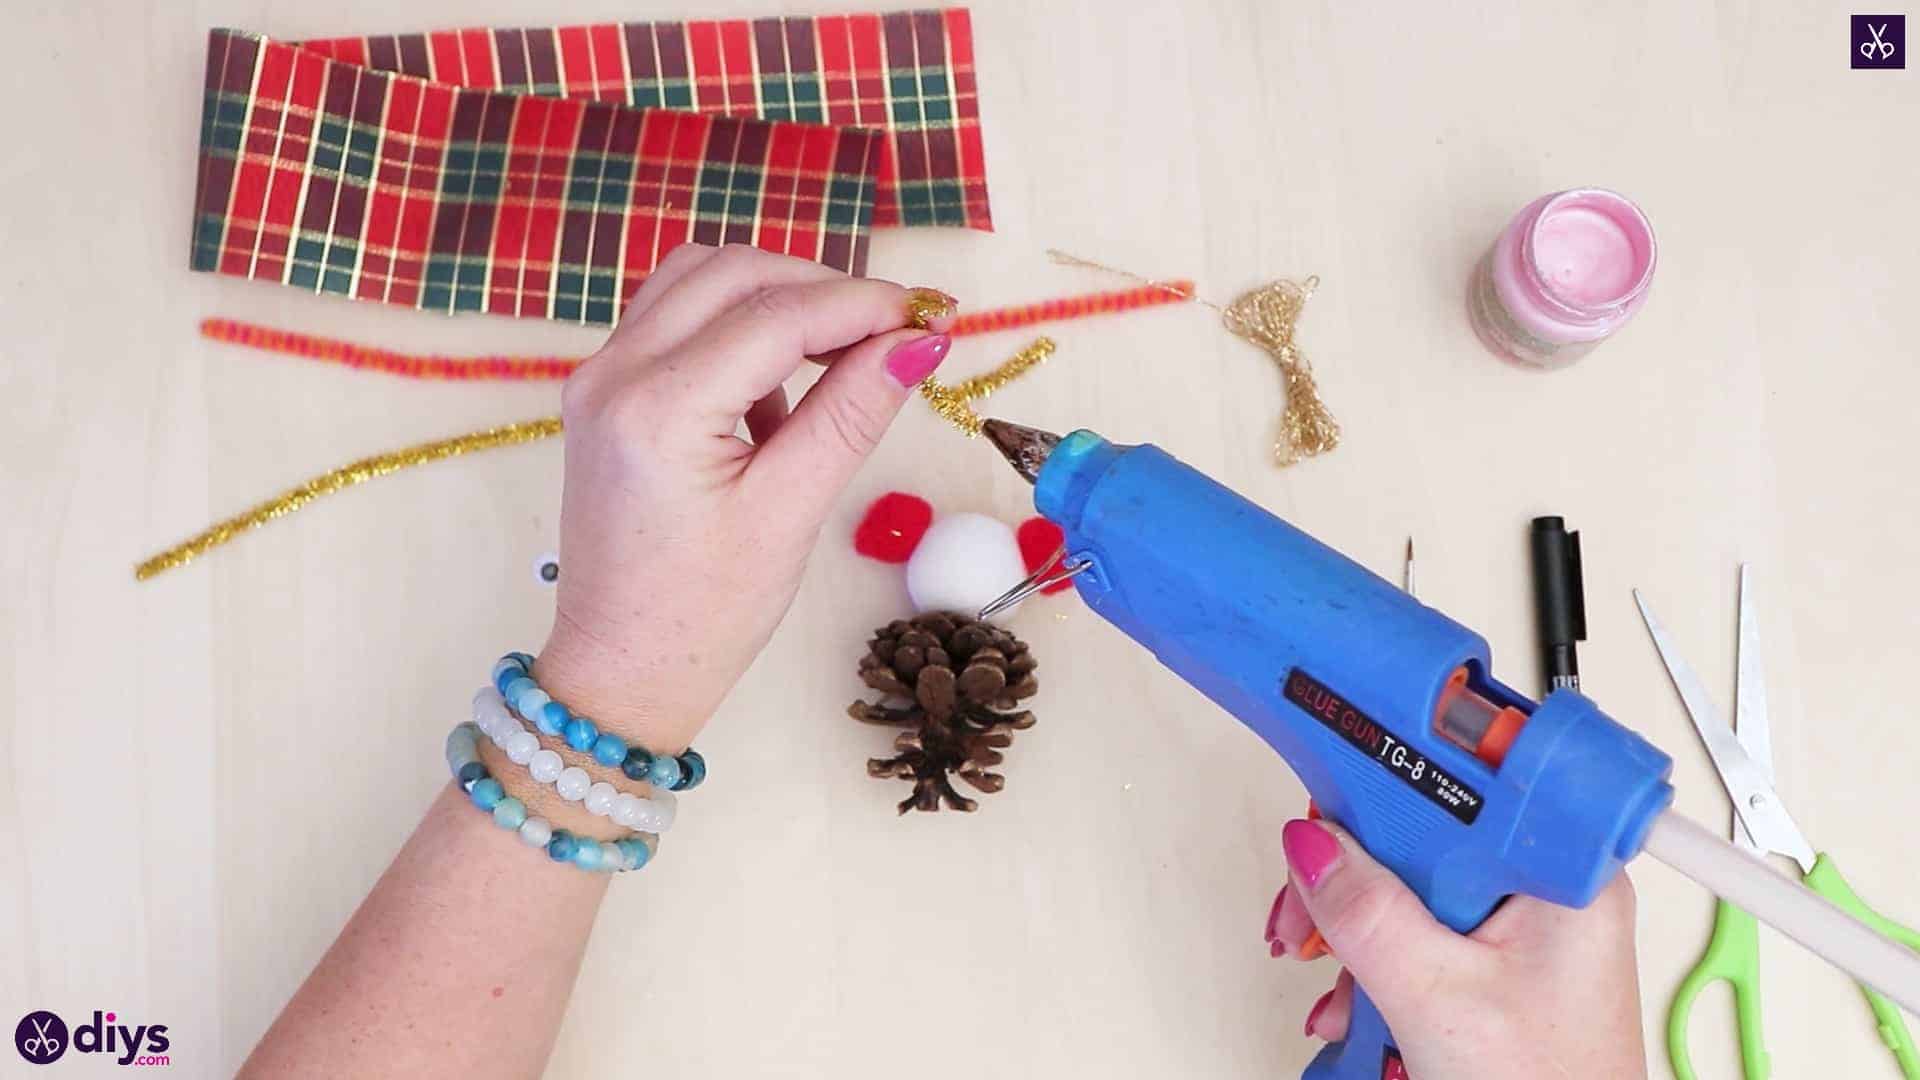
Cut a two inch piece from the end of your gold sparkly pipe cleaner and set both pieces aside for later.
Step 4:
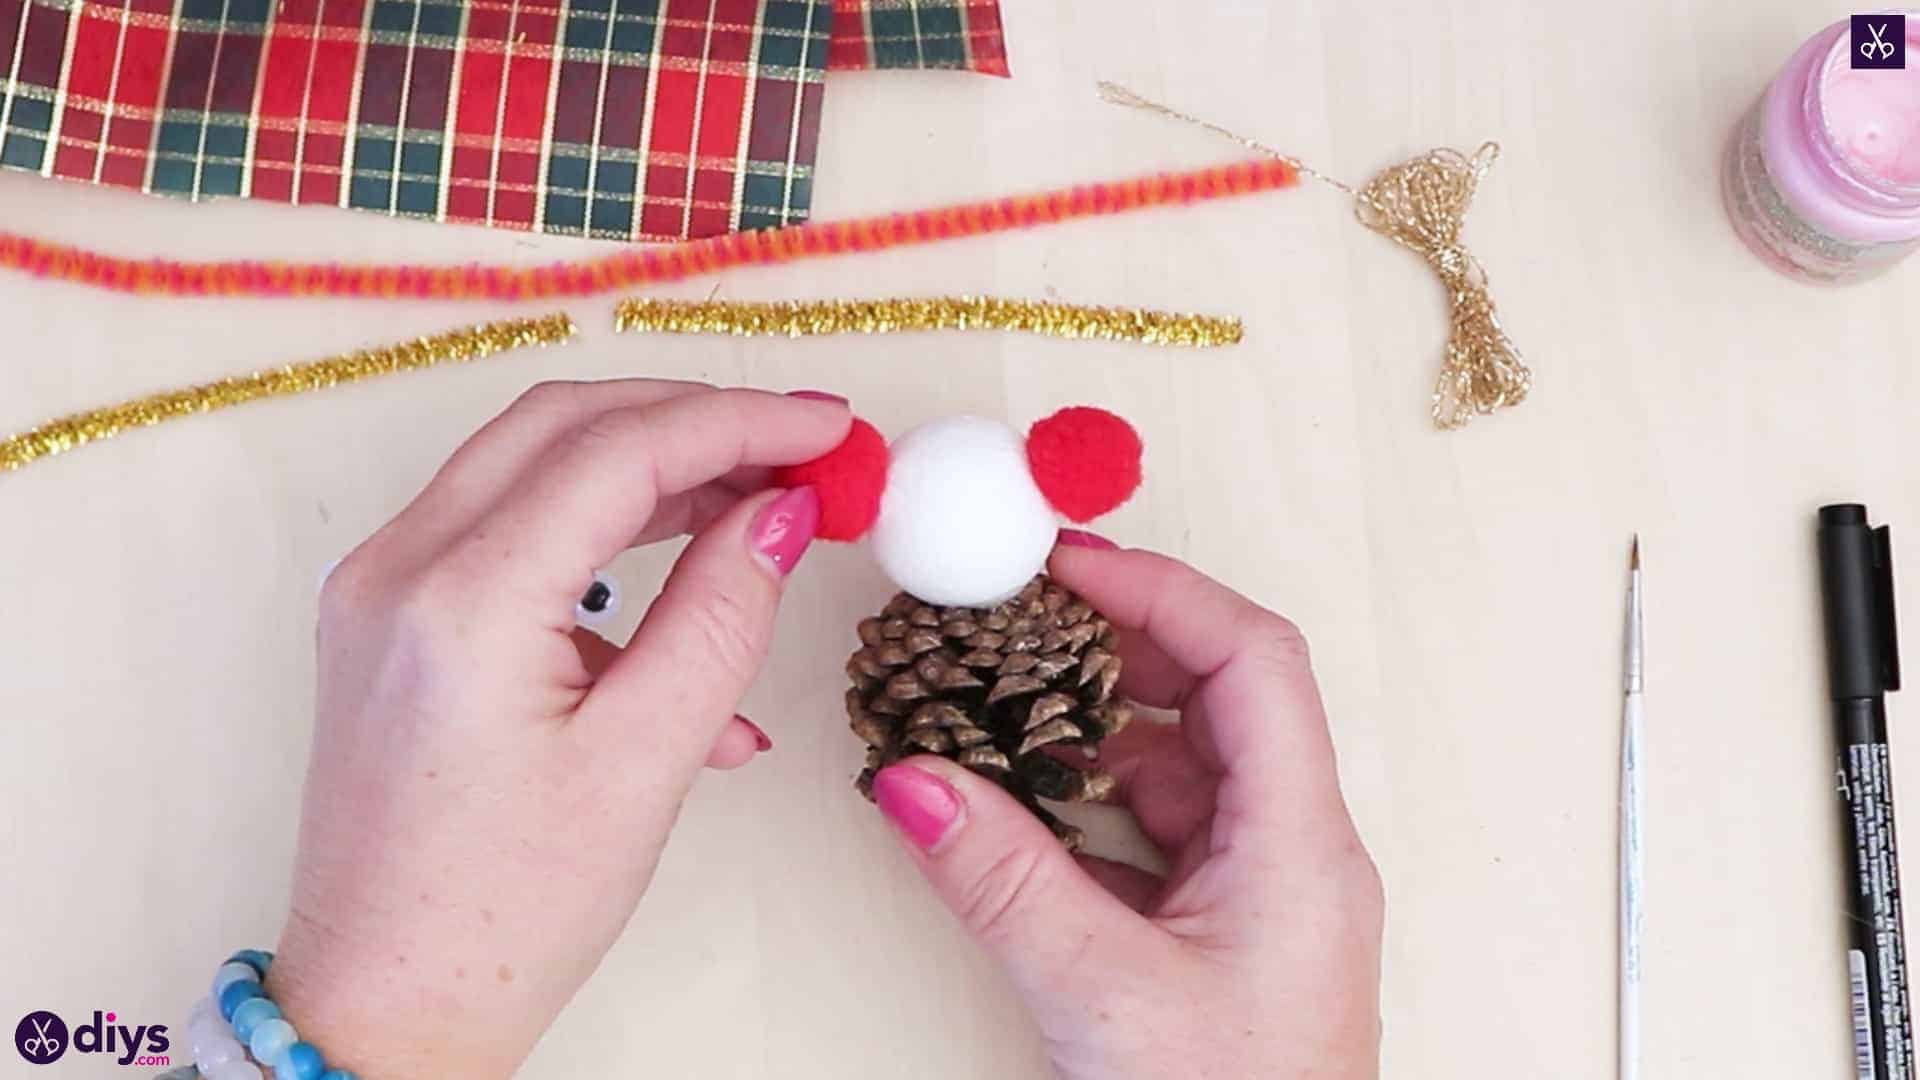
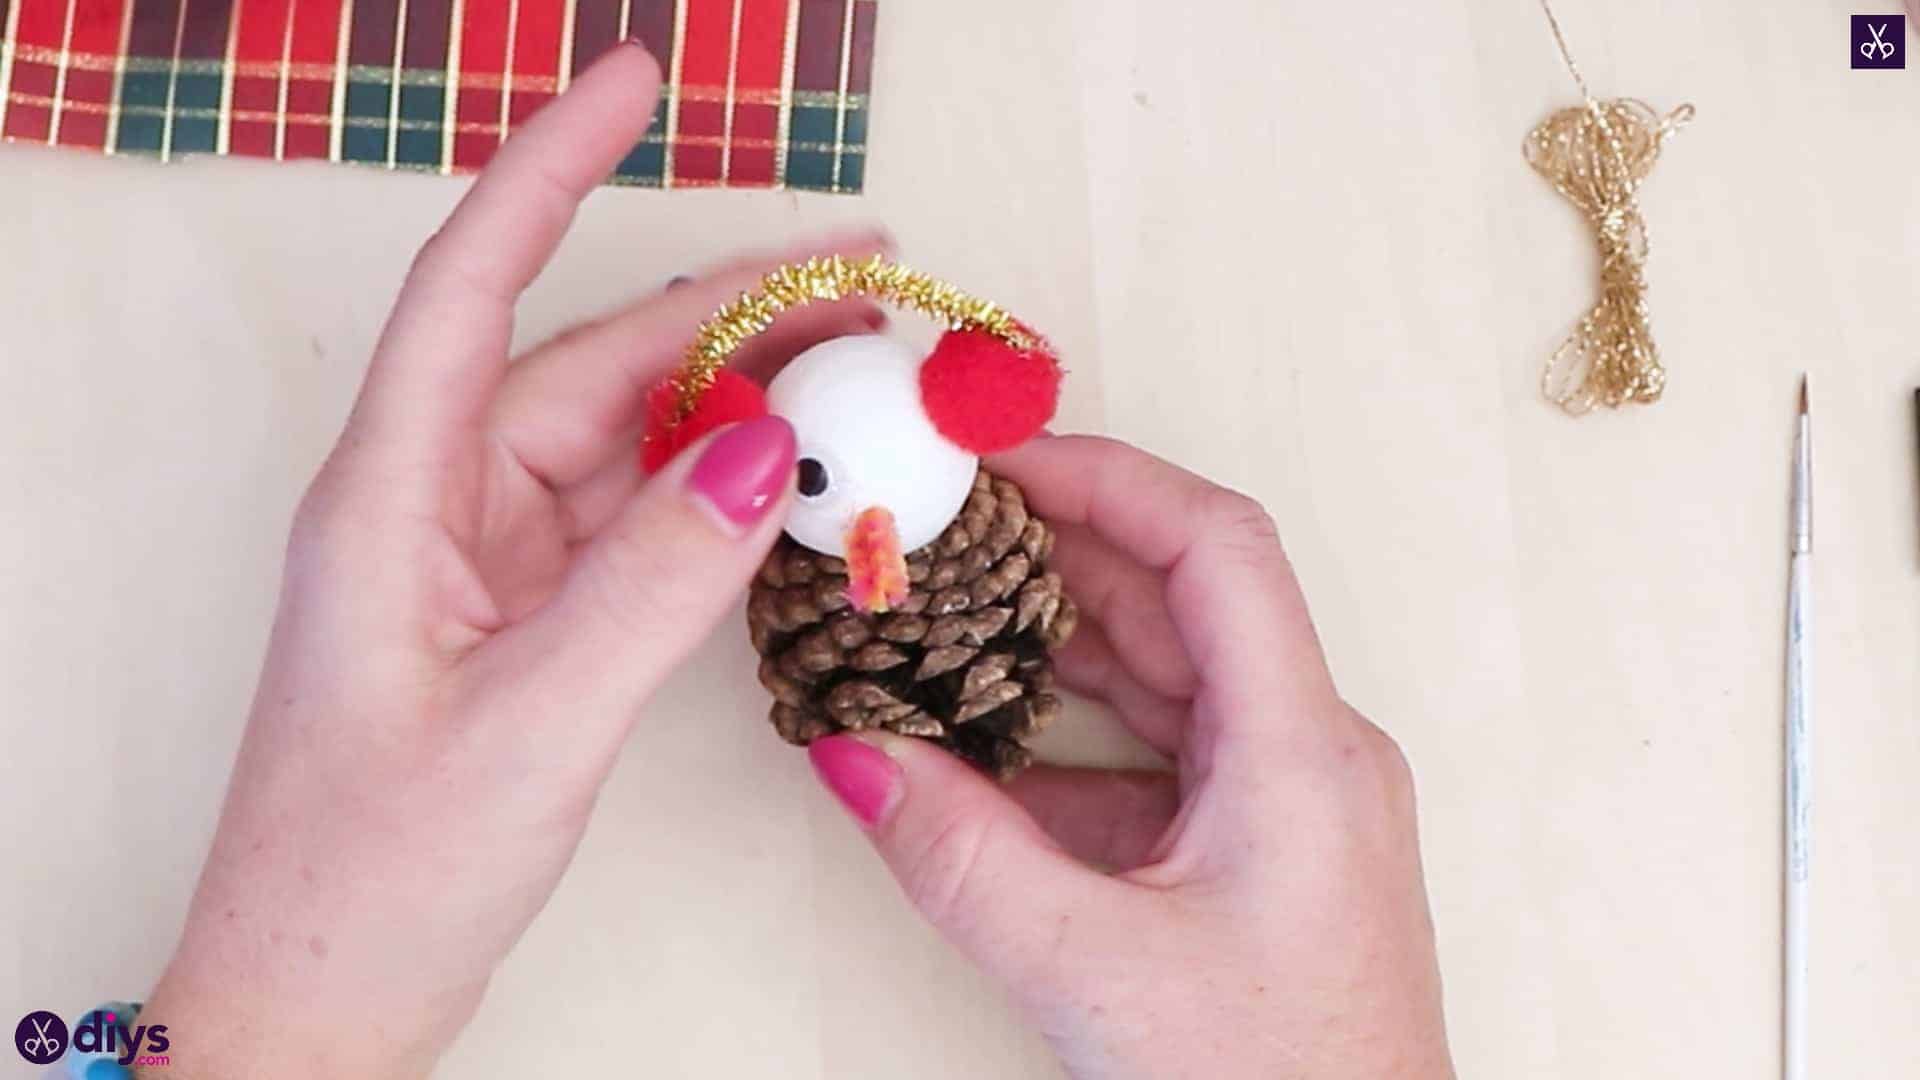
Apply glue near the top of the spun cotton ball on the right side, where a persons ear might be. Stick one of your little red crafting pom poms into place here. This is one side of your snowmans ear-muff style headphones. Repeat the process on the left side with your second pom pom to make the other ear piece.
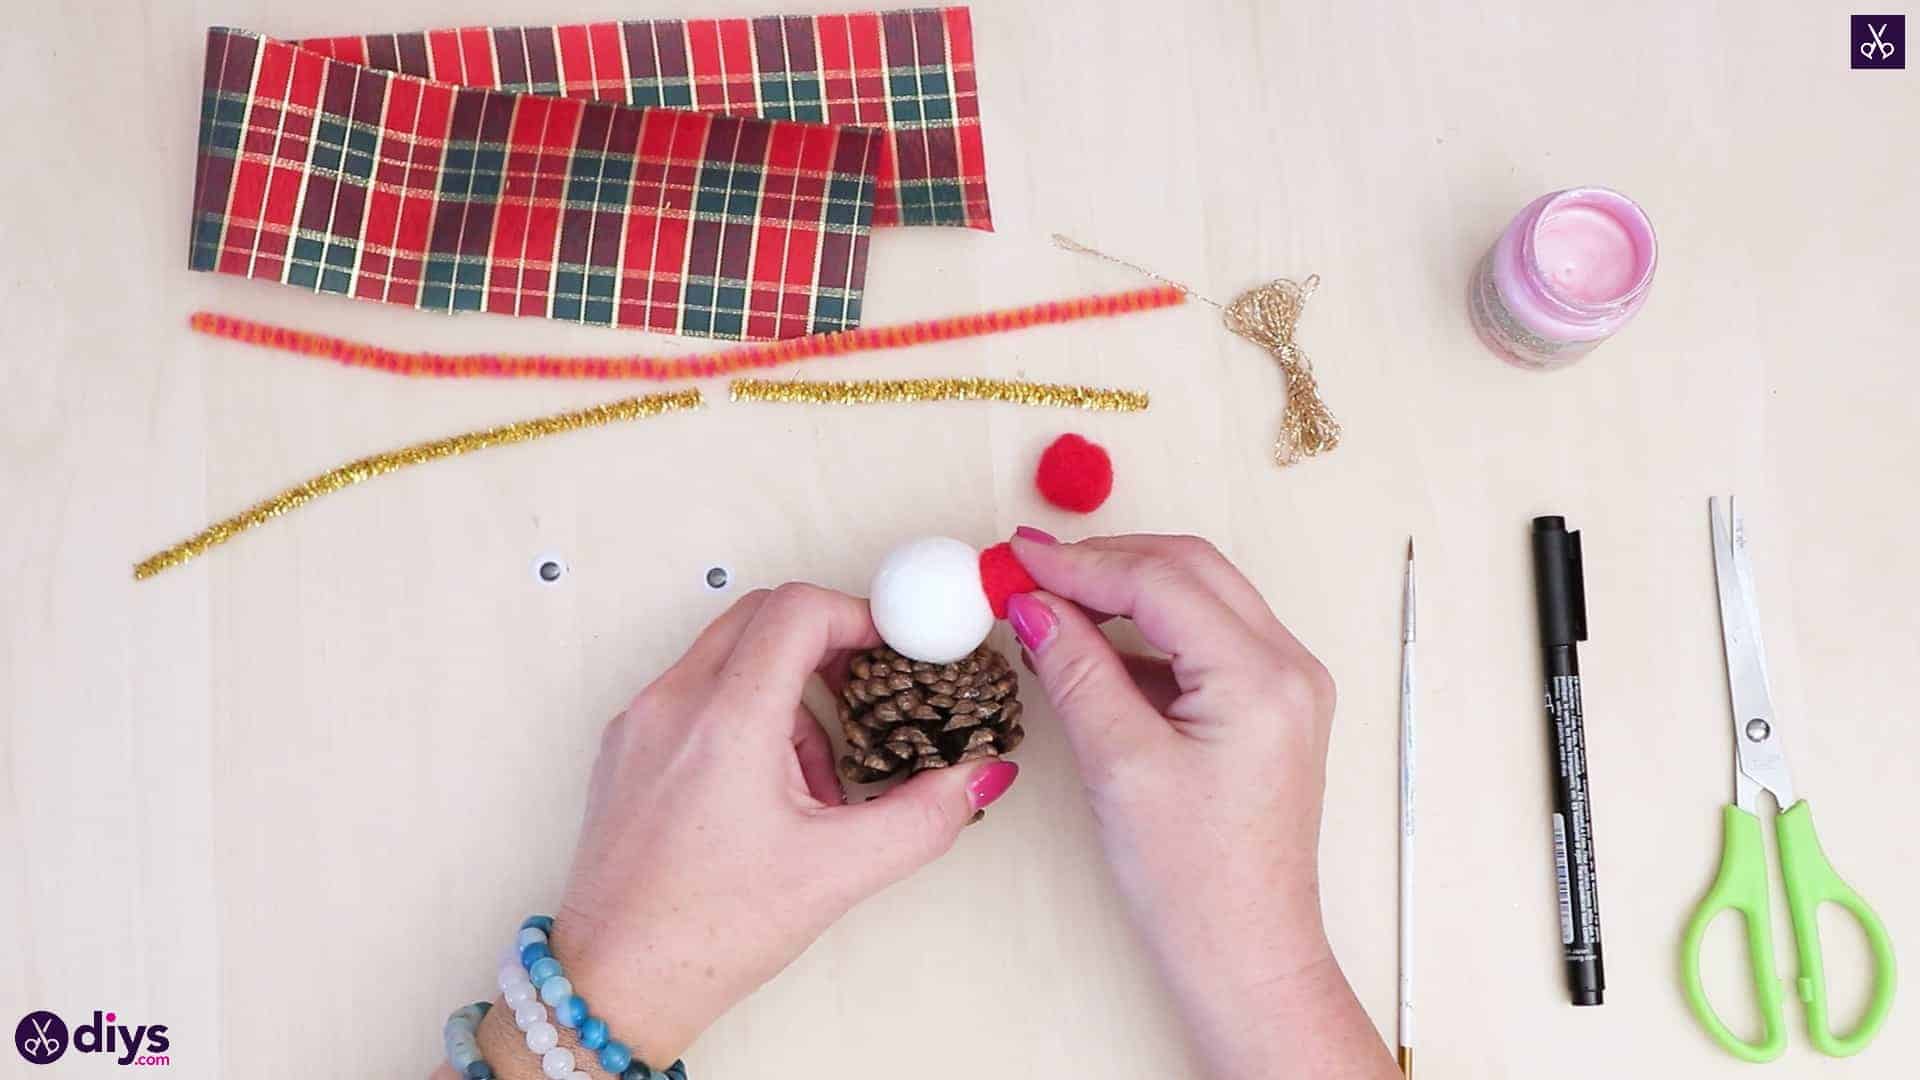
Step 5:
Take the shorter gold pipe cleaner piece you cut earlier and bend it slightly into an arc shape. Apply hot glue to either end and press the ends onto the outside of the red pom poms, arching over the snowmans head from one side to the other. This is the band of the headphones.
Step 6:
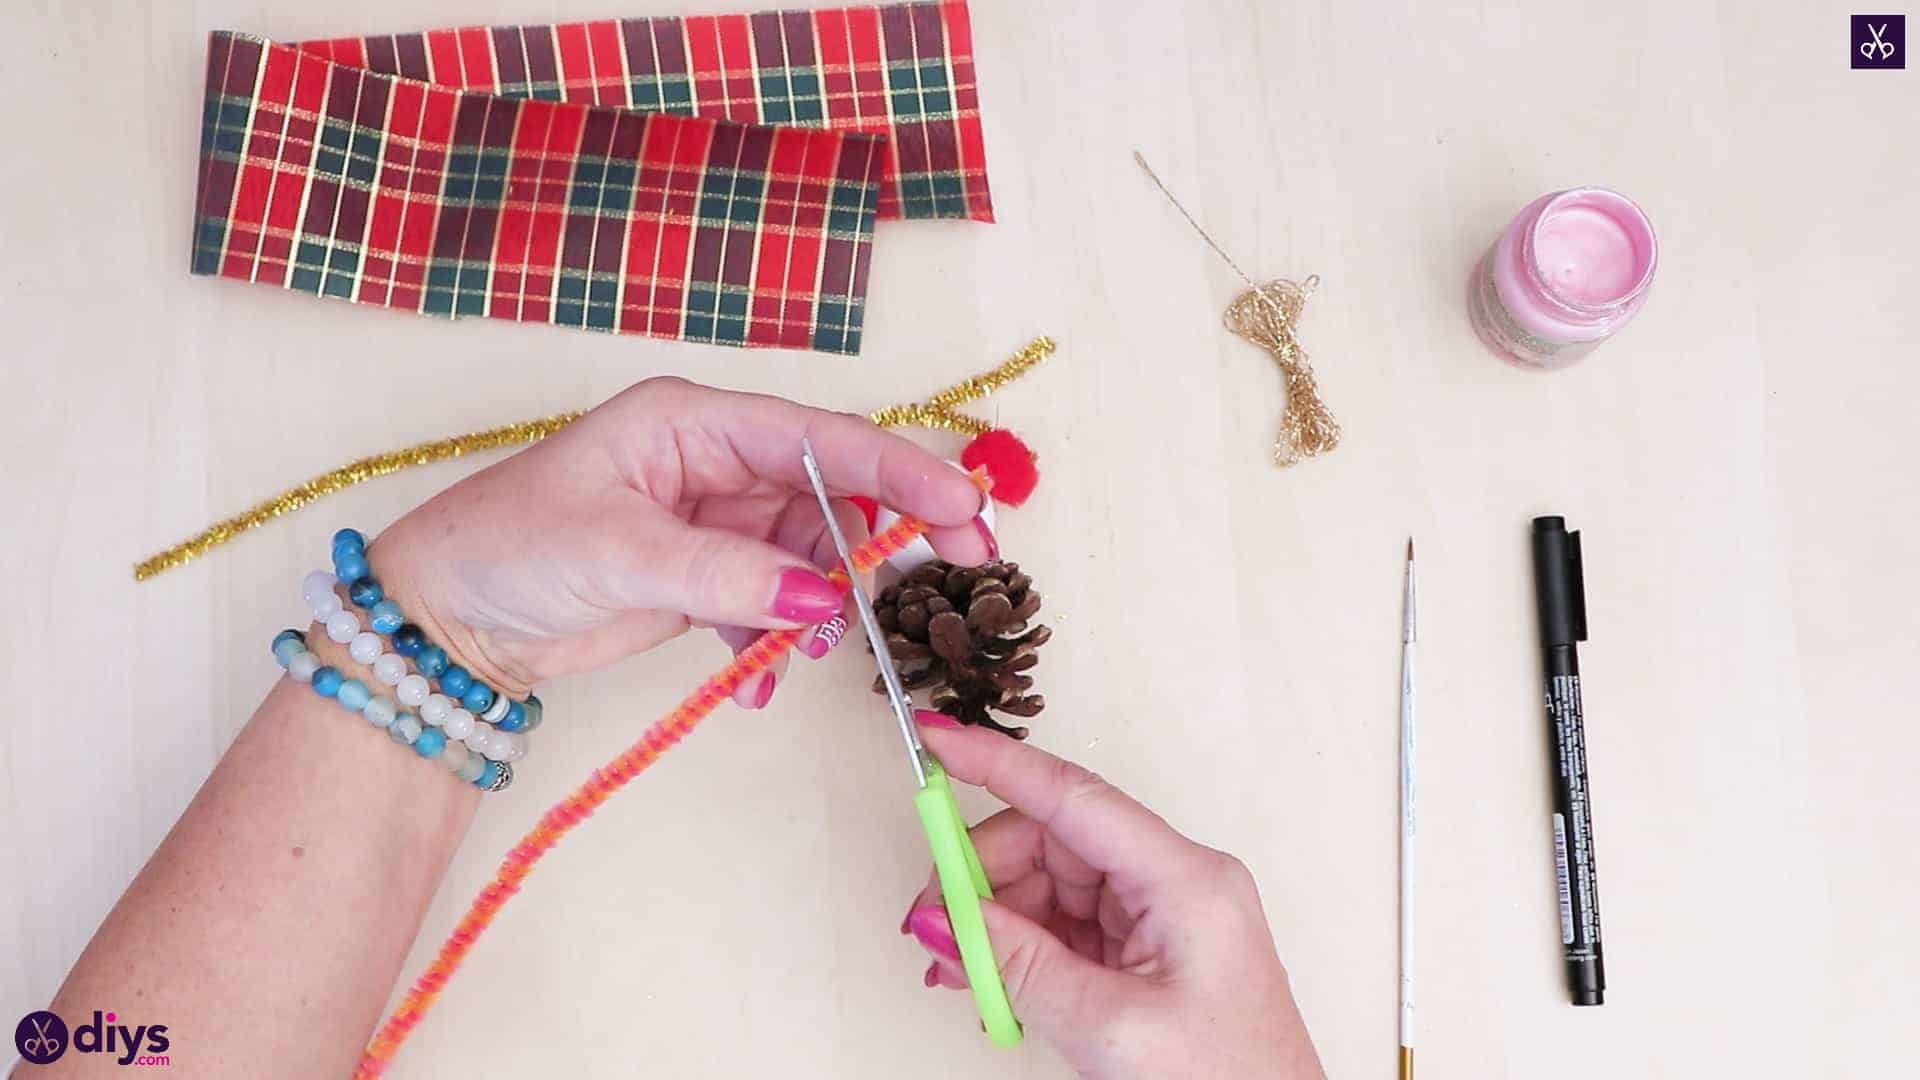
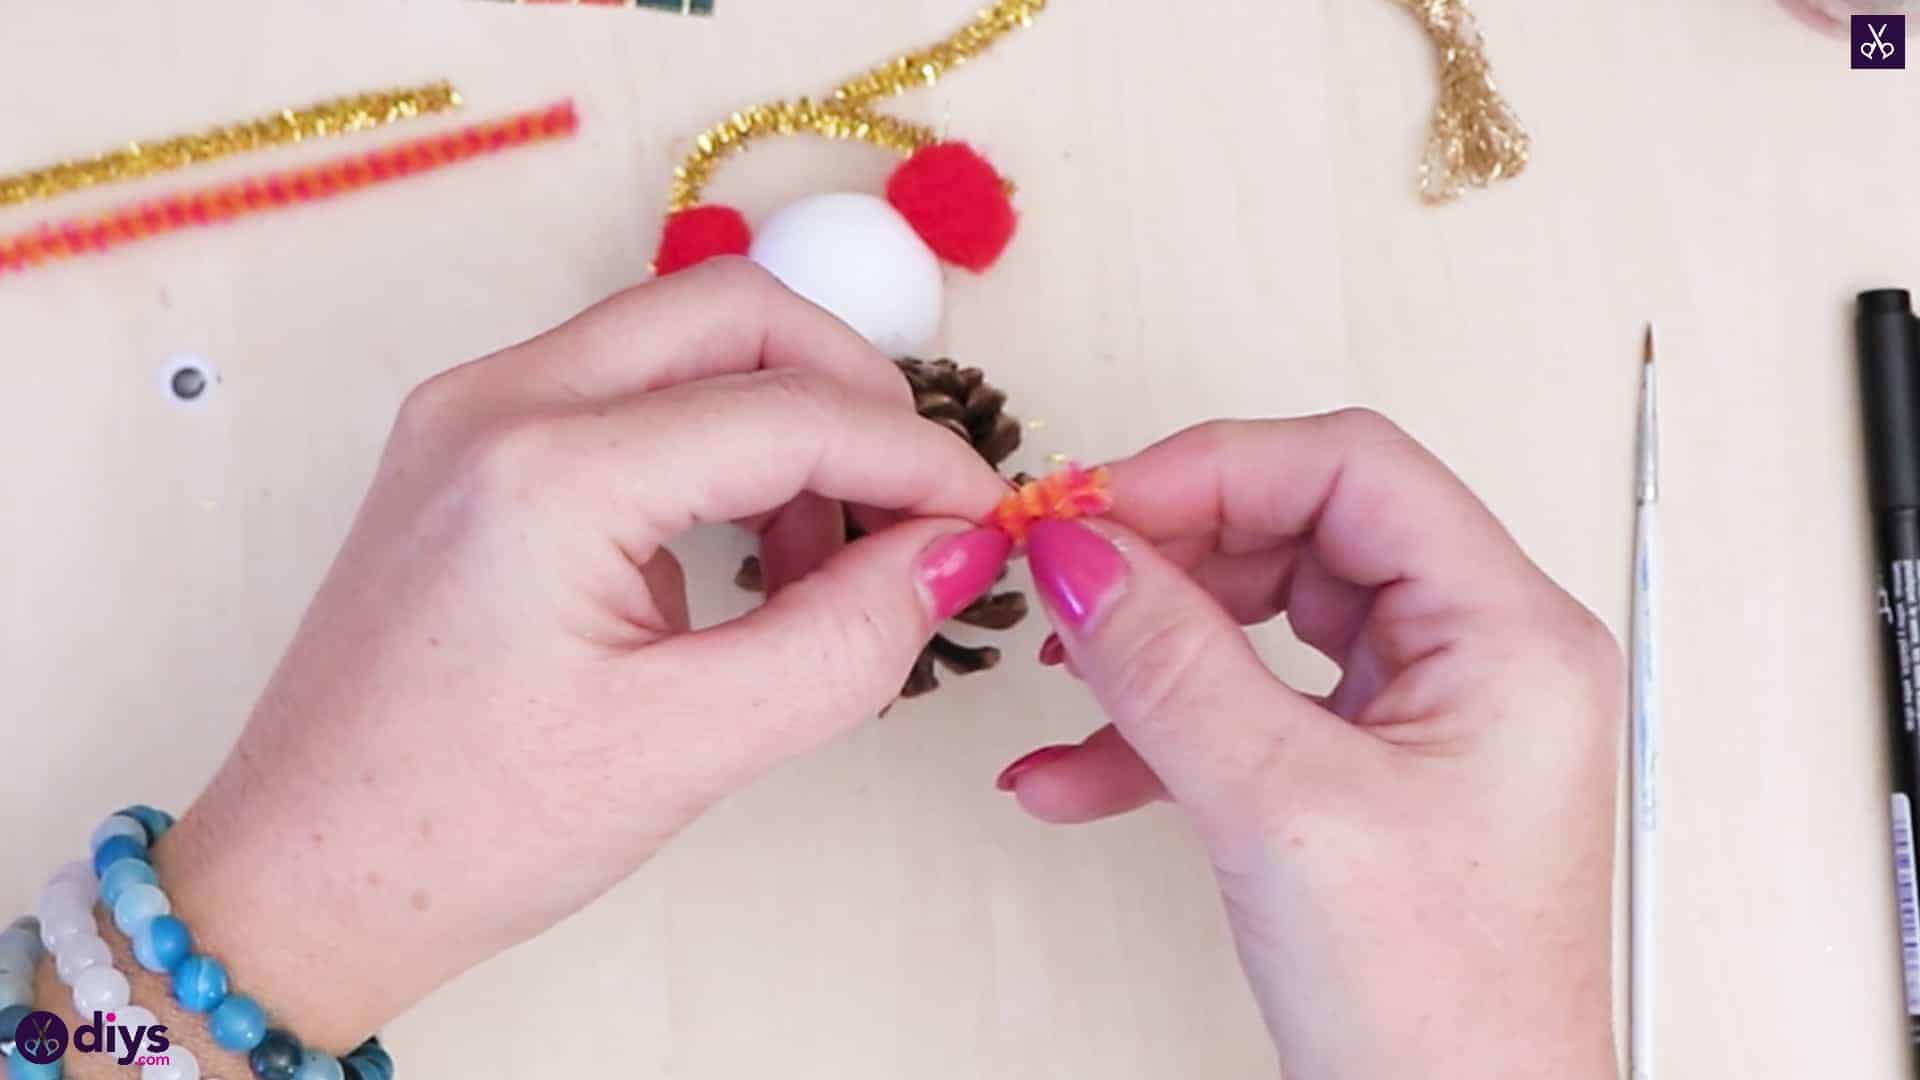
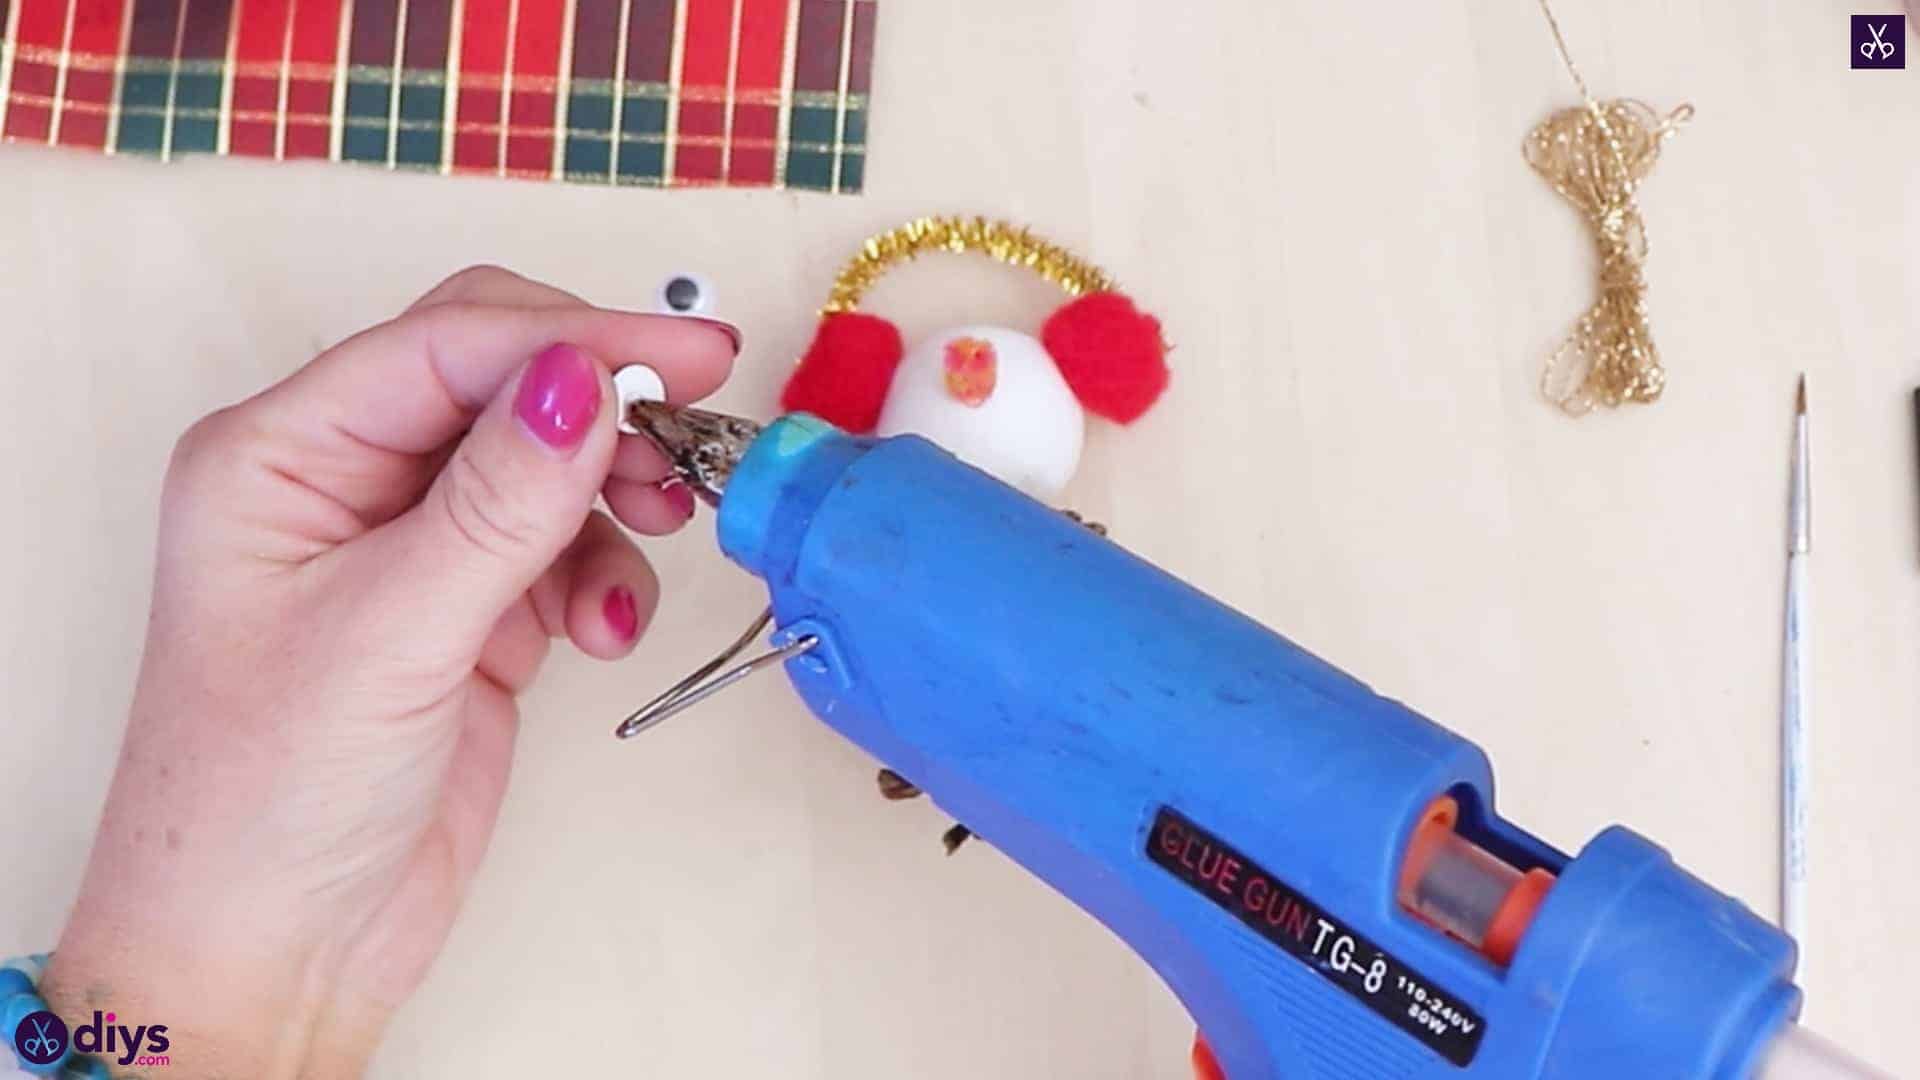
Cut a half inch piece off the end of your orange pipe cleaner and fold it in half. Apply hot glue to the side of this folded piece where the ends meet and stick it down in the centre of your snowmans face, letting the bent part stick out to make a carrot nose.

Step 7:
Apply hot glue to the backs of your googly eyes and stick them onto your snowmans face just above the carrot nose, one on each side.
Step 8:
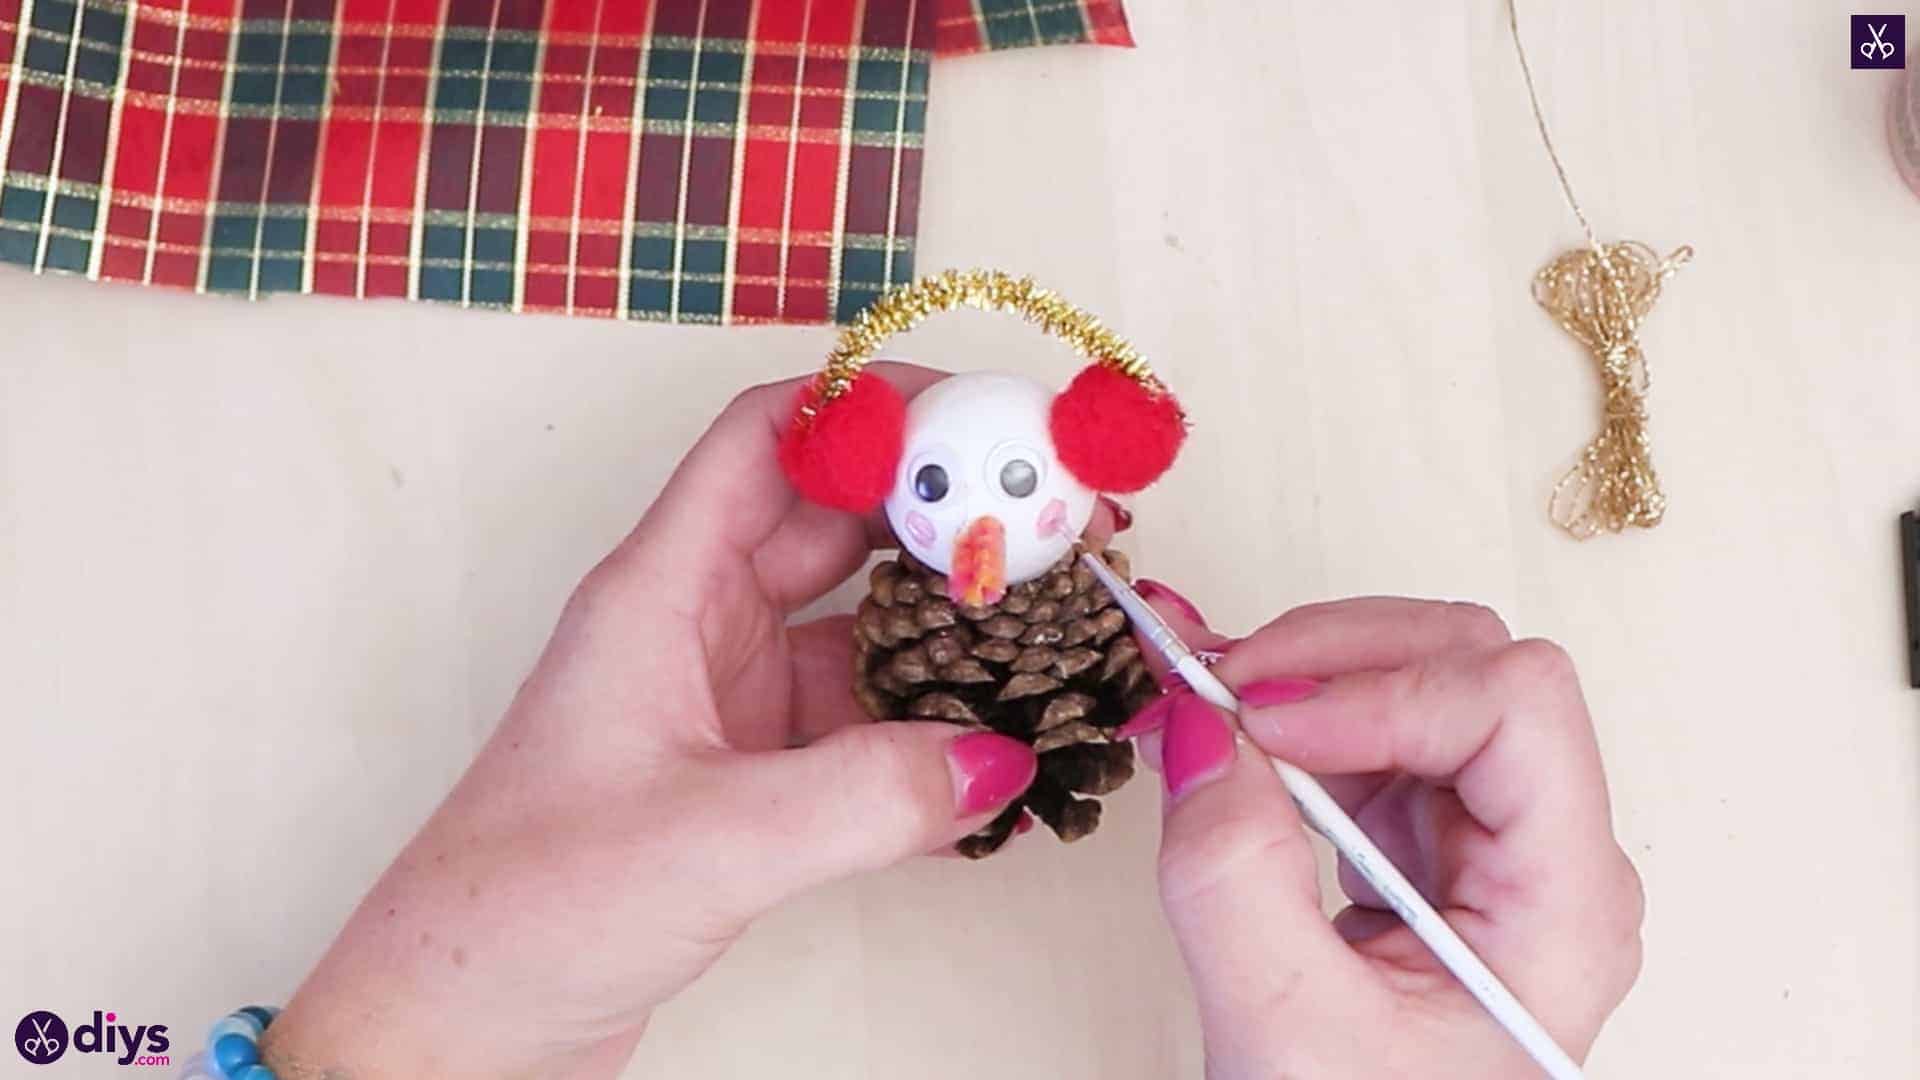
Use your paintbrush and pink paint to give your snowman two circular rosy cheeks on either side of the carrot nose.
Step 9:
Cut a piece of gold thread about four inches long and wrap it around your snowmans neck where the spun cotton ball and pinecone meet. Pass the strings around the back and tie them in a double knot there. Then tie the strings together in a knot at their ends. You now have a loop to hang your snowman from like a Christmas tree ornament.

Step 10:
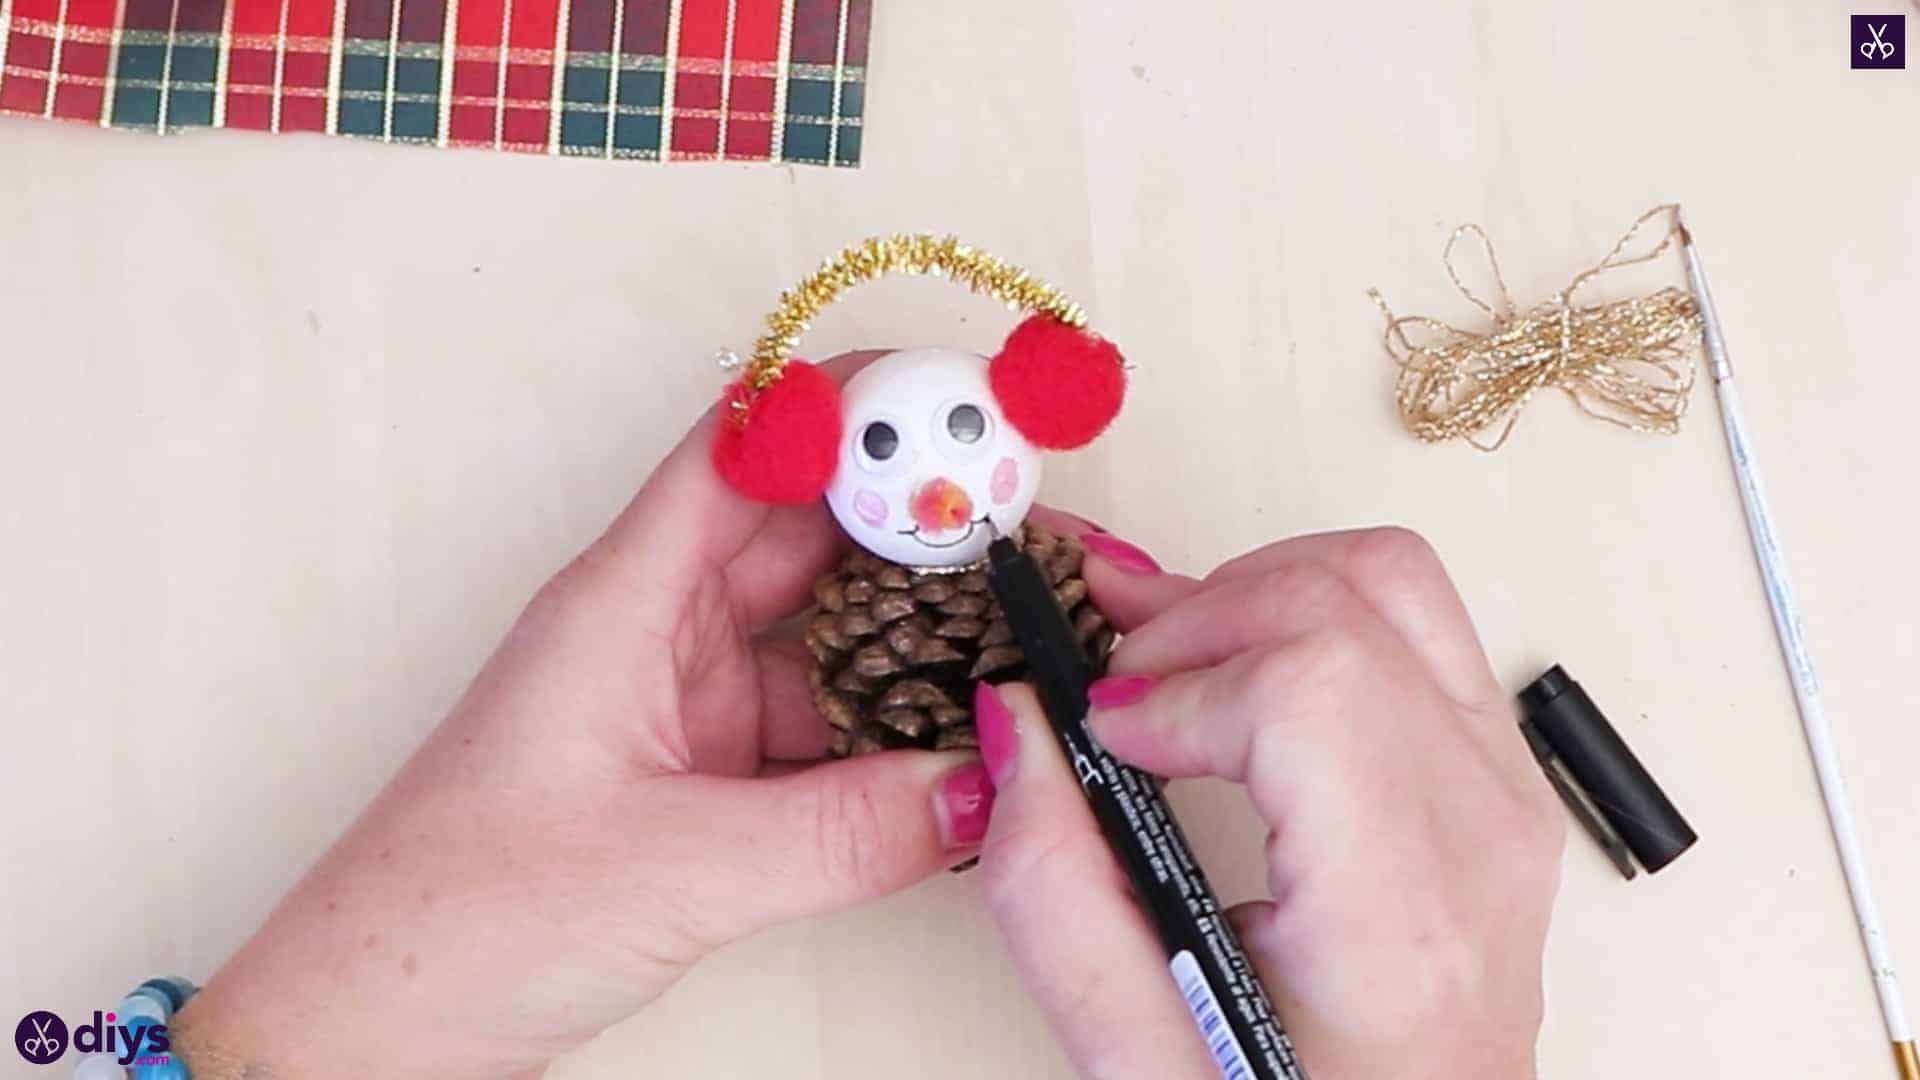
Use your black marker to draw your snowman a friendly smile below the carrot nose.
Step 11:
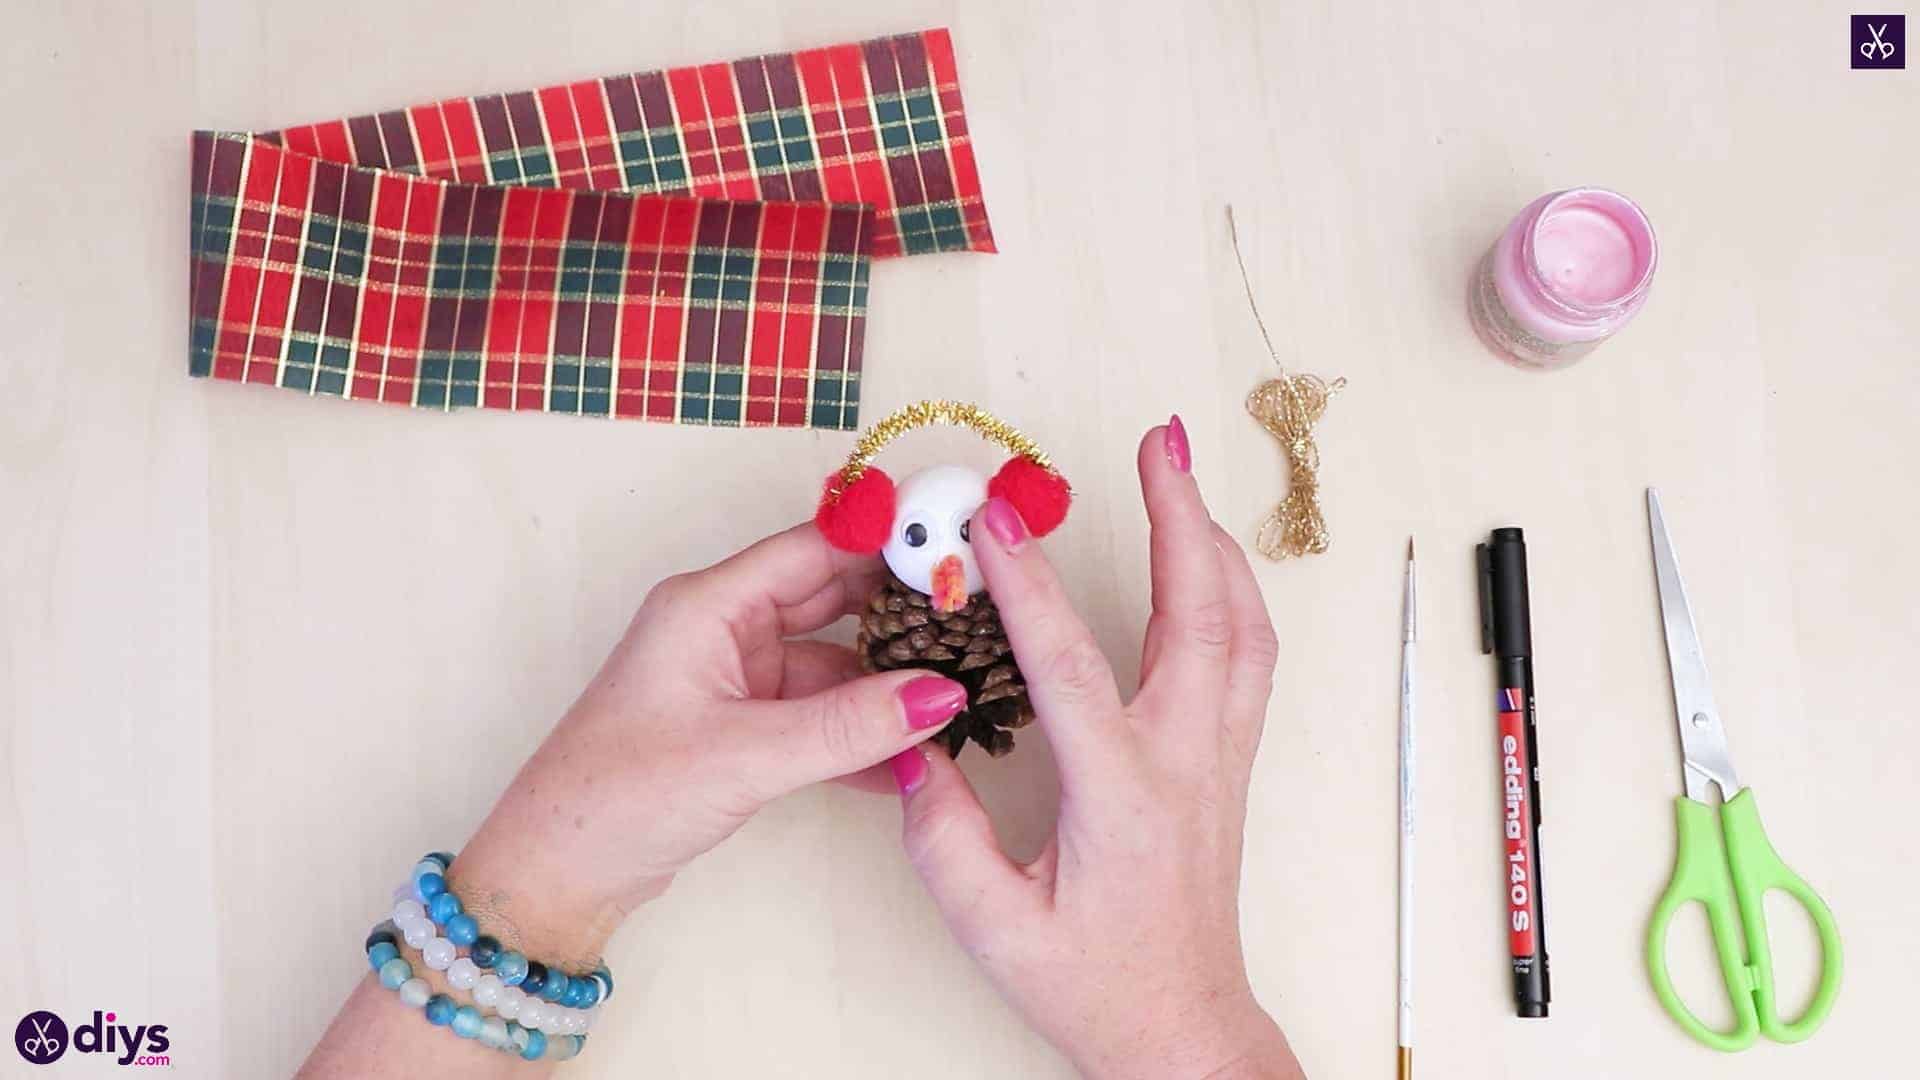
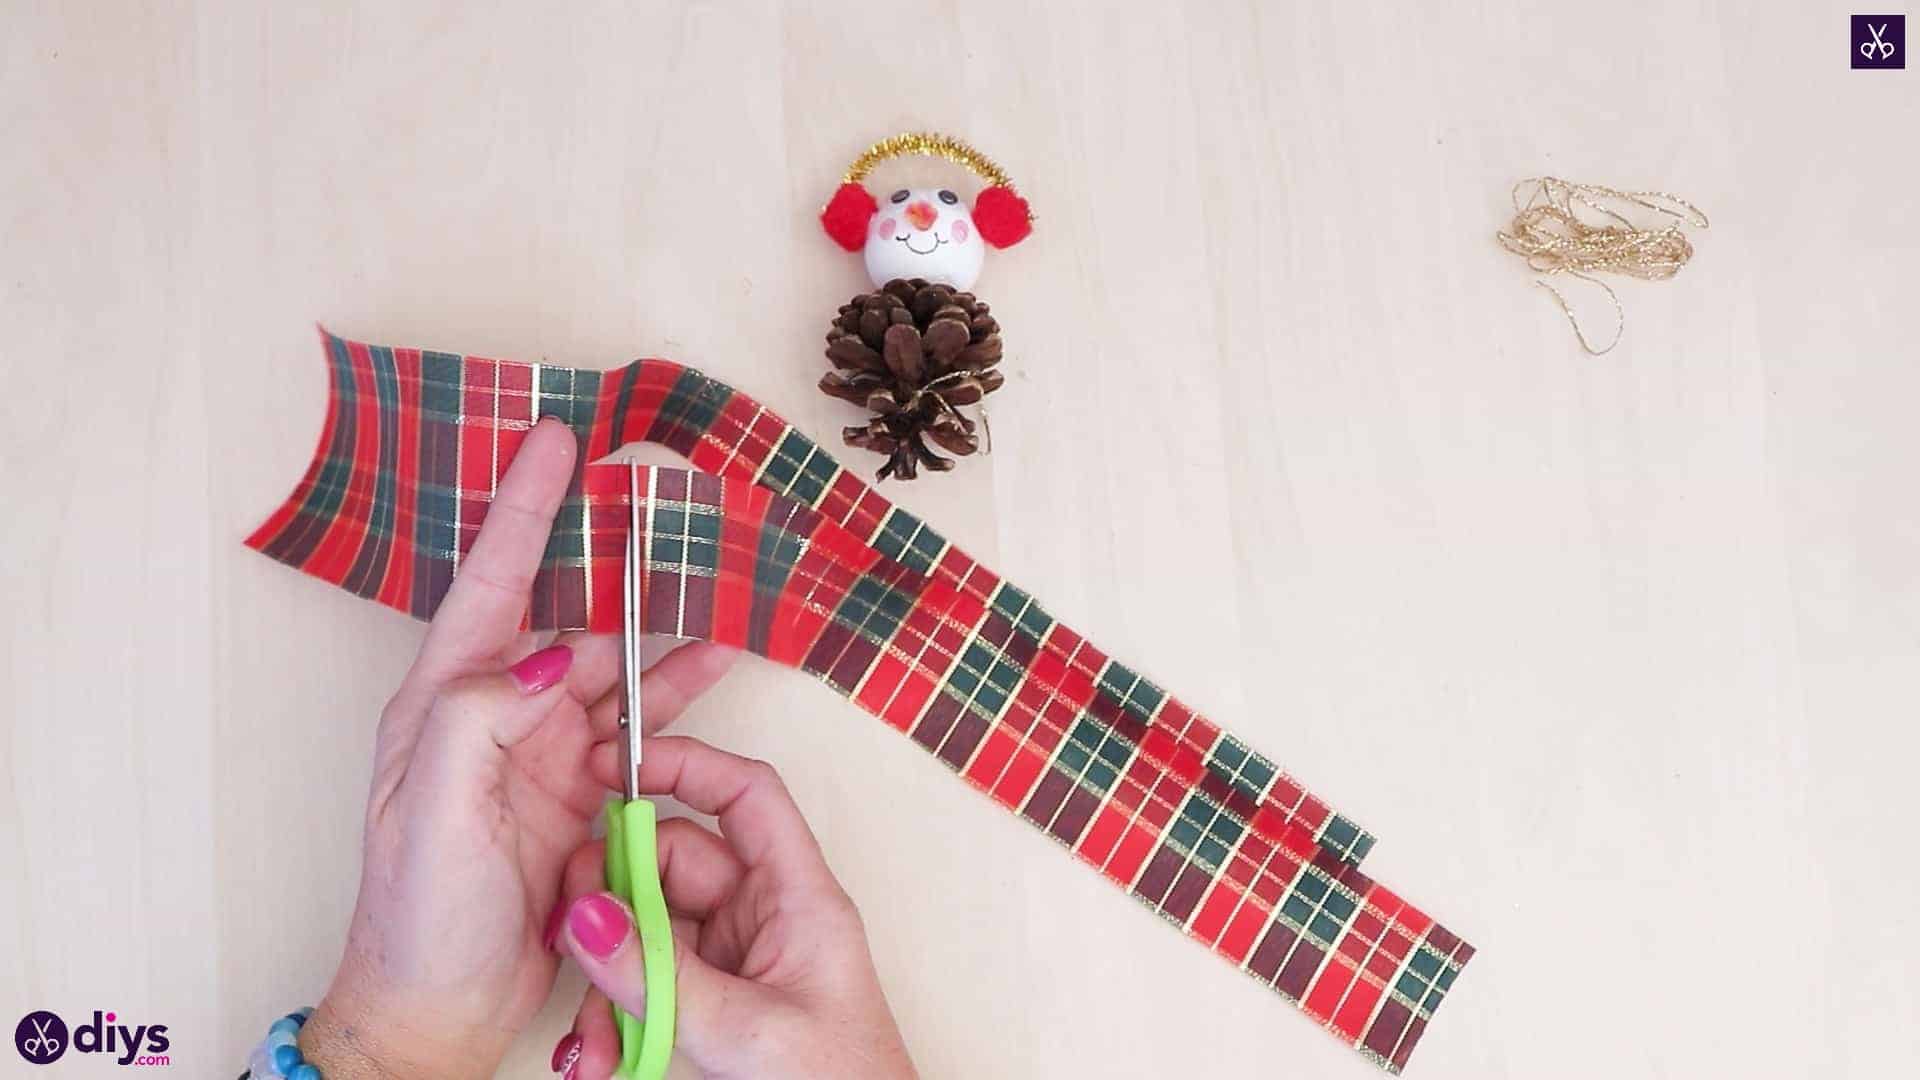
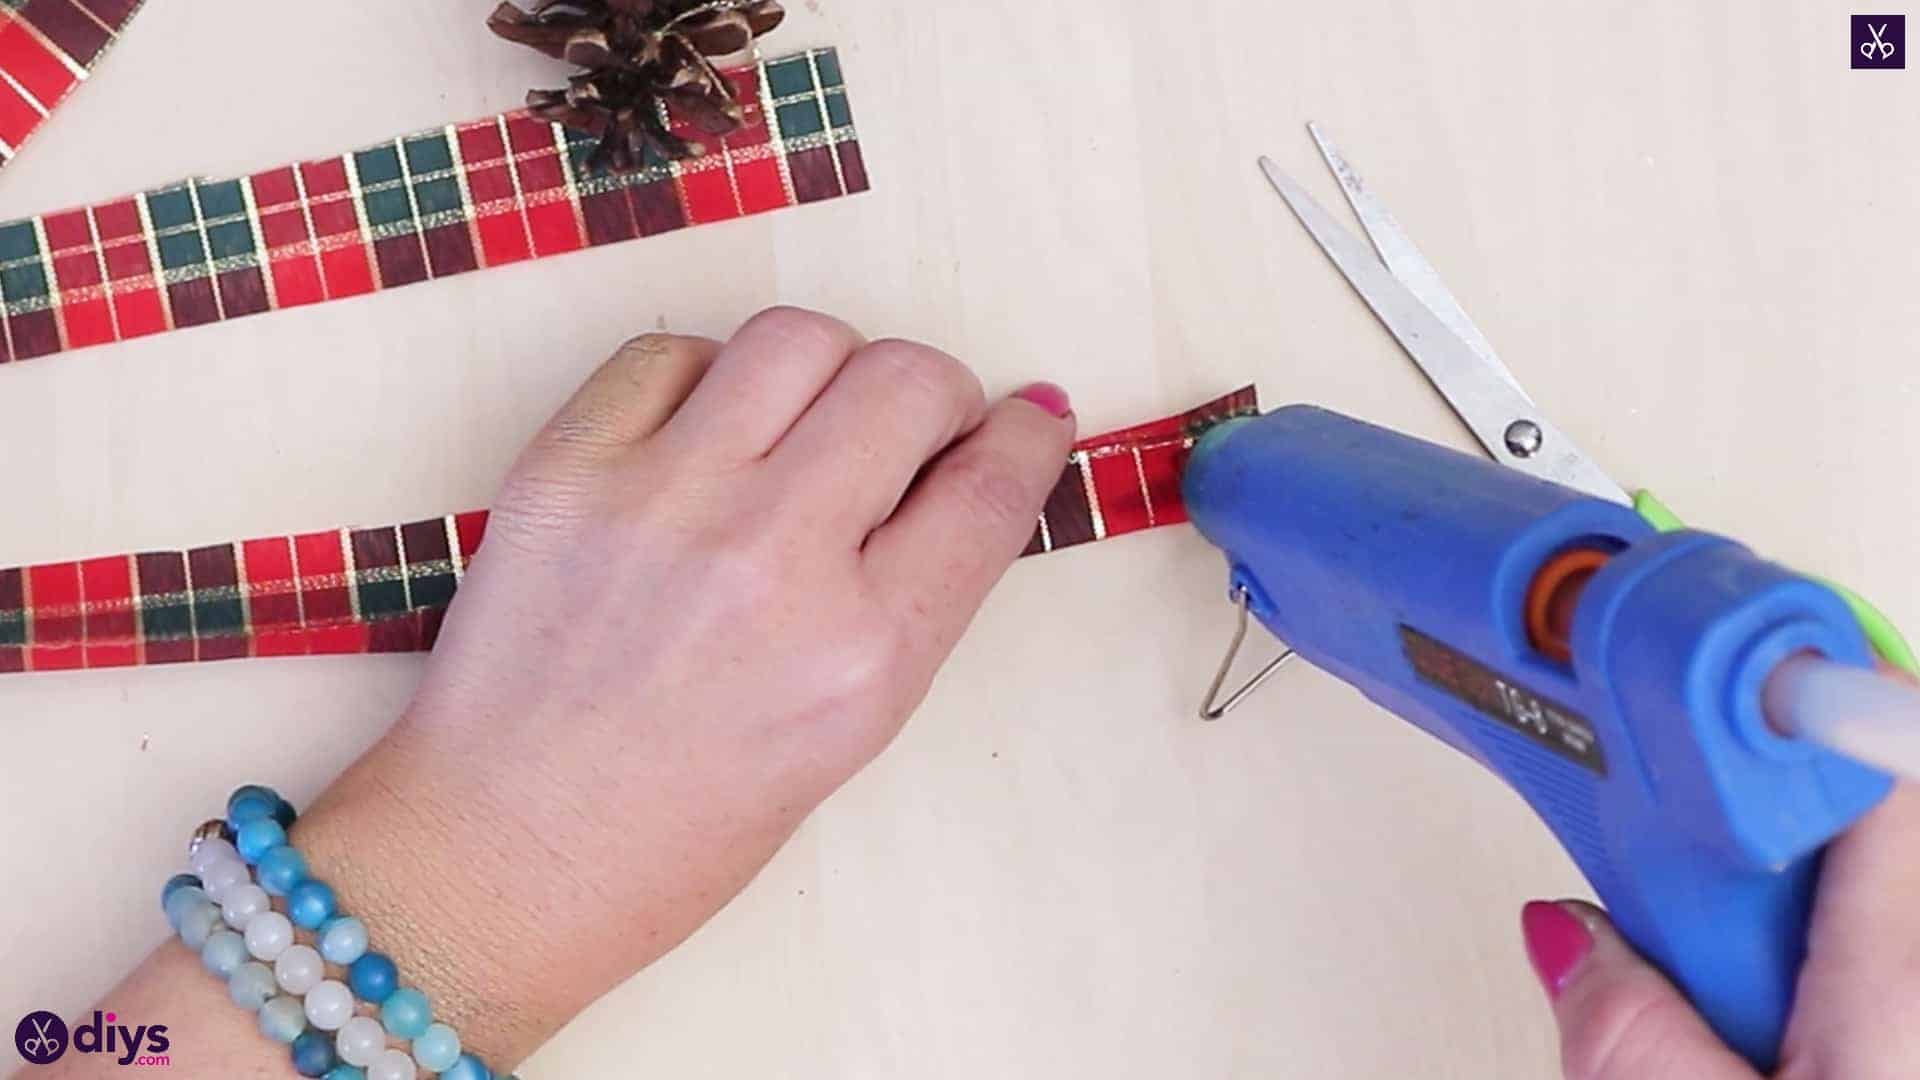
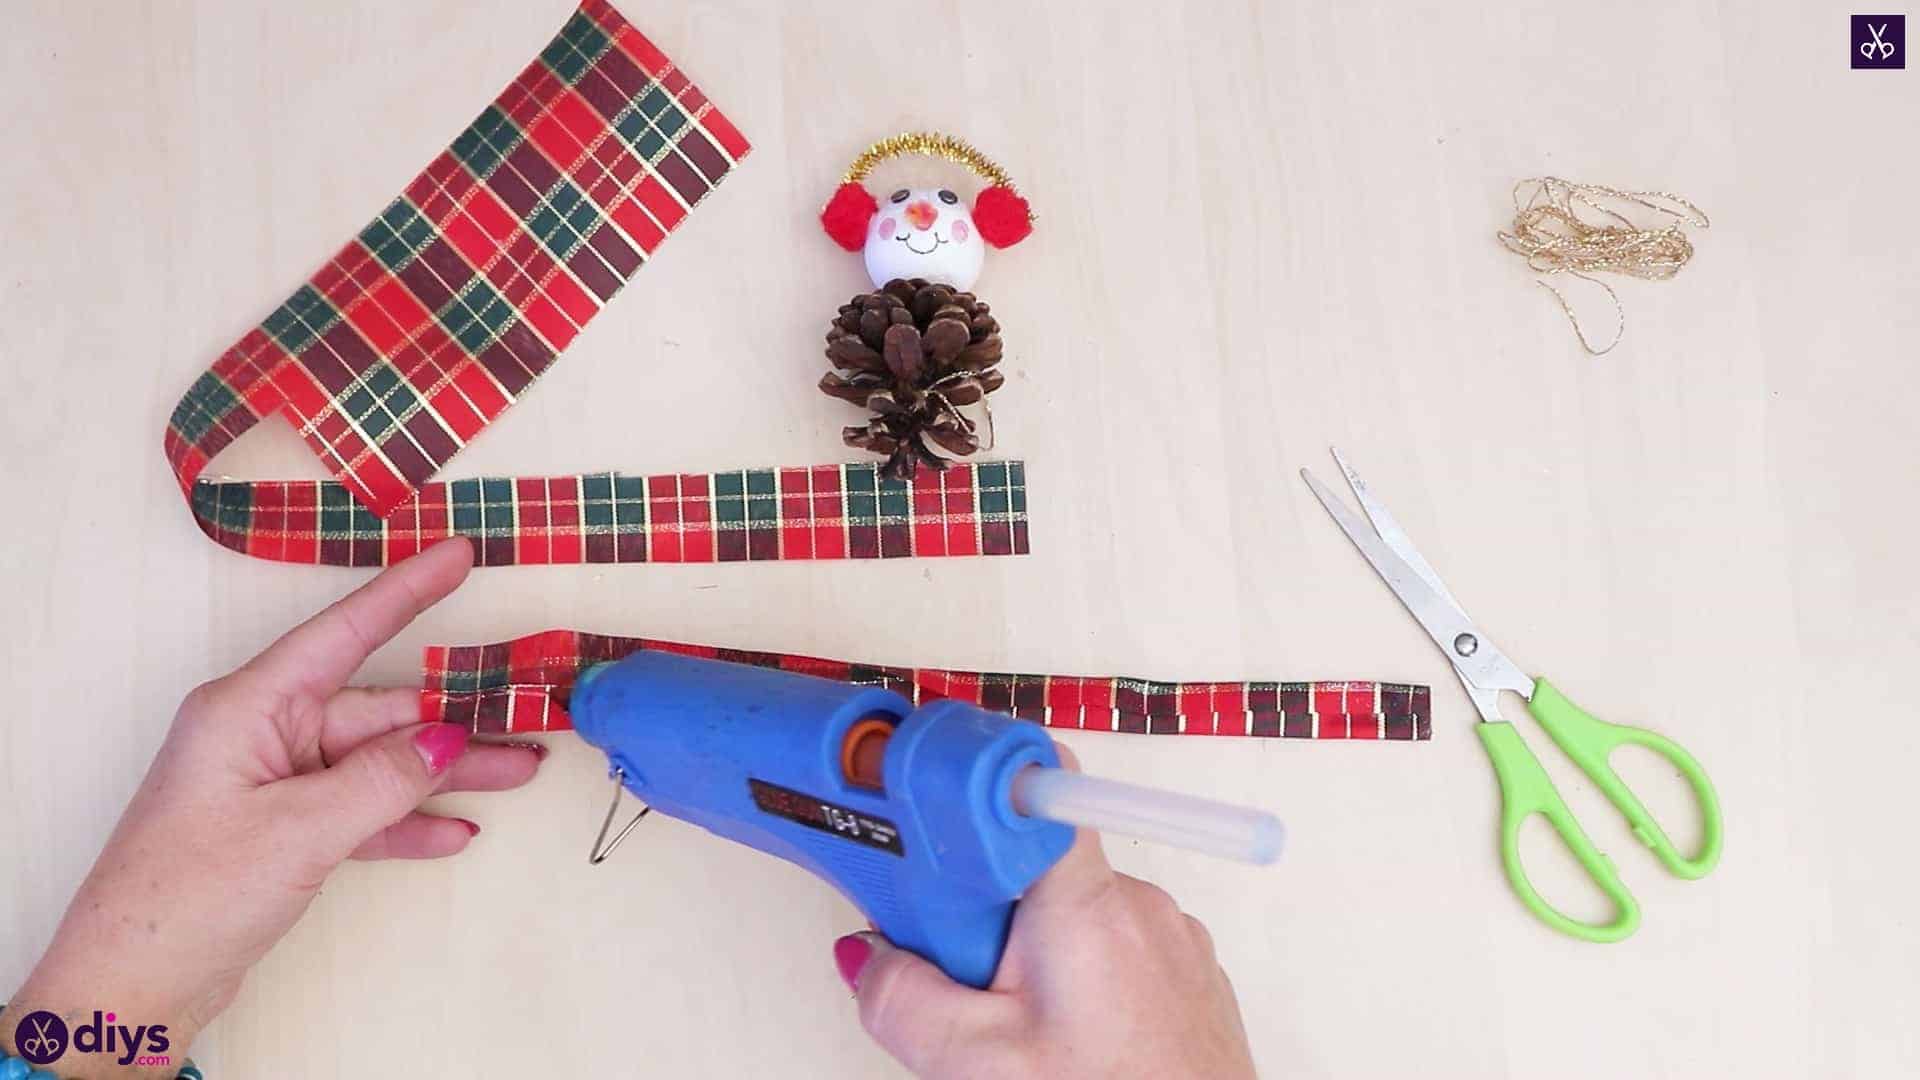
Make your snowmans scarf by cutting a strip from your plaid ribbon thats about four inches long and an inch thick. Fold the new strip in half to double it over and make the colouring more opaque, using your hot glue gun to stick it in place so it stays folded.
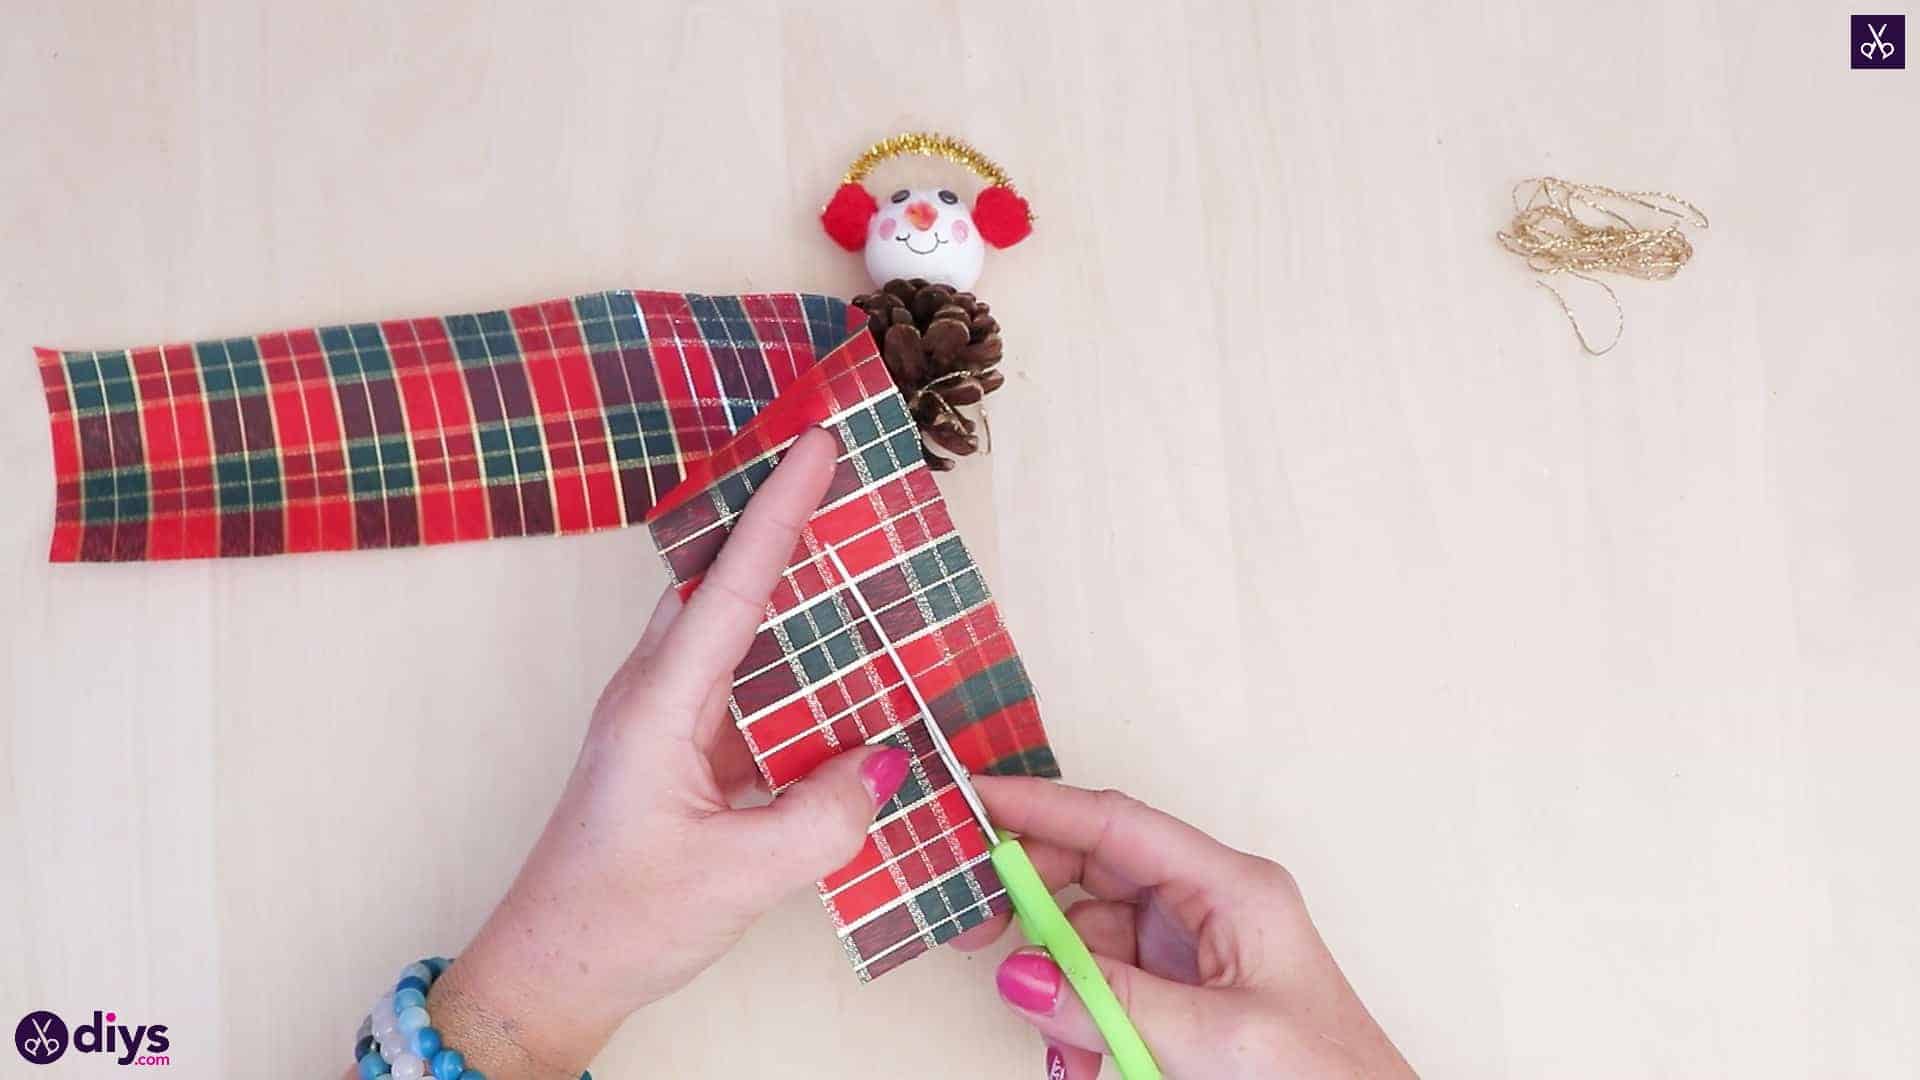
Step 12:
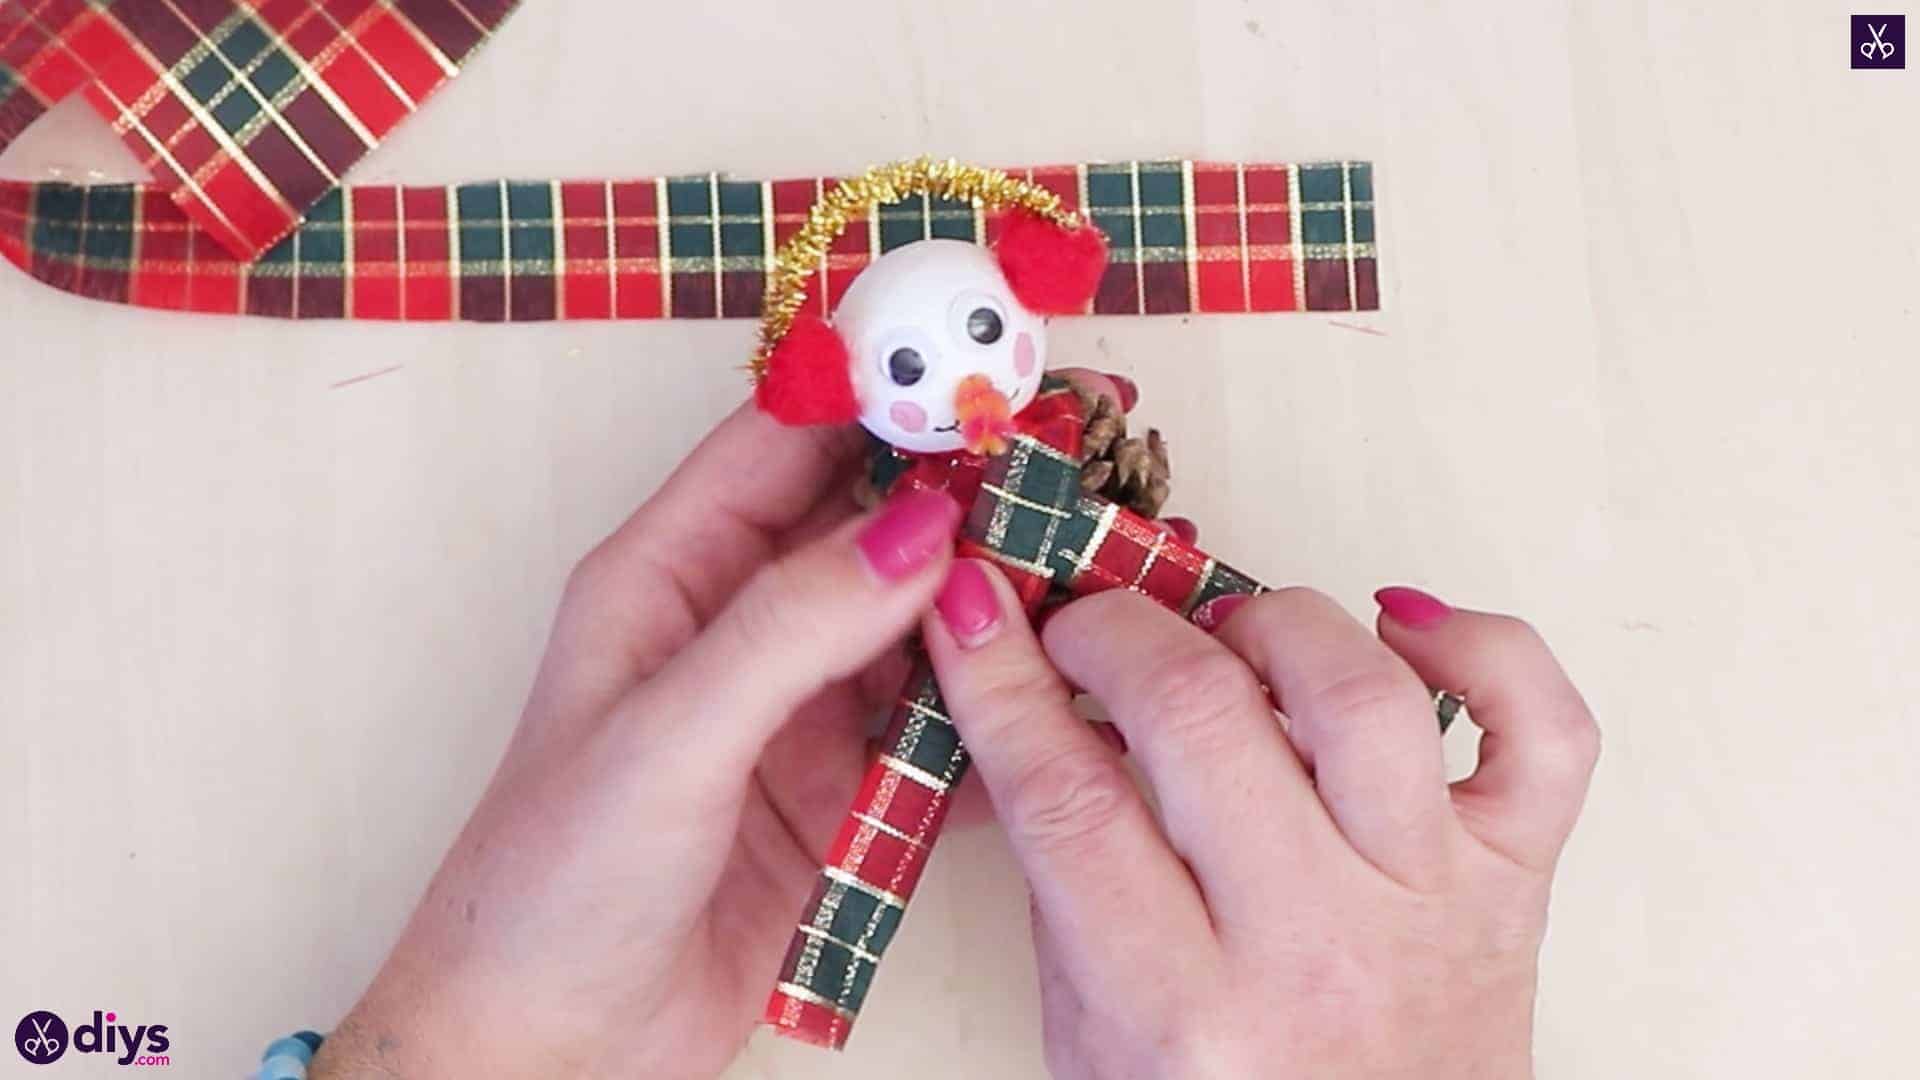
Wrap the scarf around the snowmans neck so the centre of its length rests right at the back where your gold loop is. Make sure the loop is sticking out above the scarf before you apply a dot of glue to anchor the scarf in place. Bring the ends around to the front, gluing the first one down where it passes under the snowmans chin and the second one down where it crosses over the first.

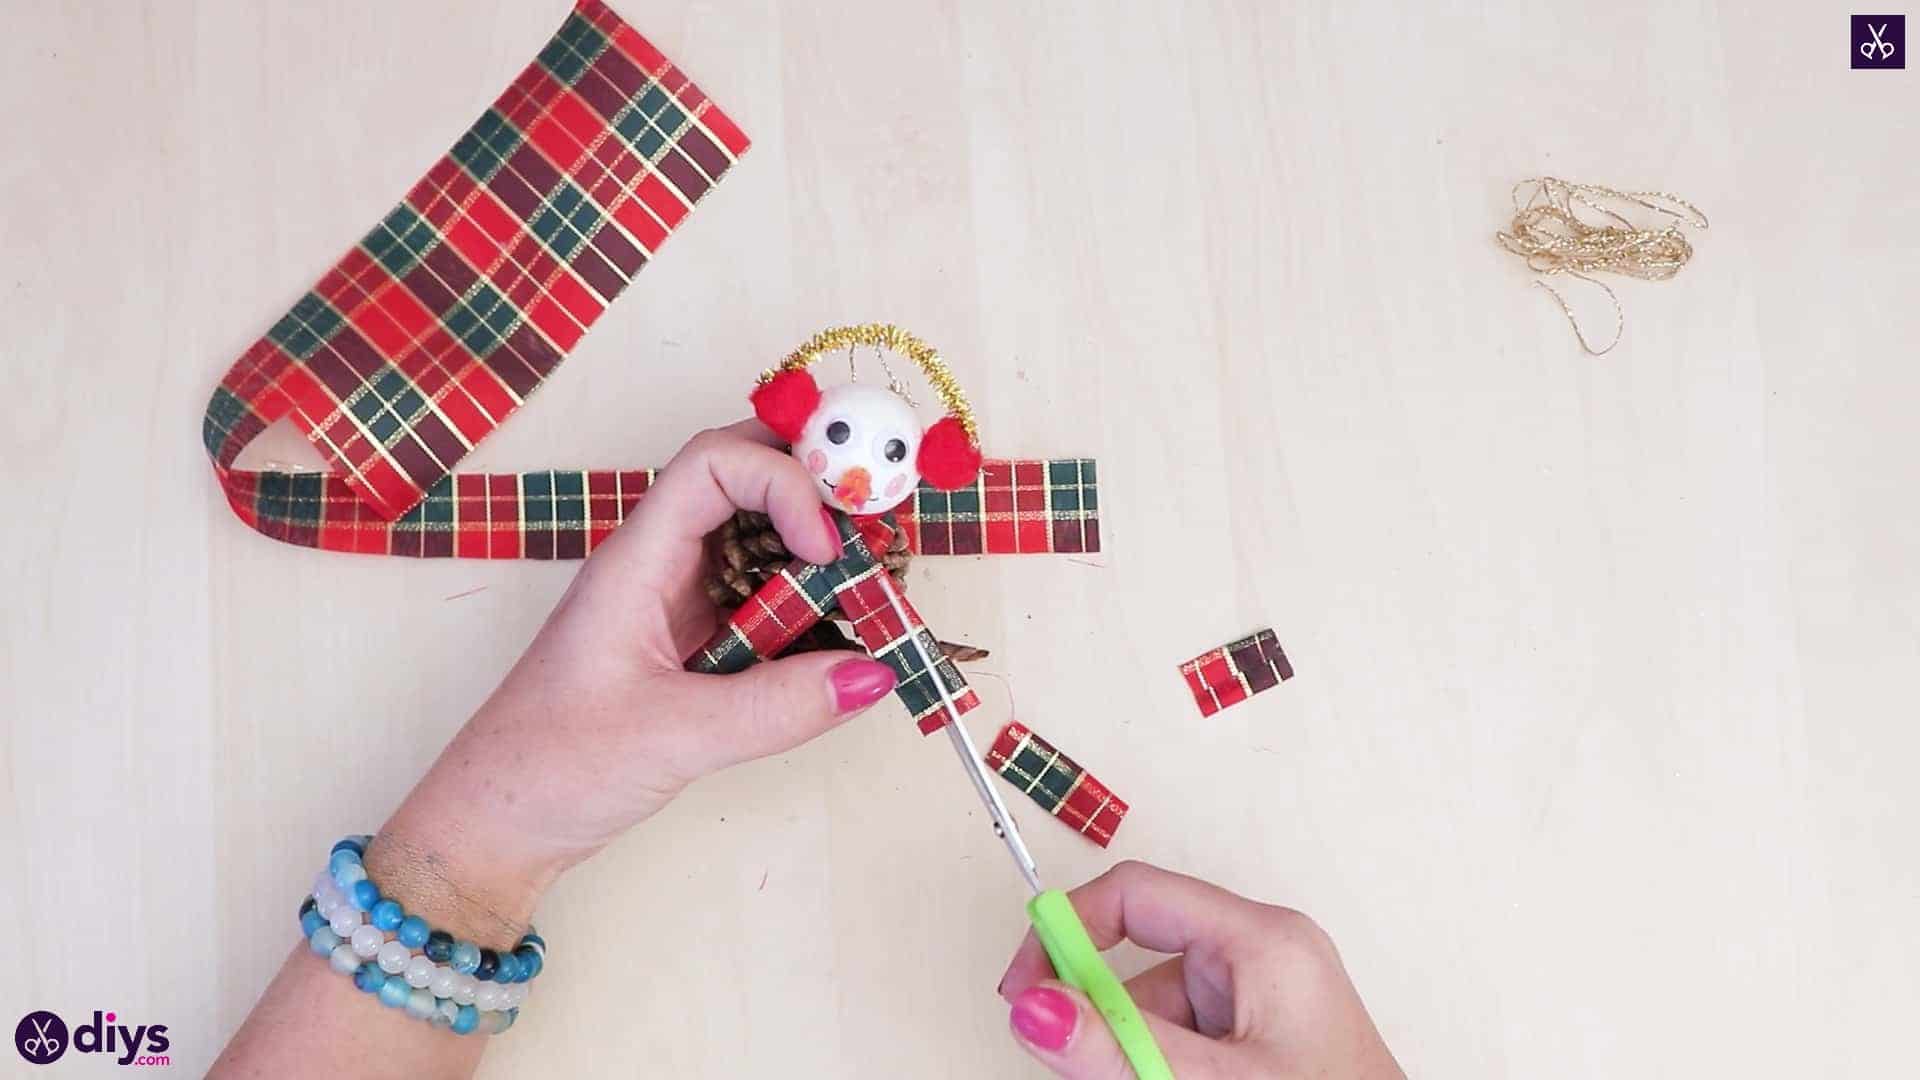
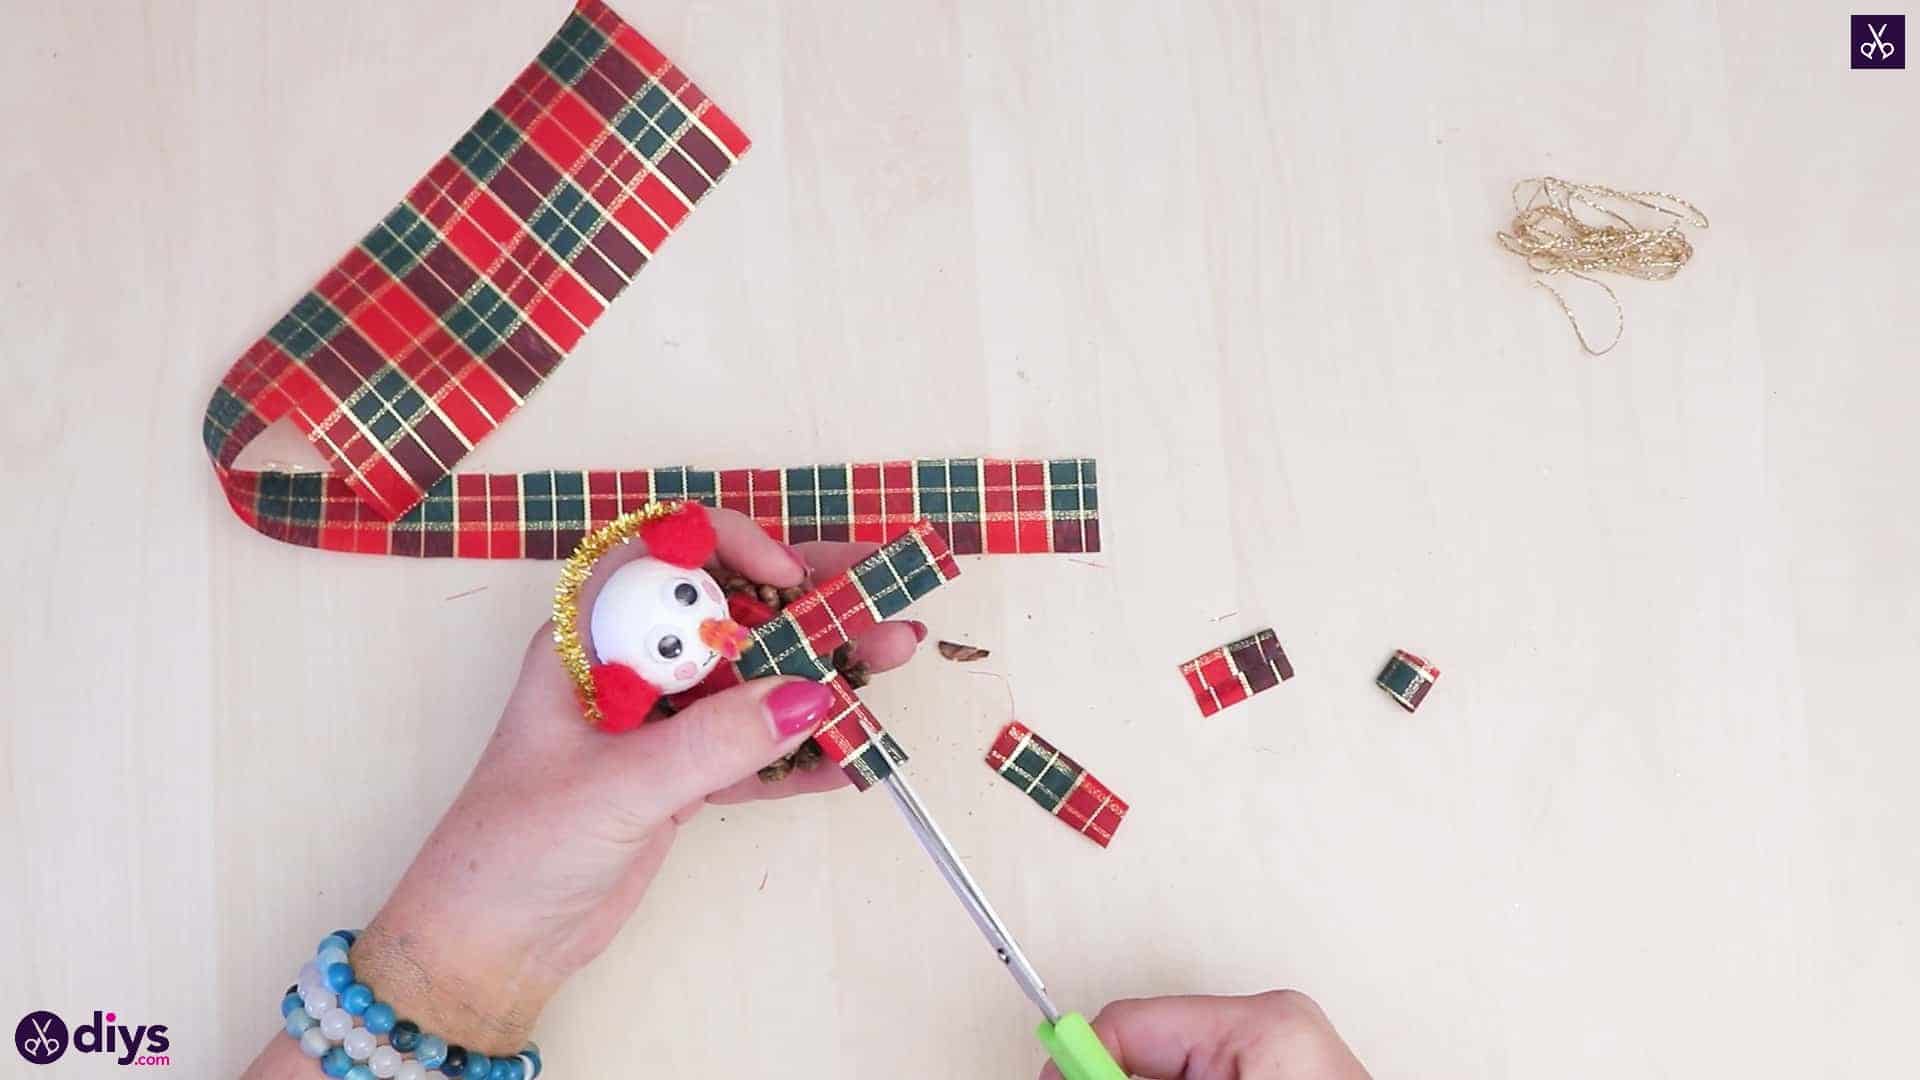
Step 13:
Trim your ends to whatever length you please and then turn your scissors to cut short strips in the end to give the scarf fringe.
Your pinecone snowman ornament is officially finished! Just in case youd like to try this project out for yourself, heres a fantastic tutorial video to help you!
The post DIY Pinecone Snowman with Headphones for Christmas Decoration appeared first on DIYs.com.