No Sew Afikoman Bag Craft
Make this pretty and fun no sew Afikoman bag craft using the classic tied-edge method! When you’re done, try this seder plate craft too. This post contains affiliate links.

After a few craft fails, including one that was a tween-teen targeted craft, I really wanted to share something new with you this Pesach.
I have done no sew projects before using the fleece tied-edge method, which is a really fun way to engage slightly older kids. The first time I tried it it didn’t work (I mean it when I say that I was on a fail streak).
Turns out, I was cutting the fringe too short for the weight of fleece I was using.
The good news is that this Afikoman bag craft not only DID work out in the end (unlike the others that I ditched) but it also is a very open-ended project.
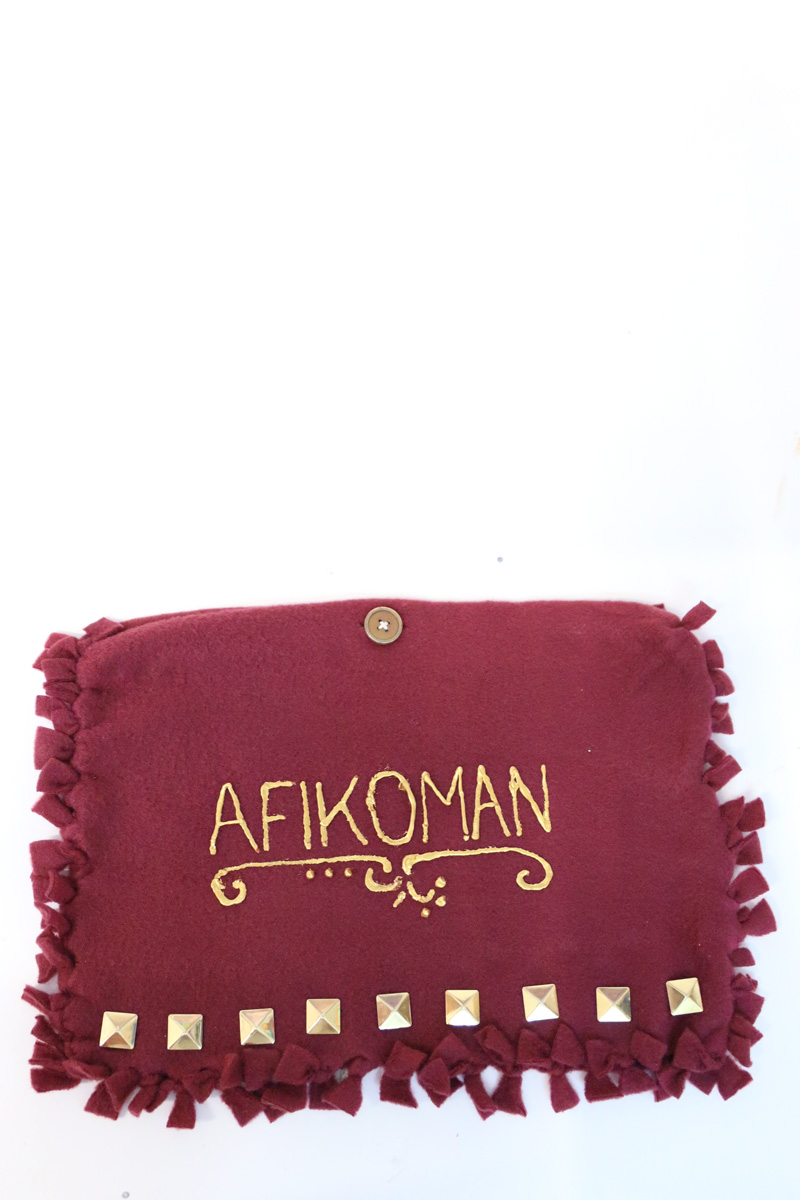
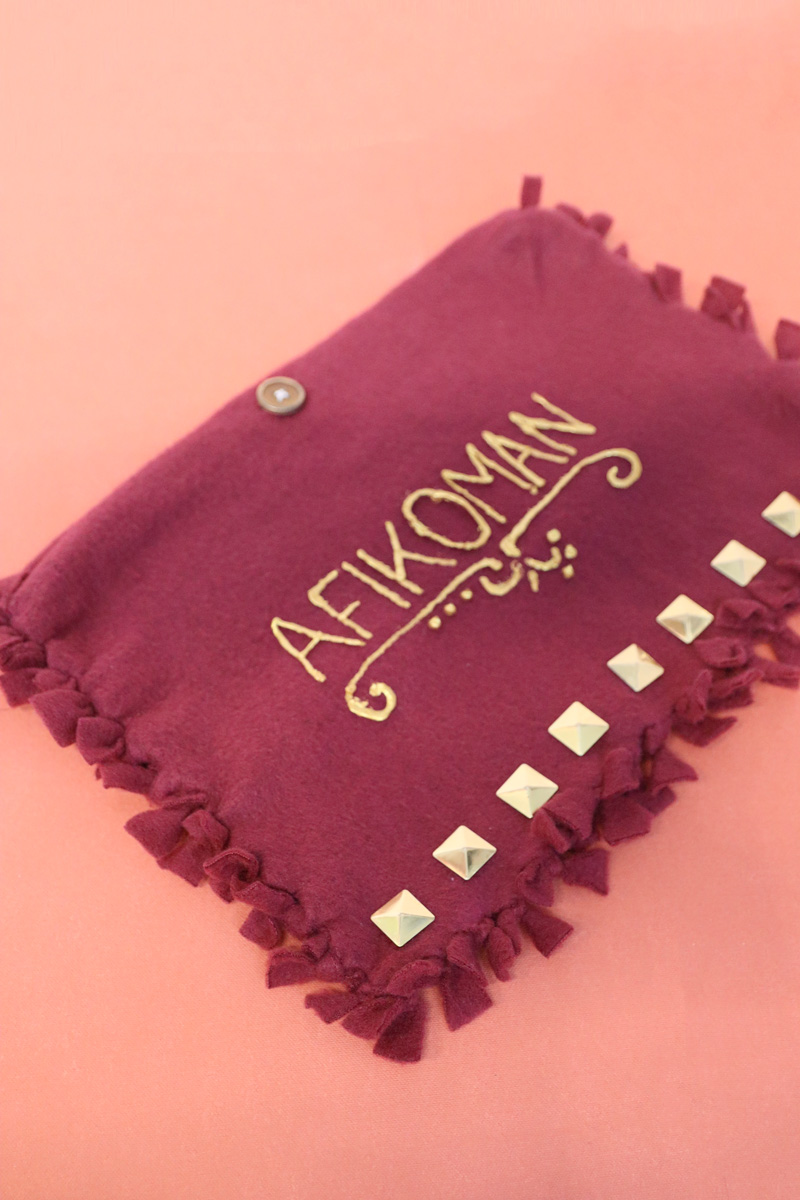
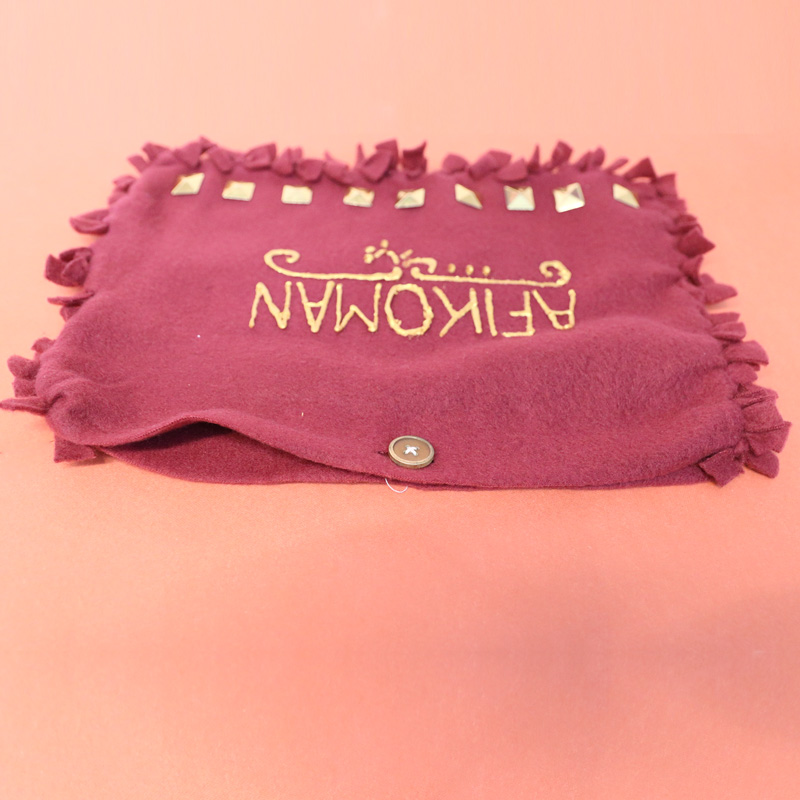
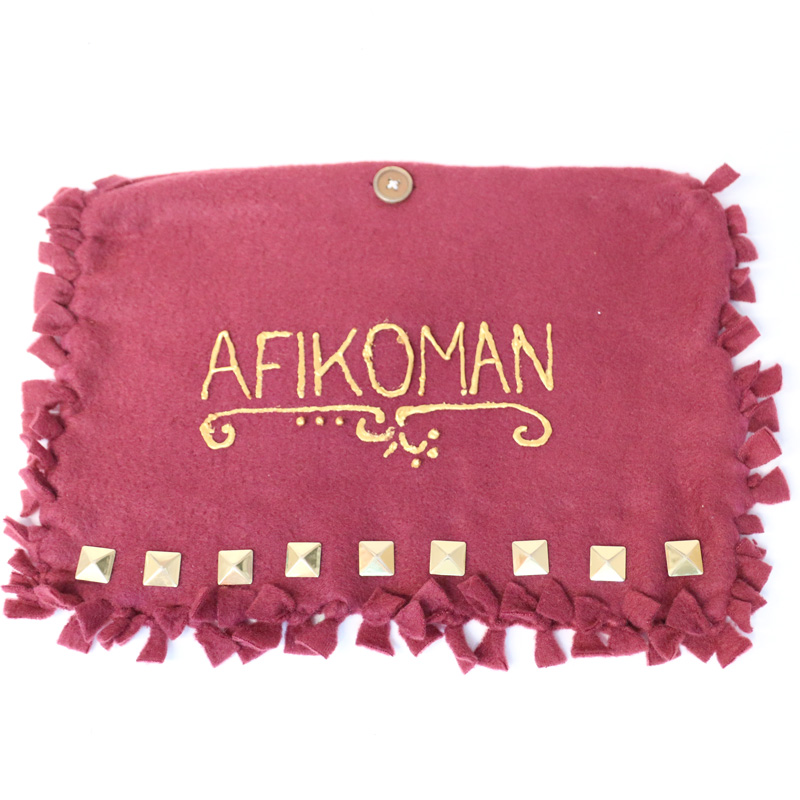
I decorated my bag using puffy fabric paint (it’s hard to get things like fabric or paint markers to work well with fleece). You can skip the decorating, add in some embroidery (preferably before you complete it), glue on elements such as plastic letters and gems, or decorate however you’d like.
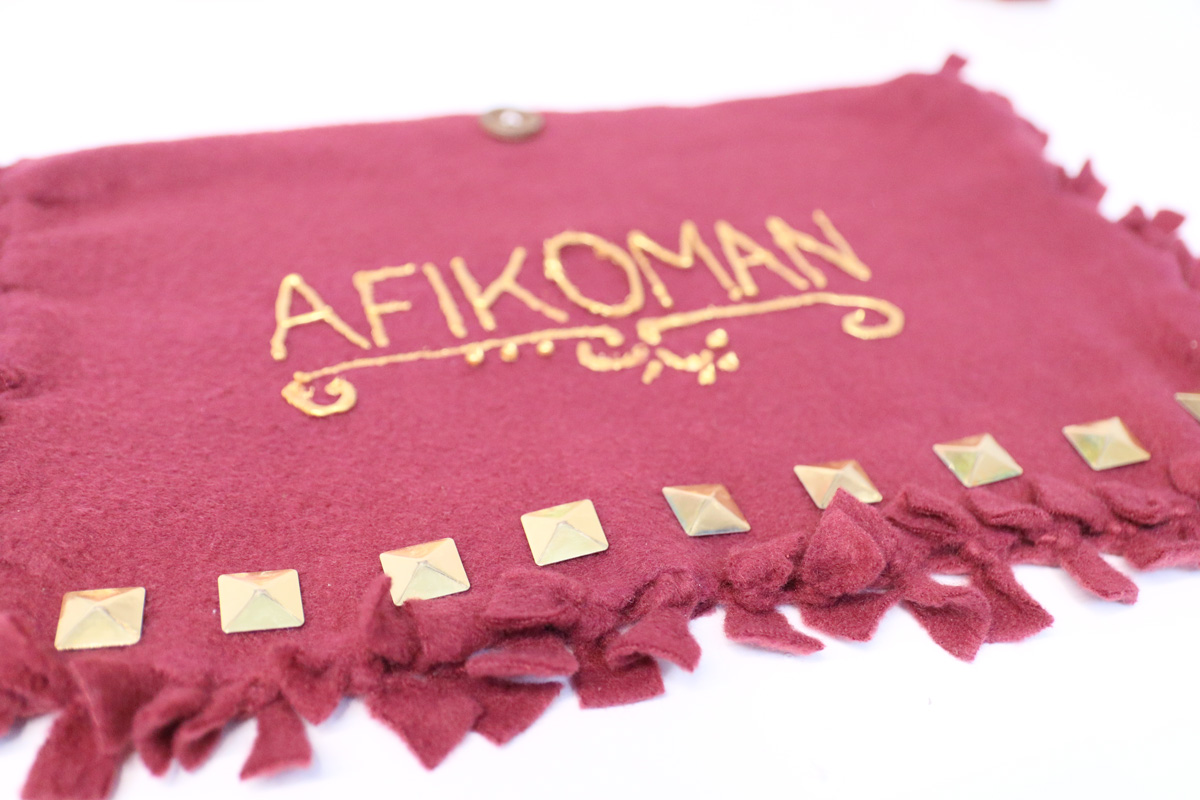
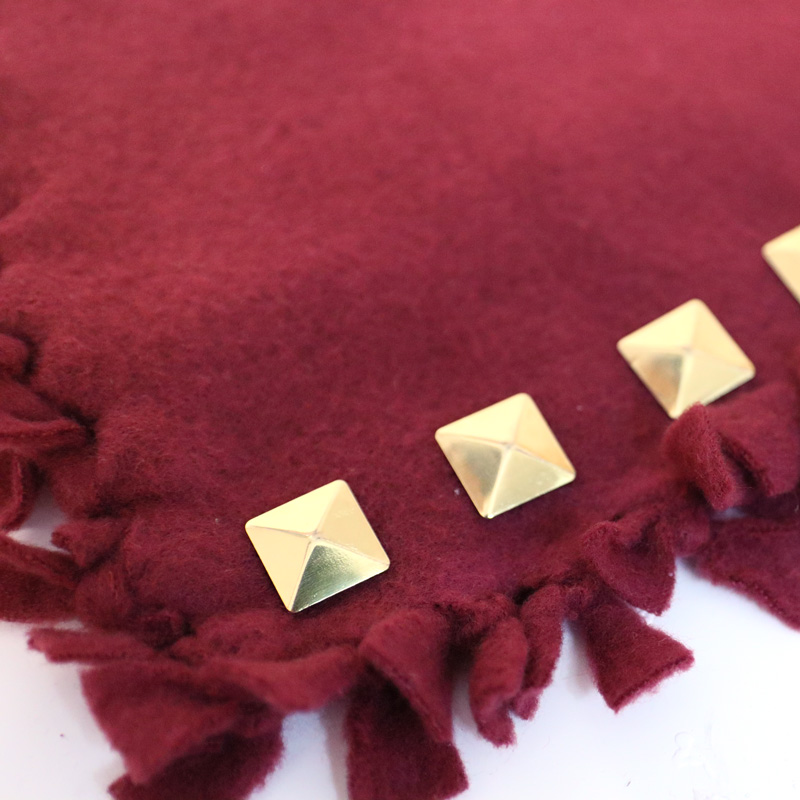
I used bronze-colored pyramid studs for the edges but again, you can use anything.
Which fleece to use for the afikoman bag craft
Using fleece means that you don’t need to worry about fraying edges.
This is one of those crafts where a cheaper, thinner fleece works better. The dollar store scarf that I used was perfect – but is hard to find in the Spring! Too thin might stretch too much but you want some stretch.
If you buy thicker fleece yardage, you’ll want to make sure that you cut longer fringe to tie. You can also use fleece blankets. Whatever you do, if you’re creating this afikoman bag craft in a group setting, be sure to test it out in advance and experiment with the fringe length.

To gauge how much fleece you need:
The Afikoman bag craft does not need to be an exact size. A typical round matzah is 10-12 inches but it’ll be a bit challenging to gauge the width. Take the size you want the pouch to be. Add 1.5 inches to the right, left, and bottom and that should be the final size of EACH CUT.
You’re cutting two so double that for each pouch.
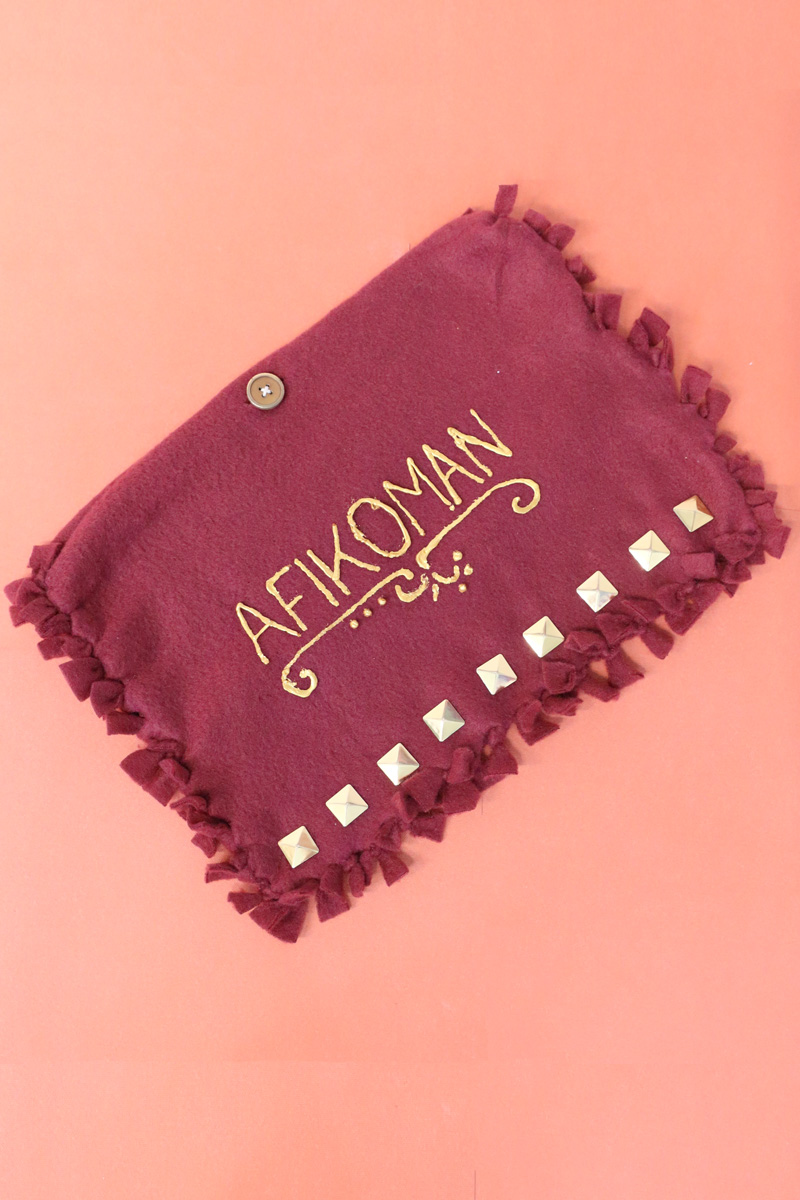
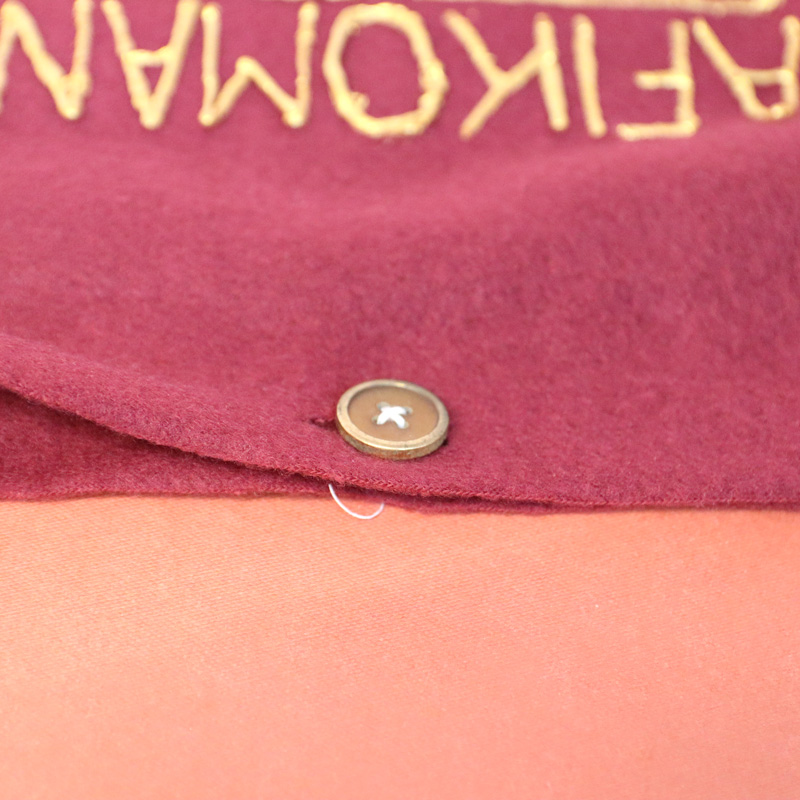
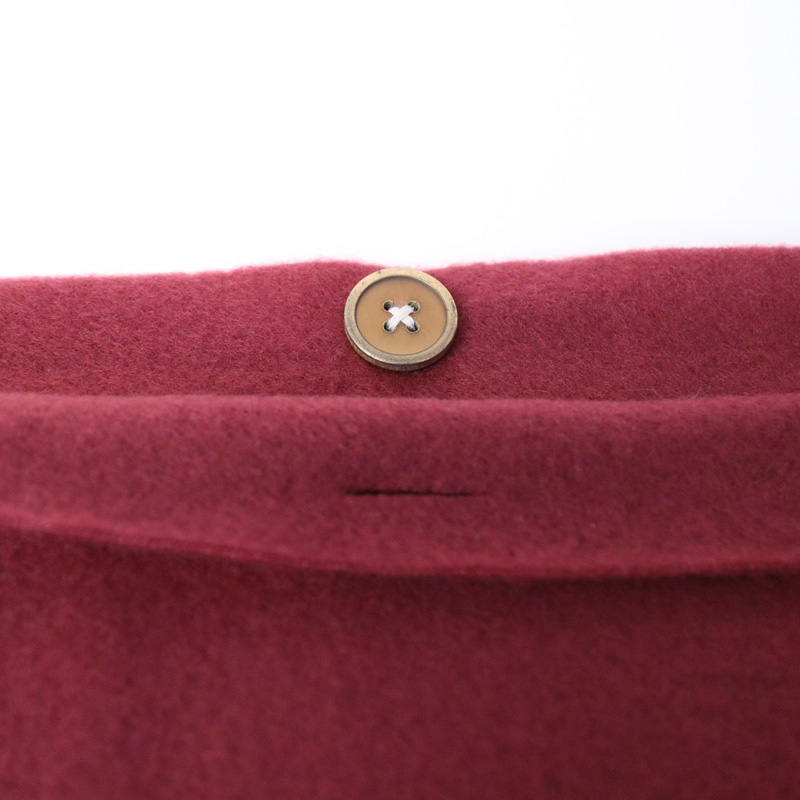
There are many different ways to close off your pouch – and I’ll share some here. I used a button.
I kept my closures simple, just closing the back and front of the top portion of the Afikoman bag. If you prefer to have a fold over top, simply cut an extra 2-ish inches on the back layer of fleece. On that top two inches, trim 1.5 off from each side (the width that you’ll be tying fringe).
Some more ideas for closing your Afikoman bag – with or without an extra flap:
- Hook and loop closure (such as Velcro). Sew or glue it on (don’t rely on sticky backed ones).
- Sew-on snaps
- Leave it open – fleece is clingy
- A lace: cut holes and weave a string of fleece in and out (a bit more cumbersome).
You can really play around and experiment with exactly how you craft this!
What you need
There are loads of different ways to craft this! This list includes what I personally used, but do make it your own!
- Fleece – I used a dollar store scarf (easier to find in winter). Yardage and blankets can work too. See notes about amounts you need above.
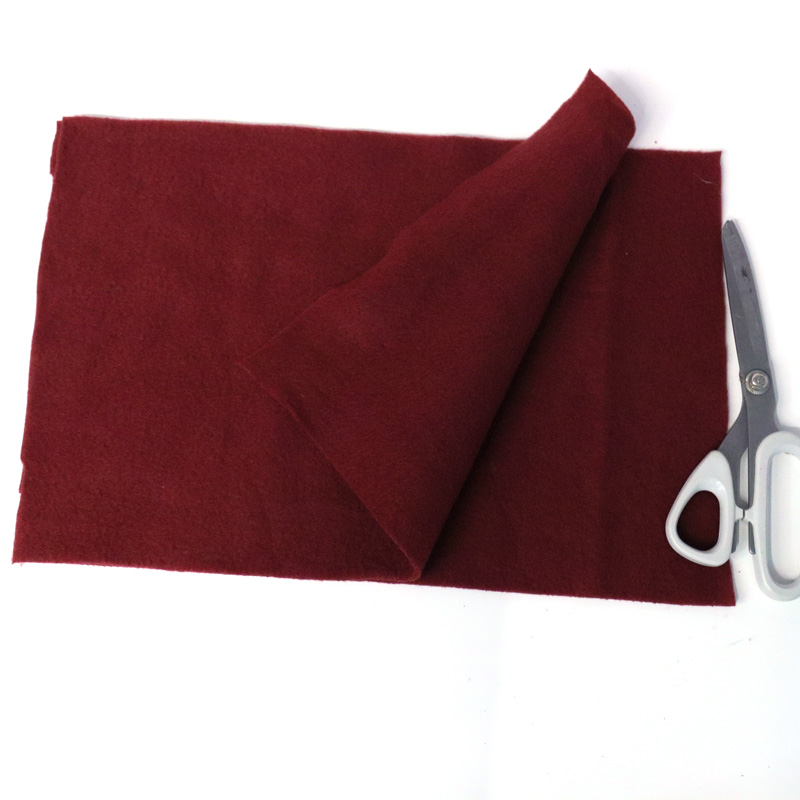
- Good fabric scissors
- Ruler
- Tailor’s chalk
- Closure – I used a vintage button from my big bad button box
- Decorations – I used brass studs and gold fabric paint
How to craft a no sew Afikoman bag
1. Cut your fleece to size. Measure the size you want your bag to be (10-12 inches wide and about 8 inches high, leaving room for the closure). Add 3 inches to the width and 1.5 inches to the height. Cut two identical pieces this size.
2. Measure around the edges of your bag – about 1.5 inches in. (you can cut one and test if it works before marking). Keep in mind that if your fleece does stretch in one direction, you need less tying-space in your fleece that way. Use a ruler and chalk to mark that point on the bottom, right, and left.

3. Holding both layers together (they should cling to each other naturally, and not slide around) cut off the two bottom corners where a square formed.
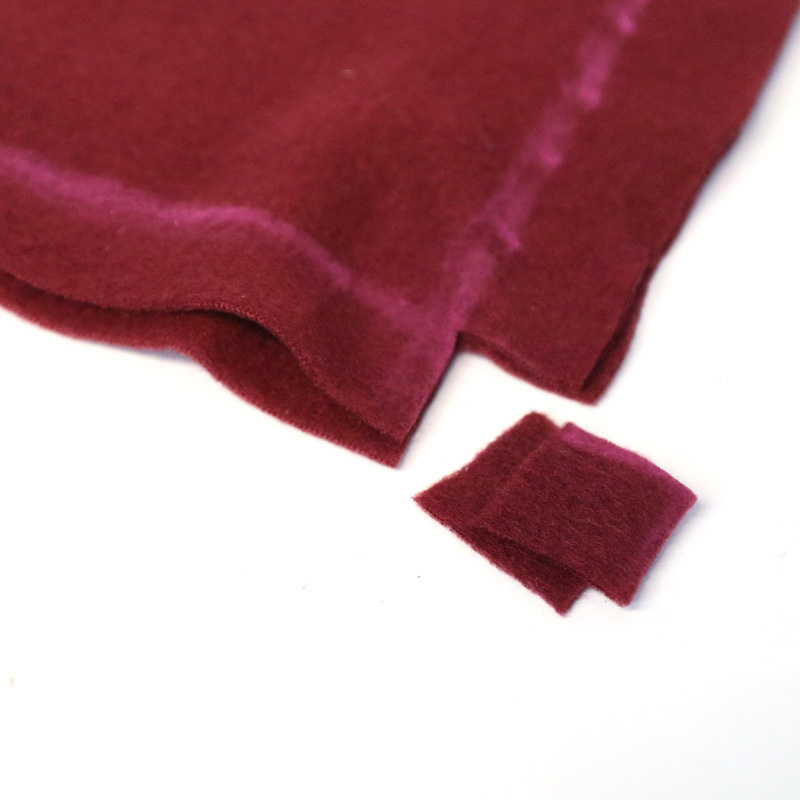
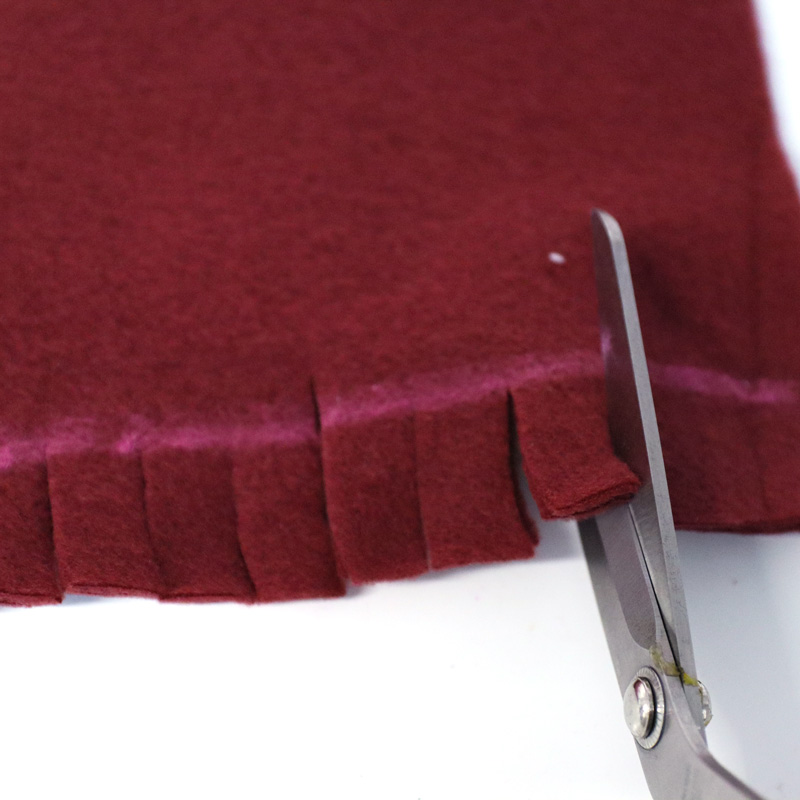
4. Now cut your fringe! Cuts should be roughly 1 cm apart and just hit the chalk mark you made. You’re still holding both layers together and cutting through both identically, and you’re still only cutting fringe on three sides.
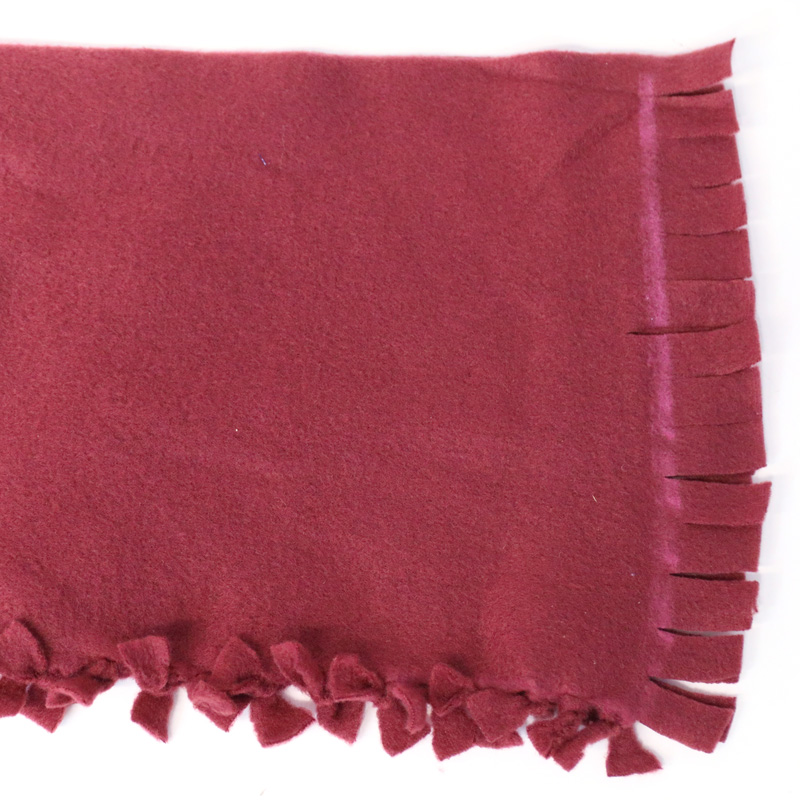
5. Tie the front and back fringe – the ones that correspond together. Start at the beginning of your fringe and tie that first knot to secure them in place.

Continue working your way around. Double knot where possible – especially the end ones. If your fringe is too short or doesn’t have enough stretch, you’ll find this challenging. As long as end fringes are doubled, you can get away with single knotting them.
This is the part where teens who are crafting this can sit and chat and relax. It can even be taken home to be worked on, stopped, started….
Tie all the way around until you hit the last fringe.
6. Time to add a closure! To add a button, cut a small slit toward the center top of the front layer. It should be a touch wider than the widest part of your button.
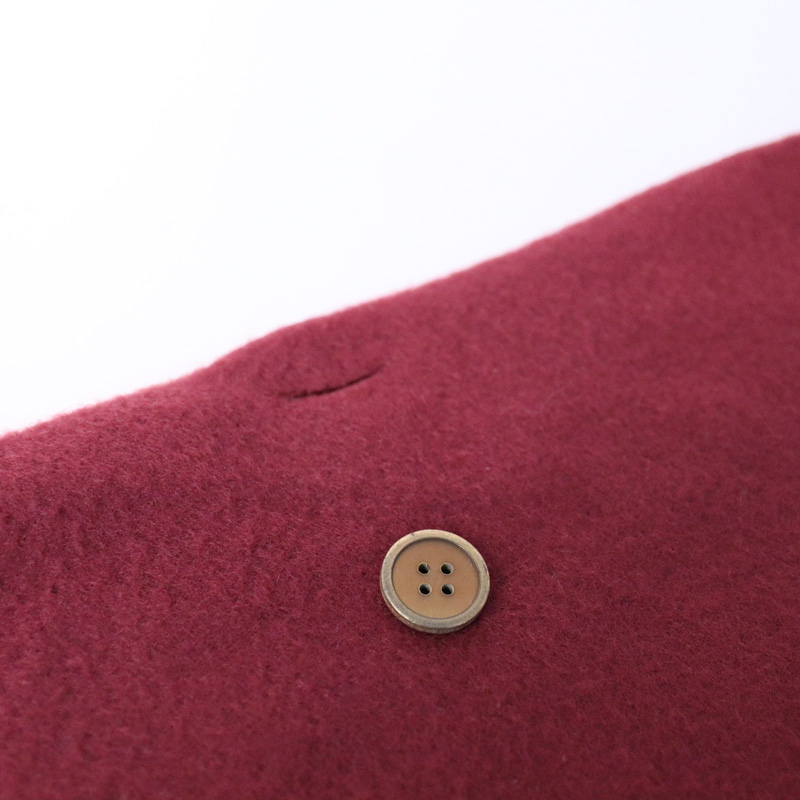
7. Sew on your button! I know I called this a “no sew” craft but buttons don’t count!
8. Attach your embellishments. These studs have small bits of metal that get squashed down in the back.
9. Letter on the word Afikoman! To do it neatly without sketching first, simply take two straight-ish edges (I used paper scraps from another project – coming soon!) and letter between them. If you press well with the tip of your puffy paint tube, it’ll go smoother. Start with the O centered on the bag.
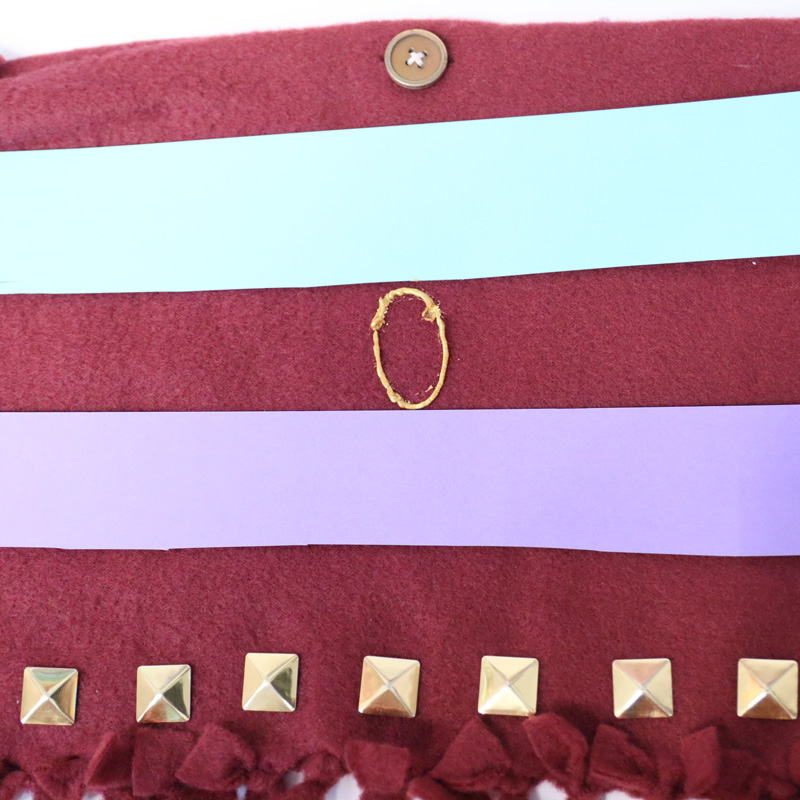
Letter the rest of the word and then the first part, starting with the K, then I, F, A. Add flourishes if you want.
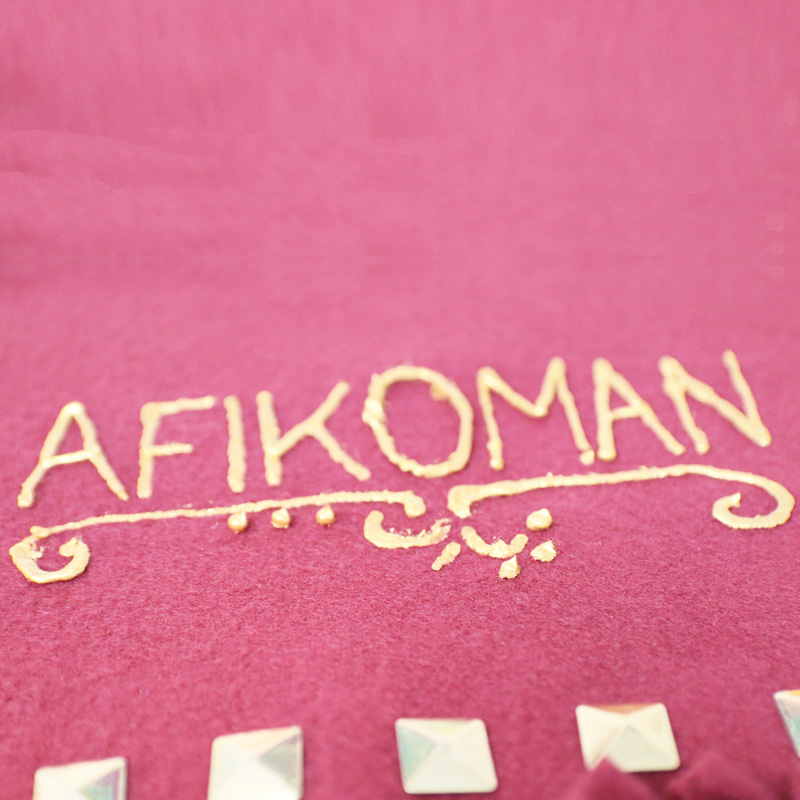
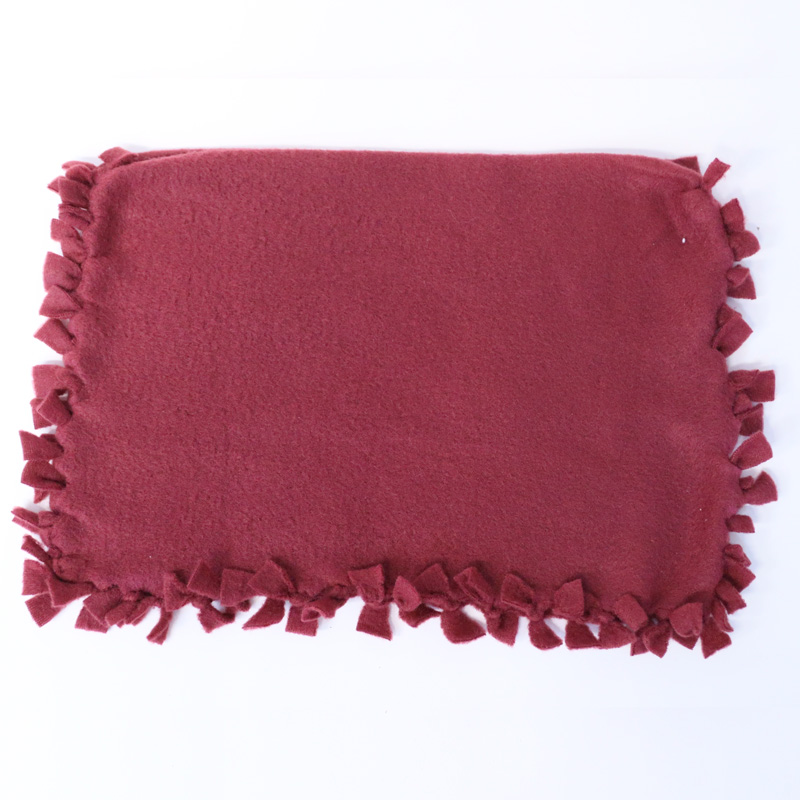
Your Afikoman bag craft is complete and ready to use!
The post No Sew Afikoman Bag Craft appeared first on Jewish Moms & Crafters.